manuals.online logo
Brands
  1. Home
  2. •
  3. Brands
  4. •
  5. DV8 OFFROAD
  6. •
  7. Automobile Accessories
  8. •
  9. DV8 OFFROAD Razor Series User manual

DV8 OFFROAD Razor Series User manual

6400 SYCAMORE CANYON BLVD.
RIVERSIDE, CALIFORNIA 92507
855-680-9595
WWW.DV8OFFROAD.COM
PRODUCT
INSTALLATION MANUAL
RAZORBACK HARDTOP
2018+ JEEP WRANGLER JL
HTJL02-b
TOOLS REQUIRED SKILL LEVEL TIME REQUIRED
- 10mm, 7/16” Wrench
- 7/16” Socket
- 6mm Allen Bit
- Philips Head Screwdriver
- T40 Torx Bit
Before you install this kit — Read and understand all
instructions, warnings, cautions, and notes contained in
this installation instruction guide. Consult your vehicle
owner’s manual for proper disconnection of electrical and
lifting of vehicle if required for installation of this product.
This install may require some technical skills and
knowledge of basic mechanical work. If you do not feel that
you are capable of performing this install please take this
product to a trained professional.
After reading this guide please contact us with any
questions or concerns before installing product.
Customer Service: 855-680-9595
DV8 Offroad is not responsible for any bodily injury or harm to you
or your vehicle as a result of an improper install.
Proper installation of this kit required knowledge of the factory
recommended procedures for removal and installation of original
equipment components. We recommend that the factory shop manual
and any special tools needed to service your vehicle be on hand during
the installation. Installation of this kit without proper knowledge of the
factory recommended procedures may affect the performance of these
components and the safety of the vehicle
• Always wear eye protection when operating power tools
Inspect all contents of this package to make sure product is not damaged
and all installation hardware has been included. If parts are missing from
kit, please be prepared to provide the following information
1. Name of purchase location
2. Bar Code on side of box
3. Date above bar code
4. Date inside box cover
- Novice/Intermediate
- 2 persons
Little skill level required. You may
be able to install it by yourself,
however, additional help is highly
recommended.
- 2.5 Hours
Time to install this should only
take about two and a half hours.
WARNINGS/CAUTIONS BEFORE STARTING INSTALLATION
855-680-9595
NEED HELP?
FPO
FPO
INSTALLATION MANUAL
NEED HELP? 855-680-9595
STEP 1 | For removal from
packaging and installation of the DV8
top, we highly recommend assistance
from a friend to prevent injury, and
damage to the product or vehicle.
Begin by removing the bottom two bolts
securing the hardtop to the wood frame.
Begin by unpacking all items and inspecting
for missing pieces or damage. If you have any
concens, please contact the company the
product was purhcased from. Extra hardware
may be included with the product.
(6) M6x20 Allen
(6) M6 Serrated Nuts
(4) Foam Door Seals
(4) D-Shaped Seals
HARDWARE INCLUDED
INSTALLATION MANUAL
NEED HELP? 855-680-9595
STEP 2 | When removing the upper
bolts securing the hardtop to wood frame,
it is important that the hardtop be resting
on the wood so that it does not fall and
get damaged.
To achieve this, lean the wood frame
forward as far as possible, while still
being able to un-fasten the bolts securing
the hardtop.
We recommend the helper to help hold
the hardtop in place when removing these
bolts.
The closer you can get to the ground, the
more stable the hardtop will be, and less
likely it is to fall and become damaged.
Use a 7/16” wrench and socket.
STEP 3 | Once the bolts are removed,
set the wood frame/hardtop on the
ground and gently lean the hardtop
forward so it is resting on an angle.
INSTALLATION MANUAL
NEED HELP? 855-680-9595
STEP 4 | With the help of a friend
slowly lift and move the hardtop forward
so that the corner is resting on the ground
in front of the wood frame.
STEP 5 | Carefully and slowly lift the
wood frame and slide it over the peak of
the hardtop.
Carefully unpack the targa and back
window glass.
Then set the wood frame off to the side.
Please keep the crate and all packing
materials until you are satised
completely with the tment. If a return is
necessary, the crate and packing material
will be need to return the product.
STEP 6 | Install glass window using
the provided hardware with a philips head
screwdriver and 10mm wrench.
Then, install the glass window shocks by
pressing them into place. They should
“snap” in.
INSTALLATION MANUAL
NEED HELP? 855-680-9595
Adjust the forward/back
positioning of the hardtop using the rear
passenger door seals as a guide.
When positioned correctly:
-The seal will not be crushed
-There will be no gap between the hardtop
and the seal
-The seal will be seated rmly between
the hardtop and door
Then loosely secure the hardtop with the
factory hardware.
-There are six fasteners for the interior
located along each edge of the tub.
-There are two fasteners above the rollbar
towards the front of the vehicle.
There is a short test you can perform to check
tightness/tment of the door seals against the
hardtop with any dollar bill.
Open the door and the lay the dollar bill at
against the hardtop where the door will close.
Then close the door so that the dollar is
sandwiched between the door/door seal and the
hardtop.
If you can pull the dollar out with no resistance,
its likely your top needs to be adjust forward to
create a better seal.
If your dollar will not move, or can be removed
with slight resistance from the seal, then you
have created a good seal.
Perform this test in multiple areas to determine if
the seal and tment is good.
STEP 7 | Close the tailgate to prepare
to place the hardtop on the vehicle.
Removal of spare tire will make
installation easier, but is not necessary.
Ensure the rear window glass is in the
“open” position prior to installation.
Once the hardtop is in place, open the
tailgate.
Leave the tail gate open and do
not cut the seals.
With the help of a friend lift the hardtop
and place it on the vehicle in its
approximate location of install.
INSTALLATION MANUAL
NEED HELP? 855-680-9595
STEP 8 | On the rear of the vehicle,
fold the seals so that they are behind the
tailgate when closed.
These guide water away from the vehicle
to prevent leaking.
DO NOT CUT OR TRIM THESE.
INSTALLATION MANUAL
NEED HELP? 855-680-9595
STEP 9 | Secure the hardtop to
the roll bar using the factory hardware.
Leave all other hardware loose until nal
tment is nished.
STEP 10 | Place the targa on the
vehicle for the rst tment. The front of
the targa should be almost touching the
two ns on the windshield seal.
INSTALLATION MANUAL
NEED HELP? 855-680-9595
STEP 11 | Turn the rear-corner
latches and tighten them down using a
6mm allen bit.
These latches may need to be loosened
slightly during initial installation.
STEP 12 | While pulling down on the
targa from the outside with one hand,
use the other hand to clasp the latch into
place.
Pulling down the targa during initial
installation will help the latch reach its
clasp.
INSTALLATION MANUAL
NEED HELP? 855-680-9595
STEP 13 | Turn the front-center
latches into place and tighten them down
using a 6mm allen bit.
These latches may need to be loosened
slightly during initial installation.
STEP 14 | Turn the rear-center
latches and tighten them down using a
6mm allen bit.
These latches may need to be loosened
slightly during initial installation.
STEP 15 | Check that the targa has
not shifted away from the winshield,
and that the seals are not being pulled
away from the windshield. See pictured
example of shifted targa and pulled seal.
If the targa has not shifted, proceed to
step 17.
Prior to any adjustment, now is a good
time to look at the tment between the
hardtop and the targa(see next step).
If the targa has shifted, loosen and undo
all latches, then repeat steps 11-15.
If the targa continues to shift, the hardtop
may require adjustment, proceed to step
17.
INSTALLATION MANUAL
NEED HELP? 855-680-9595
STEP 16 | Check the seal between
the hardtop and the targa.
The seal should be snug, but not crushed,
and there should bo no visible gaps.
If the seal is crushed, but the targa
shifted away from the windshield, the
hardtop likely does not need adjustment,
and the targa needs to be re-tted. Repeat
steps 11-16.
If the seal is crushed, but the targa ts
well on the windshield seal, the hardtop
may need to be adjusted backwards,
towards the rear of the vehicle. Loosen
hardtop hardware, adjust, then repeat
steps 11-16.
If there is a gap, then the hardtop needs
to be adjusted forward.
Loosen the factory hardware, adjust, then
repeat steps 11-16.
Do not worry at this time if the targa and
hardtop are not sitting level. There is
some slight adjustment here which will
be completed in a later step. Additionally,
it will be necessary to allow the hardtop
and targa to “set” over 2-3 weeks to allow
the seals to settle into position(this is
common with new seals).
Crushed Seal
Good Fitment
Too Large of a Gap
INSTALLATION MANUAL
NEED HELP? 855-680-9595
STEP 17 | Once the tment of
the targa and hardtop is good, double
check to ensure all latches and hardtop
hardware are tight. Use a 6mm allen bit
and a T40 torx bit.
STEP 18 | If the edges of the targa
are sitting higher than the hardtop,
tighten down the rear-corner latches until
they are sitting ush with each other.
If the center of the targa is sitting higher
than the hardtop after tightening the
rear-corner latches, then tighten the
rear-center latches until it sits ush.
INSTALLATION MANUAL
NEED HELP? 855-680-9595
STEP 19 | Double check tment
around the windhsield and between the
hardtop and targa.
Double check tment of the hardtop
agianst the rear doors.
STEP 20 | -A good tting hard top
will have no gaps in the seal between
hardtop and rear door referanced in step
8.
-The targa will be siting level with the
hard top allowing a smooth transition
from hard top to targa to windshield.
-The front of the targa will be touching,
or nearly touching the ns on the
windshield seal. The windshield seal will
not be stressed or pulled away from the
windshield.
-There will be no gaps between targa and
winshield seal, targa should be putting
slight pressure on the seal all the way
across the windshield.
-The seal between the targa and hardtop
will not have gaps, and will not be
crushed.
INSTALLATION MANUAL
NEED HELP? 855-680-9595
STEP 21 | It is recommended to let
the hardtop and targa sit on the vehicle
for 2-3 weeks with out removal to allow
the seals to setlle before checking for
water leaks.
It is possible that the hardtop may leak
slightly upon installation, but these
leaks dissipate after the seals have had a
chance to setlle into place
STEP 22 | If after this alotted time,
the hardtop still has minor leaks, we
include some seals and foam padding to
install in certain areas where leaking is
the most probable.
You can also perform the dollar trick
referenced in step “8” to determine if
adding these seals is necessary.
STEP 23 | If leaking persists after
these steps have been completed, please
email [email protected]. Please
include pictures of the hard top from all
four corners, proof of purchase and a
brief description of the issues that you
are running into so we maybe able to
assist.
INSTALLATION MANUAL
NEED HELP? 855-680-9595
STEP 24 | Congrats! You are nished
wtih the install the 2018+ Jeep JL DV8
Razorback Hardtop.

This manual suits for next models

1

Other DV8 OFFROAD Automobile Accessories manuals

DV8 OFFROAD RRUN-02 User manual

DV8 OFFROAD

DV8 OFFROAD RRUN-02 User manual

DV8 OFFROAD RBJL-12 User manual

DV8 OFFROAD

DV8 OFFROAD RBJL-12 User manual

DV8 OFFROAD ABJL-01 User manual

DV8 OFFROAD

DV8 OFFROAD ABJL-01 User manual

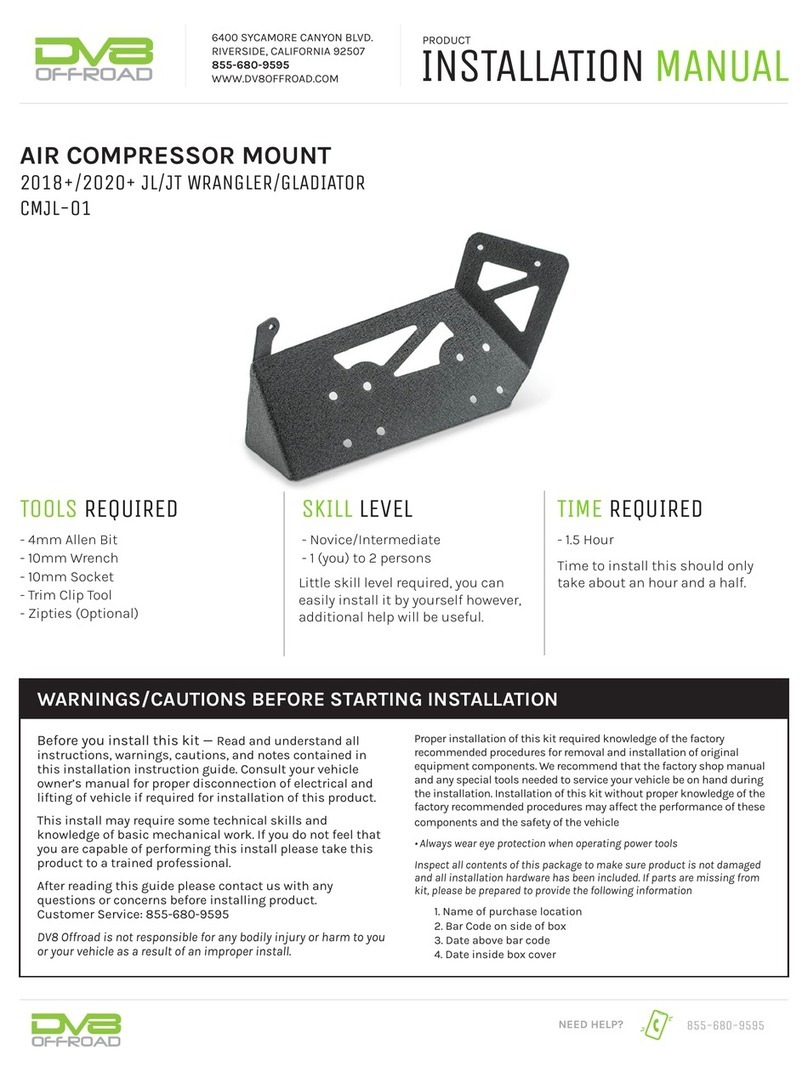
DV8 OFFROAD CMJL-01 User manual

DV8 OFFROAD

DV8 OFFROAD CMJL-01 User manual

DV8 OFFROAD RBJL-11 User manual

DV8 OFFROAD

DV8 OFFROAD RBJL-11 User manual

DV8 OFFROAD FDJL-07 User manual

DV8 OFFROAD

DV8 OFFROAD FDJL-07 User manual

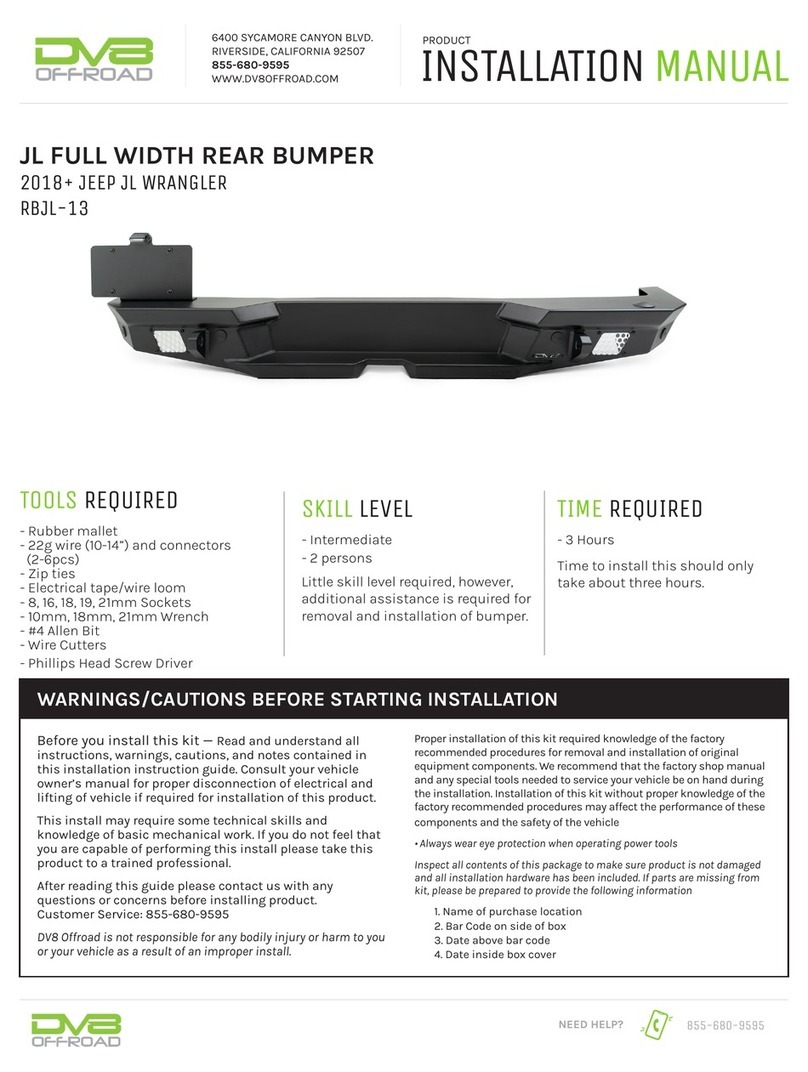
DV8 OFFROAD RBJL-13 User manual

DV8 OFFROAD

DV8 OFFROAD RBJL-13 User manual

DV8 OFFROAD WINCH POCKET FAIRLEAD User manual

DV8 OFFROAD

DV8 OFFROAD WINCH POCKET FAIRLEAD User manual

DV8 OFFROAD MPJL-01 User manual

DV8 OFFROAD

DV8 OFFROAD MPJL-01 User manual

DV8 OFFROAD LPBR-04 User manual

DV8 OFFROAD

DV8 OFFROAD LPBR-04 User manual

DV8 OFFROAD MTO Series User manual

DV8 OFFROAD

DV8 OFFROAD MTO Series User manual

DV8 OFFROAD OE PLUS SRJK-09 User manual

DV8 OFFROAD

DV8 OFFROAD OE PLUS SRJK-09 User manual

DV8 OFFROAD D-JP-180014-STR4 User manual

DV8 OFFROAD

DV8 OFFROAD D-JP-180014-STR4 User manual

DV8 OFFROAD STJL-05 User manual

DV8 OFFROAD

DV8 OFFROAD STJL-05 User manual

DV8 OFFROAD MPT3-01 User manual

DV8 OFFROAD

DV8 OFFROAD MPT3-01 User manual

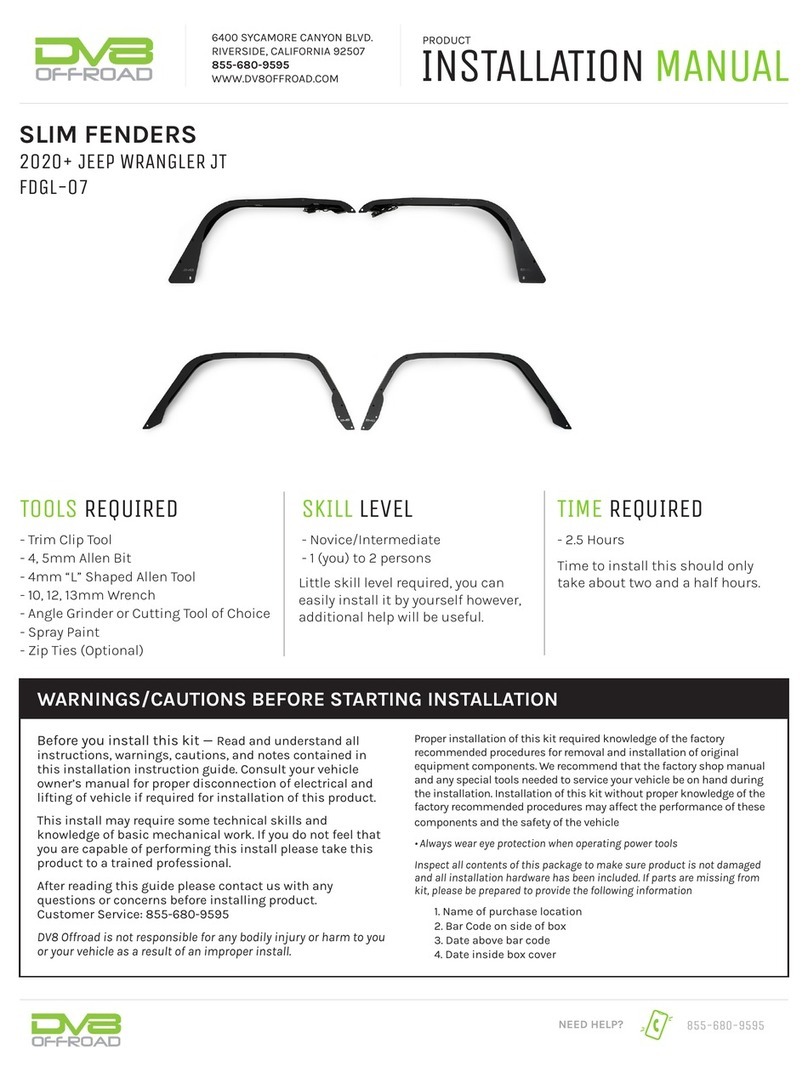
DV8 OFFROAD FDGL-07 User manual

DV8 OFFROAD

DV8 OFFROAD FDGL-07 User manual

DV8 OFFROAD D-JP-181112-BK User manual

DV8 OFFROAD

DV8 OFFROAD D-JP-181112-BK User manual

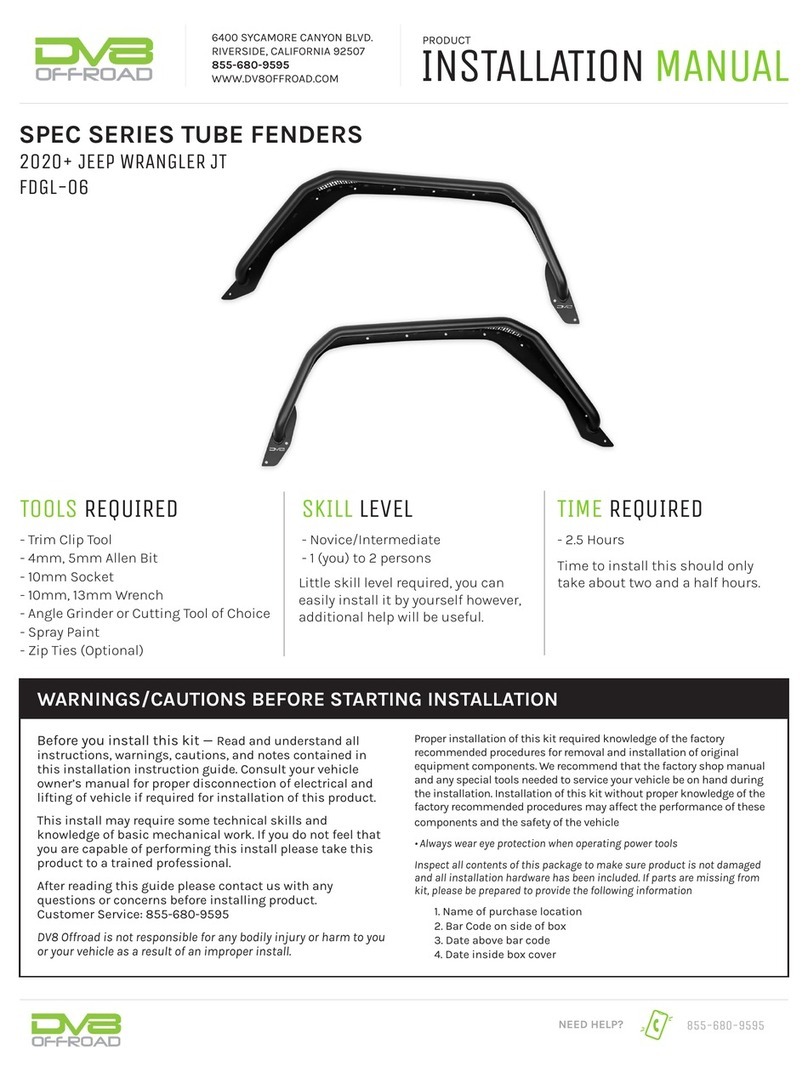
DV8 OFFROAD FDGL-06 User manual

DV8 OFFROAD

DV8 OFFROAD FDGL-06 User manual

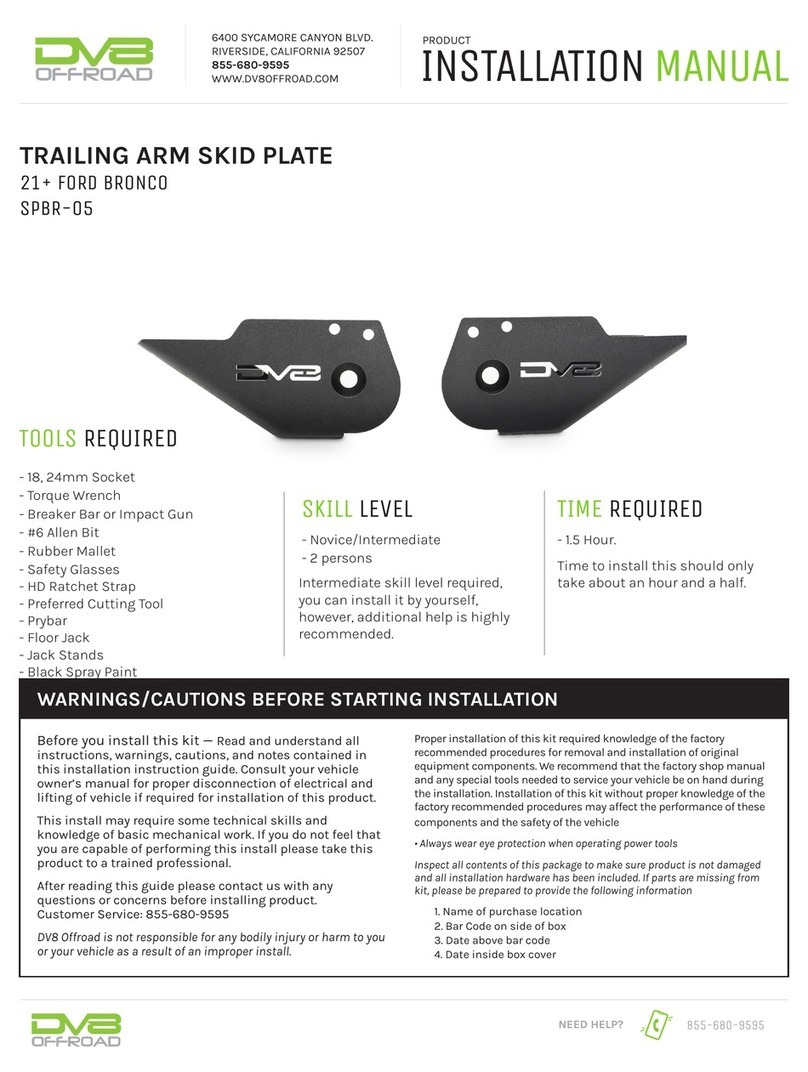
DV8 OFFROAD SPBR-01 User manual

DV8 OFFROAD

DV8 OFFROAD SPBR-01 User manual

DV8 OFFROAD D-JL-180014-SIL4 User manual

DV8 OFFROAD

DV8 OFFROAD D-JL-180014-SIL4 User manual

DV8 OFFROAD CCJK-01 User manual

DV8 OFFROAD

DV8 OFFROAD CCJK-01 User manual

DV8 OFFROAD MPGX-02 User manual

DV8 OFFROAD

DV8 OFFROAD MPGX-02 User manual

DV8 OFFROAD TCTT2-01 User manual

DV8 OFFROAD

DV8 OFFROAD TCTT2-01 User manual

DV8 OFFROAD LPBR-05 User manual

DV8 OFFROAD

DV8 OFFROAD LPBR-05 User manual

Popular Automobile Accessories manuals by other brands

BAK BAKFlip G2 Installation sheet

BAK

BAK BAKFlip G2 Installation sheet

Escort SmartSite Mini owner's manual

Escort

Escort SmartSite Mini owner's manual

Ranger design 16-UCT66 installation guide

Ranger design

Ranger design 16-UCT66 installation guide

Jeneer Auto Bump instruction manual

Jeneer

Jeneer Auto Bump instruction manual

Hamron 001676 operating instructions

Hamron

Hamron 001676 operating instructions

SPEEDY-LIFT SP-HDA99 installation manual

SPEEDY-LIFT

SPEEDY-LIFT SP-HDA99 installation manual

Advantech TREK-743 user manual

Advantech

Advantech TREK-743 user manual

Bestop HighRock 4x4 Element installation instructions

Bestop

Bestop HighRock 4x4 Element installation instructions

Whispbar K392W Fitting Instructions for Basic Carrier

Whispbar

Whispbar K392W Fitting Instructions for Basic Carrier

Segvator Segvator Installation & operator's manual

Segvator

Segvator Segvator Installation & operator's manual

Saab 9000 Service manual

Saab

Saab 9000 Service manual

Mopar Sun Bonnet manual

Mopar

Mopar Sun Bonnet manual

AUTOTECH 10.525.1028GK-1028K installation instructions

AUTOTECH

AUTOTECH 10.525.1028GK-1028K installation instructions

Thule Bed Rider 822 Assembling instructions

Thule

Thule Bed Rider 822 Assembling instructions

Whispbar K603W Fitting instructions

Whispbar

Whispbar K603W Fitting instructions

Ranger design 1530-TC installation guide

Ranger design

Ranger design 1530-TC installation guide

Eling OBD2 HUD user manual

Eling

Eling OBD2 HUD user manual

Whispbar K905W Fitting instructions

Whispbar

Whispbar K905W Fitting instructions

manuals.online logo
manuals.online logoBrands
  • About & Mission
  • Contact us
  • Privacy Policy
  • Terms and Conditions

Copyright 2025 Manuals.Online. All Rights Reserved.