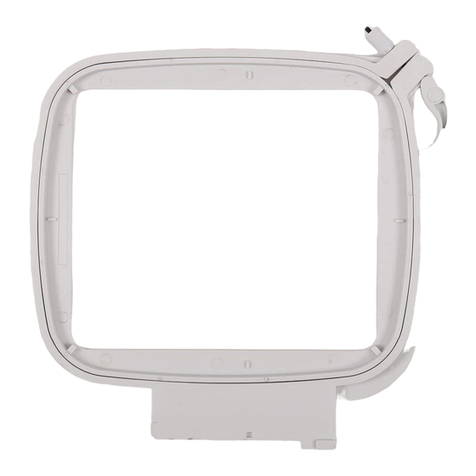
ELNA 580+ User manual

Elna International Corp. SA / 29.04.2022
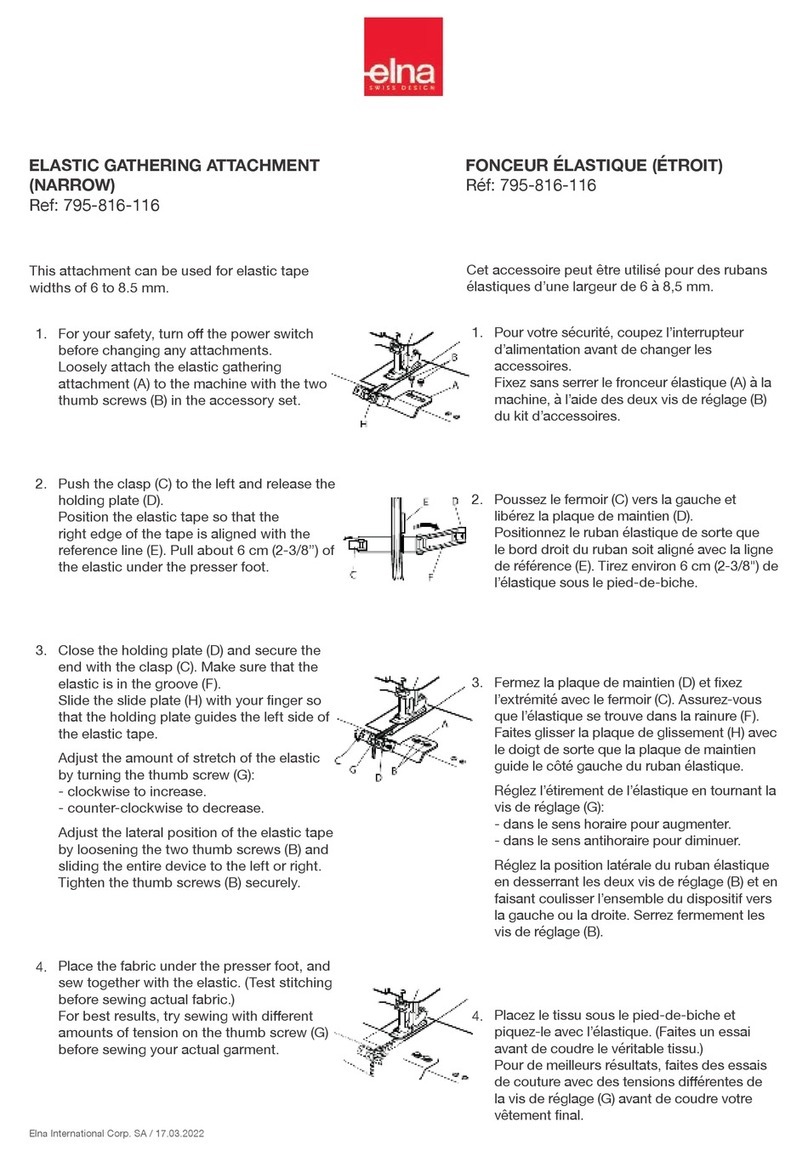
Caution
Make sure to press the Lockout key when
replacing the foot or attaching a binder.
For models without the Lockout key, turn the
power switch o when attaching and detaching
the foot and binder.
Please refer to your machine’s instruction
manual for accessory attachment and removal
information.
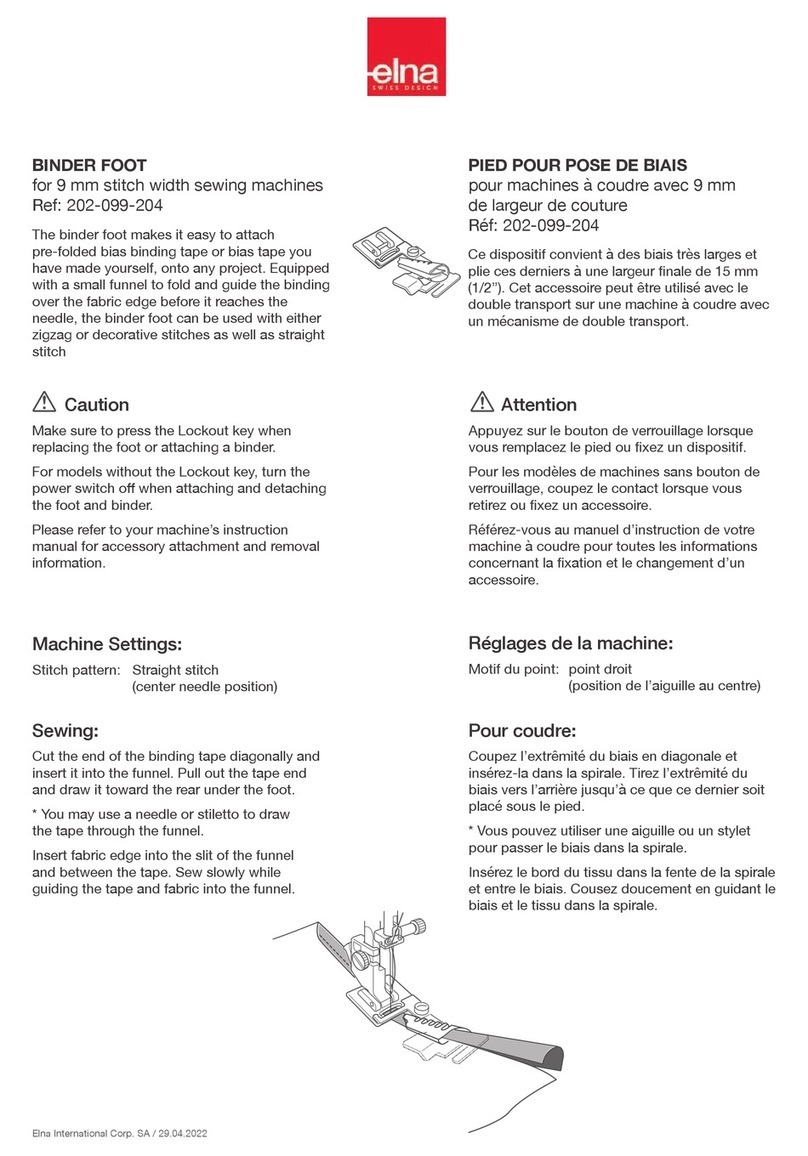
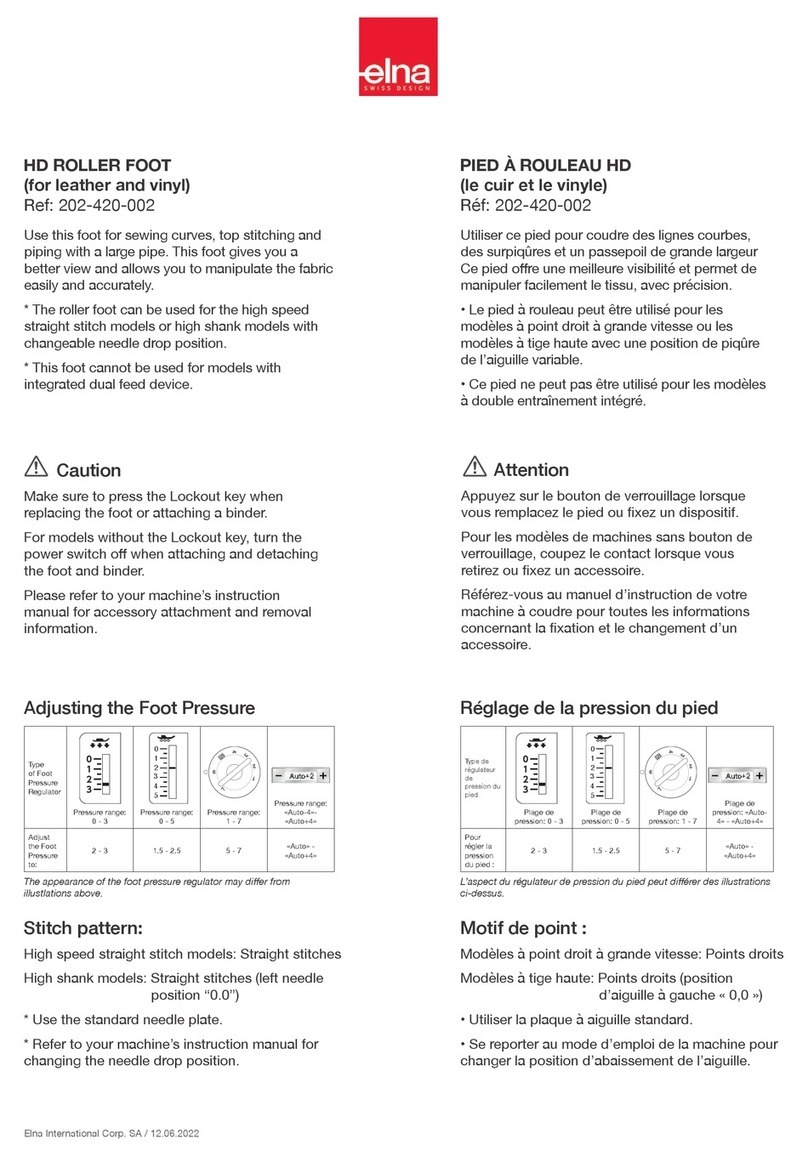
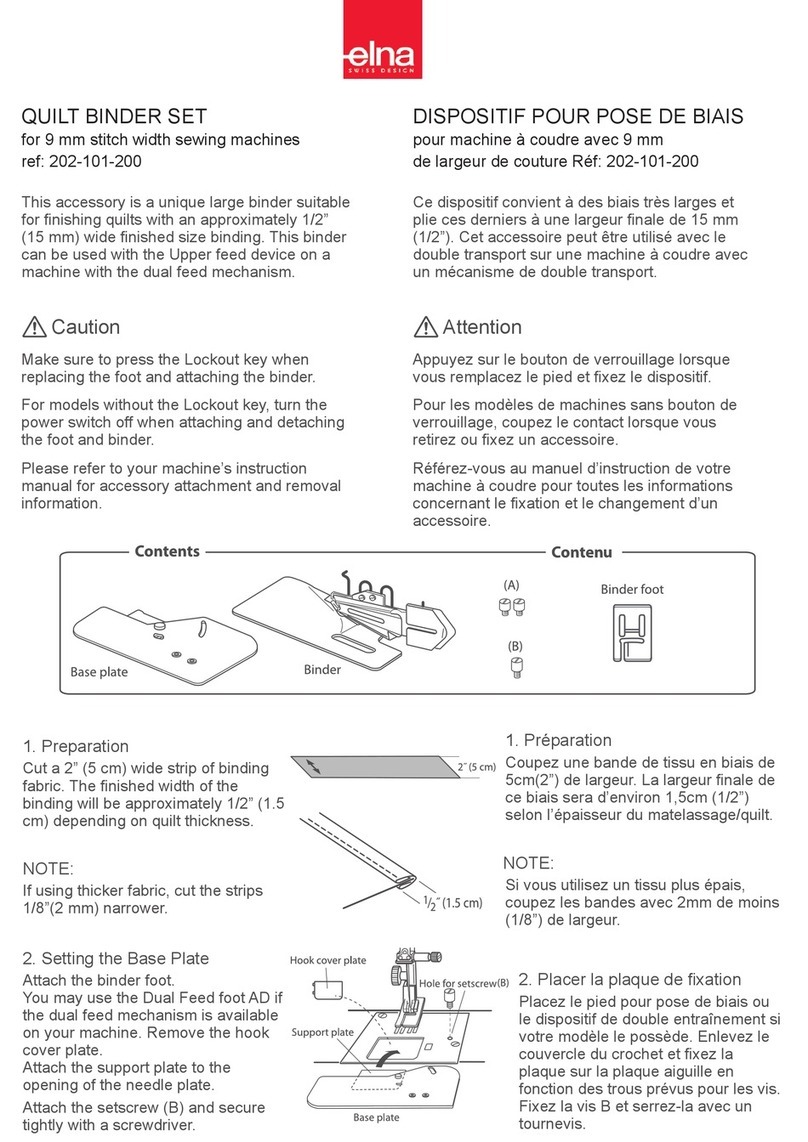
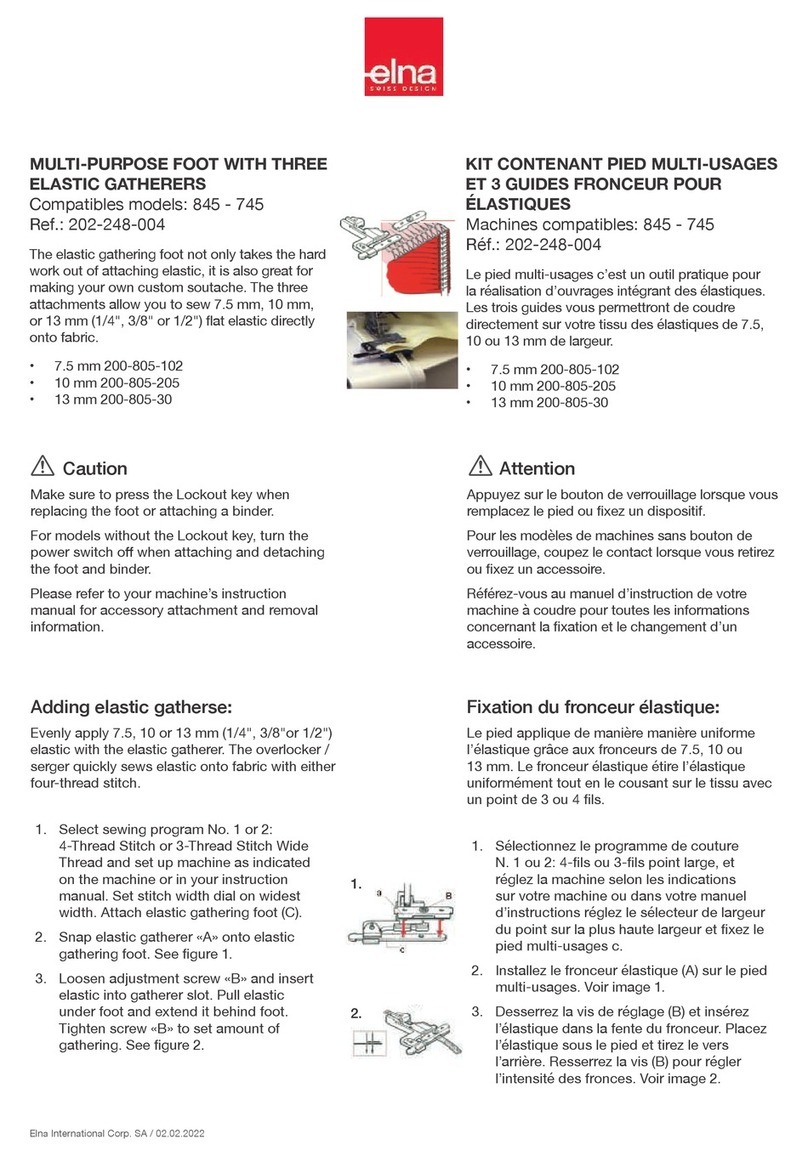
KIT ACCESSORIES 580+
Ref: 200-329-026 / 200-333-023 /
200-337-027 / 200-314-028
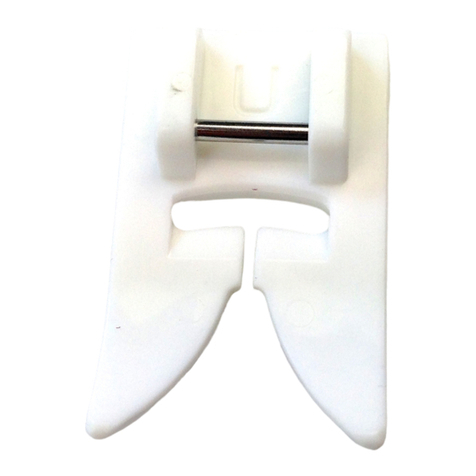
Ultra-glide foot
Molded from a special resin that allows easier
sewing of fabrics that might stick to a metal foot,
the ultra-glide foot moves smoothly over faux
leather, ultrasuede, vinyl and even plastic.
• Stitch: Any pattern
• Thread tension: Automatic or 3 - 5
• Stitch length: 0.5 - 4
• Stitch width: 0 - 7
Use this foot in the same way as the standard
zigzag foot.
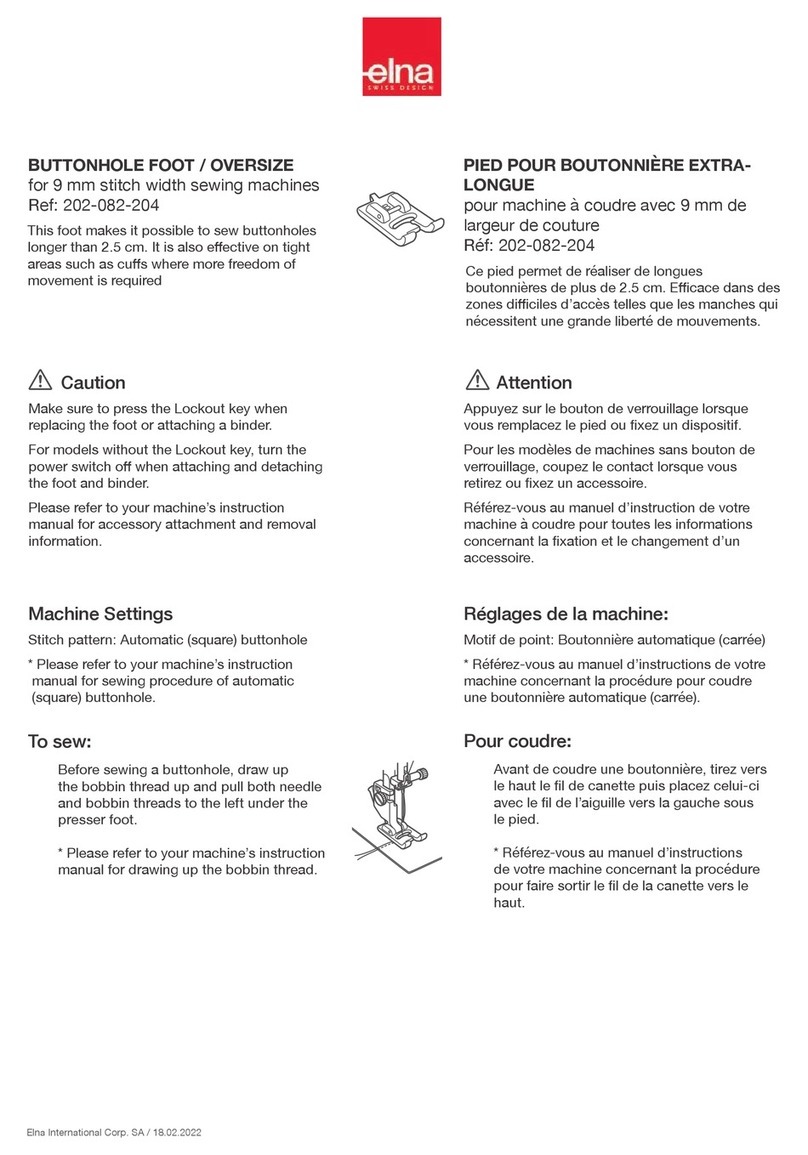
Open-toe darning foot PD-H
The darning foot is used for free motion
embroidery and for darning to ensure perfect stitch
formation and avoid skipped stitches. The open-
toe version provides maximum visibility of stitches.
• Stitch: Zigzag stitch
• Thread tension: Automatic or 3 - 5
• Stitch length: Any
• Stitch width: 0 - 7
• Feed dog: Down
1. Attach the darning foot to the presser bar with
help of the lever. (A)
2. Drop the feed dogs.
3. Lower the foot and sew at a slow speed.
KIT ACCESSOIRES 580+
Réf: 200-329-026 / 200-333-023 /
200-337-027 / 200-314-028
Attention
Appuyez sur le bouton de verrouillage lorsque
vous remplacez le pied ou xez un dispositif.
Pour les modèles de machines sans bouton de
verrouillage, coupez le contact lorsque vous
retirez ou xez un accessoire.
Référez-vous au manuel d’instruction de votre
machine à coudre pour toutes les informations
concernant la xation et le changement d’un
accessoire.
Pied ultra glisse
Elaboré dans une résine spéciale qui permet de
coudre facilement sur des matières adhérentes,
ce pied glisse en douceur sur le faux-cuir,
l’ultrasuède, le vinyle et même les toiles plastiées.
• Motif de point: Tous
• Tension du l: Automatique ou 3 - 5
• Longueur: 0.5 - 4
• Largeur: 0 - 7
Utilisez ce pied de la même manière qu’un pied
zigzag standard.
Pied à broder et à repriser avec
fourche ouverte
Ce pied est utilisé pour la broderie en mouvement
libre et pour le reprisage an d’assurer une
formation parfaite des points et d’éviter les points
sautés. La découpe frontale permet une visibilité
maximale.
• Motif de point: Point Zigzag
• Tension du l: Automatique ou 3 - 5
• Longueur: Indiérent
• Largeur: 0 - 7
• Transport: Descendu
1. Attachez le pied à repriser à la barre presse
étoe avec le levier (A) au-dessus de la vis de
serrage de l’aiguille.
2. Abaissez les gries d’entrainement.
3. Abaissez le pied-de-biche et cousez à vitesse
modérée.

Elna International Corp. SA / 29.04.2022
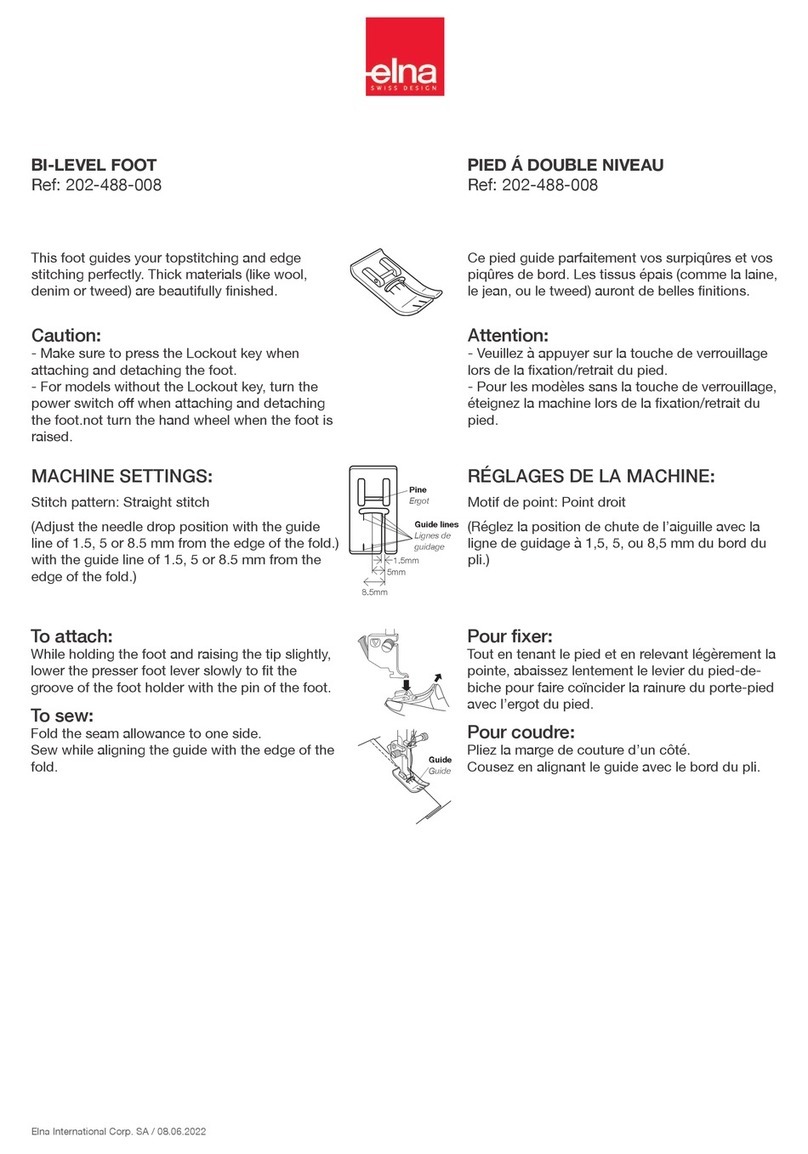
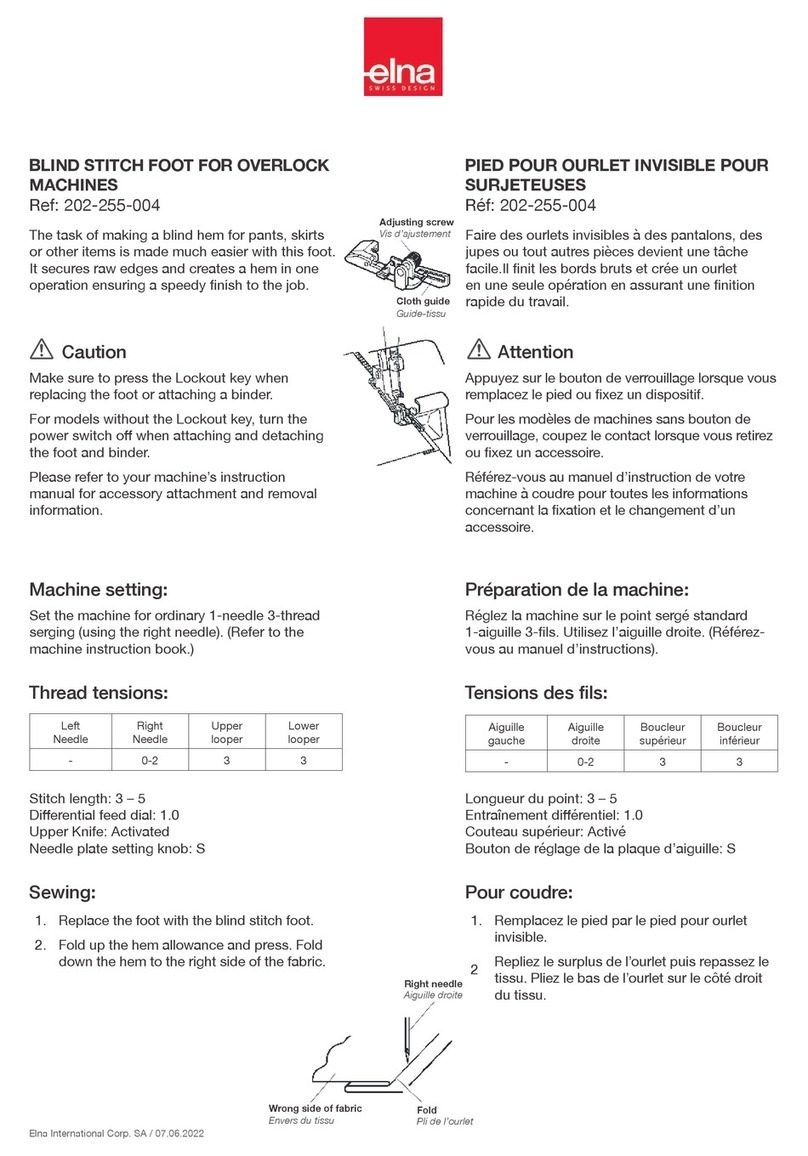
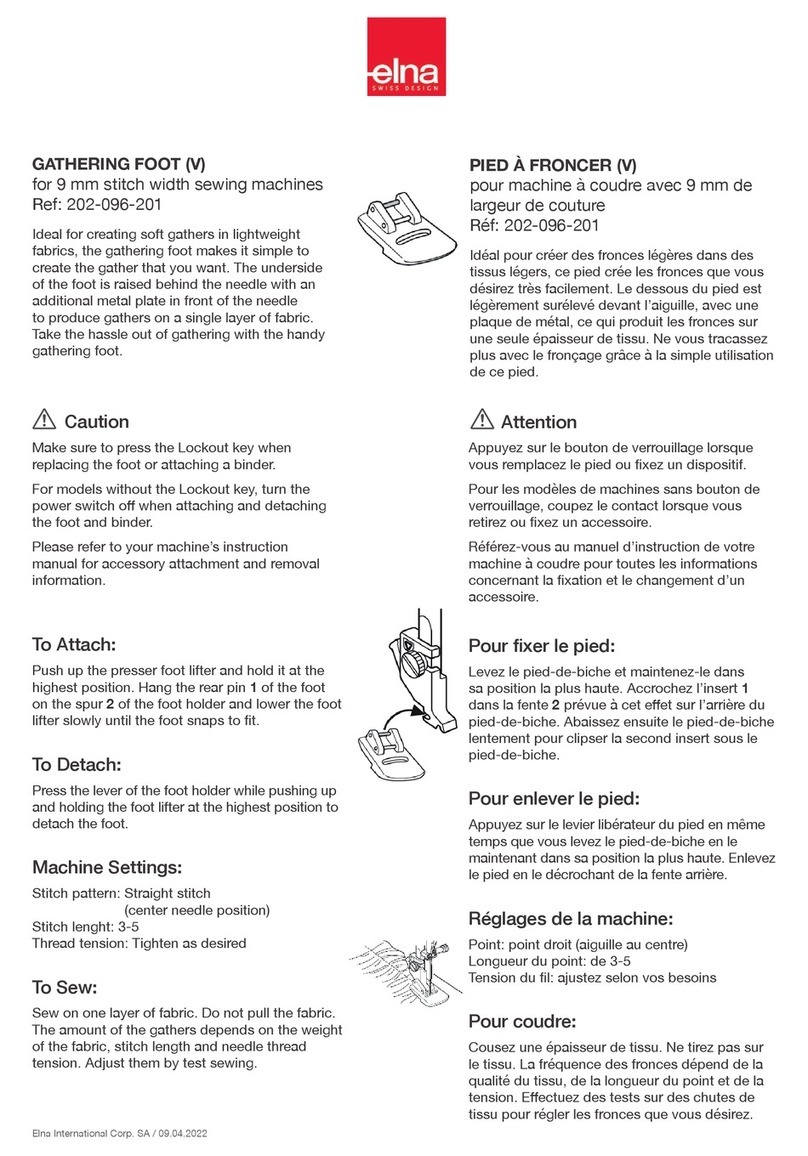
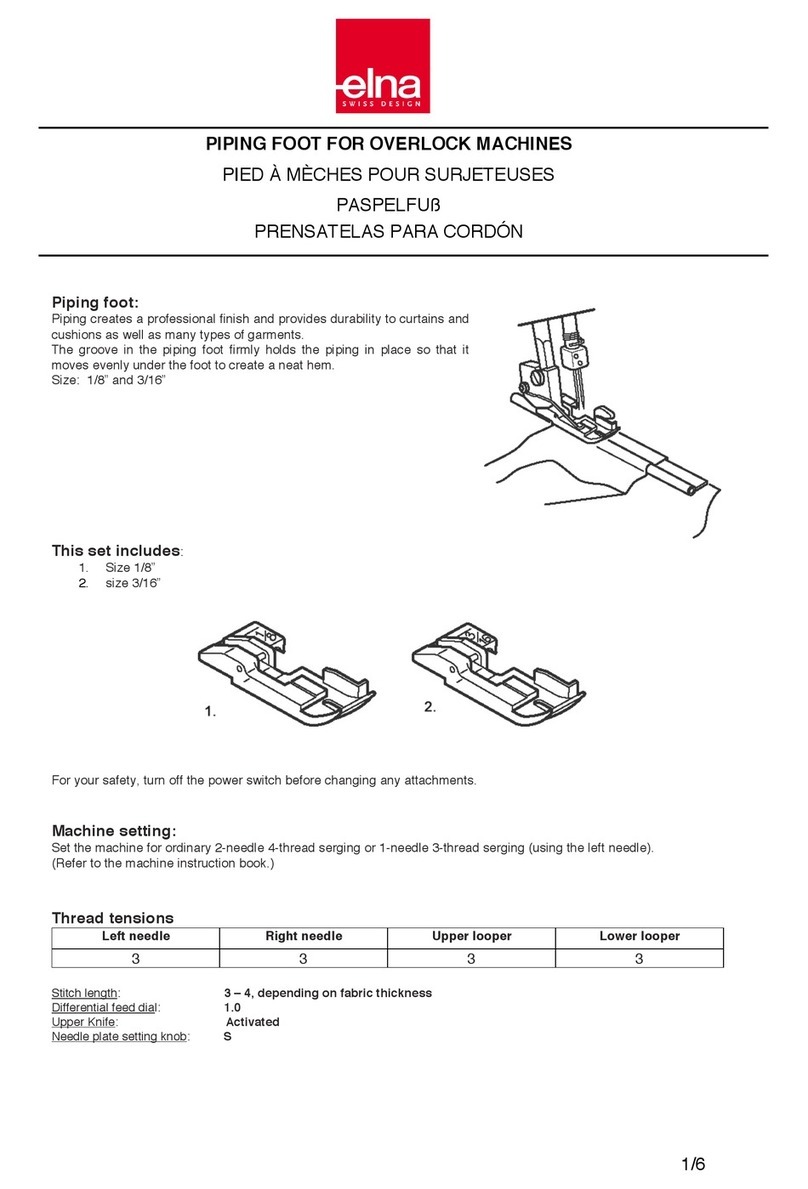
Piping foot
Make your own piping or apply ready-made
piping with this foot to create a professional-
looking nish on home deco projects or garments.
• Stitch: Straight stitch (Center needle position)
• Thread tension: Automatic or 3 - 5
• Stitch length: 1 - 3
• Stitch width: 0
Raise the needle and piping foot, then place the
corded piping tape on the right side of the cloth
under the foot.
Make sure that the edge of the tape matches the
edge of the cloth.
Lower the foot so that the corded part of the tape
ts the left groove on the bottom of the foot. Sew
the tape.
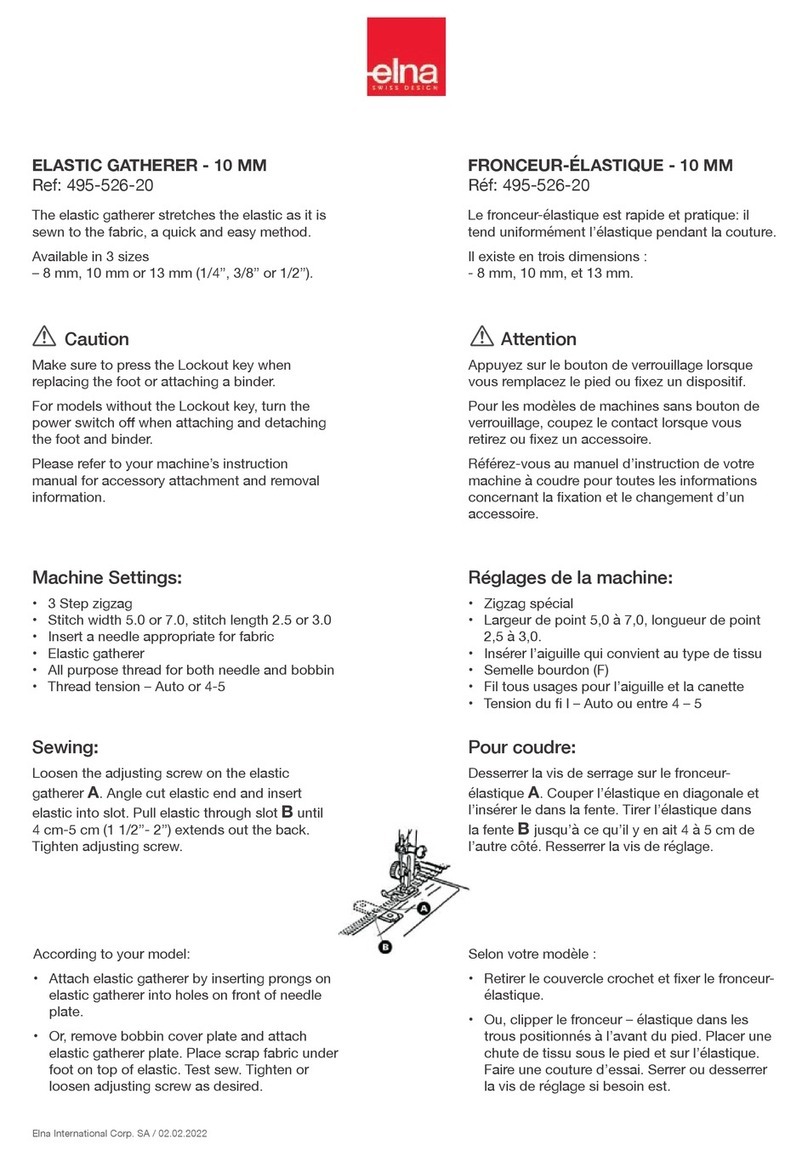
Concealed zipper foot
Concealed zippers are very widely used in
garments. The furrow under the foot unrolls the
zipper and allows its application without diculty.
• Thread tension: Automatic or 4 - 5
• Stitch length: 0.5 - 4
• Foot pressure: 3 - 5
1. Baste along the zipper opening. Prepare a
concealed zipper 2 cm longer than the actual
opening size.
2. Baste the zipper tape to the garment before
machine stitching. Use a sheet of thick paper
as shown when basting.
3. Pull out the center basting threads and open
the concealed zipper. Sew the right and left
sides of the zipper to the ends of the zipper
opening.
Pied passepoil
Réalisez vos propres passepoils ou appliquez
du passepoil déjà prêt. Ce pied ore un rendu
professionnel à vos projets déco ou à vos
vêtements.
• Motif de point: Point droit (Position d’aiguille au
centre)
• Tension du l: Automatique ou 3 - 5
• Longueur: 1 - 3
• Largeur: 0
Relevez l’aiguille et le pied passepoil. Insérez
le ruban passepoil entre les deux morceaux
de tissus (endroit contre endroit) et placez-les
sous le pied. Assurez-vous que le bord du ruban
passepoil soit aligné avec le bord du tissu.
Abaissez le pied pour que le cordonnet du ruban
passepoil s’emboîte dans le sillon de gauche
sous le pied. Cousez le tissu tout en guidant le
passepoil dans le sillon de gauche comme illustré
ci-contre.
Pied pour fermeture éclair invisible
Les fermetures éclair invisibles sont très utilisées
dans la confection. Le sillon situé sous ce pied
déroule la fermeture éclair et permet d’eectuer
cette couture.
• Tension du l: Automatique ou 4 - 5
• Longueur du point: 0.5 - 4
• Pression du pied-de-biche: 3 - 5
1. Bâtir le long de l’ouverture de la fermeture
éclair. Préparer une fermeture éclair invisible
2 cm plus longue que la taille réelle de
l’ouverture.
2. Bâtir le ruban de la fermeture éclair sur le
vêtement avant de coudre à la machine.
Utiliser une feuille de papier épais comme
indiqué pour le bâti.
3. Tirer sur les ls du bâti central et ouvrir la
fermeture éclair invisible. Coudre les côtés
droit et gauche de la fermeture éclair aux
extrémités de son ouverture à l’aide du pied
pour fermeture éclair invisible.

Elna International Corp. SA / 29.04.2022
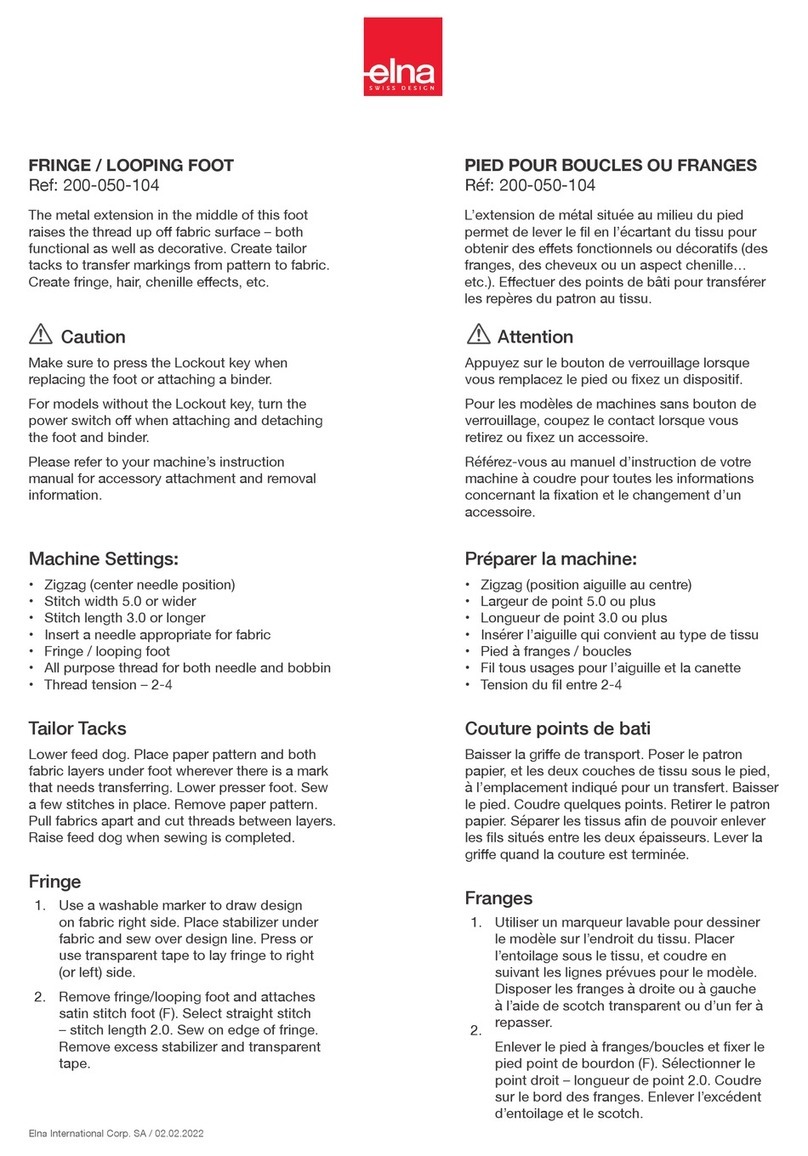
Vorsicht
Achten Sie darauf, die Sperrtaste zu drücken, wenn
Sie den Fuß austauschen.
Schalten Sie bei Modellen ohne Sperrtaste den
Netzschalter aus, wenn Sie den Fuß anbringen und
abnehmen.
Informationen zum Anbringen und Abnehmen des
Zubehörteils nden Sie in der Bedienungsanleitung
Ihrer Maschine.
Precaución
Asegúrese de pulsar la tecla Bloqueo cuando
reemplace el prensatelas.
Para los modelos sin tecla Bloqueo, apague el
interruptor de alimentación al montar y desmontar el
prensatelas.
Consulte el manual de instrucciones de su máquina
para obtener información sobre el montaje y
desmontaje de accesorios.
KIT ACCESSOIRES 580+
Art.-Nr.: 200-329-026 / 200-333-023 /
200-337-027 / 200-314-028
Antihaftfuß
Der Antihaftfuß besteht aus einem speziellen
Kunststo, der das Nähen haftender Stoe
ermöglicht. Er gleitet sanft über Kunstleder,
Ultrasuede, Vinyl und sogar Kunststoe.
• Stichmuster: Beliebig
• Fadenspannung: Automatisch oder 3 - 5
• Stichlänge: 0.5 - 4
• Stichbreite: 0 - 7
Verwenden Sie diesen Fuß auf die gleiche Weise
wie den Standard-Zickzackfuß.
Stick- und Stopf-Nähfuß mit oener
Spitze
Dieser Fuß wird zum Freihandsticken und zum
Stopfen verwendet, um eine optimale Stichbildung
zu gewährleisten und ausgelassene Stiche zu
vermeiden. Die oene Spitze bietet eine gute Sicht
auf den Nähbereich.
• Stichmuster: Zick-Zack
• Fadenspannung: Automatisch oder 3 - 5
• Stichlänge: Beliebig
• Stichbreite: 0 - 7
• Transporteur: Versenken
1. Befestigen Sie den Stick- und Stopf-
Nähfuß mit dem Hebel (A) über der Nadel-
Klemmschraube.
2. Senken Sie den Transporteur.
3. Senken Sie den Nähfuß ab und nähen Sie mit
mäßiger Geschwindigkeit.
KIT ACCESSOIRES 580+
Ref: 200-329-026 / 200-333-023 /
200-337-027 / 200-314-028
Prensatelas ultradeslizante
Moldeado con una resina especial que permite
coser fácilmente telas que puedan pegarse a un
prensatelas metálico. El prensatelas ultradeslizante
se desliza suavemente sobre el cuero de imitación,
ante, vinilo e incluso plástico.
• Puntada: Cualquier patrón
• Tensión del hilo: Automático o 3-5
• Longitud de puntada: 0,5-4
• Anchura de puntada: 0-7
Utilice este prensatelas de la misma forma que el
prensatelas para zigzag estándar.
Pie de zurcido de punta abierta PD-H
El prensatelas de zurcido se utiliza para el bordado
de movimiento libre y para el zurcido para
garantizar una formación de puntadas perfecta y
para evitar puntadas sueltas. La versión de punta
abierta proporciona la máxima visibilidad de las
puntadas.
• Puntada: Puntada de zigzag
• Tensión del hilo: Automático o 3-5
• Longitud de puntada: Cualquiera
• Anchura de puntada: 0-7
• Transportador: Abajo
1. Coloque el prensatelas de zurcido en la barra
prensatelas con ayuda de la palanca. (A)
2. Baje los transportadores.
3. Baje el prensatelas y cosa a baja velocidad.

Elna International Corp. SA / 29.04.2022
Paspelfuß
Stellen Sie Ihre eigenen Paspeln her oder
verwenden Sie vorgefertigte Paspeln mit diesem
Fuß, um ein professionelles Finish zu erzielen.
• Stichmuster: Geradstich (mittlere
Nadelposition)
• Fadenspannung: Automatisch oder 3 - 5
• Stichlänge: 1 - 3
• Stichbreite: 0
Heben Sie die Nadel und den Paspelfuß an.
Legen Sie das geschnürte Paspelband zwischen
zwei Stostücke (rechte Seiten aufeinander) und
platzieren Sie alles zusammen unter dem Fuß.
Achten Sie darauf, dass die Kante des Bands mit
der Stokante ausgerichtet ist. Senken Sie den
Fuß ab, sodass der geschnürte Teil des Bandes in
die linke Nut unten am Fuß passt. Nähen Sie den
Sto und führen Sie das Band dabei wie gezeigt
durch die linke Nut.
Verdeckter Reißverschlussfuß
Hochwertige Bekleidung hat oft einen
nahtverdeckten Reißverschluss. Dieser Fuß
entrollt den Reißverschluss unmittelbar vor der
Nadel und ermöglicht so ein optimales Einnähen.
• Fadenspannung: Automatisch oder 4 - 5
• Stichlänge: 0.5 - 4
• Nähfußdruck: 3 - 5
1. Nähen Sie eine Heftnaht entlang der
Reißverschlussönung. Bereiten Sie einen
verdeckten Reißverschluss vor, der etwa 2 cm
länger ist als die tatsächliche Önung.
2. Heften Sie das Reißverschlussband am
Kleidungsstück an, bevor Sie mit der
Maschine nähen. Verwenden Sie beim Heften
ein dickes Blatt Papier, wie gezeigt.
3. Ziehen Sie die Fäden der mittleren Heftnaht
heraus und önen Sie den verdeckten
Reißverschluss. Nähen Sie die rechte und
linke Seite des Reißverschlusses mit dem
verdeckten Reißverschlussfuß an den Enden
der Reißverschlussönung an.
Prensatelas para ribete con cordón
Cree sus propios ribetes o aplique ribetes ya
hechos con este prensatelas para crear un
acabado de diseño profesional en proyectos o
prendas de decoración domésticas.
• Puntada: Puntada recta (posición de aguja al
centro)
• Tensión del hilo: Automático o 3-5
• Longitud de puntada: 1-3
• Anchura de puntada: 0
Levante la aguja y el prensatelas para ribete
con cordón, después coloque la cinta del ribete
encordado en el lado derecho de la tela debajo
del prensatelas.
Asegúrese de que el extremo de la cinta coincida
con el extremo de la tela. Baje el prensatelas de
modo que la parte encordada de la cinta encaje
en la hendidura izquierda de la parte inferior del
prensatelas. Cosa la cinta.
Prensatelas para cremalleras
invisibles
Las cremalleras invisibles se usan muy a menudo
en las prendas. El surco debajo del prensatelas
desenrolla la cremallera y permite su aplicación
sin dicultad.
• Tensión del hilo: Automático o 4-5
• Longitud de puntada: 0,5-4
• Presión del prensatelas: 3-5
1. Hilvane a lo largo de la abertura de la
cremallera. Prepare una cremallera oculta 2
cm más larga que el tamaño de la abertura
real.
2. Hilvane la cinta de la cremallera a la prenda
antes de coser a máquina. Al hilvanar, utilice
una hoja de papel grueso como se indica.
3. Saque las hebras de hilvanado centrales y
abra la cremallera oculta. Cosa los lados
derecho e izquierdo de la cremallera en los
extremos de la abertura de la cremallera.
This manual suits for next models
4
Other ELNA Sewing Machine Accessories manuals

ELNA
ELNA 202-420-002 User manual

ELNA
ELNA 202-255-004 User manual

ELNA
ELNA 434 User manual

ELNA
ELNA 202-248-004 User manual

ELNA
ELNA 202-080-202 User manual

ELNA
ELNA 200-314-028 User manual

ELNA
ELNA 202-098-203 User manual

ELNA
ELNA 202-488-008 User manual

ELNA
ELNA 202-237-000 User manual

ELNA
ELNA 200-050-104 User manual

ELNA
ELNA 202-103-202 User manual

ELNA
ELNA 202-156-004 User manual

ELNA
ELNA 611-511-001 User manual

ELNA
ELNA 202-249-005 User manual

ELNA
ELNA 795-816-116 User manual

ELNA
ELNA 495-526-20 User manual

ELNA
ELNA 202-142-007 User manual

ELNA
ELNA 202-099-204 User manual

ELNA
ELNA 202-239-002 User manual

ELNA
ELNA 202-091-206 User manual