manuals.online logo
Brands
  1. Home
  2. •
  3. Brands
  4. •
  5. ELNA
  6. •
  7. Sewing Machine Accessories
  8. •
  9. ELNA 202-080-202 User manual

ELNA 202-080-202 User manual

Elna International Corp. SA / 18.02.2022
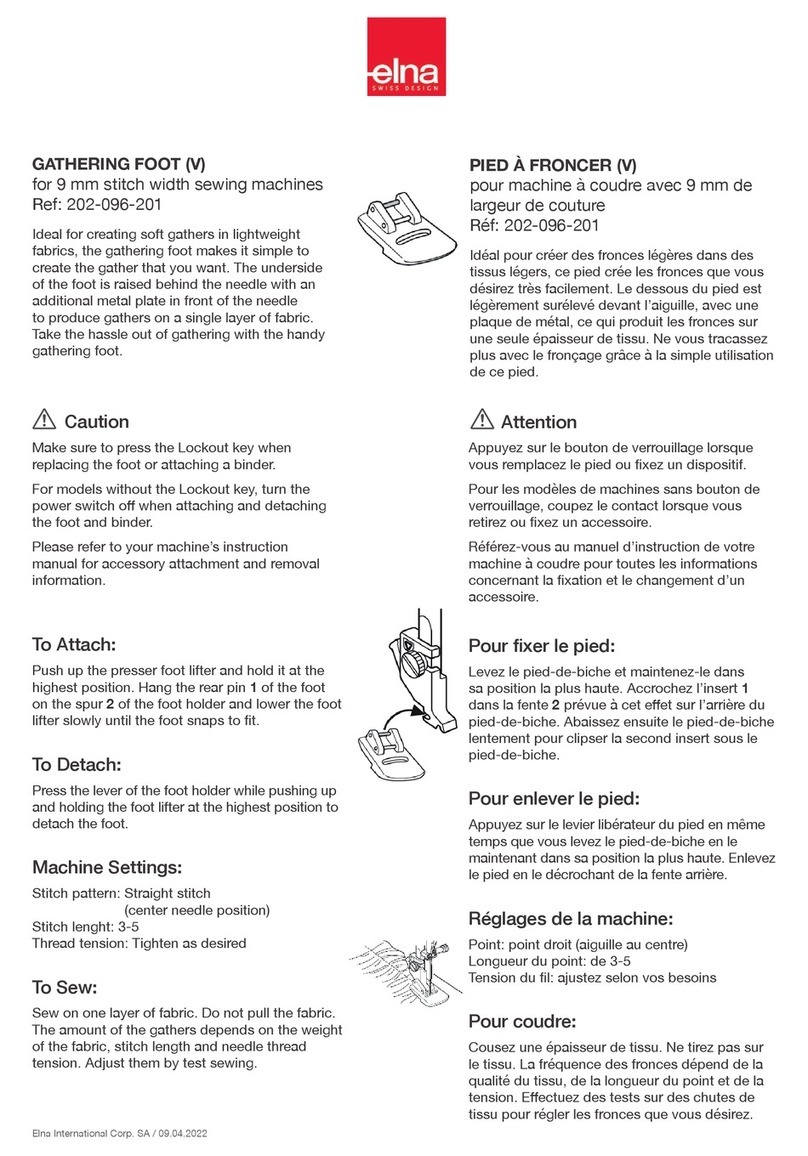
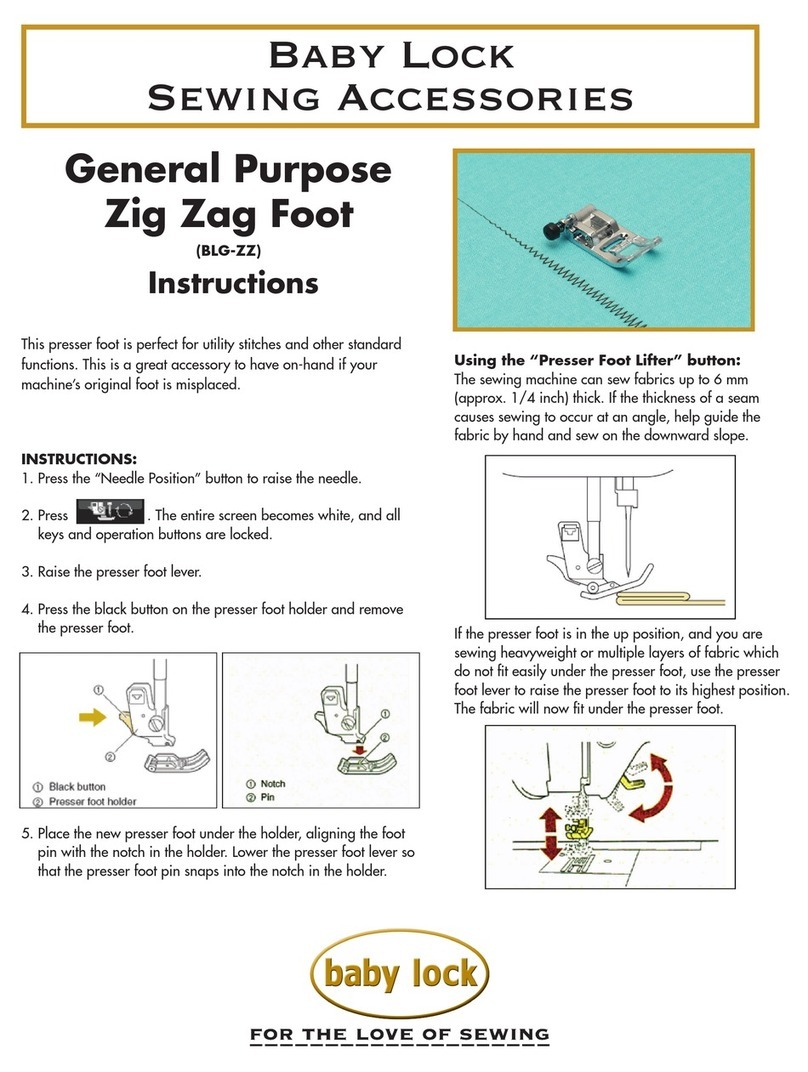
PIED POUR OURLET ROULÉ (6 mm)
pour machine à coudre avec 9 mm de
largeur de couture
Réf: 202-080-202
Attention
Appuyez sur le bouton de verrouillage lorsque
vous remplacez le pied ou xez un dispositif.
Pour les modèles de machines sans bouton de
verrouillage, coupez le contact lorsque vous
retirez ou xez un accessoire.
Référez-vous au manuel d’instruction de votre
machine à coudre pour toutes les informations
concernant la xation et le changement d’un
accessoire.
1.
2.
3.
4.
5.
6.
Réalisez un double pli de 6 mm (1/4’’)
d’approximativement 8 cm (3’’) en longueur.
Abaissez l’aiguille dans le tissu où vous
souhaitez commencer la couture, baissez
ensuite le pied pour ourlet roulé.
Cousez 3 ou 4 points tout en tirant les ls
de canette et d’aiguille.
Baissez l’aiguille dans le tissu et relevez le
pied. Insérez la partie pliée du tissu dans
l’encoche du pied.
Abaissez le pied, puis cousez en soulevant
le bord du tissu pour alimenter doucement
et régulièrement l’encoche du pied.
Coupez environ 12 mm (1/2’’) des angles
comme illustré an de réduire l’épaisseur.
Réglages de la machine
Motif de point: Point droit
(position de l’aiguille centrée)
Longueur du point: 1 - 2.5
Tissu: Léger à moyen
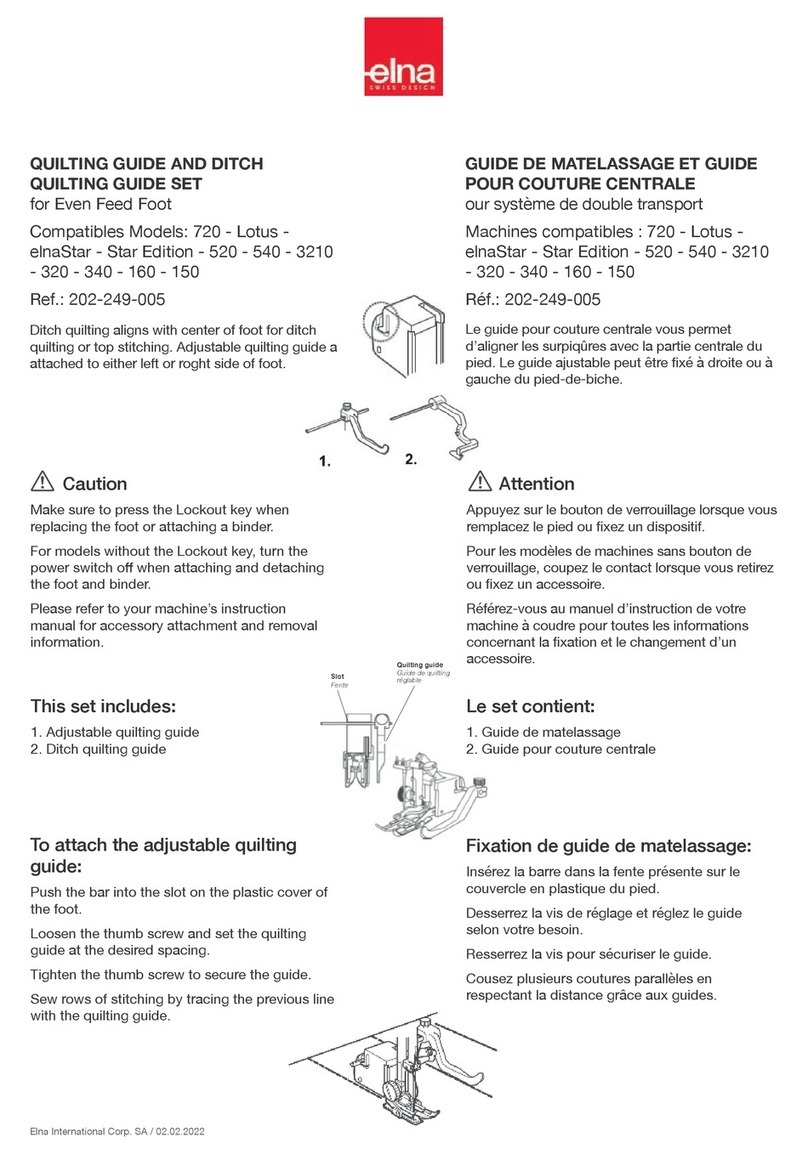
Machine Settings
Stitch pattern: Straight stitch
(center needle position)
Stitch length: 1 - 2.5
Fabric: Light to medium
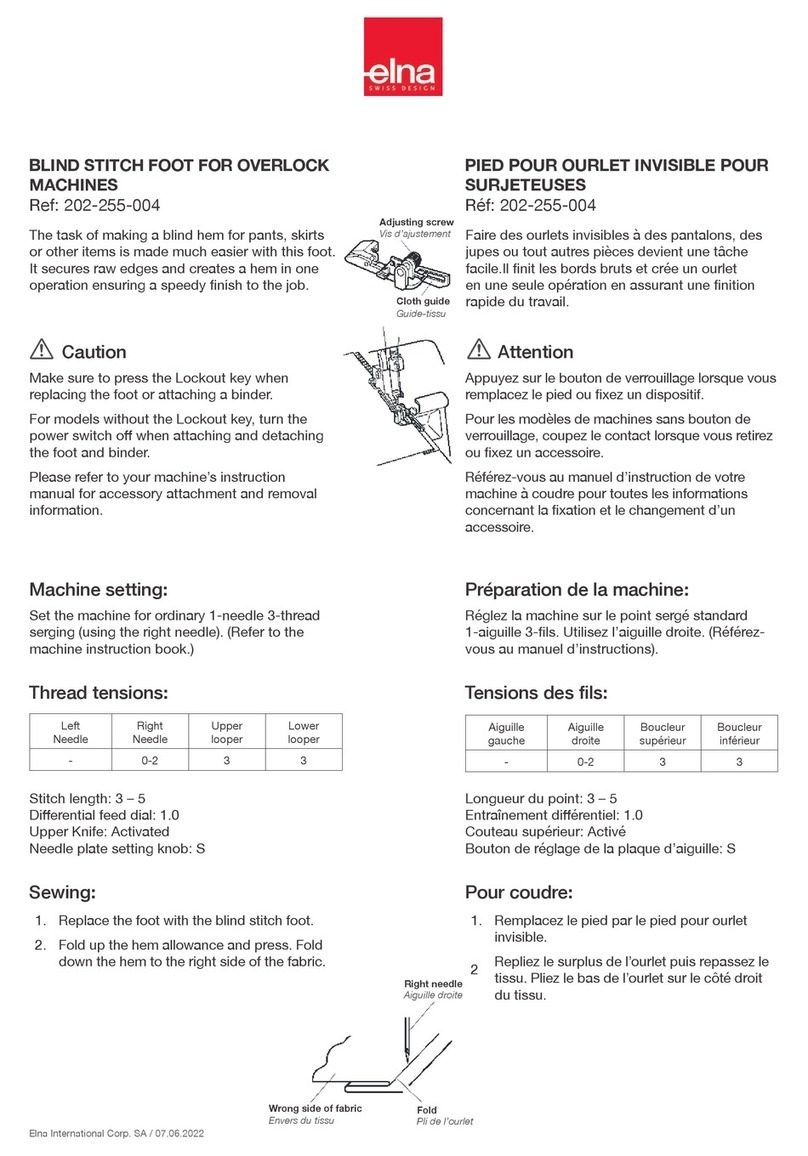
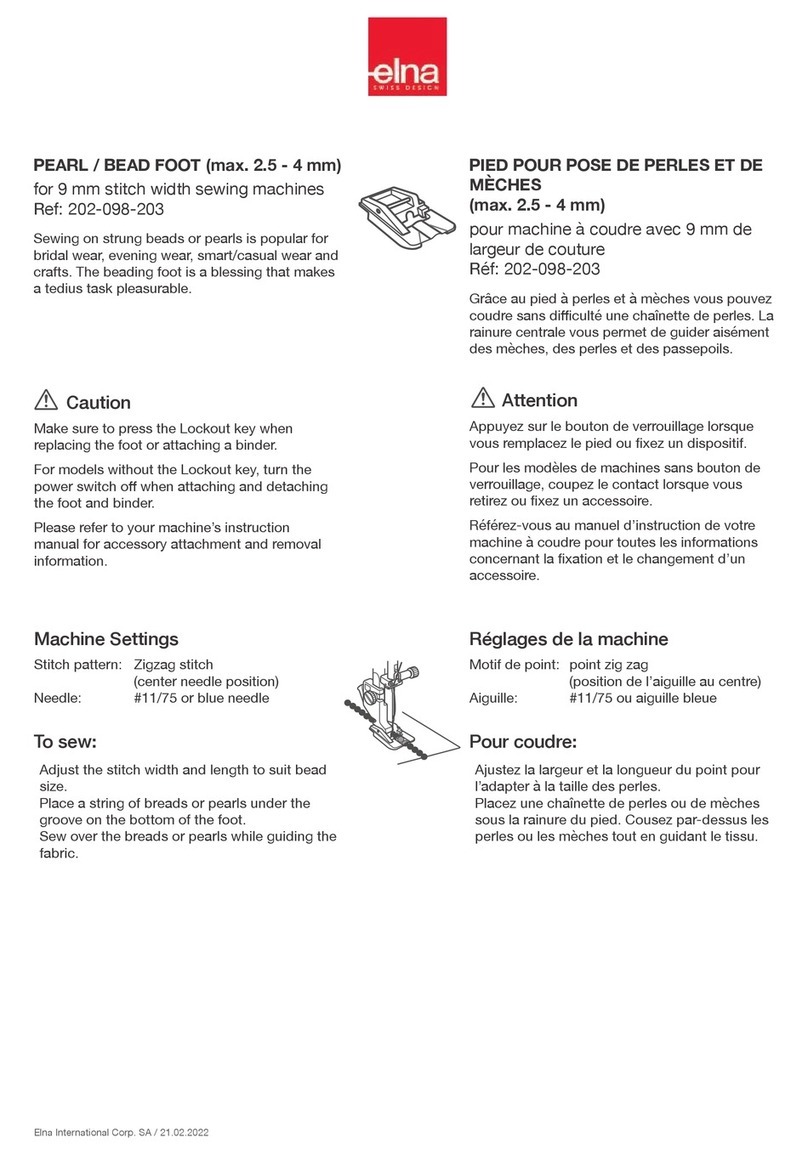
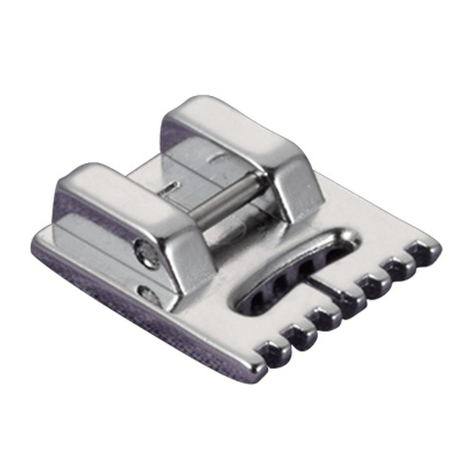
ROLLED HEM FOOT (6 mm)
for 9 mm stitch width sewing machines
Ref: 202-080-202
Caution
Make sure to press the Lockout key when
replacing the foot or attaching a binder.
For models without the Lockout key, turn the
power switch o when attaching and detaching
the foot and binder.
Please refer to your machine’s instruction
manual for accessory attachment and removal
information.
1.
2.
3.
4.
5.
6.
Make a double 6 mm (1/4’’) fold
approximately 8 cm (3’’) in length.
Lower the needle into the fabric where
sewing is to begin, then lower the rolled
hem foot.
Sew 3 or 4 stitches while pulling the needle
and bobbin threads.
Lower the needle into the fabric and raise
the foot. Insert the folded portion of the
fabric into the curl of the foot.
Lower the foot, then sew while lifting up the
edge of the fabric to keep it feeding into the
curl smoothly and evenly.
Trim about 12 mm (1/2’’) from the corners as
illustrated to reduce bulk.
Elna International Corp. SA / 18.02.2022
Maschineneinstellungen
Stichmuster: Geradstich
(mittlere Nadelposition)
Fadenspannung: 1 - 2.5
Sto: Leicht bis Mittel
ROLLSAUMFUß (6 mm)
für Maschinen mit einer Stichbreite von
9 mm
Ref: 202-080-202
Vorsicht
Achten Sie darauf, die Sperrtaste zu drücken,
wenn Sie den Fuß austauschen.
Schalten Sie bei Modellen ohne Sperrtaste den
Netzschalter aus, wenn Sie den Fuß anbringen
und abnehmen.
Informationen zum Anbringen und
Abnehmen des Zubehörteils nden Sie in der
Bedienungsanleitung Ihrer Maschine.
1.
2.
3.
4.
5.
6.
Falten Sie den Sto doppelt mit 6 mm (1/4”)
auf einer Länge von ca. 8 cm (3”).
Senken Sie die Nadel dort in den Sto ab,
wo Sie mit dem Nähen beginnen möchten.
Senken Sie dann den Rollsaumfuß ab.
Nähen Sie 3 oder 4 Stiche, während Sie am
Ober- und Unterfaden ziehen.
Senken Sie die Nadel in den Sto ab und
heben Sie den Fuß an. Legen Sie den
gefalteten Teil des Stoes in die Führung
des Fußes.
Senken Sie den Nähfuß ab. Nähen Sie,
während Sie die Stokante anheben,
damit der Sto gleichmäßig in die Führung
eingezogen wird.
Schneiden Sie etwa 12 mm (1/2”) von den
Ecken ab, wie gezeigt, um die Stodicke zu
reduzieren.
PRENSATELAS PARA DOBLADILLO
ENROLLADO (6 mm)
Para máquinas de coser con un ancho de
puntada de 9 mm
Ref.: 202-080-202
Precaución
Asegúrese de pulsar la tecla Bloqueo cuando
reemplace el prensatelas.
Para los modelos sin tecla Bloqueo, apague el
interruptor de alimentación al montar y desmontar
el prensatelas.
Consulte el manual de instrucciones de su
máquina para obtener información sobre el
montaje y desmontaje de accesorios.
1.
2.
3.
4.
5.
6.
Realice un pliegue doble de 6 mm (1/4”) con
una longitud aproximada de 8 cm (3’’).
Baje la aguja sobre la tela donde vaya a
comenzar la costura y, a continuación, baje
el prensatelas para dobladillo enrollado.
Cosa 3 o 4 puntadas mientras tira de los
hilos de la aguja y de la canilla.
Baje la aguja sobre la tela y levante el
prensatelas. Inserte la parte plegada de la
tela en la curva del prensatelas.
Baje el prensatelas y, a continuación, cosa
mientras levanta el extremo de la tela para
continuar alimentándola de forma uniforme
y uida en la curva del prensatelas.
Recorte alrededor de 12 mm (1/2’’) de las
esquinas como se ilustra para reducir la
carga.
Ajustes de la máquina
Puntada: Puntada recta
(posición de aguja al centro)
Longitud de la puntada: 1 - 2,5
Tela: De ligera a media

Other ELNA Sewing Machine Accessories manuals

ELNA 202-156-004 User manual

ELNA

ELNA 202-156-004 User manual

ELNA 202-239-002 User manual

ELNA

ELNA 202-239-002 User manual

ELNA 202-098-203 User manual

ELNA

ELNA 202-098-203 User manual

ELNA 200-314-028 User manual

ELNA

ELNA 200-314-028 User manual

ELNA 202-249-005 User manual

ELNA

ELNA 202-249-005 User manual

ELNA 202-096-201 User manual

ELNA

ELNA 202-096-201 User manual

ELNA 202-490-003 User manual

ELNA

ELNA 202-490-003 User manual

ELNA 495-526-20 User manual

ELNA

ELNA 495-526-20 User manual

ELNA 202-248-004 User manual

ELNA

ELNA 202-248-004 User manual

ELNA W1 User manual

ELNA

ELNA W1 User manual

ELNA 611-511-001 User manual

ELNA

ELNA 611-511-001 User manual

ELNA 434 User manual

ELNA

ELNA 434 User manual

ELNA 202-237-000 User manual

ELNA

ELNA 202-237-000 User manual

ELNA 202-082-204 User manual

ELNA

ELNA 202-082-204 User manual

ELNA 202-091-206 User manual

ELNA

ELNA 202-091-206 User manual

ELNA 200-050-104 User manual

ELNA

ELNA 200-050-104 User manual

ELNA 202-255-004 User manual

ELNA

ELNA 202-255-004 User manual

ELNA 202-235-008 User manual

ELNA

ELNA 202-235-008 User manual

ELNA 202-238-001 User manual

ELNA

ELNA 202-238-001 User manual

ELNA 202-084-206 User manual

ELNA

ELNA 202-084-206 User manual

ELNA 202-420-002 User manual

ELNA

ELNA 202-420-002 User manual

ELNA 202-142-007 User manual

ELNA

ELNA 202-142-007 User manual

ELNA 202-488-008 User manual

ELNA

ELNA 202-488-008 User manual

ELNA 202-099-204 User manual

ELNA

ELNA 202-099-204 User manual

Popular Sewing Machine Accessories manuals by other brands

DURKOPP ADLER 767 - instructions

DURKOPP ADLER

DURKOPP ADLER 767 - instructions

Ashford LACE FLYER KIT instructions

Ashford

Ashford LACE FLYER KIT instructions

Janome Quilt Maker Pro 5' Quilting Frame Assembly instructions

Janome

Janome Quilt Maker Pro 5' Quilting Frame Assembly instructions

Newlong NP-7A Instruction manual & parts list

Newlong

Newlong NP-7A Instruction manual & parts list

Pfaff EcoDrive P40 ED instruction manual

Pfaff

Pfaff EcoDrive P40 ED instruction manual

Mitsubishi Electric LU-ST KIT instruction manual

Mitsubishi Electric

Mitsubishi Electric LU-ST KIT instruction manual

Singer YC-485EC manual

Singer

Singer YC-485EC manual

HASHIMA HW-40C instruction manual

HASHIMA

HASHIMA HW-40C instruction manual

Kangaroo Wallaby II Assembly instructions

Kangaroo

Kangaroo Wallaby II Assembly instructions

JUKI PS-800SB-2850 Series instruction manual

JUKI

JUKI PS-800SB-2850 Series instruction manual

DURKOPP ADLER 867 instructions

DURKOPP ADLER

DURKOPP ADLER 867 instructions

manuals.online logo
manuals.online logoBrands
  • About & Mission
  • Contact us
  • Privacy Policy
  • Terms and Conditions

Copyright 2025 Manuals.Online. All Rights Reserved.