manuals.online logo
Brands
  1. Home
  2. •
  3. Brands
  4. •
  5. ELNA
  6. •
  7. Sewing Machine Accessories
  8. •
  9. ELNA 611-511-001 User manual

ELNA 611-511-001 User manual

Elna International Corp. SA / 02.02.2022
Caution
Make sure to press the Lockout key when
replacing the foot or attaching a binder.
For models without the Lockout key, turn the
power switch o when attaching and detaching
the foot and binder.
Please refer to your machine’s instruction
manual for accessory attachment and removal
information.
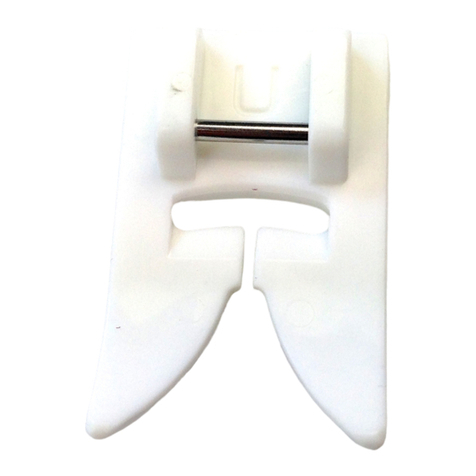
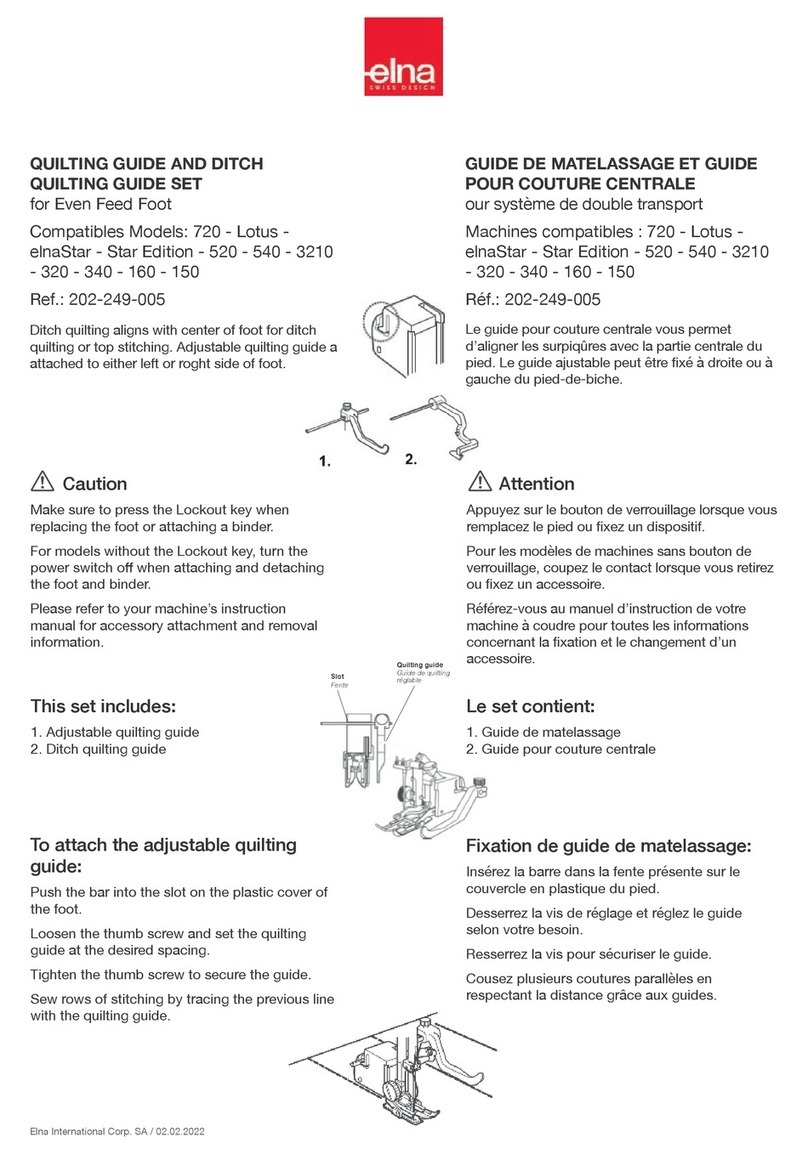
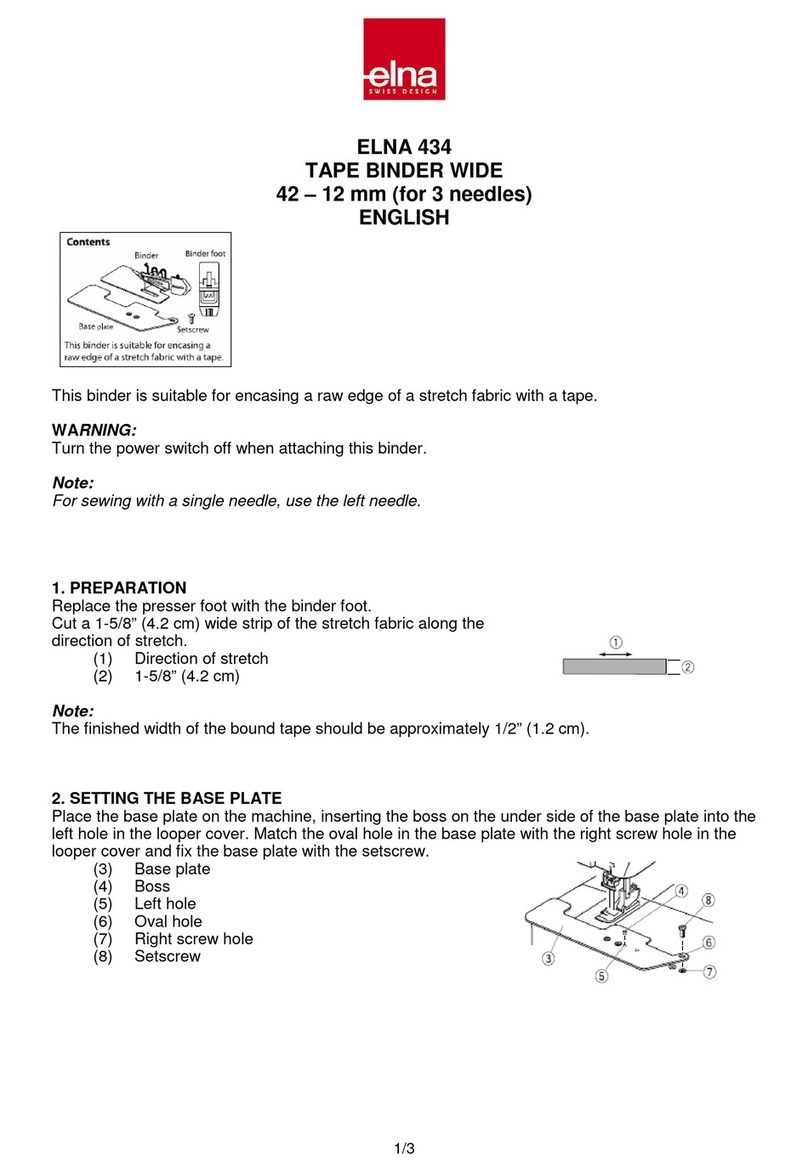
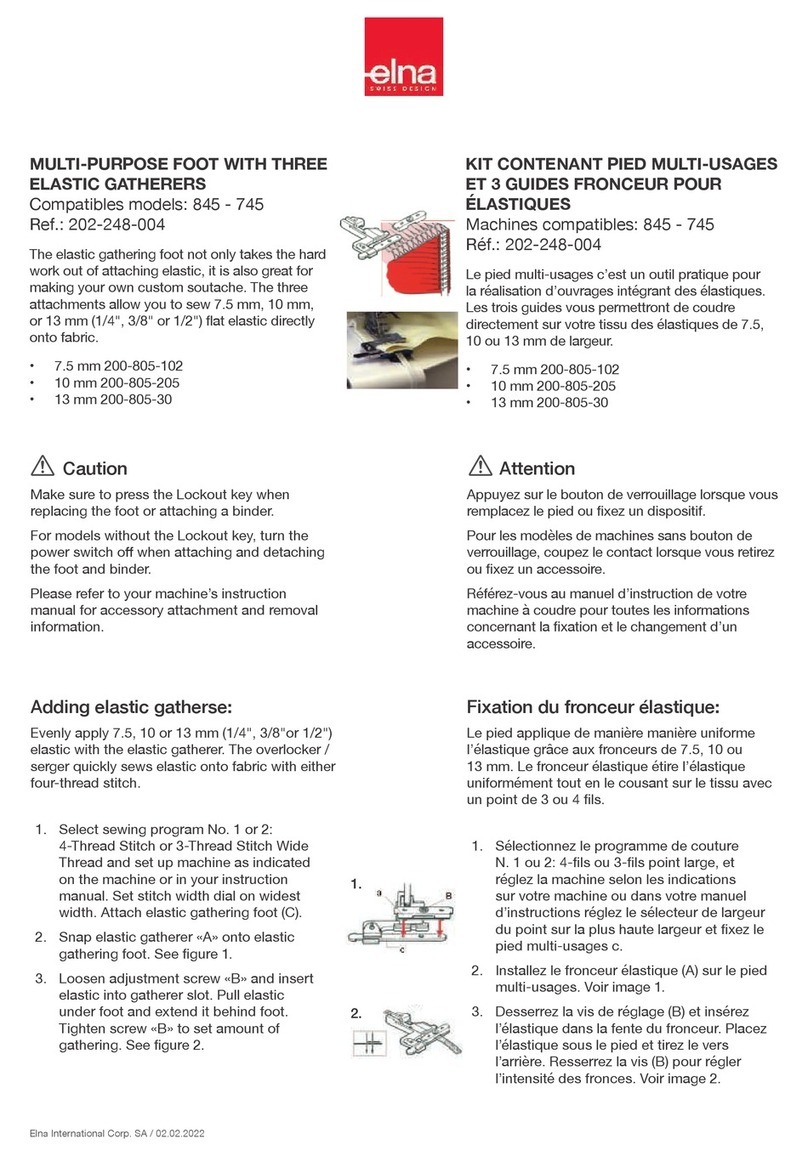
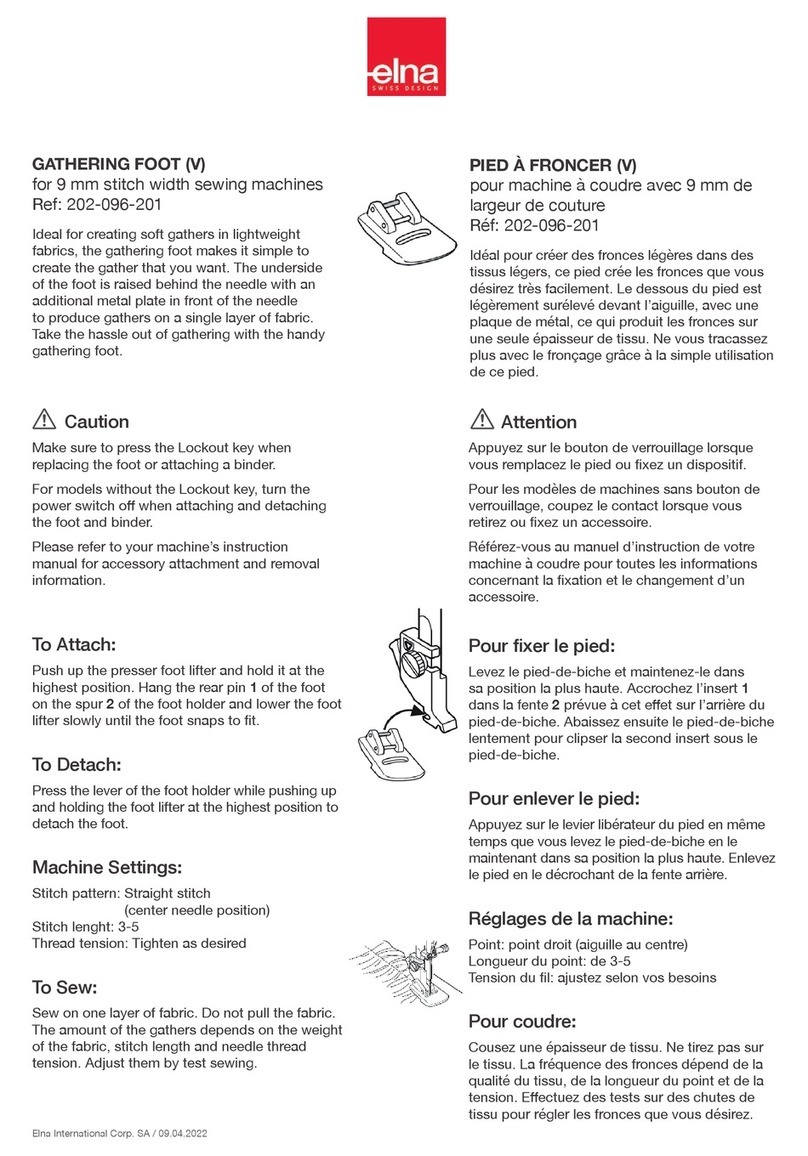
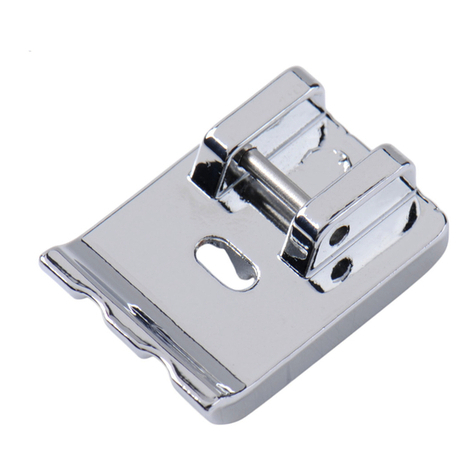
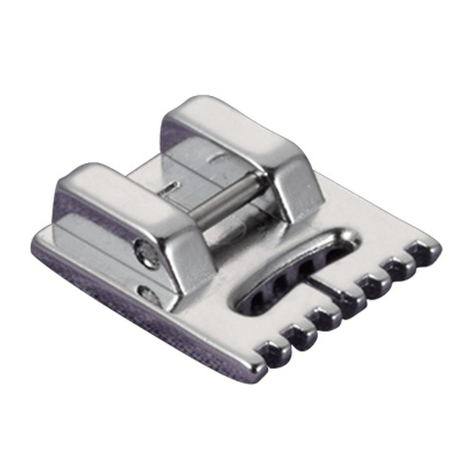
STANDARD METAL FOOT
Ref: 611-511-001
An all purpose foot used mainly for straight
stitches and zigzag stitches longer than 1.0.
The at underside is designed to minimize the
fabric from shifting while you are sewing. Another
feature is the button on the right side, it locks the
foot in a horizontal position helping to sew over
multiple layered seams.
Machine Settings:
• Straight stitch
• Stitch length 2.5 – 3.0
• Insert a needle appropriate for fabric
• Standard metal foot «A»
• All purpose thread for both needle and bobbin
• Thread tension - Auto or 4-5
To sew:
Place fabrics under presser foot. Lower presser
foot and sew.
Sewing On Heavy Fabrics:
The black button (1) on presser foot «A» locks
the foot in a horizontal position when pushed in
before lowering the presser foot. This ensures
even feeding at the beginning of seams and helps
when sewing many layers of fabric such as welt
seams used to hem jeans.
When the point of an increased thickness is
reached, lower the needle and raise the presser
foot. Press in the black button. Lower the foot
and continue sewing.
This button releases automatically after a few
stitches have been sewn.
Note: Increase stitch length for heavier fabrics
between 3.0 and 4.0.
STANDARD METAL FOOT
Réf: 611-511-001
Ce pied polyvalent s’utilise principalement pour
le point droit et le point zigzag de plus de 1.0.
Sa face inferieure plate a ete cornçue pour une
meilleure stabilite du tissu sur les gries de
transport. Une autre caracteristique du pied en
metal «A» est le petit bouton noir situe sur le cote
droit. Ce bouton noir permet de bloquer le pied
en position horizontale an d’obtenir une couture
reguliere dans plusieurs epaisseurs de tissu.
Attention
Appuyez sur le bouton de verrouillage lorsque
vous remplacez le pied ou xez un dispositif.
Pour les modèles de machines sans bouton de
verrouillage, coupez le contact lorsque vous
retirez ou xez un accessoire.
Référez-vous au manuel d’instruction de votre
machine à coudre pour toutes les informations
concernant la xation et le changement d’un
accessoire.
Préparation de la machine:
• Point droit
• Longueur du point 2.5 -3.0
• lnserer une aiguille qui convient au type de tissu
• Pied standard en metal «A»
• Fil tout usage pour I’aiguille et la canette
• Tension du I - Auto ou entre 4 - 5
Couture:
Mettre le tissu sous le pied, baisser le pied et
coudre.
Coudre des tissus epais:
Le bouton noir du pied a coudre «A» bloque le
pied a l’horizontale avant d’abaisser le pied. Ceci
garantit une alimentation reguliere du tissu au
debut des coutures, particulierement utile pour
coudre les coutures rabattues des ourlets de
jeans ou les coutures a plusieurs epaisseurs.
En arrivant a une surepaisseur, abaisser l’aiguille
et lever le pied a coudre, appuyer sur le bouton
noir, abaisser le pied et reprendre la couture.
Ce bouton se relache automatiquement apres
quelques points.
Note: Augmenter la longueur du point entre
3.0 ou 4.0 pour coudre les tissus epais ou les
surepaisseurs.
Elna International Corp. SA / 02.02.2022
STANDART METALLSOHLE «A »
Art.-Nr.: 611-511-001
Die Maschine Vorbereiten:
• Geradstich
• Stichlange 2,5 oder 3,0.
• Die der Stoart entsprechende Nadel einsetzen
• Standart Metallsohle «A»
• Multizweck-Faden tor die Nadel und die
Spulenkapsel
• Fadenspannung - Auto oder zwischen 4 - 5
Nähen:
Den Sto unter den Fuss legen, den Fuss absenken
und nahen.
Nahen schwerer Stoe:
Den schwarzen Knopf (1) eindrOcken bevor der
Fuss gesenkt wird um somit den Fuss in horizontaler
Lage zu blockieren. Hierdurch wird gleichmassiger
Stoschub am Nahtbeginn gewahrleistet. Auch beim
Nahen mehrerer Stoagen, wie das bei Kappnahten
der Jeans der Fall ist, bedeutet das eine grosse
Erleichterung.
Wenn Sie eine verdickte Stelle erreichen, die Nadel
senken und das FOsschen anheben. Den schwarzen
Knopf eindrOcken. Das FOsschen wieder senken
und weiternahen. Dieser Knopf lost sich automatisch,
nachdem ein paar Stiche genaht sind.
Ratschlag: For dicke Stoe oder mehrere
Stoagen, Stichlange auf 3.0 oder 4.0 erhohen.
Vorsicht
Achten Sie darauf, die Sperrtaste zu drücken, wenn
Sie den Fuß austauschen.
Schalten Sie bei Modellen ohne Sperrtaste den
Netzschalter aus, wenn Sie den Fuß anbringen und
abnehmen.
Informationen zum Anbringen und Abnehmen des
Zubehörteils nden Sie in der Bedienungsanleitung
Ihrer Maschine.
Dieser Mehrzweckfuss wird vor allem tor den Gerad-
und Zickzack Stich tor eine Lange von Ober 1.0.
verwendet. Seine ache Unterache, wurde tor eine
bessere Stabilitat des Stoes, auf dem Stoschieber
konzipiert. Ein anderes Merkmahl dieses Metallfusses
«A», ist der kleine schwarze Knopf, der auf der rechten
Seite angebracht ist. Der Knopf blockiert das FOsschen
in horizontaler Lage und man erhalt somit eine
regelmassige Naht auch in mehreren Stoagen.
Precaución
Asegúrese de pulsar la tecla Bloqueo cuando
reemplace el prensatelas.
Para los modelos sin tecla Bloqueo, apague el
interruptor de alimentación al montar y desmontar
el prensatelas.
Consulte el manual de instrucciones de su
máquina para obtener información sobre el
montaje y desmontaje de accesorios.
PRENSATELAS METÁLICO ESTÁNDAR
Ref: 611-511-001
Es un prensatelas multipropósito utilizado
principalmente para puntadas rectas y
puntadas en zigzag de más de 1,0. La parte
inferior plana está diseñada para minimizar el
desplazamiento de la tela mientras cose. Otra de
las características es el botón en el lado derecho
que bloquea el prensatelas en posición horizontal
ayudando a coser sobre varias capas.
Ajustes de la máquina:
• Puntada recta
• Longitud de puntada: 2,5-3,0
• Introduzca una aguja adecuada para la tela
• Prensatelas metálico estándar «A»
• Hilo multipropósito para la aguja y la canilla
• Tensión del hilo - Automático o 4-5
Costura:
Coloque las telas debajo del prensatelas. Baje el
prensatelas y cosa.
Costura sobre telas gruesas:
El botón negro (1) en el prensatelas «A» lo bloquea
en posición horizontal cuando se presiona
antes de bajar el prensatelas. Esto asegura una
alimentación uniforme al principio de la costura y
ayuda al coser telas de numerosas capas, como
por ejemplo los dobladillos de los vaqueros.
Cuando llegue a un punto de mayor grosor, baje
la aguja y levante el prensatelas. Pulse el botón
negro. Baje el prensatelas y continúe cosiendo.
Este botón se libera automáticamente después de
coser algunas puntadas.
Nota: Aumente la longitud de la puntada en telas
más pesadas de entre 3,0 y 4,0.
Other ELNA Sewing Machine Accessories manuals

ELNA 202-420-002 User manual

ELNA

ELNA 202-420-002 User manual

ELNA W1 User manual

ELNA

ELNA W1 User manual

ELNA 202-142-007 User manual

ELNA

ELNA 202-142-007 User manual

ELNA 202-096-201 User manual

ELNA

ELNA 202-096-201 User manual

ELNA 202-080-202 User manual

ELNA

ELNA 202-080-202 User manual

ELNA 202-084-206 User manual

ELNA

ELNA 202-084-206 User manual

ELNA 202-249-005 User manual

ELNA

ELNA 202-249-005 User manual

ELNA 202-156-004 User manual

ELNA

ELNA 202-156-004 User manual

ELNA 202-091-206 User manual

ELNA

ELNA 202-091-206 User manual

ELNA 202-098-203 User manual

ELNA

ELNA 202-098-203 User manual

ELNA 202-255-004 User manual

ELNA

ELNA 202-255-004 User manual

ELNA 202-248-004 User manual

ELNA

ELNA 202-248-004 User manual

ELNA 580+ User manual

ELNA

ELNA 580+ User manual

ELNA 795-816-116 User manual

ELNA

ELNA 795-816-116 User manual

ELNA 202-237-000 User manual

ELNA

ELNA 202-237-000 User manual

ELNA 202-082-204 User manual

ELNA

ELNA 202-082-204 User manual

ELNA 202-103-202 User manual

ELNA

ELNA 202-103-202 User manual

ELNA 202-238-001 User manual

ELNA

ELNA 202-238-001 User manual

ELNA 434 User manual

ELNA

ELNA 434 User manual

ELNA 202-235-008 User manual

ELNA

ELNA 202-235-008 User manual

ELNA 202-488-008 User manual

ELNA

ELNA 202-488-008 User manual

ELNA 495-526-20 User manual

ELNA

ELNA 495-526-20 User manual

ELNA 200-314-028 User manual

ELNA

ELNA 200-314-028 User manual

ELNA 202-239-002 User manual

ELNA

ELNA 202-239-002 User manual

Popular Sewing Machine Accessories manuals by other brands

Pfaff Creative fabric mover Set up and go

Pfaff

Pfaff Creative fabric mover Set up and go

Pegasus KH Series instructions

Pegasus

Pegasus KH Series instructions

Hohner UNIVERSAL 48/5 S Operating instructions/spare parts list

Hohner

Hohner UNIVERSAL 48/5 S Operating instructions/spare parts list

Clinton 115VS-FOTA Service guide

Clinton

Clinton 115VS-FOTA Service guide

Bernette Snap Hoop Monster manual

Bernette

Bernette Snap Hoop Monster manual

SewingMachinesPlus QM29006 installation instructions

SewingMachinesPlus

SewingMachinesPlus QM29006 installation instructions

Brother SA179 manual

Brother

Brother SA179 manual

Grace Company Cutie ASSEMBLY & USE

Grace Company

Grace Company Cutie ASSEMBLY & USE

JUKI MP-G10-TH Technical manual

JUKI

JUKI MP-G10-TH Technical manual

Efka AB323A5221 Connection diagram

Efka

Efka AB323A5221 Connection diagram

HIGHLEAD GC20528-MDZA instruction manual

HIGHLEAD

HIGHLEAD GC20528-MDZA instruction manual

Bernina Pantograph Kit user manual

Bernina

Bernina Pantograph Kit user manual

DURKOPP ADLER 867 instructions

DURKOPP ADLER

DURKOPP ADLER 867 instructions

Empisal Knitmaster SC-3 Instruction book

Empisal

Empisal Knitmaster SC-3 Instruction book

Bernette YC-485EC manual

Bernette

Bernette YC-485EC manual

Singer DF250 instruction manual

Singer

Singer DF250 instruction manual

manuals.online logo
manuals.online logoBrands
  • About & Mission
  • Contact us
  • Privacy Policy
  • Terms and Conditions

Copyright 2025 Manuals.Online. All Rights Reserved.