manuals.online logo
Brands
  1. Home
  2. •
  3. Brands
  4. •
  5. ELNA
  6. •
  7. Sewing Machine Accessories
  8. •
  9. ELNA 202-156-004 User manual

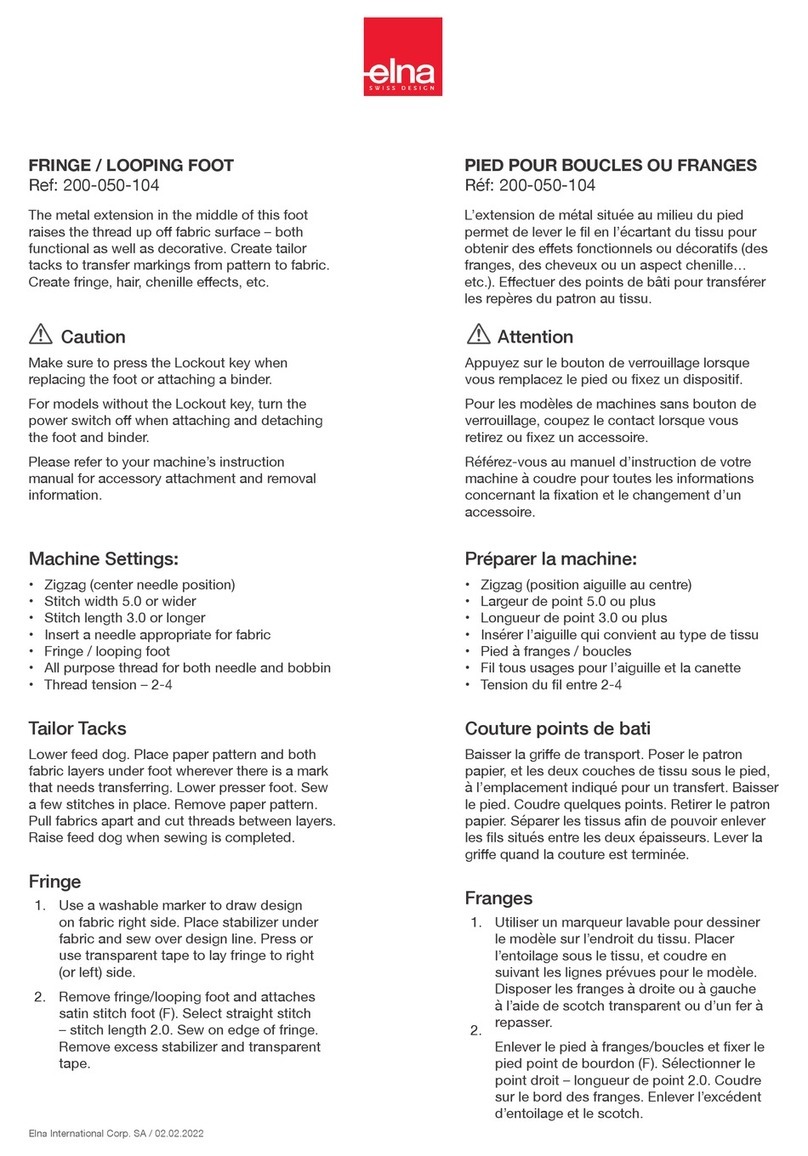
ELNA 202-156-004 User manual

Other ELNA Sewing Machine Accessories manuals

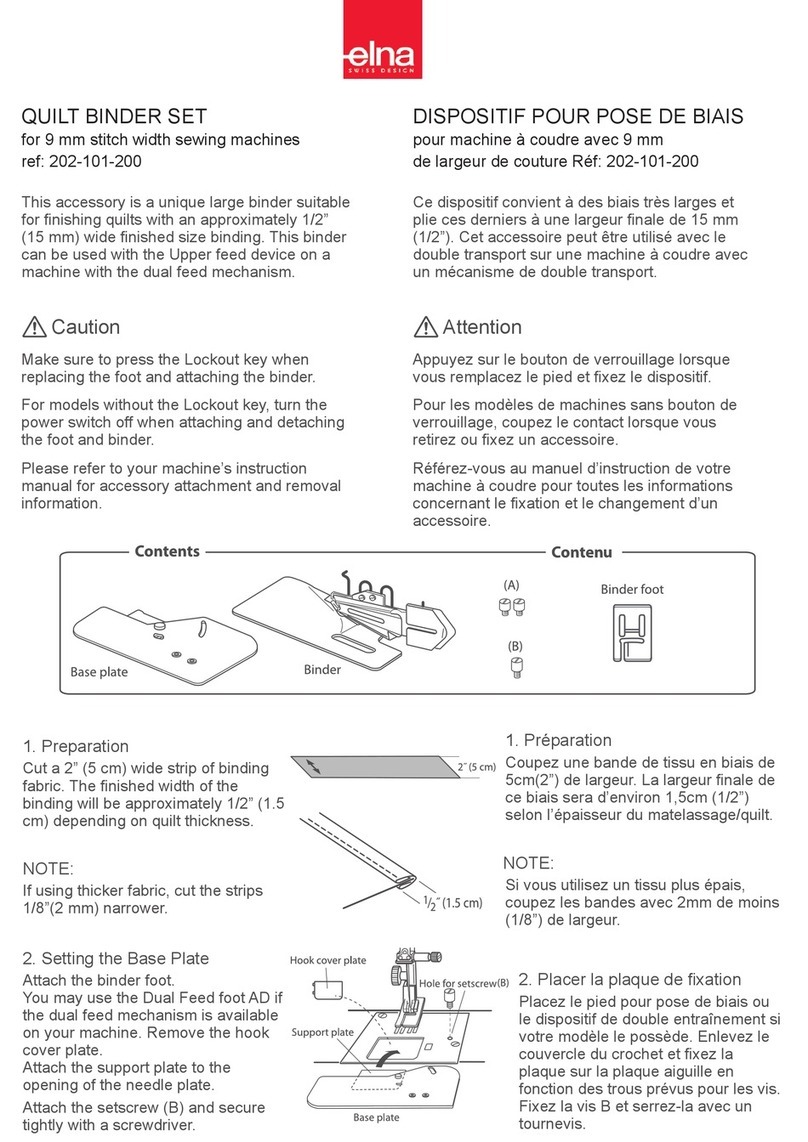
ELNA 202-096-201 User manual

ELNA

ELNA 202-096-201 User manual

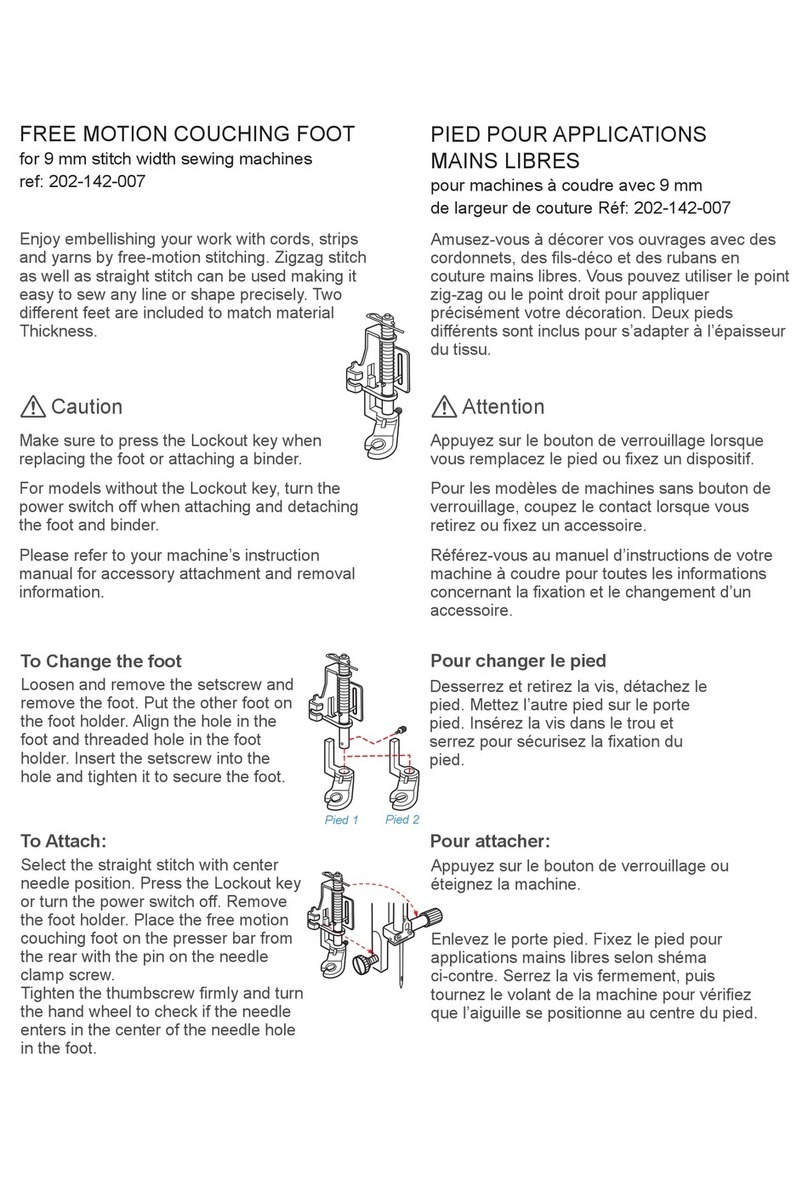
ELNA 202-490-003 User manual

ELNA

ELNA 202-490-003 User manual

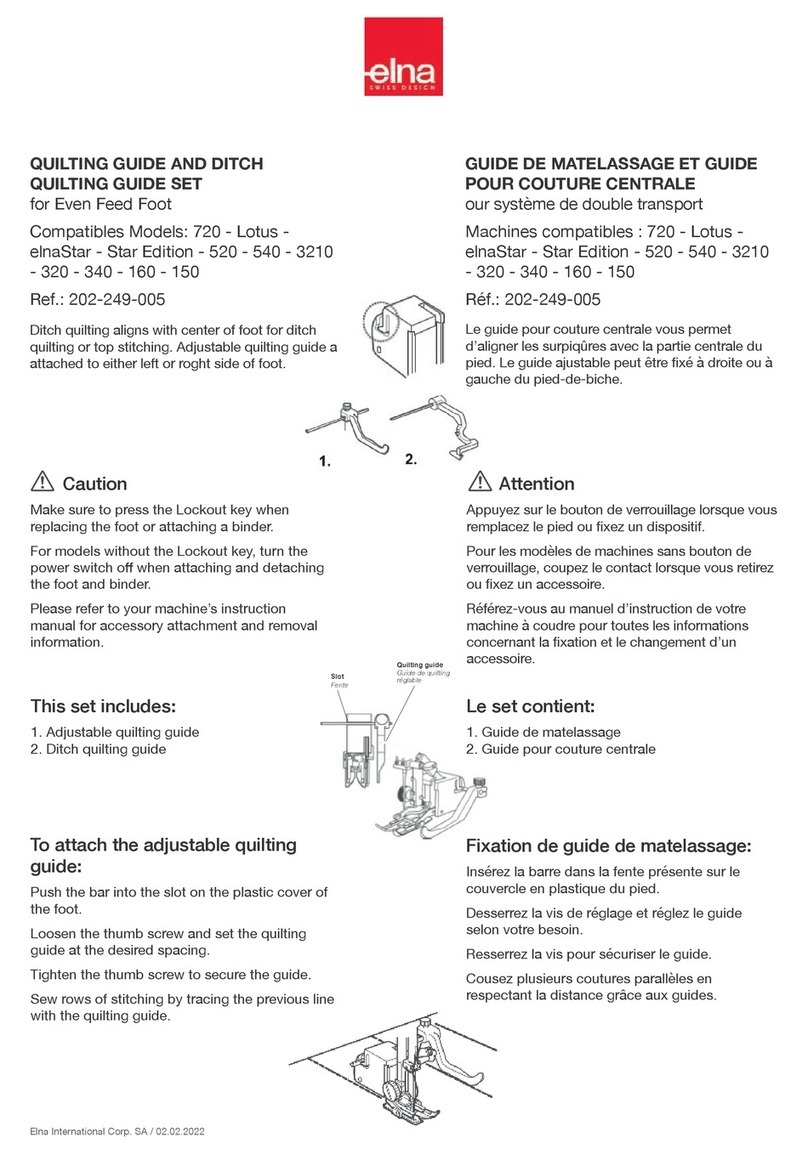
ELNA 202-249-005 User manual

ELNA

ELNA 202-249-005 User manual

ELNA 202-488-008 User manual

ELNA

ELNA 202-488-008 User manual

ELNA 202-084-206 User manual

ELNA

ELNA 202-084-206 User manual

ELNA 202-237-000 User manual

ELNA

ELNA 202-237-000 User manual

ELNA 202-103-202 User manual

ELNA

ELNA 202-103-202 User manual

ELNA 611-511-001 User manual

ELNA

ELNA 611-511-001 User manual

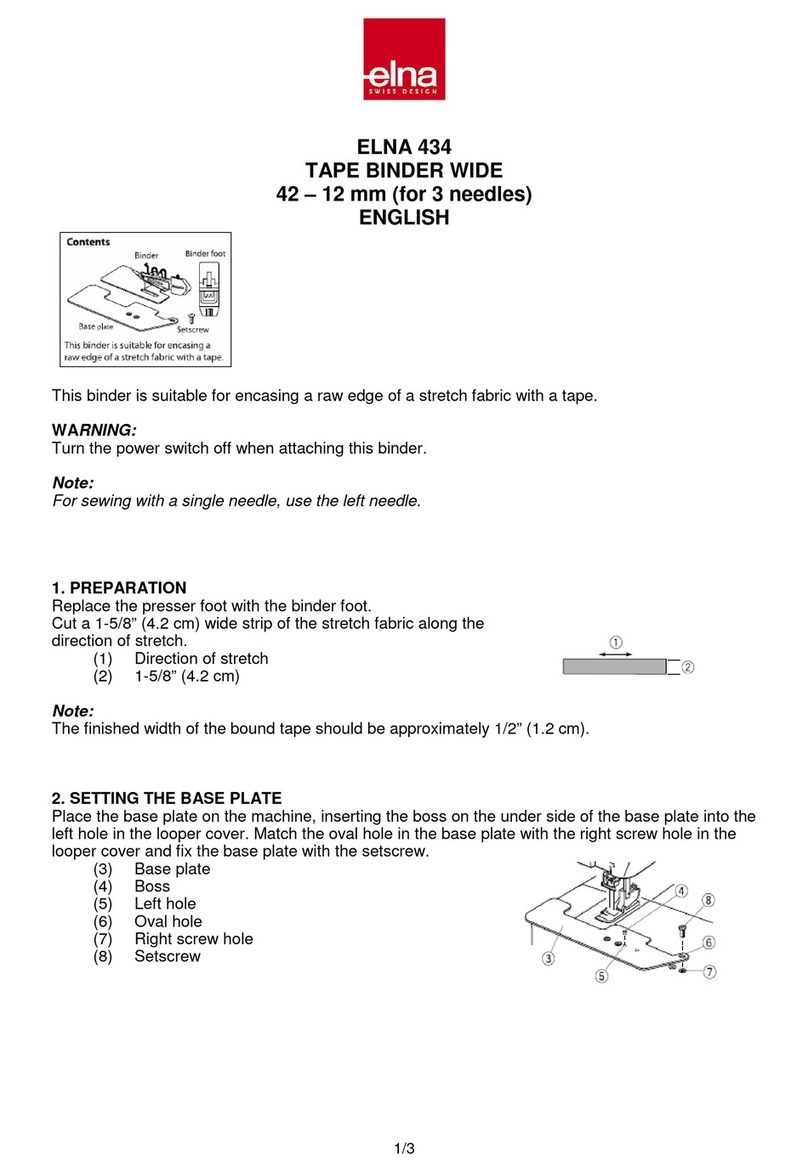
ELNA 434 User manual

ELNA

ELNA 434 User manual

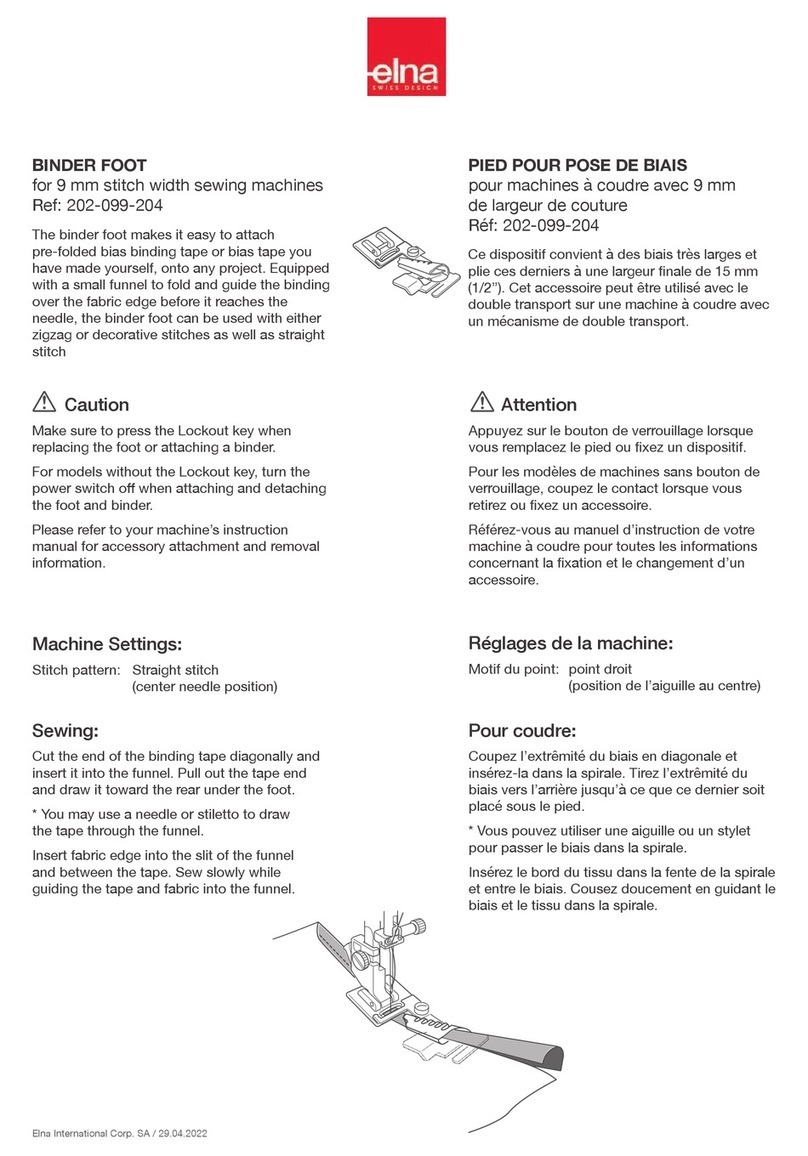
ELNA 202-099-204 User manual

ELNA

ELNA 202-099-204 User manual

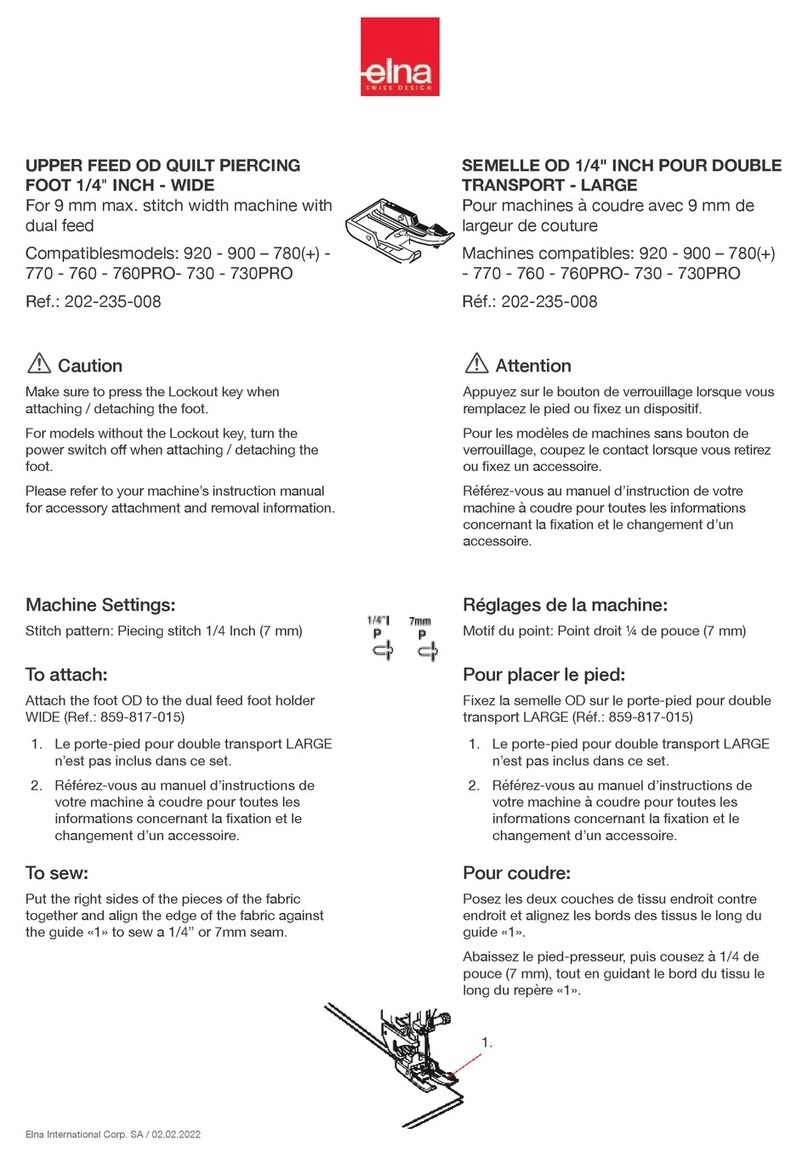
ELNA 202-235-008 User manual

ELNA

ELNA 202-235-008 User manual

ELNA 202-255-004 User manual

ELNA

ELNA 202-255-004 User manual

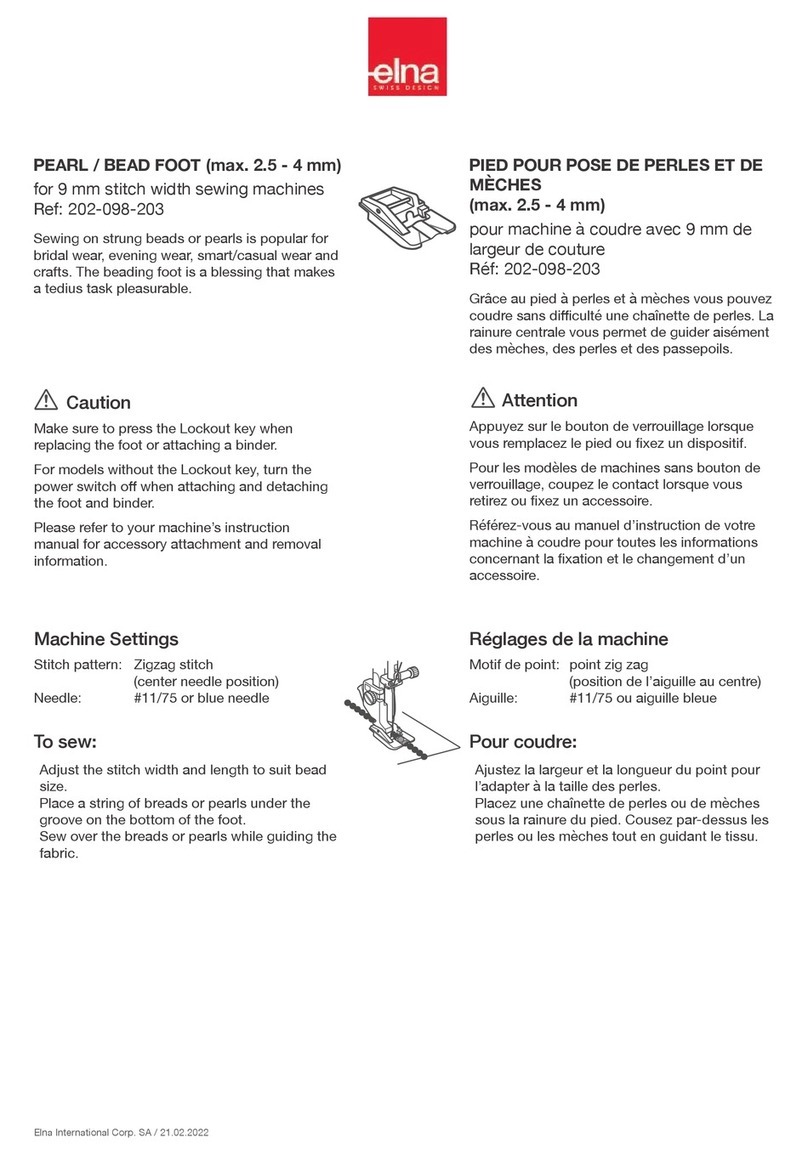
ELNA 202-098-203 User manual

ELNA

ELNA 202-098-203 User manual

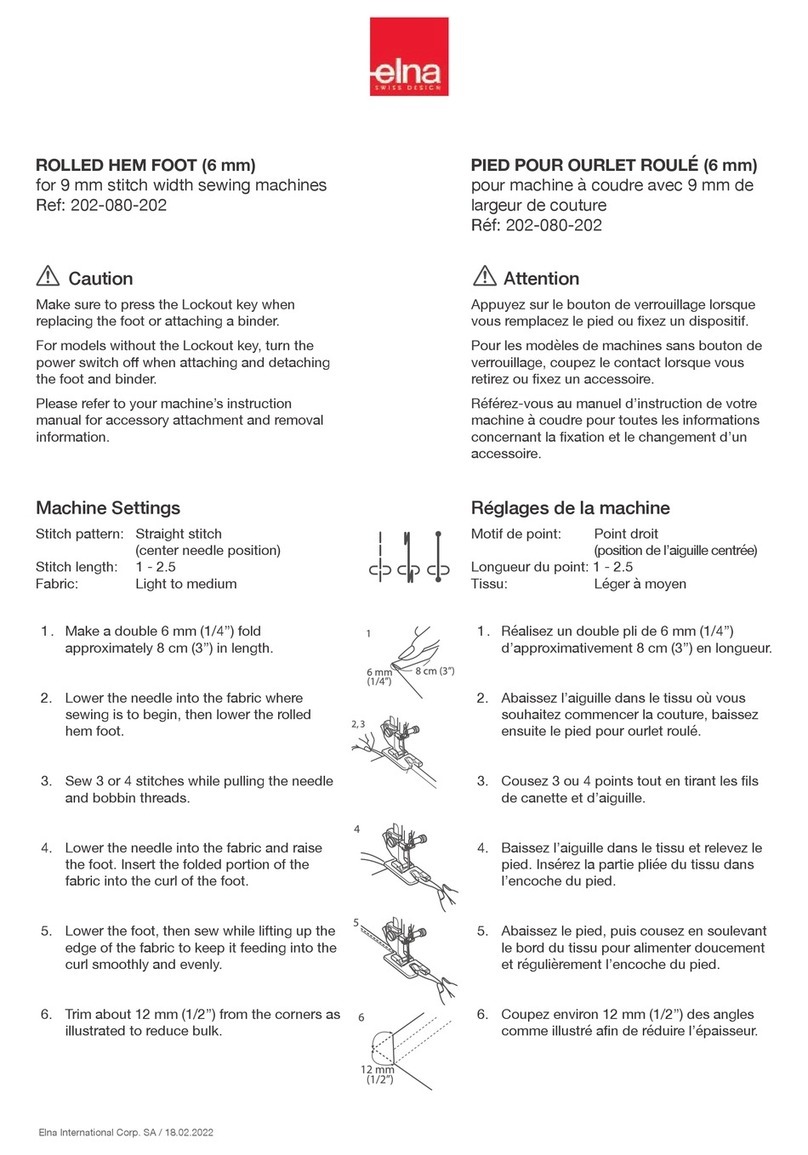
ELNA 202-080-202 User manual

ELNA

ELNA 202-080-202 User manual

ELNA 200-050-104 User manual

ELNA

ELNA 200-050-104 User manual

ELNA 202-239-002 User manual

ELNA

ELNA 202-239-002 User manual

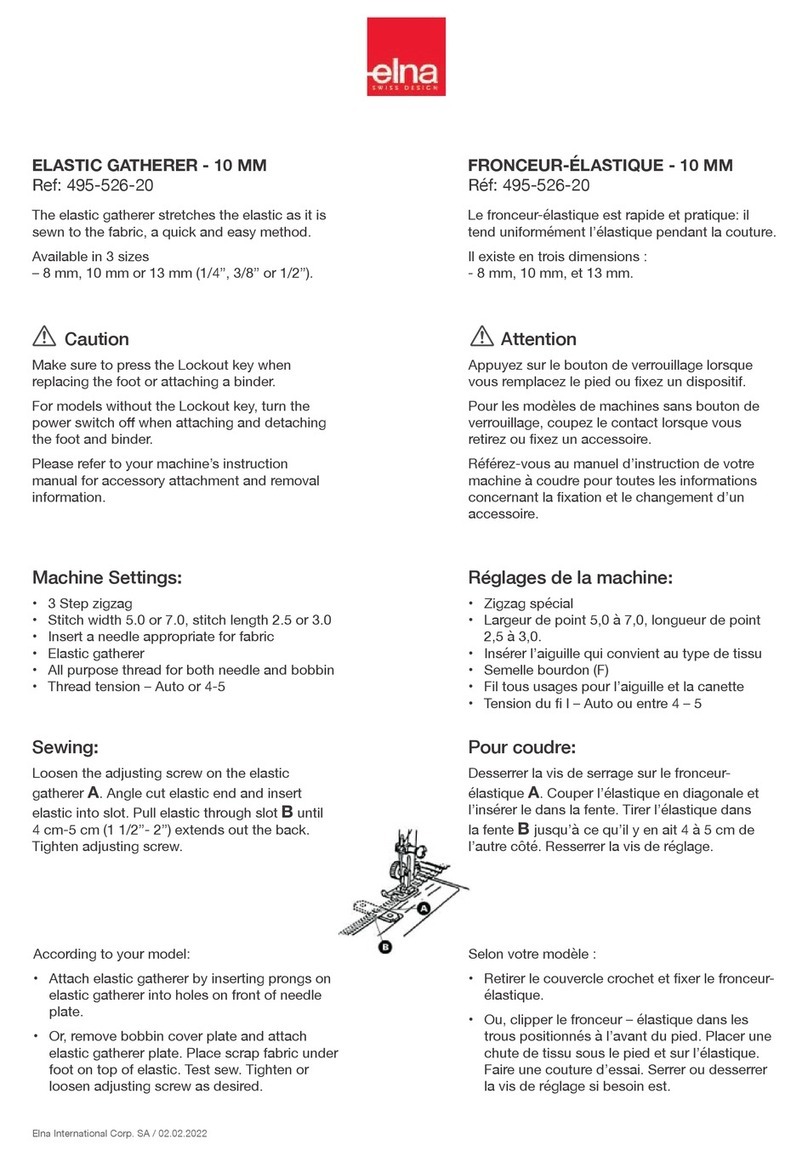
ELNA 495-526-20 User manual

ELNA

ELNA 495-526-20 User manual

ELNA 202-091-206 User manual

ELNA

ELNA 202-091-206 User manual

ELNA 200-314-028 User manual

ELNA

ELNA 200-314-028 User manual

ELNA 202-238-001 User manual

ELNA

ELNA 202-238-001 User manual

ELNA 202-248-004 User manual

ELNA

ELNA 202-248-004 User manual

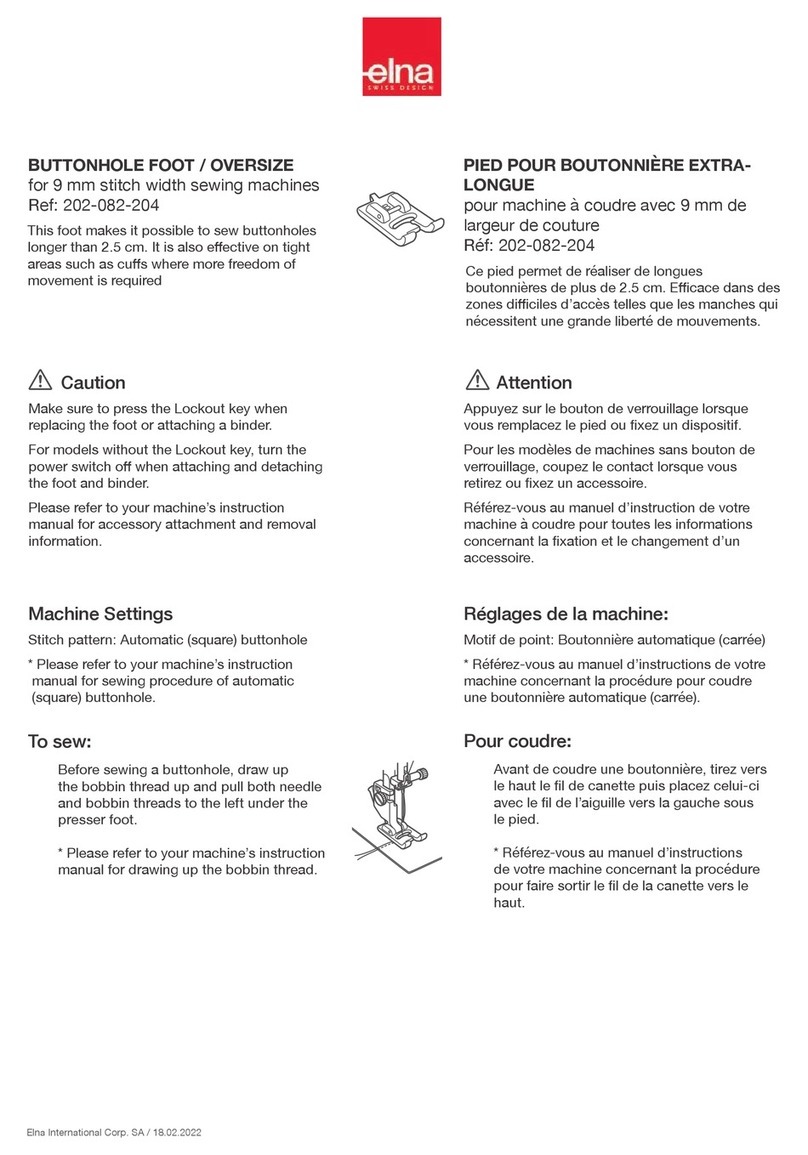
ELNA 202-082-204 User manual

ELNA

ELNA 202-082-204 User manual

ELNA 795-816-116 User manual

ELNA

ELNA 795-816-116 User manual

ELNA 580+ User manual

ELNA

ELNA 580+ User manual

Popular Sewing Machine Accessories manuals by other brands

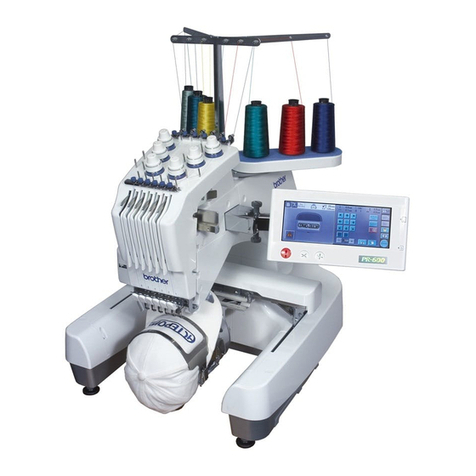
Brother PR-600/600C user guide

Brother

Brother PR-600/600C user guide

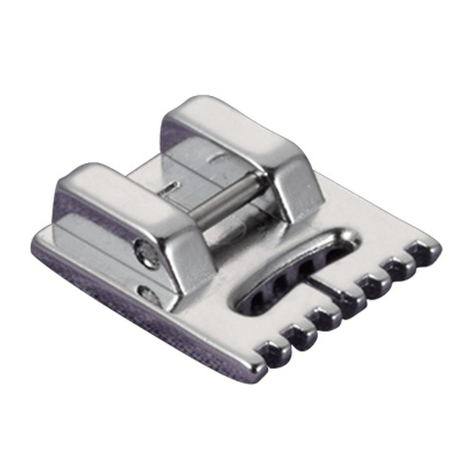
Brother SA179 manual

Brother

Brother SA179 manual

DIVERSIFIED WOODCRAFTS SMT-7242 Assembly instruction

DIVERSIFIED WOODCRAFTS

DIVERSIFIED WOODCRAFTS SMT-7242 Assembly instruction

Jack 6040-D operation instruction

Jack

Jack 6040-D operation instruction

IMB MB2003B instruction manual

IMB

IMB MB2003B instruction manual

Singer DF250 instruction manual

Singer

Singer DF250 instruction manual

JUKI IP-200 Setup manual

JUKI

JUKI IP-200 Setup manual

Racing MDK 60 Series Instructions and parts manual

Racing

Racing MDK 60 Series Instructions and parts manual

JUKI IP-410 instruction manual

JUKI

JUKI IP-410 instruction manual

ZOJE 1900D user manual

ZOJE

ZOJE 1900D user manual

Brother PRCL1 user guide

Brother

Brother PRCL1 user guide

VERITAS 4C-316B manual

VERITAS

VERITAS 4C-316B manual

JUKI SC-510 Safety information

JUKI

JUKI SC-510 Safety information

Pegasus MD Series instructions

Pegasus

Pegasus MD Series instructions

Arrow NORMA JEAN 350 owner's manual

Arrow

Arrow NORMA JEAN 350 owner's manual

Brother PRSCLPM1 installation manual

Brother

Brother PRSCLPM1 installation manual

Brother WT10 quick start guide

Brother

Brother WT10 quick start guide

Singer 86642 instructions

Singer

Singer 86642 instructions

manuals.online logo
manuals.online logoBrands
  • About & Mission
  • Contact us
  • Privacy Policy
  • Terms and Conditions

Copyright 2025 Manuals.Online. All Rights Reserved.

Elna International Corp. SA / 13.04.2022
Center basting
Bâti central
End of Zipper opening
Extrémité de l’ouverture
de la fermeture éclair
Straight Stitch
Point droit
Wrong Side
of Fabric
Envers du tissu
Basting
Bâti
Thick Paper
Papier épais
Left Bodice Back
(Right Side of Fabric)
Dos gauche du corsage
(Endroit du tissu)
Wrong Side
of Fabric
Envers du tissu
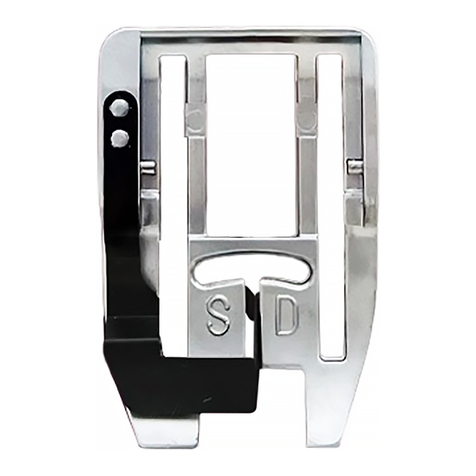
INVISIBLE ZIPPER FOOT
Ref: 202-156-004
Machine settings :
Stitch: Straight stitch (Center needle position)
Thread tension: “Auto” or 3 - 5
Stitch length: 1.5 - 2
Stitch width: 0
1. Baste along the zipper opening. Prepare an
invisible zipper 2 cm longer than the actual
opening size.
2. Baste the zipper tape on the garment before
machine stitching.
3. Pull out the center basting threads and open
the invisible zipper. Sew the right and left
sides of the zipper to the ends of the zipper
opening by using the invisible zipper foot.
Caution
Make sure to press the Lockout key when
replacing the foot or attaching a binder.
For models without the Lockout key, turn the
power switch o when attaching and detaching
the foot and binder.
Please refer to your machine’s instruction
manual for accessory attachment and removal
information.
PIED POUR FERMETURE ÉCLAIR
INVISIBLE
Réf: 202-156-004
Attention
Appuyez sur le bouton de verrouillage lorsque
vous remplacez le pied ou xez un dispositif.
Pour les modèles de machines sans bouton de
verrouillage, coupez le contact lorsque vous
retirez ou xez un accessoire.
Référez-vous au manuel d’instruction de votre
machine à coudre pour toutes les informations
concernant la xation et le changement d’un
accessoire.
Réglages de la machine :
Point: Point droit (Position de l’aiguille centrale)
Tension du l: «Auto» ou 3 - 5
Longueur de point: 1.5 - 2
Largeur du point: 0
1. Faulez le long de l’ouverture de la fermeture
éclair. Préparez une fermeture éclair invisible,
2 cm plus longue par rapport à la taille
d’ouverture réelle.
2. Faulez le ruban de la fermeture éclair sur le
vêtement avant de coudre à la machine.
3. Tirez sur les ls du bâti central et ouvrez la
fermeture éclair invisible. Cousez les côtés
droit et gauche de la fermeture éclair aux
extrémités de son ouverture à l’aide du pied
invisible.
Elna International Corp. SA / 13.04.2022
Mittlere Heftnaht
Hilvanado central
Ende der Reißverschlussönung
Fin de la abertura de la cremallera
que el tamaño de la abertura real.
Geradstich
Puntada rectaRevés de la
tela
Heftnaht
Hilvane
Dickes Papier
Papel grueso
Linke Oberteilrückseite
(Rechte Stoseite)
Parte trasera izquierda
del corpiño
(Lado derecho de la tela)
Linke Stoseite
Revés de la tela
Linke
Stoseite
NAHTVERDECKTER
REISSVERSCHLUSSFUSS
Art.-Nr.:202-156-004
Maschineneinstellungen:
Stich: Geradstich (Mittlere Nadelposition)
Fadenspannung: «Auto» oder 3 - 5
Stichlänge: 1,5 - 2
Stichbreite: 0
1. Nähen Sie eine Heftnaht entlang der
Reißverschlussönung. Bereiten Sie einen
nahtverdeckten Reißverschluss vor, der etwa 2
cm länger ist als die tatsächliche Önung.
2. Heften Sie das Reißverschlussband am
Kleidungsstück an, bevor Sie mit der
Maschine nähen.
3. Ziehen Sie die Fäden der Heftnaht heraus
und önen Sie den nahtverdeckten und die
linke Seite des Reißverschlusses an den
Enden der Reißverschlussönung mit dem
nahtverdeckten Reißverschlussfuß an.
Vorsicht
Achten Sie darauf, die Sperrtaste zu drücken,
wenn Sie den Fuß austauschen.
Schalten Sie bei Modellen ohne Sperrtaste den
Netzschalter aus, wenn Sie den Fuß anbringen
und abnehmen.
Informationen zum Anbringen und
Abnehmen des Zubehörteils nden Sie in der
Bedienungsanleitung Ihrer Maschine.
PRENSATELAS PARA CREMALLERA
INVISIBLE
Ref: 202-156-004
Ajustes de la máquina:
Puntada: Puntada recta
(Posición de la aguja al centro)
Tensión del hilo: “Auto” o 3-5
Longitud de puntada: 1,5 - 2
Anchura de puntada: 0
1. Hilvane a lo largo de la abertura de la
cremallera. Prepare una cremallera invisible 2
cm más larga que el tamaño de la abertura real.
2. Hilvane la cremallera en la prenda antes de
coser a máquina.
3. Saque las hebras de hilvanado centrales y
abra la cremallera invisible. Cosa los lados
derecho e izquierdo de la cremallera en los
extremos de la abertura de la cremallera
usando el prensatelas para cremallera
invisible.
Precaución
Asegúrese de pulsar la tecla Bloqueo cuando
reemplace el prensatelas.
Para los modelos sin tecla Bloqueo, apague el
interruptor de alimentación al montar y desmontar
el prensatelas.
Consulte el manual de instrucciones de su
máquina para obtener información sobre el
montaje y desmontaje de accesorios.