manuals.online logo
Brands
  1. Home
  2. •
  3. Brands
  4. •
  5. ELNA
  6. •
  7. Sewing Machine Accessories
  8. •
  9. ELNA 202-142-007 User manual

ELNA 202-142-007 User manual

Caution
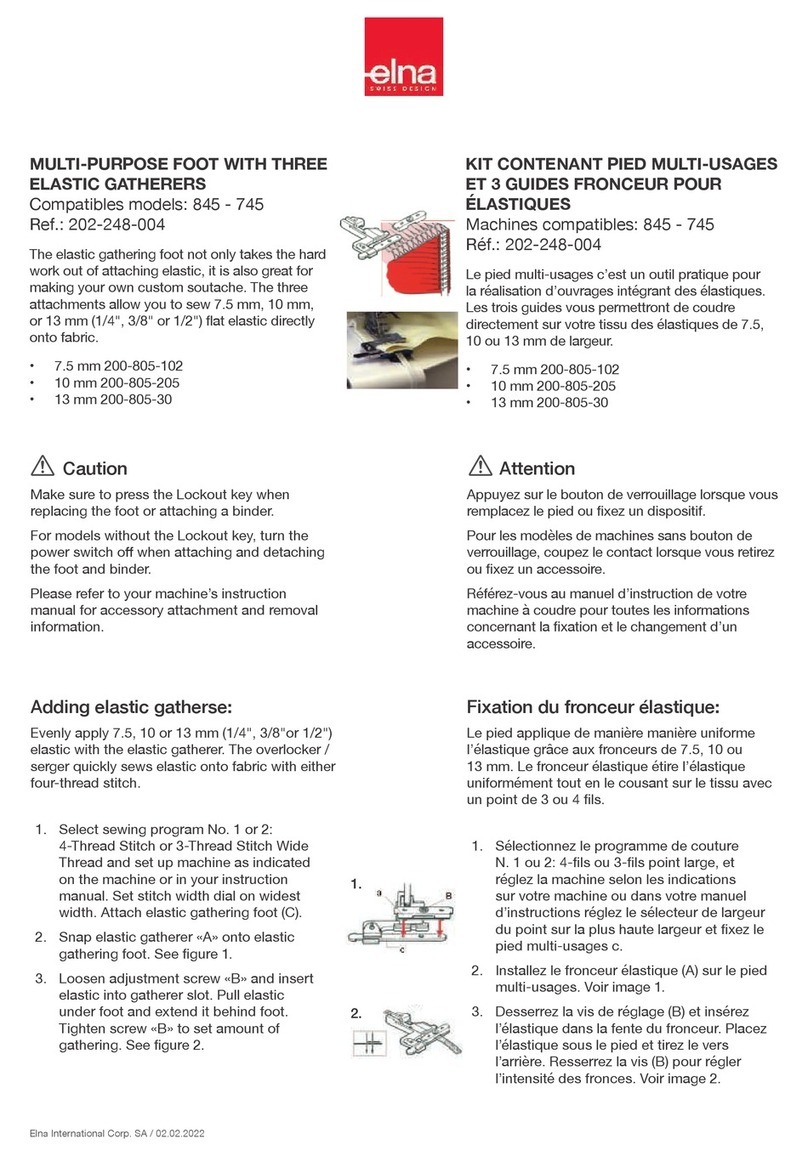
Enjoy embellishing your work with cords, strips
and yarns by free-motion stitching. Zigzag stitch
as well as straight stitch can be used making it
easy to sew any line or shape precisely. Two
different feet are included to match material
Thickness.
Please refer to your machine’s instruction
manual for accessory attachment and removal
information.
Make sure to press the Lockout key when
replacing the foot or attaching a binder.
For models without the Lockout key, turn the
power switch off when attaching and detaching
the foot and binder.
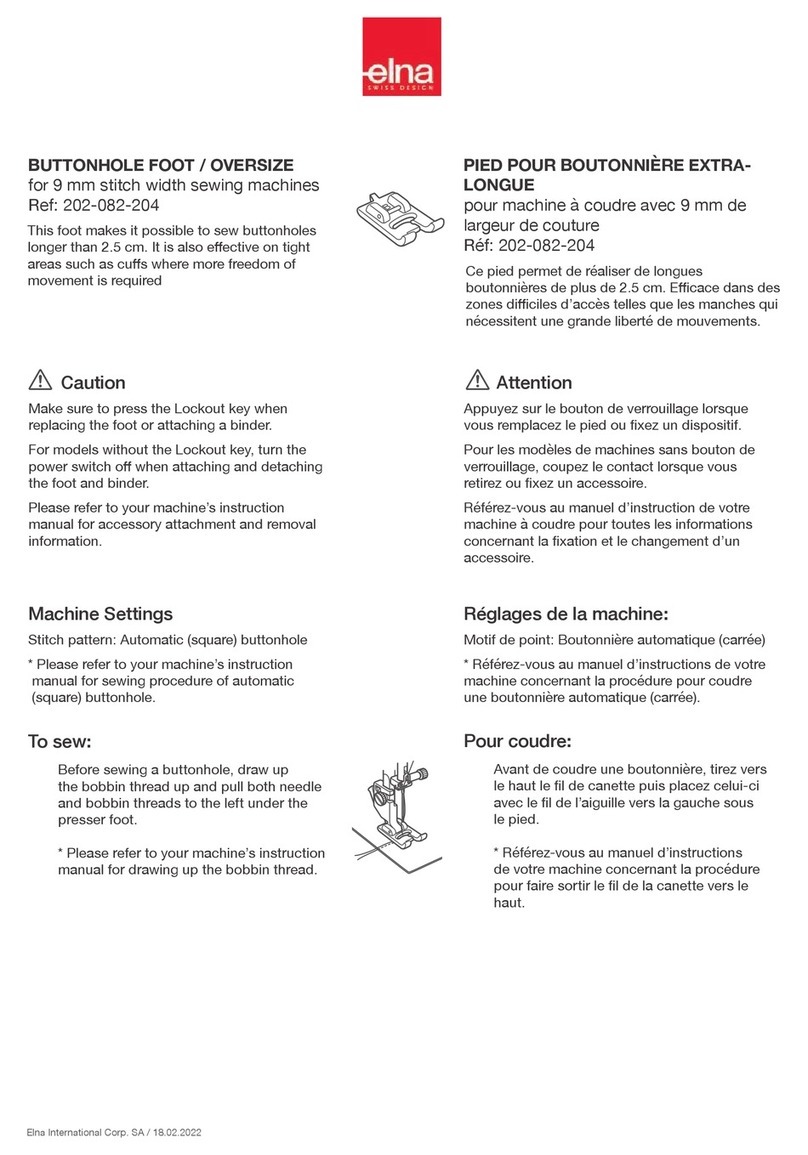
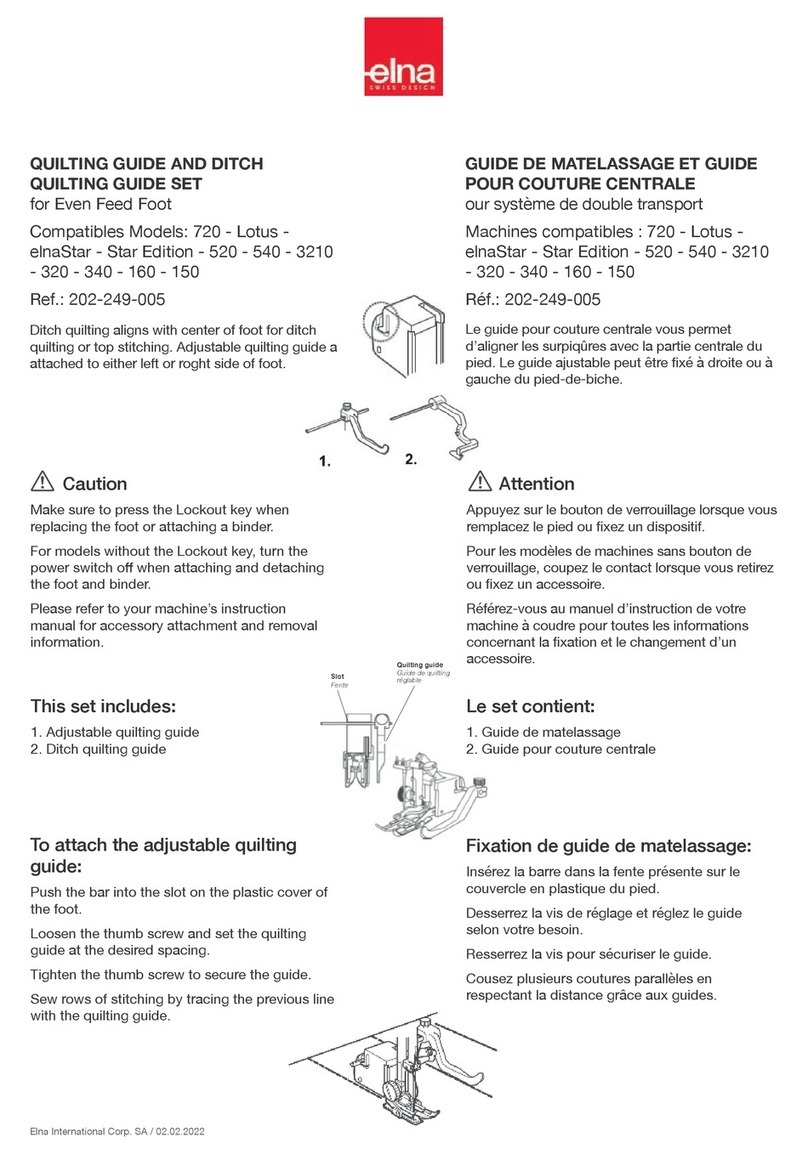
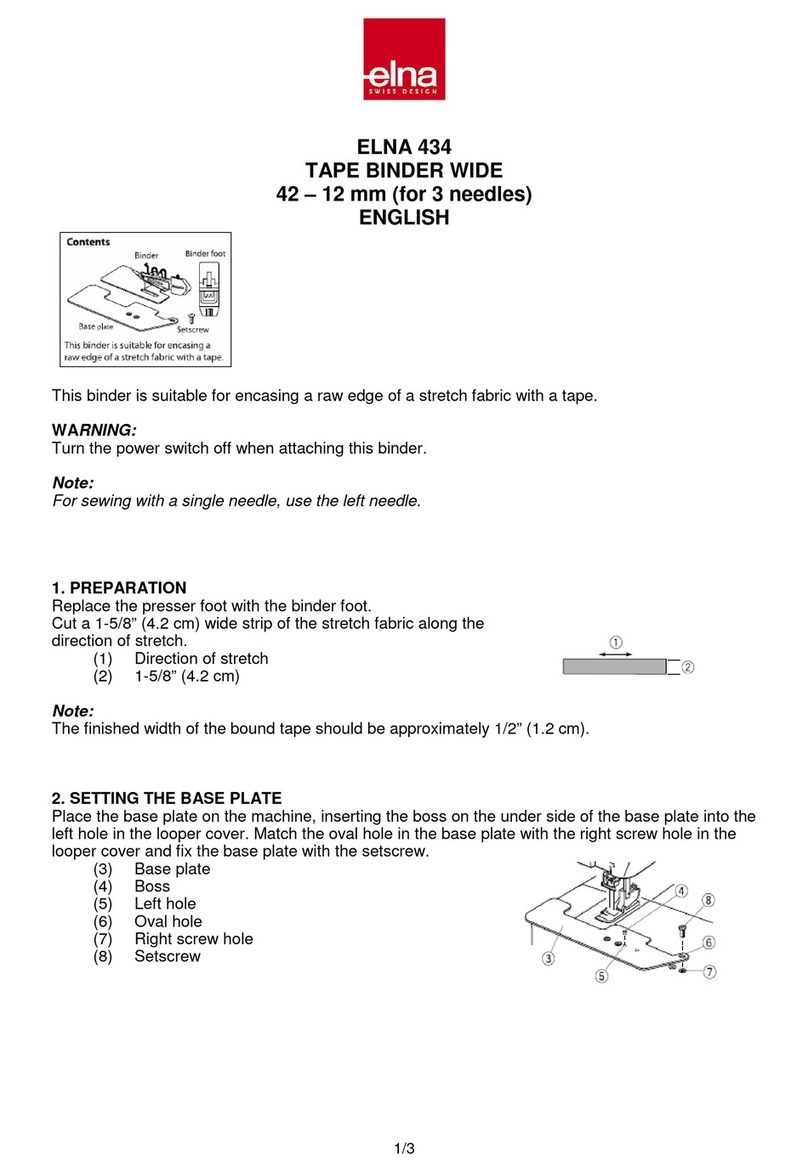
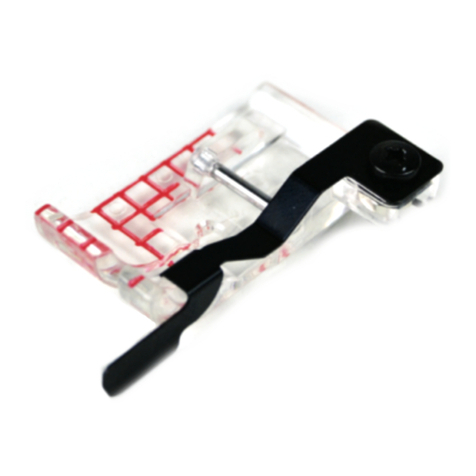
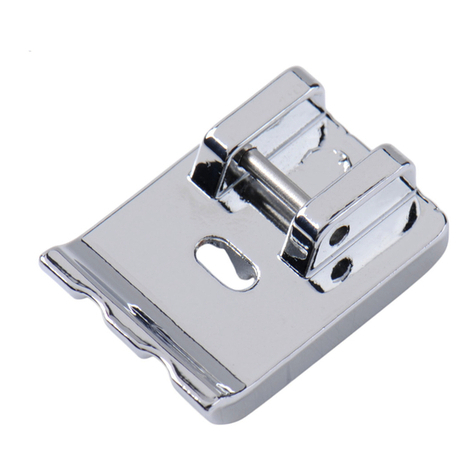
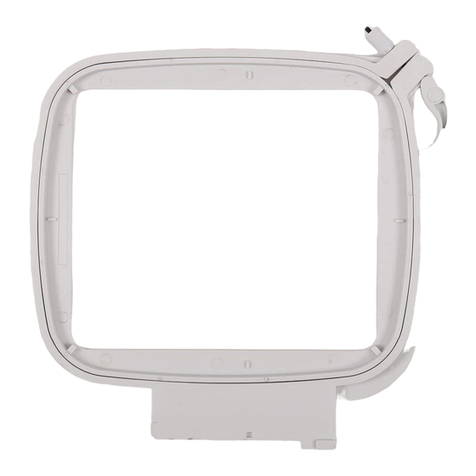
FREE MOTION COUCHING FOOT
for 9 mm stitch width sewing machines
ref: 202-142-007
Attention
Amusez-vous à décorer vos ouvrages avec des
cordonnets, des fils-déco et des rubans en
couture mains libres. Vous pouvez utiliser le point
zig-zag ou le point droit pour appliquer
précisément votre décoration. Deux pieds
différents sont inclus pour s’adapter à l’épaisseur
du tissu.
Référez-vous au manuel d’instructions de votre
machine à coudre pour toutes les informations
concernant la fixation et le changement d’un
accessoire.
Appuyez sur le bouton de verrouillage lorsque
vous remplacez le pied ou fixez un dispositif.
Pour les modèles de machines sans bouton de
verrouillage, coupez le contact lorsque vous
retirez ou fixez un accessoire.
PIED POUR APPLICATIONS
MAINS LIBRES
pour machines à coudre avec 9 mm
de largeur de couture Réf: 202-142-007
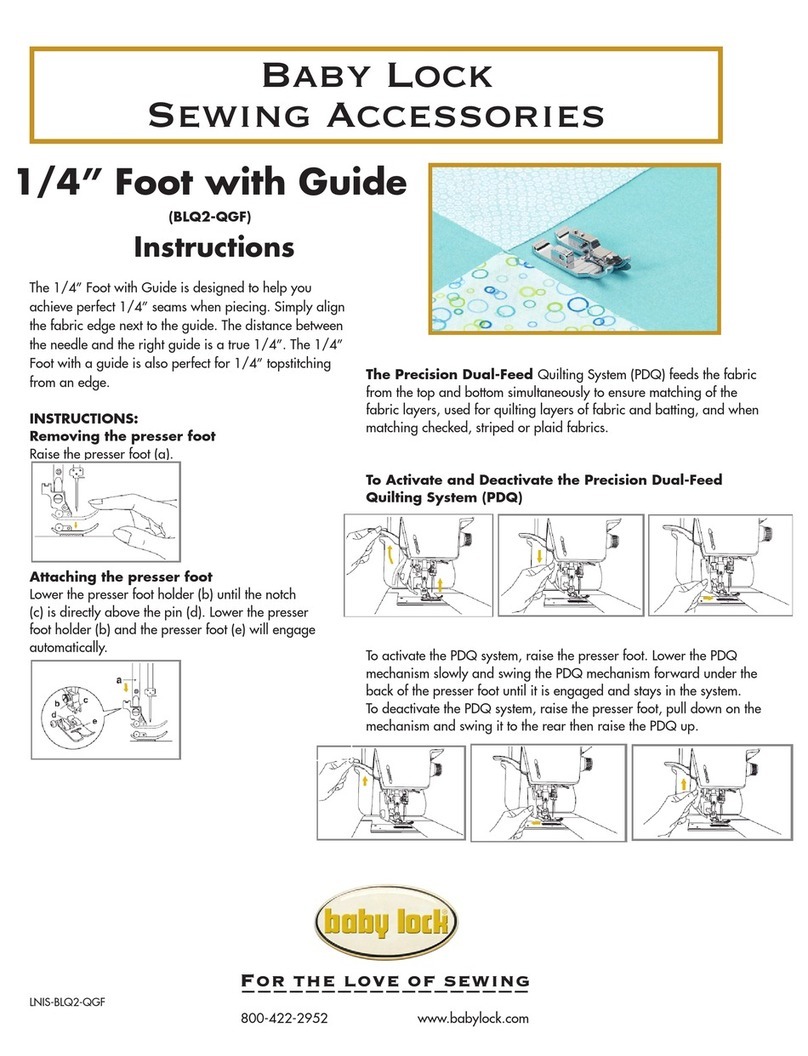
Loosen and remove the setscrew and
remove the foot. Put the other foot on
the foot holder. Align the hole in the
foot and threaded hole in the foot
holder. Insert the setscrew into the
hole and tighten it to secure the foot.
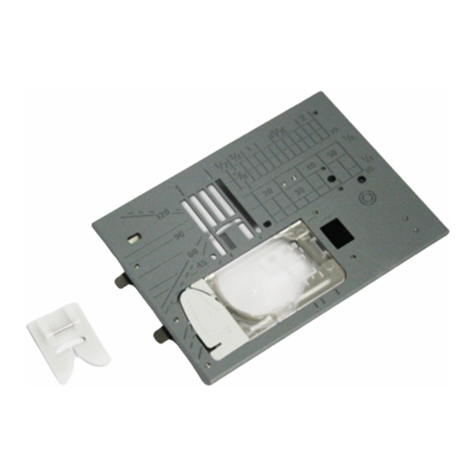
To Change the foot
Select the straight stitch with center
needle position. Press the Lockout key
or turn the power switch off. Remove
the foot holder. Place the free motion
couching foot on the presser bar from
the rear with the pin on the needle
clamp screw.
Tighten the thumbscrew firmly and turn
the hand wheel to check if the needle
enters in the center of the needle hole
in the foot.
Appuyez sur le bouton de verrouillage ou
éteignez la machine.
Enlevez le porte pied. Fixez le pied pour
applications mains libres selon shéma
ci-contre. Serrez la vis fermement, puis
tournez le volant de la machine pour vérifiez
que l’aiguille se positionne au centre du pied.
To Attach: Pour attacher:
Desserrez et retirez la vis, détachez le
pied. Mettez l’autre pied sur le porte
pied. Insérez la vis dans le trou et
serrez pour sécurisez la fixation du
pied.
Pour changer le pied
Pied 1 Pied 2
If you use a monofilament transparent
thread, put the net on the spool of
thread to prevent the thread from
slipping off the spool and jamming
around the spool pin.
Hold a length of yarn with both hands
and slip it through the slit and into the
guide hole in the guide plate.
Pass the yarn through the hole in the
foot from the notch and draw it to the
rear.
Si vous utilisez un fil nylon, placez un
filet sur la bobine pour éviter que le fil
ne glisse et n’encombre la broche porte
bobine.
Tenez le cordonnet avec les deux
mains et glissez-le dans la fente du
guide. Passez-le ensuite dans la fente
du pied et tirez-le vers l’arrière.
To Prepare:
Stitch pattern: Zigzag stitch or straight stitch
(center needle position)
Stitch width: 1.5 mm or less
Feed dog: Lowered
Foot 1 : for 1.5 - 2 mm thick yarn
Foot 2 : for less than 1.5 mm thick yarn
Machine Settings:
Draw a design on the fabric.
Lower the needle at the starting
point and then lower the foot. Sew
several stitches to fasten the yarn and
stop the machine. Cut the extra yarn and
threads at the beginning.
Sew at a medium speed while guiding the
fabric to trace the design.
*Unwind the yarn ball and splay out the yarn
on a sewing table to ensure smooth feeding
without tangling.
*Test sew to check sewing results. Do not
sew on hard string.
*Déroulez le cordonnet et disposez-le sur une
table de couture pour assurer un
entraînement en douceur et sans à-coups.
*Faites une couture test pour vérifier le
résultat de couture. Ne piquez pas sur des
cordonnets de déco trop durs au risque de
casser votre aiguille.
To Sew: Faites un dessin sur le tissu.
Abaissez l’aiguille à l’endroit où vous
souhaitez commencer votre couture, puis
abaissez le pied de biche. Cousez
plusieurs points pour fixer le cordonnet et
stoppez la machine. Coupez à ras le
cordonnet et les fils du départ de la
couture. Cousez à une vitesse moyenne
tout en guidant le tissu pour tracer le
dessin.
Pour coudre:
Motif du point: point zig-zag ou point droit
(position de l’aiguille au centre)
Largeur du point: 1.5 mm ou moins
Griffes de transport: abaissées
Pied 1 : pour 1.5 - 2 mm d’épaisseur de fil
Pied 2 : pour moins de 1.5 mm d’épaisseur de fil
Réglages de la machine:
Pour préparer:

Other ELNA Sewing Machine Accessories manuals

ELNA 202-239-002 User manual
ELNA

ELNA 202-239-002 User manual

ELNA 202-237-000 User manual

ELNA

ELNA 202-237-000 User manual

ELNA 434 User manual

ELNA

ELNA 434 User manual

ELNA 202-099-204 User manual

ELNA

ELNA 202-099-204 User manual

ELNA 611-511-001 User manual

ELNA

ELNA 611-511-001 User manual

ELNA 202-098-203 User manual

ELNA

ELNA 202-098-203 User manual

ELNA 202-488-008 User manual

ELNA

ELNA 202-488-008 User manual

ELNA 495-526-20 User manual

ELNA

ELNA 495-526-20 User manual

ELNA W1 User manual

ELNA

ELNA W1 User manual

ELNA 202-420-002 User manual

ELNA

ELNA 202-420-002 User manual

ELNA 202-248-004 User manual

ELNA

ELNA 202-248-004 User manual

ELNA 202-080-202 User manual

ELNA

ELNA 202-080-202 User manual

ELNA 202-084-206 User manual

ELNA

ELNA 202-084-206 User manual

ELNA 202-255-004 User manual

ELNA

ELNA 202-255-004 User manual

ELNA 795-816-116 User manual

ELNA

ELNA 795-816-116 User manual

ELNA 202-238-001 User manual

ELNA

ELNA 202-238-001 User manual

ELNA 200-050-104 User manual

ELNA

ELNA 200-050-104 User manual

ELNA 202-103-202 User manual

ELNA

ELNA 202-103-202 User manual

ELNA 202-096-201 User manual

ELNA

ELNA 202-096-201 User manual

ELNA 202-156-004 User manual

ELNA

ELNA 202-156-004 User manual

ELNA 202-490-003 User manual

ELNA

ELNA 202-490-003 User manual

ELNA 202-091-206 User manual

ELNA

ELNA 202-091-206 User manual

ELNA 580+ User manual

ELNA

ELNA 580+ User manual

ELNA 202-249-005 User manual

ELNA

ELNA 202-249-005 User manual

Popular Sewing Machine Accessories manuals by other brands

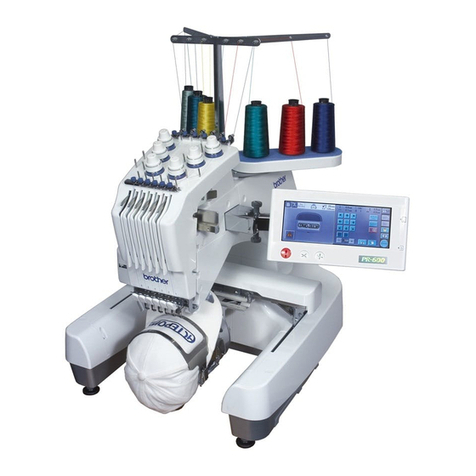
Brother PR-600/600C user guide

Brother

Brother PR-600/600C user guide

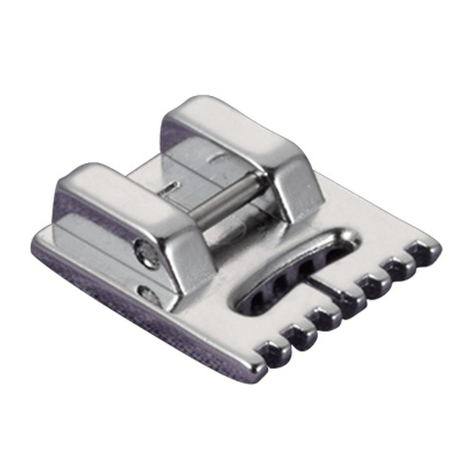
Brother SA179 manual

Brother

Brother SA179 manual

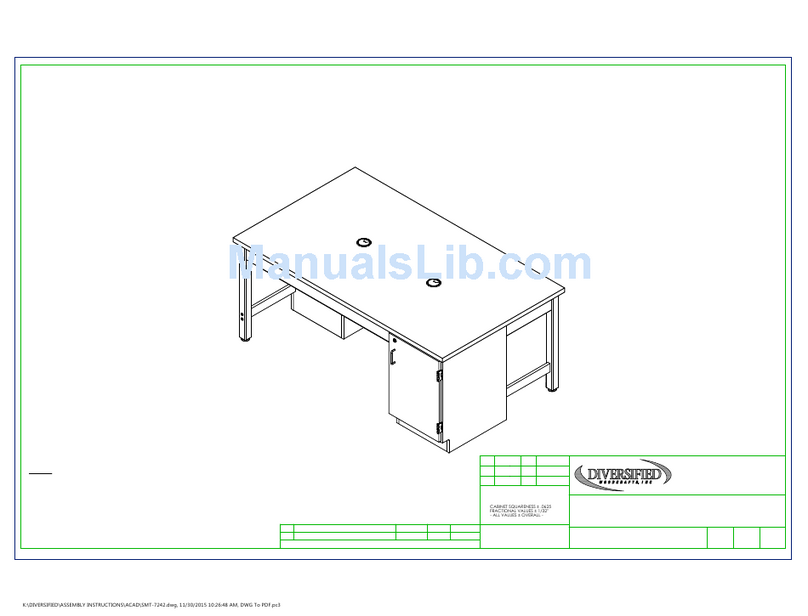
DIVERSIFIED WOODCRAFTS SMT-7242 Assembly instruction

DIVERSIFIED WOODCRAFTS

DIVERSIFIED WOODCRAFTS SMT-7242 Assembly instruction

Jack 6040-D operation instruction

Jack

Jack 6040-D operation instruction

IMB MB2003B instruction manual

IMB

IMB MB2003B instruction manual

Singer DF250 instruction manual

Singer

Singer DF250 instruction manual

JUKI IP-200 Setup manual

JUKI

JUKI IP-200 Setup manual

Racing MDK 60 Series Instructions and parts manual

Racing

Racing MDK 60 Series Instructions and parts manual

JUKI IP-410 instruction manual

JUKI

JUKI IP-410 instruction manual

ZOJE 1900D user manual

ZOJE

ZOJE 1900D user manual

Brother PRCL1 user guide

Brother

Brother PRCL1 user guide

VERITAS 4C-316B manual

VERITAS

VERITAS 4C-316B manual

JUKI SC-510 Safety information

JUKI

JUKI SC-510 Safety information

Pegasus MD Series instructions

Pegasus

Pegasus MD Series instructions

Arrow NORMA JEAN 350 owner's manual

Arrow

Arrow NORMA JEAN 350 owner's manual

Brother PRSCLPM1 installation manual

Brother

Brother PRSCLPM1 installation manual

Brother WT10 quick start guide

Brother

Brother WT10 quick start guide

Singer 86642 instructions

Singer

Singer 86642 instructions

manuals.online logo
manuals.online logoBrands
  • About & Mission
  • Contact us
  • Privacy Policy
  • Terms and Conditions

Copyright 2025 Manuals.Online. All Rights Reserved.