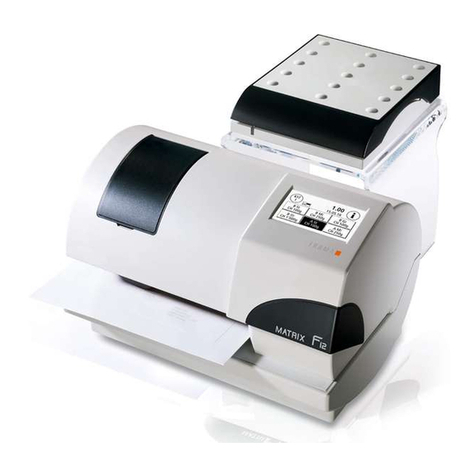
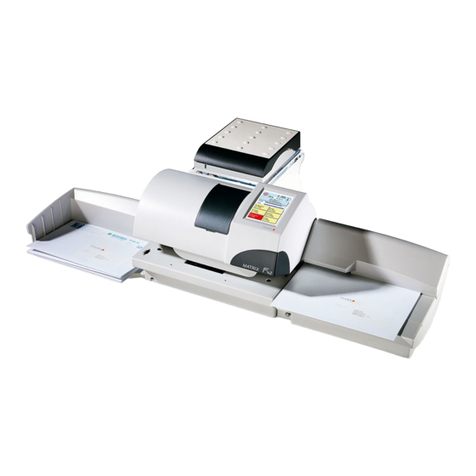
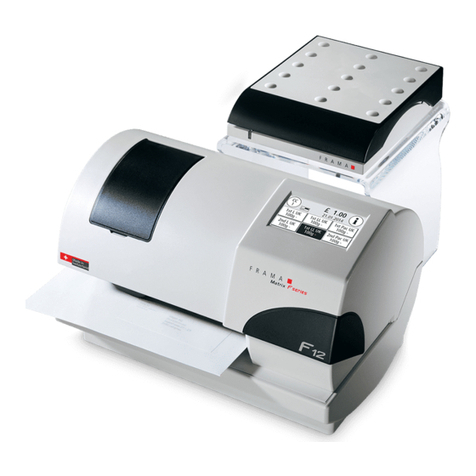
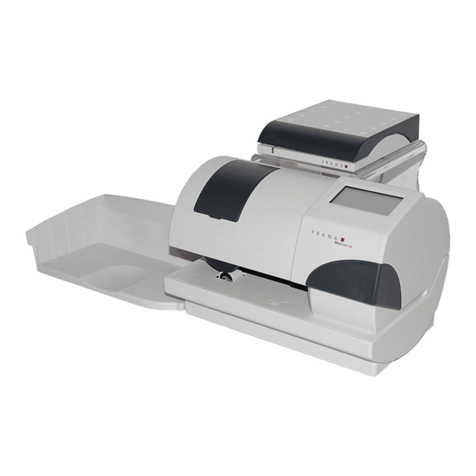
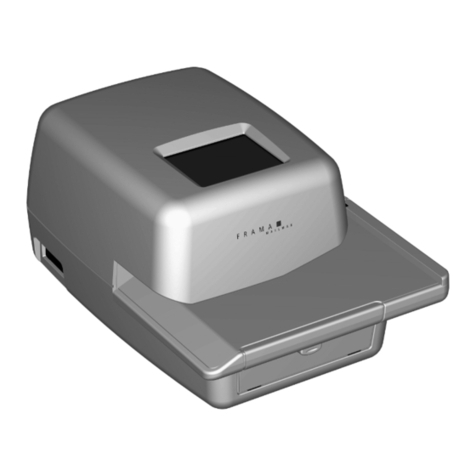
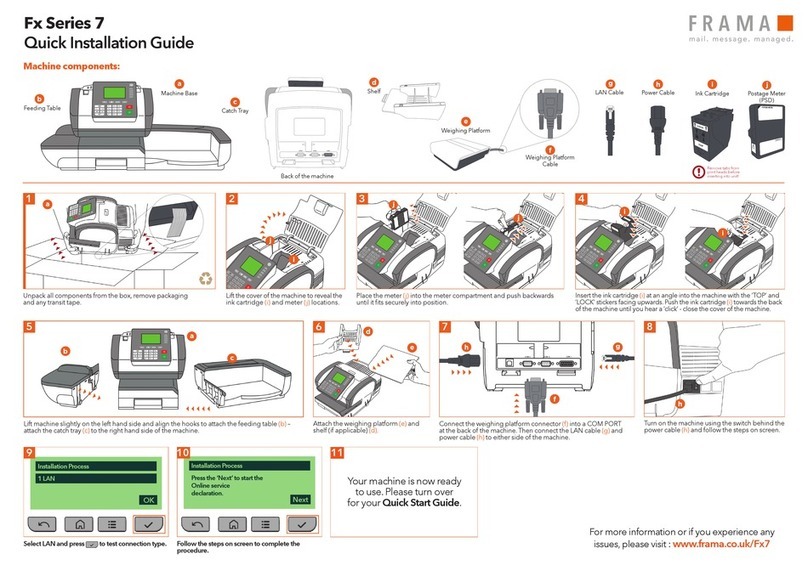
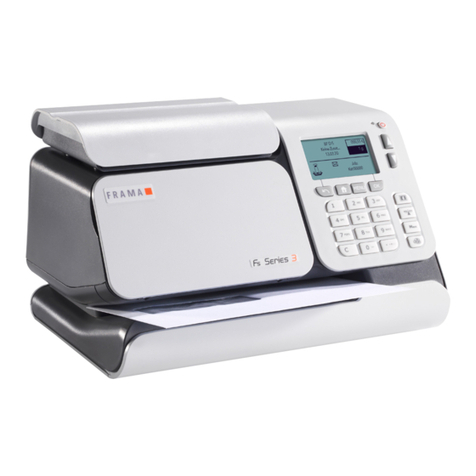
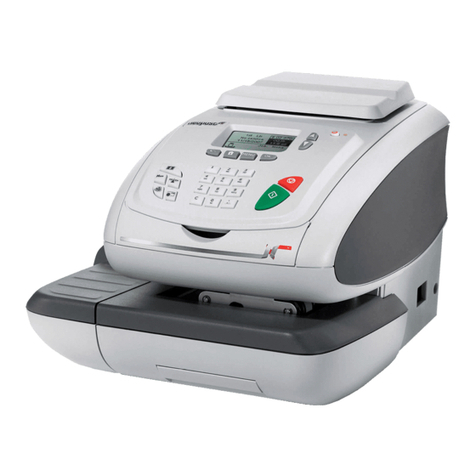
Frama EcoMail User manual

ELECTRONIC FRANKING SYSTEM
Operating Instructions
SISTEMA ELECTRÓNICO DE FRANQUEO
Instrucciones de uso
ELEKTRONISK FRANKERINGSMASKINE
Brugsanvisning
ELEKTRONISKT FRANKERINGSSYSTEM
Instruktionsbok
Models: EcoMail / OfficeMail

Sales and service:
Venta y servicio:
Salg og service:
Försäljning och Service:
229_UG_OfficeMail:229_UG_OfficeMail_E_SP_D_SW_N 10.10.2008 8:10 Uhr Seite 4
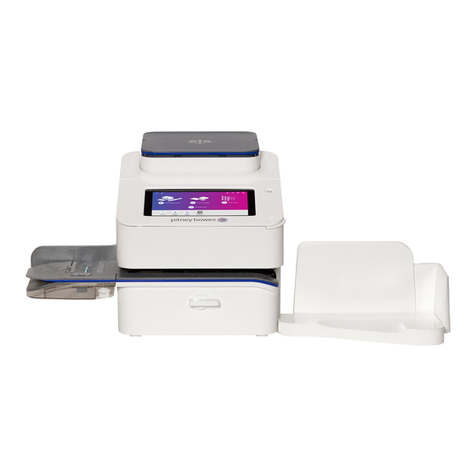
SYSTEM FIGURE REFERENCES
1 Mains connection
2 Fuse holder
3 Mains switch
4 CE conformity symbol
5 Reserve interface
6 9-pole scale interface
7 Nameplate
8 Post lock cover
9 25-pole interface for connecting loading
boxes and PC/laptop
10 Touch-Screen (ComTouch™)
11 Ink ribbon cassette
12 Door lock
13 Letter feed table
14 Table guide
15 Light barrier for letter safety release
16 Light barrier for short letter block
17 Printing mechanism
18 Slit for Short Form Instructions
19 Ink ribbon cassette *
20 Cassette grip *
21 Axle head *
22 Axles *
23 Coil opening *
* See detail drawing, page 13
© All rights reserved. Frama Group.
CONTENTS
Page
21Basic model and options
2 1.1 Basic specifications
2 1.2 Software options
2 1.3 Hardware options
2 1.4 Peripheral options
22Safety instructions /
Accident protection
33Installation /
Mains connection
34Preparing for operation
35Operation
3 5.1 Entering account number
and password
3 5.2 Working menu selection
(sections 5.2.1–5.2.4)
5 5.3 Franking the mail
(sections 5.3.1–5.3.2)
5 5.4 Weight transfer from connected
weighing platform
(sections 5.4.1–5.4.3)
5 5.5 Blocking “High Value”
6 5.6 “ATTN CREDIT” display
6 5.7 No credit loaded
6 5.8 Stamping die switch-on,
switch-off *
(sections 5.8.1–5.8.3)
6 5.9 System settings
(sections 5.9.1–5.9.22)
12 6 Programming ad clichés
12 7 Maintenance
12 7.1 Changing the Colour Cartridge
13 7.2 Option: Rechargeable Thermal Ink
Ribbon Cassette
(sections 7.2.1–7.2.3)
13 7.3 Changing the fuse
13 8 User error messages
15 9 Disposal / Environmental
protection
15 10 Specifications / Accessories
16 11 Conformity declaration
ENGLISH
ESPAÑOLDANSK
SVENSKANORGE
229_Inha_OfficeMail:229_Inha_OfficeMail 30.4.2008 8:58 Uhr Seite 1
Attention!
When franking, the envelope printing
area must be free of hard objects
(paper clips, staples, etc.) that can
mechanically damage the print head.
Frama cannot accept any guarantee
claims or product liability for print
head damage resulting from failure to
observe this operating instruction.

1. BASIC MODEL AND OPTIONS
The Frama OfficeMail Franking System is
available in white-grey or anthracite-black
housings. It can be equipped with additional
software, hardware and peripheral options as
required. Depending on country-specific
postal regulations, credit loading can be car-
ried out using the electronic FramaLink re-
mote postage resetting system (see section
5.9.20).
1.1 Basic specifications
The basic model includes:
• Franking speeds up to 3000 letters per
hour
• Franking of letters of thickness up to 6 mm
• User interface touch screen
• Fully automatic date change
• Two password protected account numbers
• Printing account number details on data cards
• Nine programmable fixed values
• 10-key keypad
• Resettable / non-resettable item counters
• Programmable “High Value” block
1.2 Software options
•“Tariff Module” option T for automatic
postage calculation of inland and foreign
mail (section 5.2.4).
•“Account number Module” option C
for booking franked mail in, for example, 10
(Module C10), 20 (C20) or 50 (C50) ac-
count numbers (section 5.1).
•“Print Selection” option P (up to eight
additional print clichés). Depending on
country-specific regulations certain additio-
nal frankings belong to the basic equipment.
•“Ad Cliché” option A. Up to eight diffe-
rent ad clichés can be permanently stored in
the system using the ad cliché loading box
(section 6).
1.3 Hardware options
•“Scale Interface” option 10 for con-
necting a Frama Scale/Weighing platform
for automatic weight transmission (only pos-
sible in connection with the “Tariff Modu-
le” option T) (section 5.3.4).
•“PC Interface” option 20 for connecting
a PC/laptop (in connection with Tariff Mo-
dule T). This option is possible only for cer-
tain special applications and requires a spe-
cial factory-prepared model.
•“PC Interface” option 22 for connecting
a PC/laptop (without Tariff Module T). This
option is possible only for certain special ap-
plications and requires a special factory-pre-
pared model.
1.4 Peripheral options
• Frama Scales/Weighing platforms
• Tariff loading box
• Franking statistics software on-line, i.e. di-
rect connection to PC or laptop (requires a
special factory-prepared model)
• Statistics software off-line, i.e. no directly
connected PC or laptop (requires a special
factory-prepared model)
This document describes all functions and
options possible with the OfficeMail Franking
System (fully configured model). Described
functions not belonging to the basic equip-
ment are indicated with an “*” symbol in the
footnote meaning: If so equipped.
2. SAFETY INSTRUCTIONS /
ACCIDENT PROTECTION
• Please read through these operating in-
structions carefully and follow the directions
contained herein.
• Before operating your franking machine for
the first time, it must be properly licensed
with your postal authority and sealed under
the post lock cover (8). Please follow the in-
structions of your local Frama representa-
tive.
• Under no circumstances remove the seal
under the post lock cover (8)! Report any
damage to it to your local Frama represen-
tative immediately.
• In Germany buildings must have an over-
voltage protection installed on the mains line
where the franking system is connected.
• Check the cable and plug before each in-
stallation. Have any damage immediately re-
paired by a specialist.
• Always switch off the franking machine
(mains switch (3) on the rear of the unit) to
position “0” before connecting the mains
plug to the mains.
• Always position the mains cable behind the
machine and ensure that it cannot be dam-
aged or cause anyone to trip over it.
• Grip the plug to remove it. Never pull on the
cable to remove the plug.
• To avoid damage, never place foreign ob-
jects in the vicinity of the printing mecha-
nism (17).
• To avoid injury to your fingers, never place
2
229_Inha_OfficeMail:229_Inha_OfficeMail 30.4.2008 8:58 Uhr Seite 2

3
shown in inverted text, that is, with dark back-
ground):
• Enter the requested one or two-digit ac-
count number (the number of digits de-
pends on your account number module).
Confirm with the “OK” button.
• If the password protection was switched on
in the Setup menu (section 5.9.13), then
you must enter the programmed one to ma-
ximum six-place password number. After
entering, confirm with the “OK” button.
Important: The highest possible password
number is reserved for the person responsible
for the system. It allows the use of certain
special functions in the Setup menu (section
5.9). Thus for this account number, entry
of the programmed password is always re-
quired.
Following successful entries of the above in-
formation, the system moves on to one of the
three main working menus.
5.2 Working menu selection
Depending on the options selected and the
programming in the Setup menu (section
5.9.21), and after you have entered the ac-
count number and, if enabled, the password,
one of the following three working menus ap-
pears:
– Pre-programmed Fixed values
– 10-key Keypad
– Automatic tariff calculation *
5.2.1 Working menu information
The following information appears in the up-
per part of each working menu:
– Value indicator with a set franking value
(possible additional information: “HIGH VA-
LUE”/“ATTN CREDIT”)
– Date indicator with the set date, or simply
“OFF” if the date is switched off (country-
specific)
– Selected account number
– Set additional print cliché (dependent on
system configuration / country-specific)
– Ad cliché status, e.g. Advertisement 2 (for
switched-on cliché no. 2) / Advertisement
switched off
If you touch the value indicator display in the
button field (upper right) when it is not in in-
verse type, you can move from one working
menu to the next in the sequence given
above.
them in the vicinity of the printing mecha-
nism (17). Be careful with ties, scarves,
long hair, etc.
• Keep children away from the system.
• Have repairs made exclusively through your
local Frama representative. Under no cir-
cumstances open the franking system by
yourself!
3. INSTALLATION /
MAINS CONNECTION
Place the franking system on a horizontal sur-
face. Leave sufficient space for the ejection
of the franked letters to the left of the ma-
chine.
Ensure that the mains switch (3) on the rear
of the machine is set to the “0” position.
Connect the mains cable to the mains
connection (1) and then connect the other
end to a suitable mains source. (Overvoltage
protection is required in Germany.)
4. PREPARING FOR OPERATION
Switch the mains switch (3) on the rear of the
machine to the “1” position. The following
then appears on the touch screen (10): the
Frama logo, the version number of the soft-
ware used, and, if electronic remote postage
resetting is included, a bar graph indicating
the remaining franking value as a percentage
of the value available immediately after the
last credit loaded. (For more information on
loading, see section 5.9.20.) A menu field
then appears for entering your account num-
ber and the associated password.
5. OPERATION
5.1 Entering account number and
password
To the top right of the menu field you can see
the system data listed below. You cannot edit
this data.
– Total value counter
– Total items counter
– Total zero frank counter
– Remaining credit (franking amount still avail-
able)
– Total amount loaded *
The account number and the associated
password can now be entered as follows (the
entries requested by the system are always
229_Inha_OfficeMail:229_Inha_OfficeMail 30.4.2008 8:58 Uhr Seite 3
This manual suits for next models
1
Table of contents
Languages:
Other Frama Postal Equipment manuals

Frama
Frama Matrix F Series Instruction sheet

Frama
Frama Matrix F32 Manual

Frama
Frama Matrix F4 User manual

Frama
Frama Fx 5 Series User manual

Frama
Frama Access B400 User manual

Frama
Frama MATRIX F22 Installation instructions

Frama
Frama Matrix F Series User manual

Frama
Frama Fs 3 Series User manual

Frama
Frama Matrix F32 User manual

Frama
Frama Fx 7 Series User manual