manuals.online logo
Brands
  1. Home
  2. •
  3. Brands
  4. •
  5. Häfele
  6. •
  7. Indoor Furnishing
  8. •
  9. Häfele Suzie Q Corner carrousel fitting Guide

Häfele Suzie Q Corner carrousel fitting Guide

Mounting and Adjustment Instruction for
corner carrousel fitting
2
Frameless Cabinets:
The standard specification is
including a steel top mounting
bracket. In this case the fitting
has a door lowering device
included,which lowers the
door automatically during ope-
ning.The door lowering device
permits small gaps between
the door and the countertop.
Face Frame cabinets:
The standard specification is
without a top mounting
bracket.The pole bearing is
attached to the cabinet top.
This way, no lowering device is
needed.
In addition to this general mounting and adjustment
instruction you need the fitting specification docu-
ment, where the individual drilling dimensions for
the cabinet bottom, cabinet top, side walls and
cabinet doors are specified.This document indica-
tes also, if you have to do some additional adjust-
ments at the cabinet design. If you don’t have it,
please contact your Hafele sales rep.
Example shows one shelf option.
3
1. Preparing cabinet bottom and side wall/cabinet top
Preparing cabinet bottom
Drill three holes into the cabinet bottom
according to the illustration included in the
fitting specification.
Specification Document
Drill two holes 12 mm deep with 5 mm bit into
side walls (see drilling dimensions at fitting
specification document).
Drill one 10 mm hole into the cabinet top accor-
ding to the illustration included in the fitting
specification.
If a top mounting bracket is specified
(mainly frameless cabinets) please proceed
like this:
For cabinets with cabinet top please proceed
like this:
Specification Document
EXAMPLE
EXAMPLE
EXAMPLE
4
2. Assembling carcass and cam plate
Assembling carcass
After having drilled all holes, assemble the
carcass.
Mounting of cam plate
Press the cam plate into the drilled holes in the
bottom of cabinet interior and fasten with four
3.5 x 30 mm (#6 x 1 1/8’’) flat head screws
(customer supplied).
5
3. Installation of top mounting bracket
only if specified
Installation of top mounting bracket is
only applicable if cabinet has no top.
(--> mainly frameless cabinets)
If cabinet has a top, proceed with
4.Installation of fitting, (page 6).
(--> mainly face frame cabinets)
Please refer to your fitting specification document,
if you have to use the 3mm spacers. If the spacers
are specified, please mount them between the top
mounting bracket and the side wall.This assures
the correct position of the upper pole bearing.
Fasten top mounting bracket with 6.2 x 10.5 mm
Euro flange head screws (customer supplied).
6
4. Installation of Fitting
Mounting the pole
Place the pole with the upper pole bearing into
the cam plate. Push both connection rods com-
pletely to rear while turning the pole approx. 90°
to the left until the guide roller is positioned on
the outer edge of the cam plate and the axle firm-
ly clicks into position.This prevents lifting of the
pole out of the cam plate.
Connecting the upper pole bearing
Now connect the upper pole bearing to either the
top mounting bracket (frameless cabinets with
specified top mounting bracket) or
7
5. Mounting doors
Preparing doors
Drill 4 holes into the doors according to the
illustration included in the fitting specification.
Screwing door brackets onto the doors
Screw first the lower door brackets (unhanded)
and then the upper door brackets (left and right!)
onto the doors (customer supplied).
You can identify the left and the right upper
door bracket, as the upper and lower door
brackets have to be vertically aligned at each
door.
The lower door brackets are the same for left
and right side.
Specification Document
EXAMPLE
8
5. Mounting doors
Clip the connecting rods into the bottom door
bracket.
Securing the door
To avoid unintended unhinging of the door, attach
securing caps onto lower locating pin.
NOTE - Securing caps are permanent.
Install after final adjustment.
Hanging doors onto the door holders
Hang doors onto upper door holder and
lower door holders with the locating pins.
9
6. Mounting shelves / Fixing transport lock
Plastic Shelves, Arena Shelves,
Chrome/Wire Shelves or Pro Arc Shelves
Attach shelves to pole according to the mounting
instruction coming with the shelves.
Wooden shelve
If you use your own wooden shelf, you need a
shelf support supplied by Hafele (including a
shelf drawing).
Fasten the wooden shelves with screws to the
supports and attach the support to the pole.
Transport Lock
10
7. Mounting of support device / Transport notices
Screwing the top mounting bracket to the
countertop
If you use a granite countertop, use a silicone
adhesive (as recomended by countertop supplier)
in order to attach the top mounting bracket to the
countertop.
Mounting of support device
Please put a support device (i.e. socket foot,
extended toe kick) underneath the cabinet bottom
(pole) in order to avoid a sagging of the bottom
under the load of the trays, which may cause a
malfunction of the fitting.
Attention on the top mounting bracket!
If you use a top mounting bracket:
Do not carry the cabinet from the top mounting
bracket. Do not bend the top mounting bracket.
Do not put load on the top mounting bracket
(i.e. do not stack other cabinets on top for trans-
port).
11
8. Adjusting the doors
Adjusting the Doors
The doors can be adjusted independently of each
other in all directions.Before making adjustments,
make sure the corner cabinet is aligned exactly. If
you use adjustable cabinet feet, special attention
should be paid to adjusting the middle foot for sup-
port of the pole weight.
When adjusting, first correctly align the right door
following the steps illustrated below.
Then adjust the left door in the same sequence.
1. Depth adjustment
Depth adjustment – aligns the doors plumb to
cabinet face.
2. Side adjustment
Side adjustment: adjusts the door overlay
3. Height adjustment
Height adjustment: adjusts the distance between
the door and the countertop
1-800-423-3531
Fax:336-431-3831
Häfele America Co. • 3901 Cheyenne Dr. • Archdale, NC 27263 • USA
Adjusting closing speed of doors
Closing Speed of Doors:
You can adjust the closing speed of the doors
without removing the fitting.Turn adjustment
screw clockwise for quicker door-closing.
For slower door-closing, turn adjustment screw
counterclockwise.
Damping of rotation speed:
You can adjust the damping of rotation speed
without removing the fitting. Turn adjustment
screw clockwise for quicker door-closing.
For slower door-closing, turn adjustment screw
counterclockwise.

This manual suits for next models

5

Other Häfele Indoor Furnishing manuals

Häfele Job Tisch 633.50.551 User manual

Häfele

Häfele Job Tisch 633.50.551 User manual

Häfele 271.92.200 User manual

Häfele

Häfele 271.92.200 User manual

Häfele 641.06.913 User manual

Häfele

Häfele 641.06.913 User manual

Häfele AdjustableTableSystem 630.44 Series User manual

Häfele

Häfele AdjustableTableSystem 630.44 Series User manual

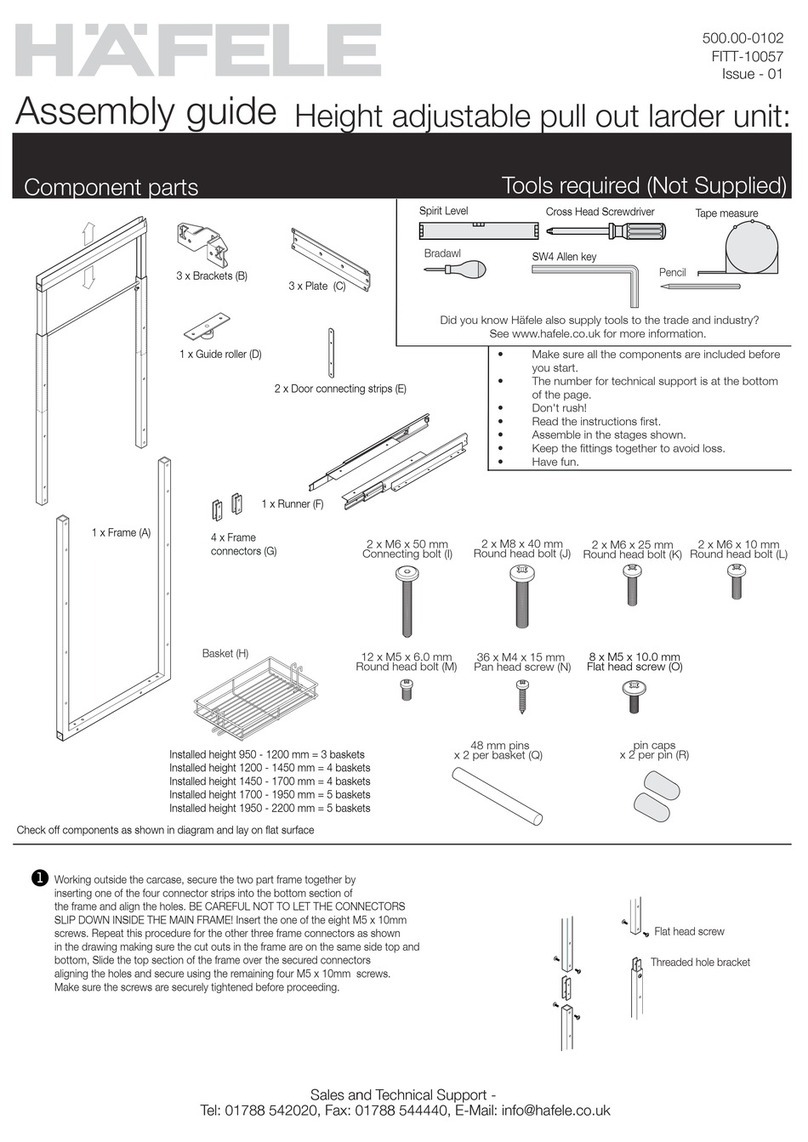
Häfele Side mounting pull-out Larder unit User manual

Häfele

Häfele Side mounting pull-out Larder unit User manual

Häfele Verso 372.68 Series User manual

Häfele

Häfele Verso 372.68 Series User manual

Häfele 580.57.040 User manual

Häfele

Häfele 580.57.040 User manual

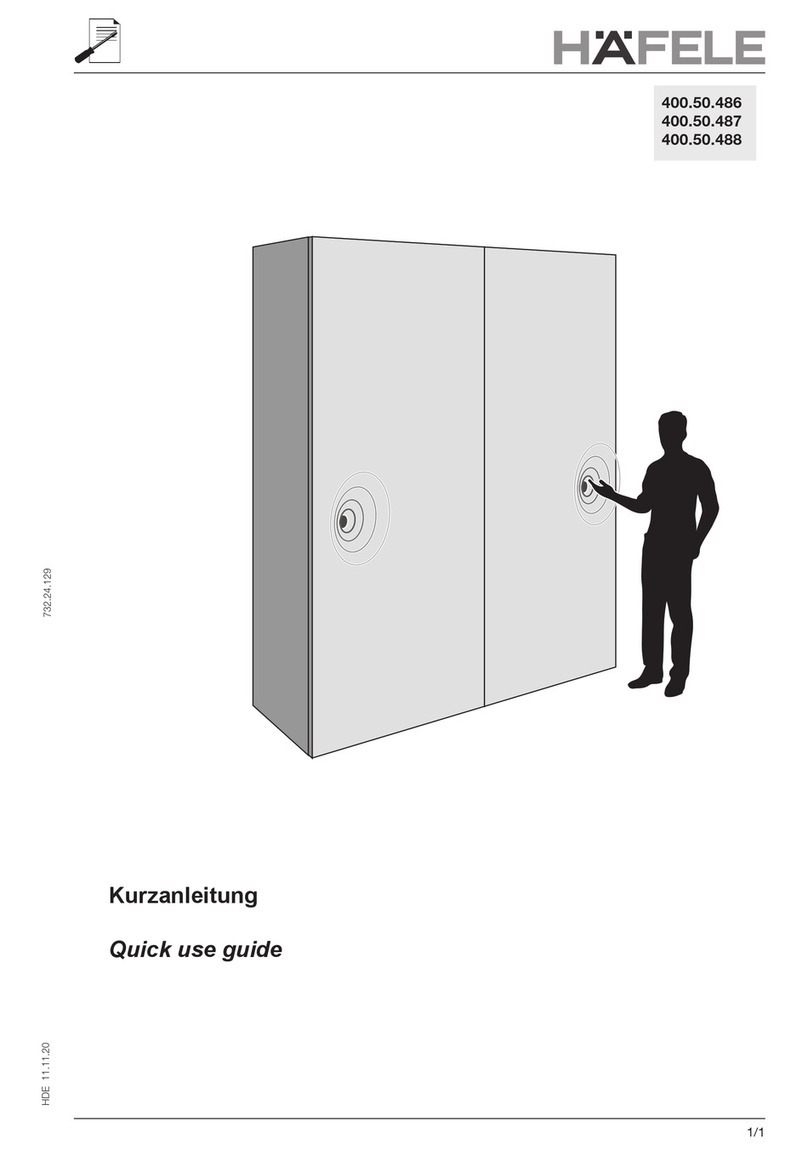
Häfele 400.50.486 Operating manual

Häfele

Häfele 400.50.486 Operating manual

Häfele PARTY 600 411/78.1500.22 User manual

Häfele

Häfele PARTY 600 411/78.1500.22 User manual

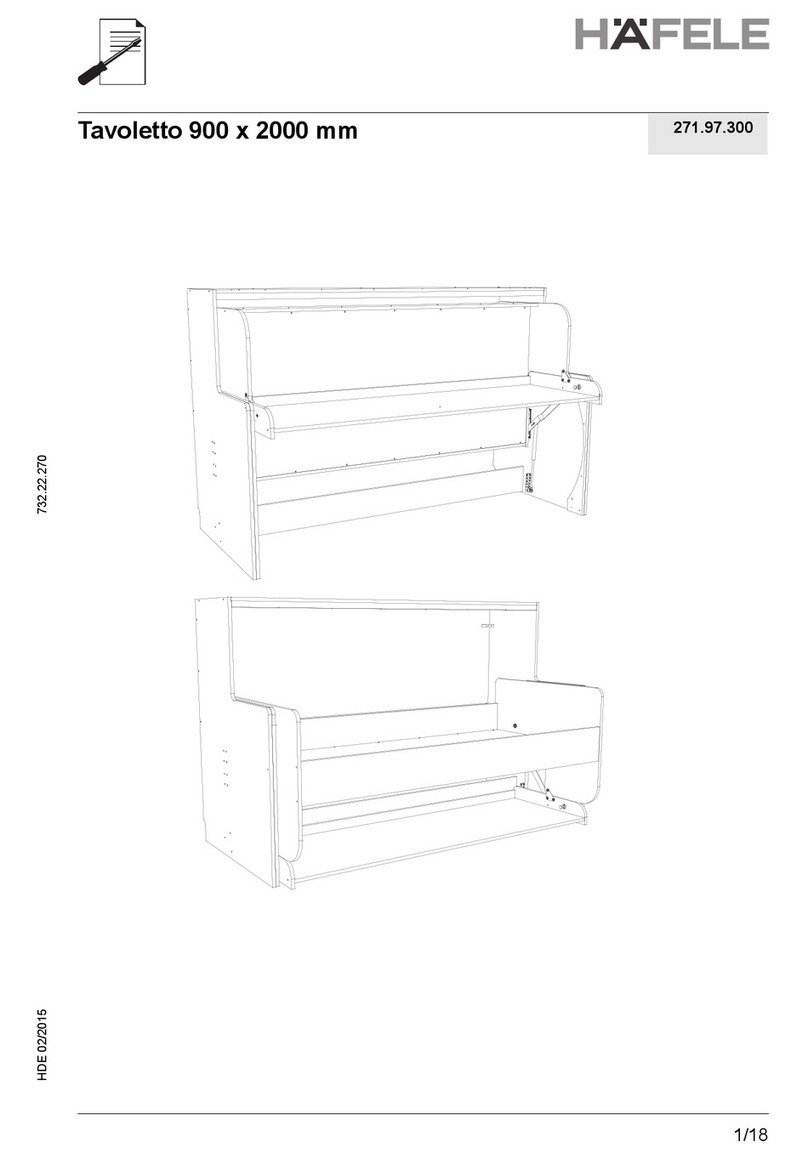
Häfele Tavoletto 271.97.300 User manual

Häfele

Häfele Tavoletto 271.97.300 User manual

Häfele Nova Pro Scala User manual

Häfele

Häfele Nova Pro Scala User manual

Häfele KYOTO TOWEL RING User manual

Häfele

Häfele KYOTO TOWEL RING User manual

Häfele Dialock FT 120 User manual

Häfele

Häfele Dialock FT 120 User manual

Häfele 732.22.284 User manual

Häfele

Häfele 732.22.284 User manual

Häfele W300-IMP User manual

Häfele

Häfele W300-IMP User manual

Häfele CLEVER User manual

Häfele

Häfele CLEVER User manual

Häfele JobTisch 633.50.551 User manual

Häfele

Häfele JobTisch 633.50.551 User manual

Häfele AES 64 NR User manual

Häfele

Häfele AES 64 NR User manual

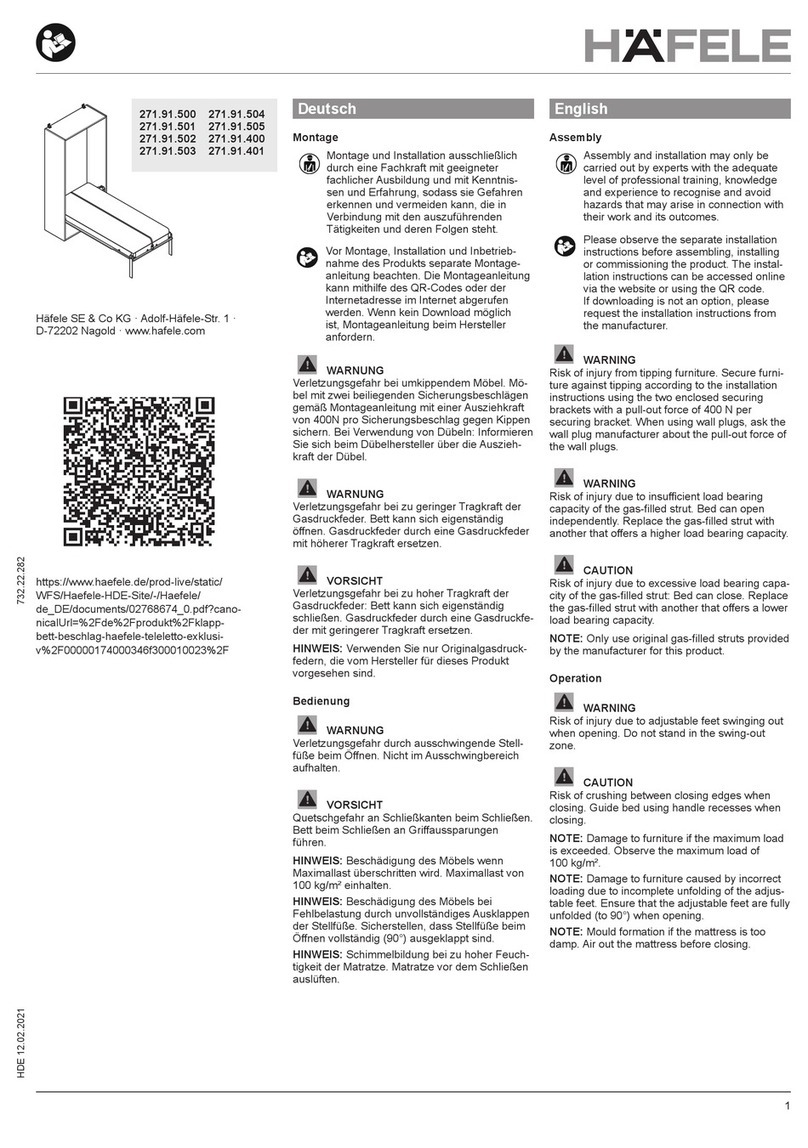
Häfele 271.91.500 User manual

Häfele

Häfele 271.91.500 User manual

Häfele 633.25.006 Quick guide

Häfele

Häfele 633.25.006 Quick guide

Häfele Tavoletto 271.97.301 User manual

Häfele

Häfele Tavoletto 271.97.301 User manual

Häfele Aquasys 983.19.010 User manual

Häfele

Häfele Aquasys 983.19.010 User manual

Häfele OPLA FOLDING 600 User manual

Häfele

Häfele OPLA FOLDING 600 User manual

Häfele 642.21.897 User manual

Häfele

Häfele 642.21.897 User manual
Popular Indoor Furnishing manuals by other brands

Cooper Lighting Neo-Ray Symbio 194 Specification sheet

Cooper Lighting

Cooper Lighting Neo-Ray Symbio 194 Specification sheet

Sanus Alabaster ACV53 Assembly instructions

Sanus

Sanus Alabaster ACV53 Assembly instructions

HON Initiate Flexconnect installation instructions

HON

HON Initiate Flexconnect installation instructions

Amisco Skyla 44434-26WE/1B25JKF4 Assembly

Amisco

Amisco Skyla 44434-26WE/1B25JKF4 Assembly

Salon Ambience Luxury single WU 015 Installation and Maintenance

Salon Ambience

Salon Ambience Luxury single WU 015 Installation and Maintenance

Elite Window Fashions Z - RS Fascia Installation instructions manual

Elite Window Fashions

Elite Window Fashions Z - RS Fascia Installation instructions manual

Next 110350 Assembly instructions

Next

Next 110350 Assembly instructions

Jesse 9LEFEGA020 Assembly instruction

Jesse

Jesse 9LEFEGA020 Assembly instruction

Dunelm Anya 180 Assembly instructions

Dunelm

Dunelm Anya 180 Assembly instructions

Mocka Jesse Changing Tray quick start guide

Mocka

Mocka Jesse Changing Tray quick start guide

RTA Z-101-P Assembly instructions

RTA

RTA Z-101-P Assembly instructions

Argos Capella 249/6674 Assembly instructions

Argos

Argos Capella 249/6674 Assembly instructions

Seconique NEVADA 4 DOOR 2 DRAWER WARDROBE Assembly instructions

Seconique

Seconique NEVADA 4 DOOR 2 DRAWER WARDROBE Assembly instructions

Costway HW71003 Instruction booklet

Costway

Costway HW71003 Instruction booklet

Argos Double Tidy Rail 8751698 Assembly instructions

Argos

Argos Double Tidy Rail 8751698 Assembly instructions

FMD VIBIO 2 Assembly instruction

FMD

FMD VIBIO 2 Assembly instruction

Songmics VASAGLE LWD066 manual

Songmics

Songmics VASAGLE LWD066 manual

Emmezeta MRYT121 Assembling Instruction

Emmezeta

Emmezeta MRYT121 Assembling Instruction

manuals.online logo
manuals.online logoBrands
  • About & Mission
  • Contact us
  • Privacy Policy
  • Terms and Conditions

Copyright 2025 Manuals.Online. All Rights Reserved.