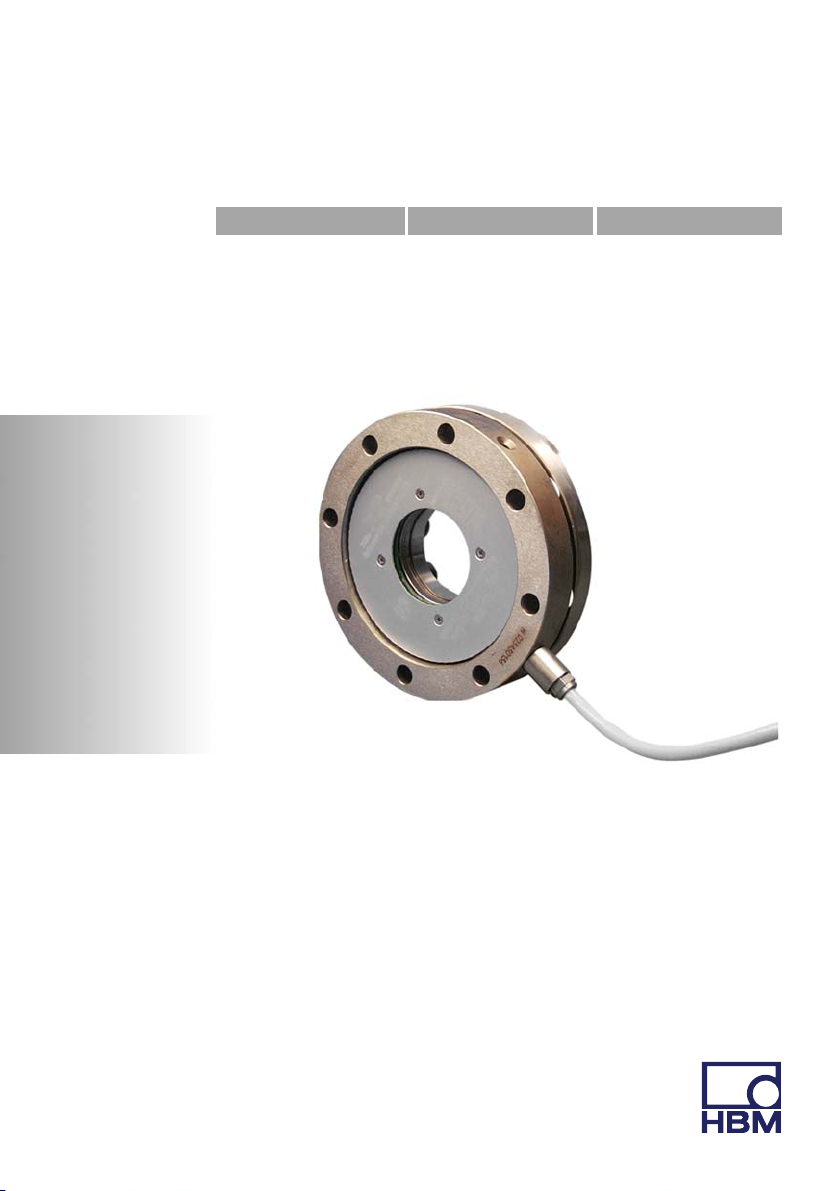
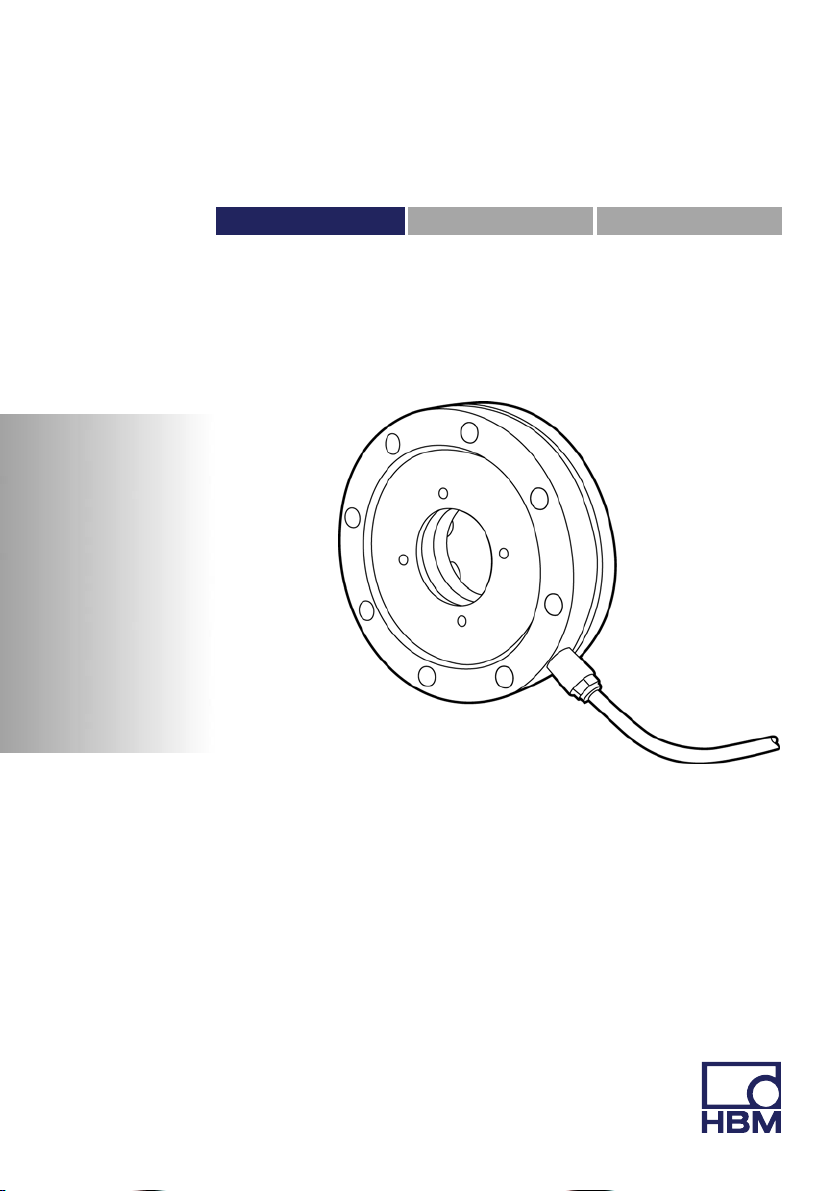
HBM TB1A User manual

Mounting Instructions | Montageanleitung |
Notice de montage
English Deutsch Français
TB1A

Hottinger Baldwin Messtechnik GmbH
Im Tiefen See 45
D-64239 Darmstadt
Tel. +49 6151 803-0
Fax +49 6151 803-9100
www.hbm.com
Mat.: 7-2001.1000
DVS: A0162-8.0 HBM: public
04.2015
EHottinger Baldwin Messtechnik GmbH.
Subject to modifications.
All product descriptions are for general information only.
They are not to be understood as a guarantee of quality or
durability.
Änderungen vorbehalten.
Alle Angaben beschreiben unsere Produkte in allgemeiner
Form. Sie stellen keine Beschaffenheits- oder Haltbarkeits
garantie dar.
Sous réserve de modifications.
Les caractéristiques indiquées ne décrivent nos produits
que sous une forme générale. Elles n'impliquent aucune
garantie de qualité ou de durablilité.

Mounting Instructions | Montageanleitung |
Notice de montage
English Deutsch Français
TB1A

2A0162-8.0 HBM: public TB1A
English
1 Safety instructions 3........................................
1.1 The markings used in this document 6..........................
1.2 Symbols on the product 7.....................................
2 Scope of supply 8..........................................
3 Application 9...............................................
4 Structure and mode of operation 10...........................
4.1 Mechanical structure 10.......................................
5 Mounting 11.................................................
5.1 General installation notes 11...................................
5.2 Mounting position 15..........................................
5.3 Conditions on site 15..........................................
5.4 Mechanical installation 15......................................
5.5 Loading capacity 23...........................................
6 Electrical connection 25......................................
6.1 Notes for cabling 26...........................................
6.2 Four‐wire technique 27........................................
7 Maintenance 28..............................................
8 Accessories 28..............................................
9 Specifications 29............................................
10 Dimensions 33..............................................

Safety instructions
TB1A A0162-8.0 HBM: public 3
1 Safety instructions
Use in accordance with the regulations
Reference torque measuring‐discs TB1A are used
exclusively for torque measurement tasks and control
and adjustment tasks directly connected thereto. Use for
any additional purpose shall be deemed to be not in
accordance with the regulations.
In the interests of safety, the transducer should only be
operated as described in the Mounting Instructions. It is
also essential to observe the appropriate legal and safety
regulations for the application concerned during use. The
same applies to the use of accessories.
The transducer is not a safety element within the mean
ing of its use as intended. Proper and safe operation of
this transducer requires proper transportation, correct
storage, assembly and mounting and careful operation.
General dangers of failing to follow the safety
instructions
The transducer corresponds to the state of the art and is
fail‐safe. The transducer can give rise to remaining
dangers if it is inappropriately installed and operated by
untrained personnel.
Everyone involved with the installation, commissioning,
maintenance or repair of the transducer must have read
and understood the Operating Manual and in particular
the technical safety instructions.
Remaining dangers
The scope of supply and performance of the transducer
covers only a small area of torque measurement
technique. In addition, equipment planners, installers and

Safety instructions
4A0162-8.0 HBM: public TB1A
operators should plan, implement and respond to the
safety engineering considerations of torque
measurement technique in such a way as to minimize
remaining dangers. Prevailing regulations must be
complied with at all times. Reference must be made to
remaining dangers connected with torque measurement
technology.
Conversions and modifications
The transducer must not be modified from the design or
safety engineering point of view except with our express
agreement. Any modification shall exclude all liability on
our part for any damage resulting therefrom.
Qualified personnel
Qualified personnel means persons entrusted with the
installation, fitting, commissioning and operation of the
product who possess the appropriate qualifications for
their function.
The transducer must only to be installed and used by
qualified personnel, strictly in accordance with the specifi
cations and with safety requirements and regulations. It
is also essential to observe the appropriate legal and
safety regulations for the application concerned during
use. The same applies to the use of accessories.
Prevention of accidents
According to prevailing accident prevention regulations, it
is essential that after mounting the transducers the user
fits a cover or enclosure as follows:
SThe cover or enclosure must not be able rotate.

Safety instructions
TB1A A0162-8.0 HBM: public 5
SThe cover or enclosure shall protect against crushing
or cutting and provide protection against parts that
might come loose.
SThe covers and enclosures shall be installed at a safe
distance from moving parts or shall prevent anyone
putting their hand inside.
SThe covers and enclosures shall even be fitted if the
moving parts are installed in areas to which persons
do not usually have access.
The above regulations may only be diverged from, if
machine parts are already sufficiently protected owing to
the design of the machine or because other precautions
have been taken.

Safety instructions
6A0162-8.0 HBM: public TB1A
1.1 The markings used in this document
Important instructions for your safety are specifically
identified. It is essential to follow these instructions in
order to prevent accidents and damage to property.
Symbol Significance
WARNING This marking warns of a potentially dangerous
situation in which failure to comply with safety
requirements can result in death or serious physical
injury.
CAUTION This marking warns of a potentially dangerous
situation in which failure to comply with safety
requirements can result in slight or moderate physical
injury.
Notice This marking draws your attention to a situation in
which failure to comply with safety requirements can
lead to damage to property.
Important
This marking draws your attention to important
information about the product or about handling the
product.
Tip
This marking indicates application tips or other
information that is useful to you.
Information
This marking draws your attention to information
about the product or about handling the product.
Emphasis
See….
Italics are used to emphasize and highlight text and
references to other chapters and external documents.

Safety instructions
TB1A A0162-8.0 HBM: public 7
1.2 Symbols on the product
CE mark
The CE mark enables the manufacturer to guarantee that
the product complies with the requirements of the rele
vant EC directives (the declaration of conformity is avail
able at http://www.hbm.com/HBMdoc).
Statutory marking requirements for waste disposal
National and local regulations regarding the protection of
the environment and recycling of raw materials require
old equipment to be separated from regular domestic
waste for disposal.
For more detailed information on disposal, please contact
the local authorities or the dealer from whom you pur
chased the product.

Scope of supply
8A0162-8.0 HBM: public TB1A
2 Scope of supply
The scope of supply includes the following:
1 Reference torque measuring‐disc
1 Mounting Instructions
1 Test record

Application
TB1A A0162-8.0 HBM: public 9
3 Application
Transducers measure static and dynamic torques in
non‐turning mode. The nominal torques fall within the
range 100 N⋅m to 10 kN⋅m.
Transfer torque transducer
The main applications are torque transfer, for example,
when calibrating reference transducers in test and
calibration machines and comparisons of the reference
normals of various calibration laboratories.
In the case of transfer transducers, a high degree of
comparability is important, as when relaying torque, this
provides a gage for various observers, test conditions,
laboratories and the installation and time situation. So for
relay, the same installation conditions should be created
as for calibration in the reference normal, or relevant
adapters (for recommendations, see Page 22f) should be
included in the calibration.
Reference torque transducer
Reference torque transducers are mounted in a
calibration device and then the entire calibration machine
is qualified or certified by means of transfer torque
transducers, for example. The precise sensitivity of the
transducer is thus less important.
General torque measurements in non‐turning mode
Because of the high mechanical loading capacity, the
permissible vibration bandwidth of 160 %
(10 kN⋅m = 120 %) of nominal torque and the compact
design, the transducers are also eminently suitable for
use in testing machines for component testing (rotary
alternating stress) or as reaction torque transducers, for
example in agitators with direct drive motor or gearbox
connection.

Structure and mode of operation
10 A0162-8.0 HBM: public TB1A
4 Structure and mode of operation
4.1 Mechanical structure
The reference torque measuring‐disc comprises a
measuring body applied with strain gages and a
mounting flange screw fitted to it.
Measuring body
Mounting flange
Measuring side
Fig. 4.1 Mechanical structure

Mounting
TB1A A0162-8.0 HBM: public 11
5 Mounting
5.1 General installation notes
When the torque measuring‐disc is fitted in test benches,
the test bench components (frame, couplings, mounting
flanges, screw fittings, etc.), affect the deflection
performance in the shaft run and thus the measuring
characteristics (zero point, sensitivity, reproducibility).
The causes for this can include:
SAdditional parasitic loadings such as radial forces,
axial forces or bending moments
SAsymmetrical torque introduction in the transducers

Mounting
12 A0162-8.0 HBM: public TB1A
SDifferent stiffness conditions in the shaft run to those
of transducer calibration
These test bench reactions on the reference transducer
are calibrated in by adaptable lever‐ground systems, for
example.
Torque transducer to be calibrated
Blocking device
TB1A
Lever‐force device for static
torque
Calibration test device with reference
transducer
Fig. 5.1 Typical installation in a calibration test device
Parasitic loadings
Parasitic loadings are caused by deformations in the
shaft run. They result in an additive effect on the zero
signal of the torque measuring‐disc (see Specifications).
If they occur during a torque loading, they cause an
apparent change in sensitivity.

Mounting
TB1A A0162-8.0 HBM: public 13
Countermeasures:
1. Optimum alignment of the shaft run (note alignment
data in the Specifications!).
As long as you do not exceed the permissible limits
for bending moments, transverse force and longitud
inal force, no special couplings or other measures are
required to install the reference torque measuring‐disc
(effect on the measurement result approx. 1 % of
nominal torque).
2. If you cannot achieve the requisite alignment accur
acy, use non‐interacting couplings.
3. Keep the weight of the shaft sections acting on the
torque measuring‐disc as low as possible.
Depending on the design of the test bench, decoupling
measures with torsionally stiff but pliable torsion bars
may be necessary.
Different stiffness conditions
If the stiffness conditions in the shaft run (near the torque
measuring‐disc) differ to the conditions during calibration
in the HBM normal measuring device, this can change
the torque introduction to the torque measuring‐disc.
Countermeasures:
1. Keep strictly to the prescribed fastening bolt tightening
torques.
2. Use high‐strength or hardened adaptation compon
ents, especially close to the torque introductions and
torque outlets of the torque measuring‐disc.

Mounting
14 A0162-8.0 HBM: public TB1A
Asymmetrical torque distributions
Asymmetrical (axially uneven) torque distribution in the
shaft run can lead to deflections, that then cause
parasitic loadings.
Countermeasures:
1. Use all the available screw connections for the mount
ing.
2. Keep strictly to the prescribed fastening bolt tightening
torques.
3. Avoid making unnecessary bore holes in the adapta
tion flanges.
4. Use flange surfaces that are clean, flat and as pol
ished as possible.
5. Avoid having torque introductions and outlets right on
the outside diameter of the measuring disc.
6. Use adaptation flanges with sufficiently large clear
ance bores to stop the screws locking up.

Mounting
TB1A A0162-8.0 HBM: public 15
5.2 Mounting position
The reference torque measuring‐disc can be installed in
any position. With clockwise momentum, there is a
positive output signal in conjunction with the HBM
measuring amplifiers.
5.3 Conditions on site
The TB1A reference torque measuring‐discs are
protected to IP54 according to EN 60529. The
measuring‐discs must be protected from dirt, dust, oil,
solvents and humidity.
During operation, the prevailing safety regulations for the
security of personnel must be observed.
5.4 Mechanical installation
Notice
Handle the reference torque measuring‐disc carefully.
The transducer might suffer permanent damage from
mechanical shock (dropping), chemical effects (e.g.
acids, solvents) or thermal effects (hot air, steam).
CAUTION
You must not loosen the screwed joints of the measuring
body and mounting flange and the slotted screws of the
identification plate marked at the factory by safety paint.

Mounting
16 A0162-8.0 HBM: public TB1A
When installing the reference torque measuring‐disc as a
comparison standard in calibration test benches, the
torque to be measured is introduced from the measuring
side (see Fig. 5.2).
Slottedscrews
Identification plate
Screwed joint
Measuring body mounting flange
Measuring side
Fig. 5.2 Screwed joints painted at the factory
Assembly sequence:
1. Use flange surfaces (minimum material
strength > 900 N/mm2;hardness > 30 HRC) that are
clean, flat (run‐out tolerance 0.01 mm) and as pol
ished as possible ( Rt < 0.8).
2. Prior to installation, clean the plane flange surfaces of
the torque‐measuring disc and of the counter flanges.
For safe torque transfer, the surfaces must be clean

Mounting
TB1A A0162-8.0 HBM: public 17
and free from grease. Use a piece of cloth or paper
soaked with a solvent. Make sure that no solvent
drips into the gaging flange's interior.
3. Use eight DIN EN ISO 4762; black/oiled/mtot=0,125
hexagon‐socket screws, property class 10.9 (measur
ing range 10 kN⋅m: 12.9), of the appropriate length
(depending on the connection geometry, see
Tab. 5.1) to screw‐fasten the measuring body.
We recommend, particularly for 100 N⋅m and 200 N⋅m
situations, fillister‐head screws DINEN ISO 4762 or
similar, blackened, smooth‐headed, permitted size
and shape variance in accordance with DIN ISO
4759, Part 1, product class A.
WARNING
The screw heads (Z), see Fig. 5.3, must not sit on the
mounting flange.
With alternating loads: glue all the connection screws into
the counter thread with a screw locking device (medium)
to exclude a pretension loss due to screw slackening.
4. With a cut thread, the adapter material should have a
yield point of at least 900 N/mm2.

Mounting
18 A0162-8.0 HBM: public TB1A
Screwed joint
measuring body
Screwed joint
mounting flange
Z
Fig. 5.3 Screwed joint of the measuring body
5. Before finally fastening the screws, turn the reference
torque measuring‐disc on the centering until all screw
heads are located about centrically in the connection
element's clearance bores. The screw heads may in
no case be in contact with the sides of the mounting‐
flange clearance bores.
6. Fasten all screws with the specified tightening torque
(Tab. 5.1).
7. For further installation of the shafting, there are eight
threaded bores on the mounting flange. Also use
screws of property class 10.9 and fasten with the
tightening torque specified in Tab. 5.1.
Other manuals for TB1A
1
Table of contents
Languages:
Other HBM Transducer manuals
Popular Transducer manuals by other brands

novotechnik
novotechnik RSC-2800 user manual

DFE
DFE TrueTension TI17C instruction manual

Balluff
Balluff BTL5-C/E1 Series Condensed guide

Airmar
Airmar M260 Owner's guide & installation instructions

Clark Synthesis
Clark Synthesis TST429 specification

TCS Basys Controls
TCS Basys Controls SE1000 product manual