manuals.online logo
Brands
  1. Home
  2. •
  3. Brands
  4. •
  5. HEIDENHAIN
  6. •
  7. Measuring Instrument
  8. •
  9. HEIDENHAIN TS 642 User manual

HEIDENHAIN TS 642 User manual

3/2013
TS 642
Montageanleitung
Mounting Instructions
Instructions de montage
Istruzioni di montaggio
Instrucciones de montaje
取付説明書
安装说明
安裝指導手冊
설치 지침
Índice
Página
4Notas de aviso
8Elementos suministrados
10 Dimensiones
12 Montaje del cono
14 Cambio del vástago
16 Cambio de la batería
20 Configuración del protocolo de
comunicación
24 Centrado
28 Información técnica
30 Secuencia de la señal
Indice
Pagina
4Avvertenze
8Standard di fornitura
10 Dimensioni
12 Montaggio del cono
14 Sostituzione dello stilo
16 Sostituzione delle batterie
20 Configurazione del protocollo di
trasmissione
24 Centraggio
28 Dati tecnici
30 Treno di segnali
Sommaire
Page
4Avertissement
8Contenu de la fourniture
10 Dimensions
12 Montage du cône
14 Changement de la tige de palpage
16 Changement des batteries
20 Configuration du protocole de
transmission
24 Centrage
28 Caractéristiques techniques
30 Diagramme des signaux
Contents
Page
4Warnings
8Items Supplied
10 Dimensions
12 Taper Mounting
14 Stylus Exchange
16 Battery Exchange
20 Configuration of Transmission Protocol
24 Centering
28 Specifications
30 Signal Sequence
2
Inhalt Seite
4Warnhinweise
8Lieferumfang
10 Abmessungen
12 Kegelmontage
14 Taststiftwechsel
16 Batterienwechsel
20 Konfigurierung des Übertragungsprotokolls
24 Zentrieren
28 Technische Kennwerte
30 Signalfolge
페이지
5 경고
9 제공 품목
11 규격
13 테이퍼 설치
15 스타일러스 교체
18 배터리 교체
22 전송 프로토콜 구성
26 센터링
28 사양
31 신호 순서
목차
頁碼
5 警告
9 供應的項目
11 尺寸
13 安裝刀把
15 探針更換
18 電池更換
22 通訊協定組態
26 中心定位
28 規格
31 信號程序
目錄
页
5 提示
9 零部件
11 尺寸
13 安装锥柄
15 更换测针
18 更换电池
22 传输协议配置
26 定心
28 技术参数
31 信号顺序
目录
目次
ページ
5 注意事項
9 梱包品
11 寸法
13 シャンクへの取付け
15 スタイラスの交換
18 電池交換
22 伝送プロトコルの設定
26 センタリング(校正)
28 仕様
31 信号シーケンス
3
Page
5Warnings
9Items Supplied
11 Dimensions
13 Taper Mounting
15 Stylus Exchange
18 Battery Exchange
22 Configuration ofTransmission Protocol
26 Centering
28 Specifications
31 Signal Sequence
Contents





Notas de aviso
Atención: El montaje y la puesta en marcha deben ser realizados por un especialista cualificado,
observando las prescripciones locales de seguridad.
Retirar la tapa de protección de la batería antes de la primera puesta en marcha.
Avvertenze
Attenzione: Il montaggio e la messa in funzione devono essere eseguite da personale qualifucato
nel rispetto delle norme di sicurezza locali.
Prima della messa in funzione rimuovere la protezione della batteria.
Avertissement
Attention: le montage et la mise en service doivent être assurés par un personnel qualifié dans le
respect des consignes de sécurité locales.
Enlever le capot de protection de la batterie avant la première mise en service.
Warnings
Note: Mounting and commissioning is to be conducted by a qualified specialist under compliance
with local safety regulations.
Remove the battery’s protective cap before initial operation.
4
Achtung: Die Montage und Inbetriebnahme ist von einer qualifizierten Fachkraft unter Beachtung
der örtlichen Sicherheitsvorschriften vorzunehmen.
Warnhinweise
Vor erster Inbetriebnahme die Schutzkappe der Batterie entfernen.





경고
주의: 설치 및 조정은 한국의 안전도 규정에 의하여 작업을 수행할 수 있는 공인된 기술자에 의해
수행되어야 합니다.
Retirar la tapa de protección de la batería antes de la primera puesta en marcha. 초기 가동 전 보호 캡을 제거하세요.
警告
注意:安裝與調整要經由已認證的專業人員指導以符合當地安全規範要求。
“初始操作必須先行拆下電池保護蓋.”
提示
注意:安装和调试时必须符合当地安全要求并由具有资质的专业人员操作
Enlever le capot de protection de la batterie avant la première mise en service. 开始工作前拆下电池保护盖。
注意事項
注意:取付け及び試運転は設置国の安全規格のもとで有資格の専門家により実施するようにし
てください。
初期運転の前にバッテリーの保護キャップを取り外してください。
5
Warnings
Note: Mounting and commissioning is to be conducted by a qualified specialist under compliance
with local safety regulations.
Remove the battery’s protective cap before initial operation.


No dejar caer el palpador.
Non far cadere il tastatore.
Ne pas laisser tomber le palpeur.
Do not drop the touch probe.
6
Tastsystem nicht fallen lassen.


터치 프루브를 떨어뜨리면 않됩니다.
探針請勿掉落.
请不要使测头跌落.
タッチプローブを落とさないでください.
7
Do not drop the touch probe.
TS 642 ID 370827-01
SE 540
ID 626001-xx
SE 640
ID 631225-xx
ID 519833-01
Suministro Pedir por separado:
Soporte para SE 640
Llave para el montaje del cono
Standard di fornitura Da ordinare separatamente:
Supporto per SE 640
Chiavi per il montaggio dei coni
Objet de la fourniture Commander séparément:
Support de SE 640
Clef pour le montage du cône
Items supplied To be ordered separately:
Holder for SE 640
Wrench for taper mounting
8
Lieferumfang Separat bestellen:
Halter für SE 640
Schlüssel für Kegelmontage
TS 642
SE 540
ID 626001-xx
SE 640
ID 631225-xx
ID 370827-01
ID 519833-01
제공 품목 별도로 주문하려면:
SE 640용 홀더
홀더를 설치하기 위한 렌치
供應的項目 須另外訂購的項目:
SE640安裝支架
使用板手固鎖螺牙
零部件 需单独订购:
SE640支架
用于锥柄安装的扳手
梱包品 別売品:
SE640用ホルダー
シャンクへの取付け用レンチ
9
Items supplied To be ordered separately:
Holder for SE 640
Wrench for taper mounting
Tolerancing ISO 8015
ISO 2768 - m H
< 6 mm: ±0.2 mm
mm















Dimensiones
Dimensioni
Dimensions
Dimensions
10
Abmessungen
Tolerancing ISO 8015
ISO 2768 - m H
< 6 mm: ±0.2 mm
mm















규격
尺寸
尺寸
寸法
11
Dimensions
M30 x 0.5



 






 
Montaje del cono
Atornillar elTS 642 con una llave dinamométrica Asegurar la rosca con Loctite 222/S8
Soltar el TS 642
Tener en cuenta que el asiento del resorte esté bien limpio.
Montaggio del cono
Avvitare il TS 642 con chiave dinamometrica Bloccare il filetto con Loctite 222/S8
Allentare il TS 642
Prestare attenzione alla pulizia della sede della molla di contatto.
Montage du cône
Visser leTS 642 avec une clef dynamométrique Freinage des filetages avec Loctite 222/S8
Dévisser leTS 642
Assurez-vous de la propreté du logement du contact à ressort.
Taper mounting
Attach TS 642 with torque wrench Secure the thread with Loctite 222/S8
Remove TS 642
Ensure proper seating of the contact spring.
12
Kegelmontage
TS 642 mit Drehmomentschlüssel anschrauben Gewinde mit Loctite 222/S8 sichern
TS 642 lösen
Auf sauberen Sitz der Kontaktfeder achten.
M30 x 0.5



 






 
토크 렌치로 TS 642를 연결합니다.
TS 642를 제거합니다.
테이퍼 설치
Loctite 222/S8로 나사를 고정합니다.
접촉 스프링의 정확한 고정을 보증합니다.
使用扭力板手固鎖TS642
移除TS642
安裝刀把
使用螺絲固定劑Loctite222/S8固定螺牙
確保適當的接觸彈簧座.
用扭矩扳手安装TS642
拆下TS642
安装锥柄
用Loctite222/S8固定螺纹
确保接触弹簧位于正确位置。
トルクレンチでTS642を取り付けてください
TS642を取外してください。
シャンクへの取付け
Loctite222/S8でネジを固定してください
押えバネが正しい位置にあることを確認してください。
13
Attach TS 642 with torque wrench
Remove TS 642
Taper mounting
Secure the thread with Loctite 222/S8
Ensure proper seating of the contact spring.



Cambio del vástago
Atención: centrar de nuevo, ver pág. 24 y 25
Sostituzione dello stilo
Attenzione: ripetere il centraggio, vedere pagina 24 e 25
Changement de la tige de palpage
Attention: recentrage, voir pages 24 et 25
Stylus exchange
Note: Recenter, see pages 24 and 25
14
Taststiftwechsel
Achtung: Neu zentrieren, siehe Seite 24 und 25



유의사항: 재센터링은 26, 27페이지를 참조하십시오.
스타일러스 교체
附註:重校中心,請参考頁碼26及27
探針交換
注意:重新定中心时,参见第26和27页
更换测针
注意:再センタリング。26および27ページを参照ください。
スタイラスの交換
15
Note: Recenter, see pages 26 and 27
Stylus exchange



Cambio de batería
abrir
Por motivo de la autocalibración, el vástago debe estar suelto
Para conseguir alcanzar el máximo tiempo de funcionamiento, pedir por separado baterías LITHIUM-ION serie C.
Contenido entre los elementos suministrados: 2x baterías LITHIUM 3.6 V Serie A
ID 332775-04, más 2x adaptadores ID 722383-01 (baterías no recargables)
Sostituzione delle batterie
aprire
Lo stilo deve essere libero per autocalibrazione
Per raggiungere la durata d'esercizio massima, acquistare separatamente batterie LITHIUM-ION formato C.
Lo standard di fornitura comprende: 2x batterie LITHIUM 3,6 V formato A
ID 332775-04, più 2x adattatori ID 722383-01 (batterie non ricaricabili)
Changement des batteries
ouvrir
La tige de palpage doit être libre à cause de l'auto-calibration
Pour atteindre une durée de vie max, utilisez des batteries LITHIUM-ION Form C separat.
Inclus dans la fourniture: 2 x batteries LITHIUM 3.6 V Form A
ID 332775-04, plus 2 x adaptateur ID 722383-01. (Batteries non rechargeables)
Battery exchange
open
The stylus must hang loose for the self-calibration
For maximum battery life, please order size C LITHIUM ION batteries separately.
Included in the delivery: 2 LITHIUM batteries, 3.6 V, size A
ID 332775-04, with 2 adapters ID 722383-01. (Batteries not rechargeable)
16
Batterienwechsel
öffnen
Wegen Selbstkalibrierung muss Taststift frei sein
Um die max. Betriebsdauer zu erreichen, beziehen sie bitte Batterien LITHIUM-ION Form C separat.
Im Lieferumfang enthalten: 2 Stück Batterien LITHIUM 3.6 V Form A
ID 332775-04, plus 2 Stück Adapter ID 722383-01. (Batterien nicht aufladbar)







cerrar
Asimismo pueden utilizarse baterías o acumuladores NIMH de 1 hasta 4 V.
chiudere
Possono essere impiegate batterie alcaline o NIMH da 1 a 4 V.
Fermer
Utilisation possible des batteries alcalines ou accus NIMH de 1 à 4 V.
close
Alkaline batteries or NiMH accumulators with 1 to 4 V can also be used.
17
schließen
Alkaline-Batterien oder NIMH-Akkus mit 1 bis 4 V sind ebenfalls verwendbar



배터리 교체
자체 교정 중에는 스타일러스를 느슨히 해야 합니다.
배터리 수명을 최대화하려면 사이즈 C 리튬 이온 배터리를 별도로 주문하십시오.
제공 품목에 포함: 리튬 배터리 2개, 3.6V, 사이즈 A
ID 332775-04, 어댑터 ID 722383-01 2개 포함 (비충전 배터리)
열림
更換電池
自動校正時探針必須無碰觸
如需要最佳的電池壽命,須另外訂購型號C鋰電池.
包裝內的項目2個鋰電池,3.6V,型號A
ID332775-04,及2個電池轉換器ID722383-01.(不可充電電池)
開啟
更换电池
测针必须在自然下垂状态进行自我校准
为确保尽可能延长电池使用寿命,请单独订购C型锂电池。
供货范围中包括:2枚锂电池3.6V;A型
ID332775-04,带2个适配器ID722383-01。(电池不可充电) 打开
電池交換
自己校正時にスタイラスへ力を加えないでください
リチウムイオン電池(サイズC、単2形相当)を別途お求めいただければ、バッテリー寿命が最長になります。
梱包品:3.6Vリチウム電池2個(サイズA、単2形より径が小さい)
ID332775-04(充電不可、変換アダプタ2個付、アダプタID722383-01) 開く
18
Battery exchange
The stylus must hang loose for the self-calibration
For maximum battery life, please order size C LITHIUM ION batteries separately.
Included in the delivery: 2 LITHIUM batteries, 3.6 V, size A
ID 332775-04, with 2 adapters ID 722383-01. (Batteries not rechargeable)
open







1~4V의 알칼리 배터리 또는 NiMH 축전지를 사용할 수도 있습니다.
닫힘
任何1至4伏特鹼性電池或鎳氫電池皆可使用。
關閉
也可用电压在1至4V之间的碱性电池或NiMH镍氢电池。
关闭
アルカリ電池もしくはニッケル水素電池(1~4V)も使用可能です。
閉める
19
Alkaline batteries or NiMH accumulators with 1 to 4 V can also be used.
close








(AM on/off) (IR on/off) SE
1TS 642 X – SE 540
SE 640
2TS 632 X – EA 632
EA 652
3TS 649 X – SE 540 (> ID 626001-xx)
SE 640 (> ID 631225-xx)
4TS 640 – X SE 540
SE 640
5TS 641 – X SE 641
6TS 649 – X SE 540 (> ID 626001-xx)
SE 640 (> ID 631225-xx)
Configuración del protocolo de comunicación
Conmutador giratorio
Protocolo estándar gamaTS 640 (ajuste predeterminado)
Protocolo estándar gamaTS 640
Protocolo especial
Protocolo especialTS 641 (tiempo de vida de la batería reducido)
Protocolo especial
SustituciónTS 632 (tiempo de vida de la batería reducido)
Configurazione del protocollo di trasmissione
Interruttore
Protocollo standard serie TS 640 (versione standard)
Protocollo standard serie TS 640
Protocollo speciale
Protocollo speciale TS 641 (durata batterie ridotta)
Protocollo speciale
Protocollo speciale TS 632 (durata batterie ridotta)
Configuration du protocole de transmission
Commutateur rotatif
Protocole standard, sérieTS 640 (position par défaut)
Protocole standard, sérieTS 640
Protocole spécial
Protocole spécialTS 641 (durée de batterie réduite)
Protocole spécial
CompatibilitéTS 632 (durée de batterie réduite)
Configuration ofTransmission Protocol
Rotary switch
Standard protocol for TS 640 series (default setting)
Standard protocol for TS 640 series
Special protocol
Special protocol for TS 641 (reduced battery lifetime)
Special protocol
Replacement for TS 632 (reduced battery lifetime)
20
Konfigurierung des Übertragungsprotokolls
Drehschalter
StandardprotokollTS 640-Baureihe (Grundstellung)
StandardprotokollTS 640-Baureihe
Sonderprotokoll
SonderprotokollTS 641(reduzierte Batterielaufzeit)
Sonderprotokoll
AblösungTS 632 (reduzierte Batterielaufzeit)

Other manuals for TS 642

1

This manual suits for next models

21

Other HEIDENHAIN Measuring Instrument manuals
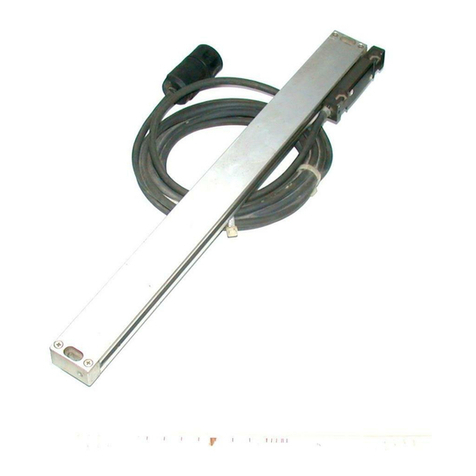
HEIDENHAIN LIC 4007 User manual

HEIDENHAIN

HEIDENHAIN LIC 4007 User manual

HEIDENHAIN LIC 4009 User manual

HEIDENHAIN

HEIDENHAIN LIC 4009 User manual

HEIDENHAIN ND 200 User manual

HEIDENHAIN

HEIDENHAIN ND 200 User manual

HEIDENHAIN TS 248 User manual

HEIDENHAIN

HEIDENHAIN TS 248 User manual
HEIDENHAIN ND 500 User manual

HEIDENHAIN

HEIDENHAIN ND 500 User manual

HEIDENHAIN RON 255 User manual

HEIDENHAIN

HEIDENHAIN RON 255 User manual

HEIDENHAIN POSITIP 8013 ACTIVE User manual

HEIDENHAIN

HEIDENHAIN POSITIP 8013 ACTIVE User manual

HEIDENHAIN SE 661 User manual

HEIDENHAIN

HEIDENHAIN SE 661 User manual

HEIDENHAIN QUADRA-CHEK 2000 User manual

HEIDENHAIN

HEIDENHAIN QUADRA-CHEK 2000 User manual

HEIDENHAIN TS 460 User manual

HEIDENHAIN

HEIDENHAIN TS 460 User manual

HEIDENHAIN LS 603 C User manual

HEIDENHAIN

HEIDENHAIN LS 603 C User manual

HEIDENHAIN ND 221 User manual

HEIDENHAIN

HEIDENHAIN ND 221 User manual

HEIDENHAIN LS 1x6 User manual

HEIDENHAIN

HEIDENHAIN LS 1x6 User manual

HEIDENHAIN ND 231B User manual

HEIDENHAIN

HEIDENHAIN ND 231B User manual

HEIDENHAIN MSE 1350 User manual

HEIDENHAIN

HEIDENHAIN MSE 1350 User manual

HEIDENHAIN SE 661 User manual

HEIDENHAIN

HEIDENHAIN SE 661 User manual

HEIDENHAIN HR 550 FS User manual

HEIDENHAIN

HEIDENHAIN HR 550 FS User manual

HEIDENHAIN VRZ 780 User manual

HEIDENHAIN

HEIDENHAIN VRZ 780 User manual

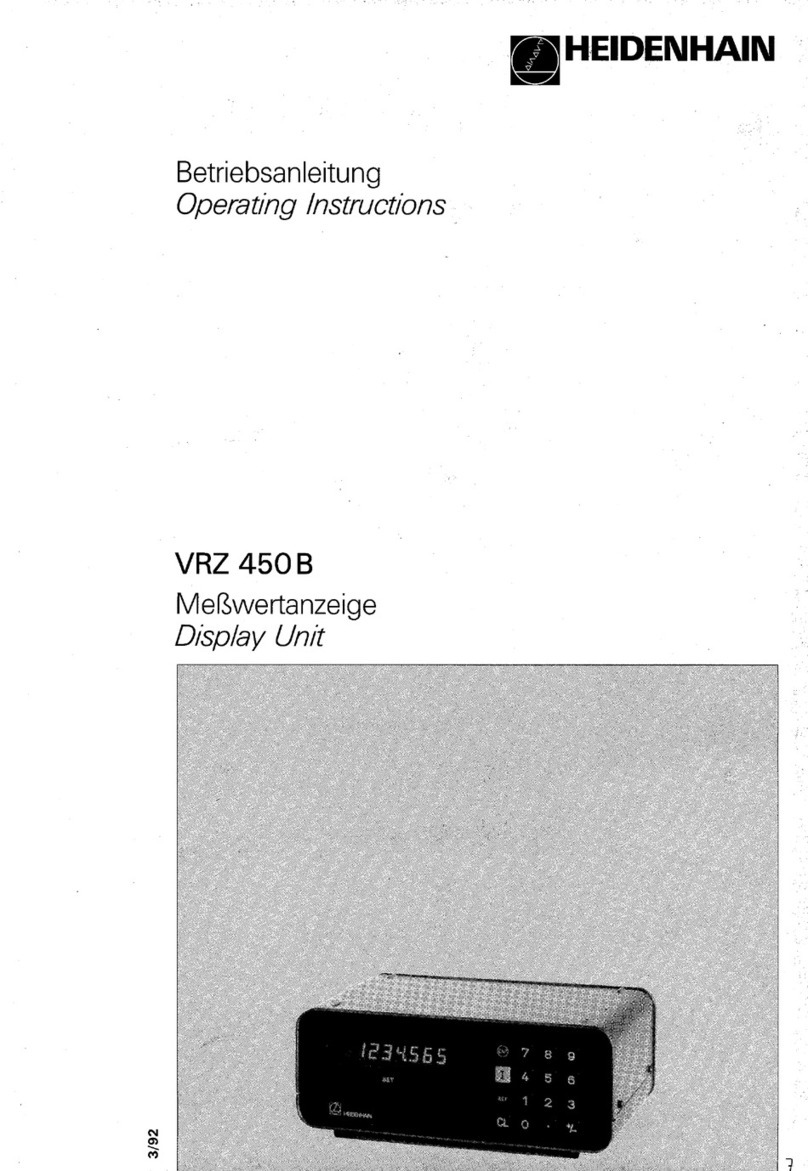
HEIDENHAIN VRZ 450B Instruction sheet

HEIDENHAIN

HEIDENHAIN VRZ 450B Instruction sheet

HEIDENHAIN LIF 48R User manual

HEIDENHAIN

HEIDENHAIN LIF 48R User manual

HEIDENHAIN MSE 1202 User manual

HEIDENHAIN

HEIDENHAIN MSE 1202 User manual

HEIDENHAIN ND 7000 User manual

HEIDENHAIN

HEIDENHAIN ND 7000 User manual

HEIDENHAIN TT 460 User manual

HEIDENHAIN

HEIDENHAIN TT 460 User manual
HEIDENHAIN QUADRA-CHEK 2000 User manual

HEIDENHAIN

HEIDENHAIN QUADRA-CHEK 2000 User manual

Popular Measuring Instrument manuals by other brands

CAHORS Digital STM 26 HD user manual

CAHORS Digital

CAHORS Digital STM 26 HD user manual

Viavi Seeker X user guide

Viavi

Viavi Seeker X user guide

SATAM ZCE 18 24 manual

SATAM

SATAM ZCE 18 24 manual

AutoTest AutoLight user manual

AutoTest

AutoTest AutoLight user manual

BGS technic 70027 instruction manual

BGS technic

BGS technic 70027 instruction manual

Bayer HealthCare Contour link Quick reference guide

Bayer HealthCare

Bayer HealthCare Contour link Quick reference guide

AcoustX D2 quick start guide

AcoustX

AcoustX D2 quick start guide

Joy-it SEN-HX711 quick start guide

Joy-it

Joy-it SEN-HX711 quick start guide

PCB Piezotronics IMI SENSORS 625B10 Installation and operating manual

PCB Piezotronics

PCB Piezotronics IMI SENSORS 625B10 Installation and operating manual

Lufkin LUFKIN LCL4 user guide

Lufkin

Lufkin LUFKIN LCL4 user guide

Heathkit SG-6 Assembling and using

Heathkit

Heathkit SG-6 Assembling and using

Extech Instruments FM300 user manual

Extech Instruments

Extech Instruments FM300 user manual

Bosch LR Professional 1 Original instructions

Bosch

Bosch LR Professional 1 Original instructions

Metal Work FLUX 0 user manual

Metal Work

Metal Work FLUX 0 user manual

AEMC instruments SR759 user manual

AEMC instruments

AEMC instruments SR759 user manual

PCB Piezotronics 260A03/FCS-10 Installation and operating manual

PCB Piezotronics

PCB Piezotronics 260A03/FCS-10 Installation and operating manual

Opale-Paramodels JUMPBOX user manual

Opale-Paramodels

Opale-Paramodels JUMPBOX user manual

Kobold MIK operating instructions

Kobold

Kobold MIK operating instructions

manuals.online logo
manuals.online logoBrands
  • About & Mission
  • Contact us
  • Privacy Policy
  • Terms and Conditions

Copyright 2025 Manuals.Online. All Rights Reserved.