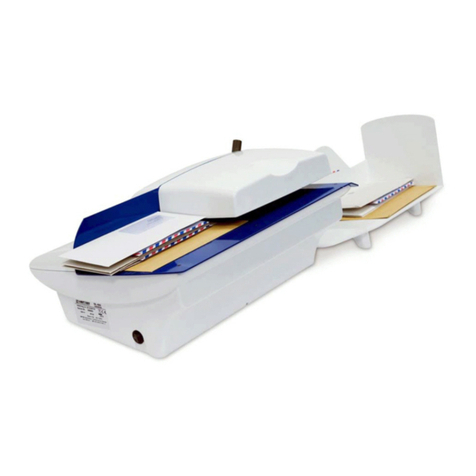
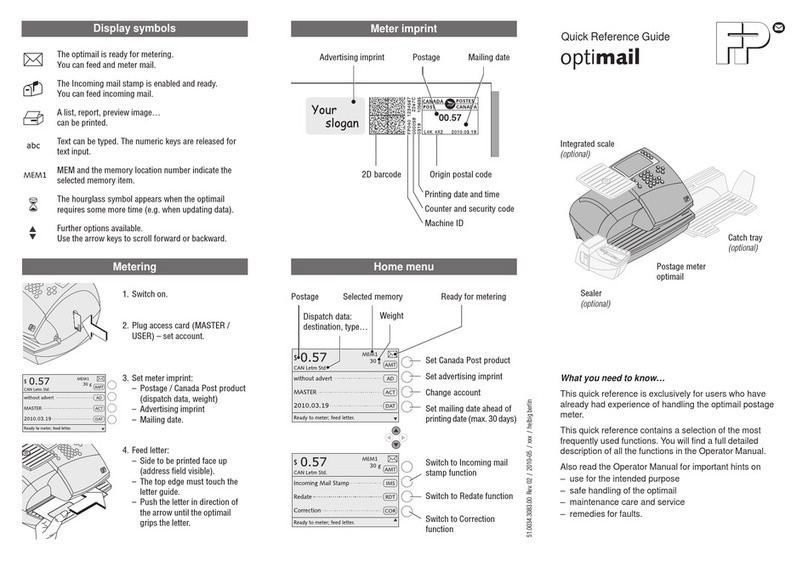
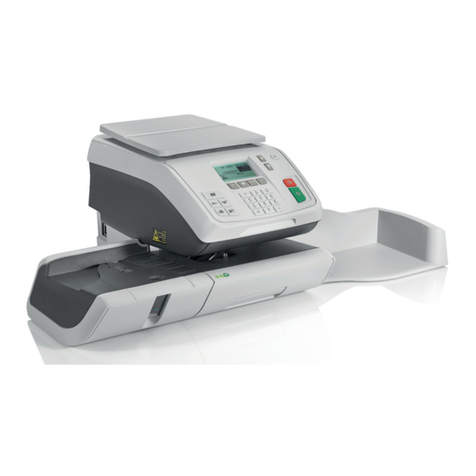
manuals.online logo
Brands
  1. Home
  2. •
  3. Brands
  4. •
  5. Neopost
  6. •
  7. Postal Equipment
  8. •
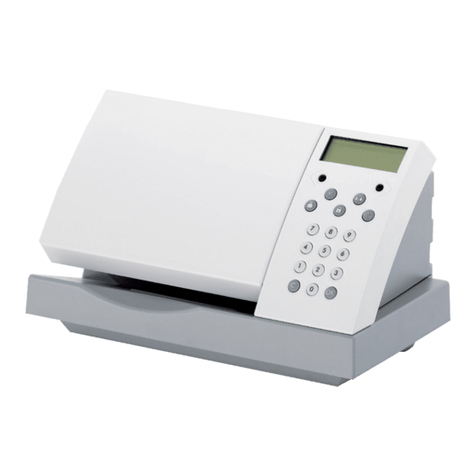
  9. Neopost IJ35 User manual

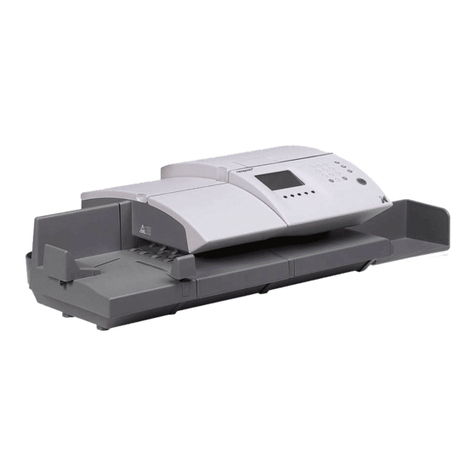
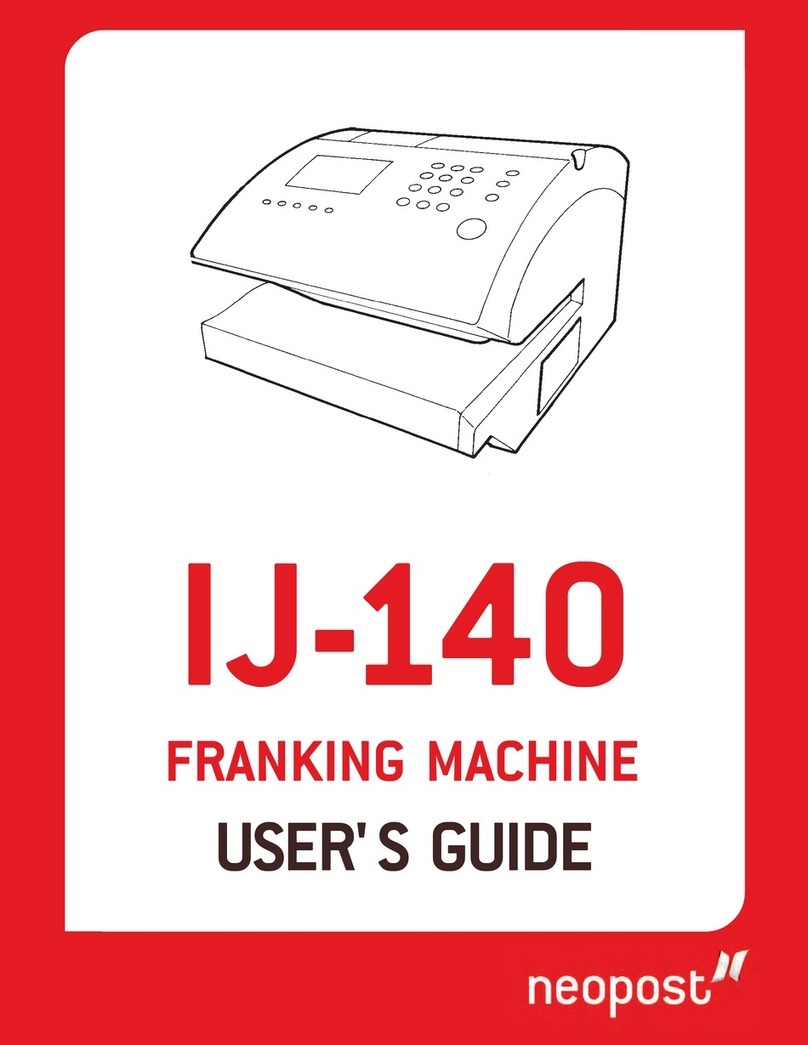
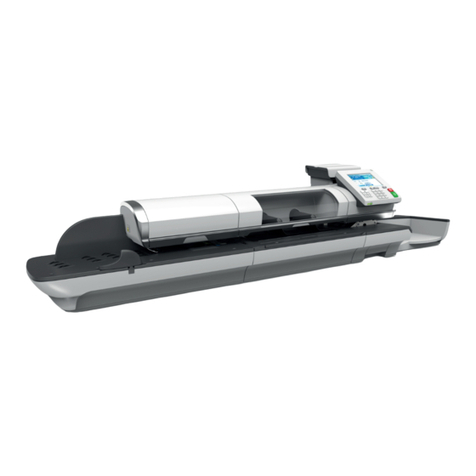
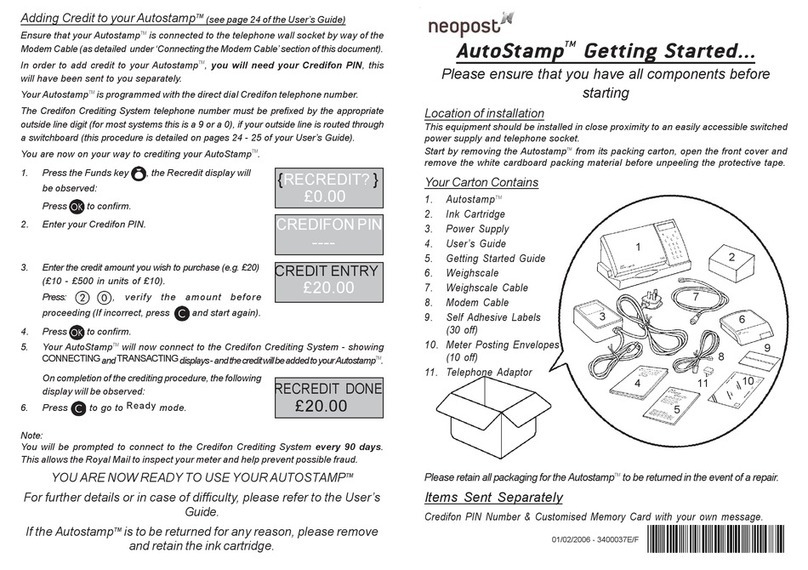
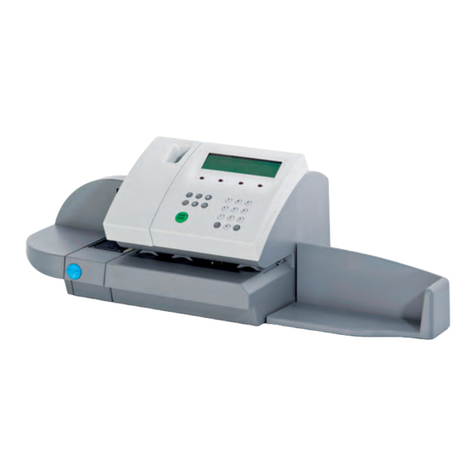
Neopost IJ35 User manual

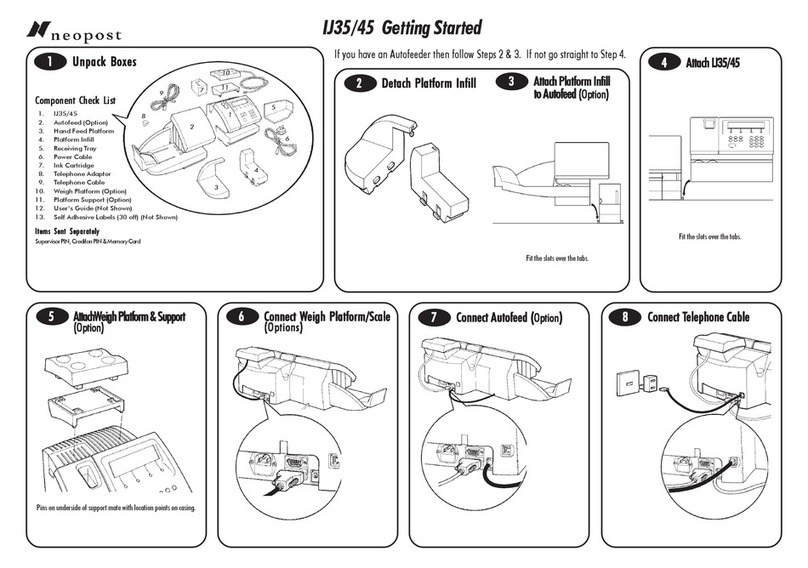
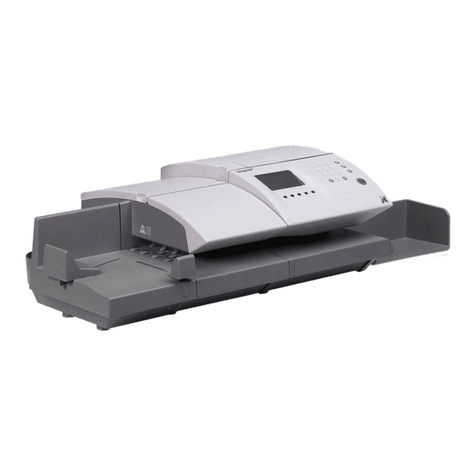
IJ35/45 Getting Started
1. IJ35/45
2. Autofeed(Option)
3. HandFeedPlatform
4. PlatformInfill
5. ReceivingTray
6. PowerCable
7. InkCartridge
8. TelephoneCable
9. WeighPlatform(Option)
10. PlatformSupport(Option)
11. SelfAdhesiveLabels(30off)(NotShown)
Detach
Platform Infill
Fittheslotsoverthetabs. Fittheslotsoverthetabs.
1
3
4
5
6
7
9
10
8
2
Connect Weigh
Platform / Scale
(Options)
If you have anAutofeeder then follow Steps 2 & 3.
If not go straight to Step 4.
Unpack Boxes
1
Component
Check List
2Attach Platform
Infill to Autofeed
(Option)
3Attach IJ35/45
4
Attach Weigh
Platform & Support
(Option)
5
Pinsonundersideofsupport mate
withlocationpointsoncasing.
6Connect Autofeed
(Option)
7Connect Telephone
Cable
8
After a short delay the
prompt to make a Test Print
willbeobserved:
To make a test print, insert a blank envelope or card.
Press key.
Inspect the test print and enter the number corresponding
to best alignment:
e.g.
Press to confirm.
Thefollowingscreen willnow
beobserved.
Holdleverfullyleft then insert
Max. 50 labels.
Ifyour telephone line is routedthrough a switchboard, theServer
Crediting Centre telephone number must be prefixed by the ap-
propriate outside line digit, if you are connecting by way of a
direct line, proceed to operation 14 .
Theprocedureto amendthestoredtelephonenumber is asfollows:
From the Ready Mode screen, press the key, the
followingscreenwillbe observed:
Using the and keys, or the appropriate
number key, move the cursor to 3 SUPERVISOR and
press to confirm, the following prompt will now be
observed.
EntertheSUPERVISOR PIN.
The SUPERVISORscreenwill now be observed:
Using the & keys or the appropriate
number key, move the cursor to SETUP and press
to confirm.
The SETUP screens will now be observed:
Screen 1
By scrolling passed option 5 MOTOR TIMEOUT screen 2
will be displayed:
Screen 2
Again using the key or the appropriate number key,
move the cursor to option 7 TELEPHONE SETTINGS and
press to confirm, the TELEPHONE SETTINGS
screen will now be observed:
MovethecursortoPREFIXand press to confirm, the
PREFIX screen will be observed:
Usingthenumerical keypad enter the requiredPrefixandpress
to confirm.
Press threetimes,theSLEEPscreenwillnowbeobserved:
Press the key.
Theprompt to ENTER USER PIN willbe observed:
Enter the Default User PIN 1 2 3 4.
You are now ready to add credit to your machine.
Connect Power
Cord Switch on the power at the supply outlet.
After a short delay, the following screen
willbeobserved:
Press the key.
If the machine is protected by a User PIN,
theprompt to ENTER USERPIN will be observed:
TheDefault User PIN is factory
set to 1 2 3 4.
Ifthe correct PIN is enteredthe INSERT CARTRIDGE
screenwillbe observed.
Unpackthe Ink Cartridge (Item 7)
andcarefullyremove
both tape seals.
DoNOT touch or remove
the copper strip on Ink
Cartridges.
Place the ink cartridge into its holder. From the front top edge of the cartridge push the
cartridge firmly up and to the back (see arrow) until it CLICKS into place, the cartridge
shouldnowbe firmly locked into position.Close the machine top coverandpress .
Position
Receiving Tray
Themachine willnowshow the
followingscreen:
Press
Enter your Server PIN.
The prompt to ENTER AMOUNT will be observed:
e.g. 50.00
Press
Press .
Ifamount Incorrect, press to return to ENTER AMOUNT
If amount Correct, press .
On completion of the
crediting procedure the
following screen will be
observed:
Press to go to READY Mode.
SERVER PIN
_ _ _ _
ENTERAMOUNT
0.00
RECREDIT SUCCESSFUL
50.00
CONFIRMAMOUNT
50.00
INSPECTIONDUE-RECREDIT
CALLSERVER
Issue 07/08/2009 - 4128501W/C
Copyright© Neopost 2002
Connecting to the Server Centre if
required by Postal authority
TELEPHONE SETTINGS
1 SERVER NO. 1234567890
2 HELPDESK NO. 1234567890
3REMOTENO. NONE
4PREFIX NONE
5PAUSE 0
ESC OK
910 Install the Ink Cartridge
11 Set Print Alignment
12
13
Add Credit
14 Fill the Label Hopper
15
Openthetop cover.
Tab Printing
Surface
You Are Now Ready to Frank Your Mail
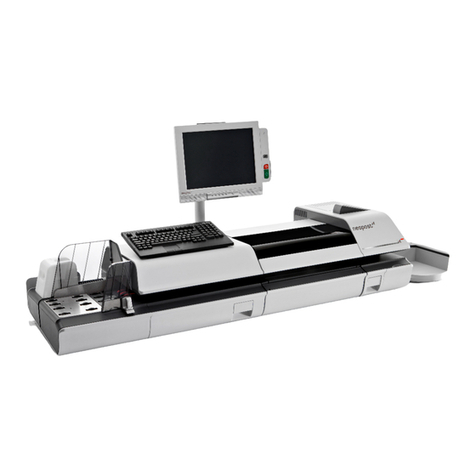
Other manuals for IJ35

3

This manual suits for next models
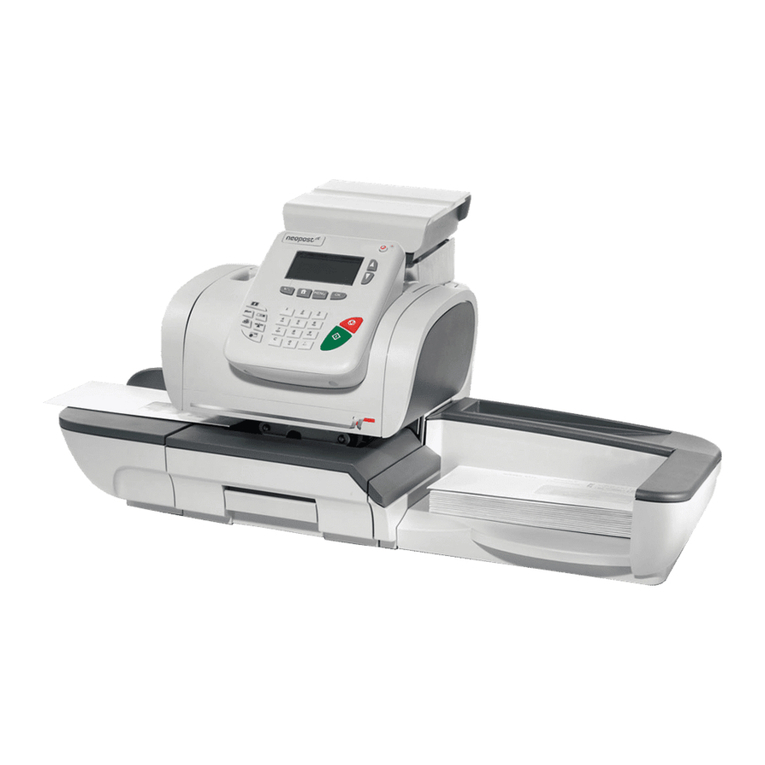
1

Other Neopost Postal Equipment manuals

Neopost IJ65 User manual

Neopost

Neopost IJ65 User manual

Neopost ij25 User manual

Neopost

Neopost ij25 User manual

Neopost IS-240 User manual

Neopost

Neopost IS-240 User manual

Neopost ij25 User manual

Neopost

Neopost ij25 User manual

Neopost ij25 User manual

Neopost

Neopost ij25 User manual

Neopost IJ-40 User manual

Neopost

Neopost IJ-40 User manual

Neopost IS-200 Series User manual

Neopost

Neopost IS-200 Series User manual

Neopost IS-400 Series Parts list manual

Neopost

Neopost IS-400 Series Parts list manual

Neopost IS-280 iMeter Manual

Neopost

Neopost IS-280 iMeter Manual

Neopost POSTMASTER 6000 User manual

Neopost

Neopost POSTMASTER 6000 User manual

Neopost IN-360 User manual

Neopost

Neopost IN-360 User manual

Neopost IN-360 Installation and operating manual

Neopost

Neopost IN-360 Installation and operating manual

Neopost IJ45 User manual

Neopost

Neopost IJ45 User manual

Neopost IJ 80 User manual

Neopost

Neopost IJ 80 User manual

Neopost IJ65 User manual

Neopost

Neopost IJ65 User manual

Neopost IM-15 User manual

Neopost

Neopost IM-15 User manual

Neopost IS-6000 User manual

Neopost

Neopost IS-6000 User manual

Neopost IM-18 User manual

Neopost

Neopost IM-18 User manual

Neopost IJ 80 User manual

Neopost

Neopost IJ 80 User manual

Neopost AutoStamp User manual

Neopost

Neopost AutoStamp User manual

Neopost IN-600 Series User manual

Neopost

Neopost IN-600 Series User manual

Neopost IS-430 User manual

Neopost

Neopost IS-430 User manual

Neopost CS-200 User manual

Neopost

Neopost CS-200 User manual

Neopost IN-360 User manual

Neopost

Neopost IN-360 User manual

Popular Postal Equipment manuals by other brands

Labelmate UCAT-S user manual

Labelmate

Labelmate UCAT-S user manual

Pitney Bowes SendPro C Auto user guide

Pitney Bowes

Pitney Bowes SendPro C Auto user guide

Frabox OLEVA Mounting instructions

Frabox

Frabox OLEVA Mounting instructions

quadient iX-5 Series user guide

quadient

quadient iX-5 Series user guide

Pitney Bowes DM125 Software instructions

Pitney Bowes

Pitney Bowes DM125 Software instructions

OYPLA Home 4087 user manual

OYPLA Home

OYPLA Home 4087 user manual

Pelouze Pelouze PE20 Specifications

Pelouze

Pelouze Pelouze PE20 Specifications

quadient IS-6000 installation guide

quadient

quadient IS-6000 installation guide

OMUARK OMFOCUS Smart Delivery Box Uark user manual

OMUARK

OMUARK OMFOCUS Smart Delivery Box Uark user manual

eSafe Topak digital user manual

eSafe

eSafe Topak digital user manual

Martin Yale 1624 instruction manual

Martin Yale

Martin Yale 1624 instruction manual

Motion Marketing PS100 operating instructions

Motion Marketing

Motion Marketing PS100 operating instructions

manuals.online logo
manuals.online logoBrands
  • About & Mission
  • Contact us
  • Privacy Policy
  • Terms and Conditions

Copyright 2025 Manuals.Online. All Rights Reserved.