manuals.online logo
Brands
  1. Home
  2. •
  3. Brands
  4. •
  5. Neopost
  6. •
  7. Postal Equipment
  8. •
  9. Neopost IJ35 User manual

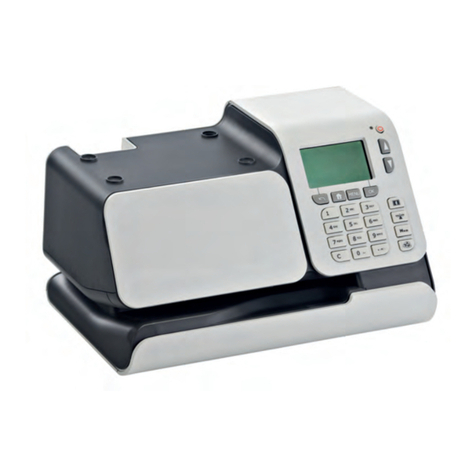
Neopost IJ35 User manual

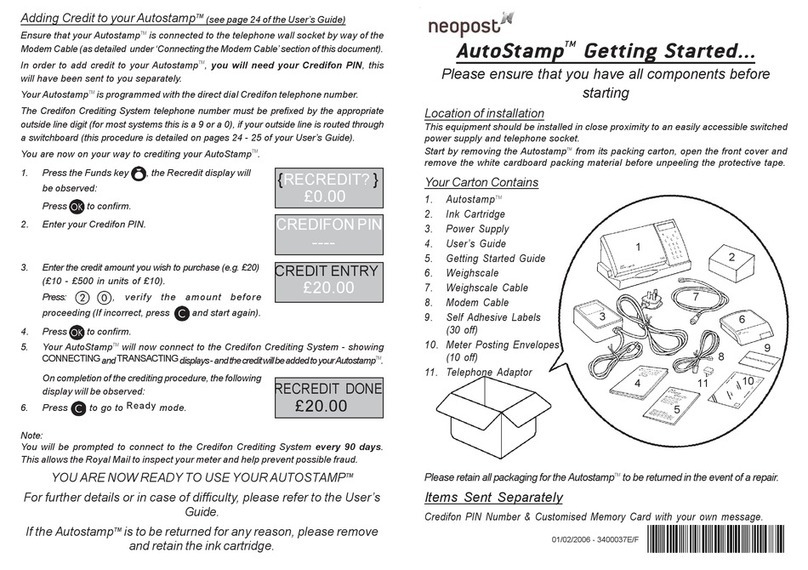
IJ35/45 Getting Started
11
11
1Unpack BoxesUnpack Boxes
Unpack BoxesUnpack Boxes
Unpack Boxes
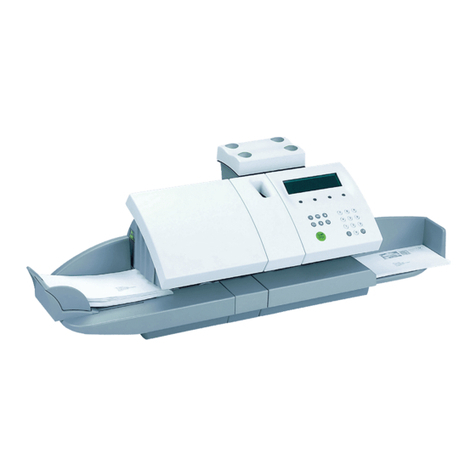
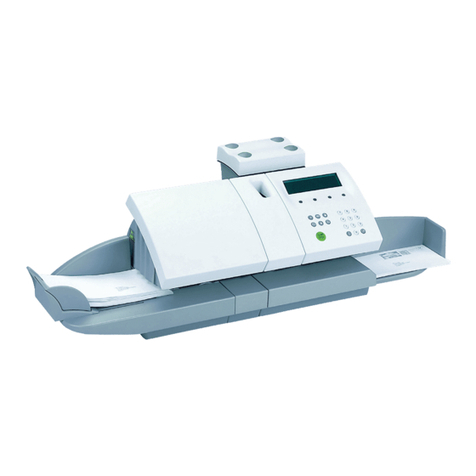
Component Check ListComponent Check List
Component Check List
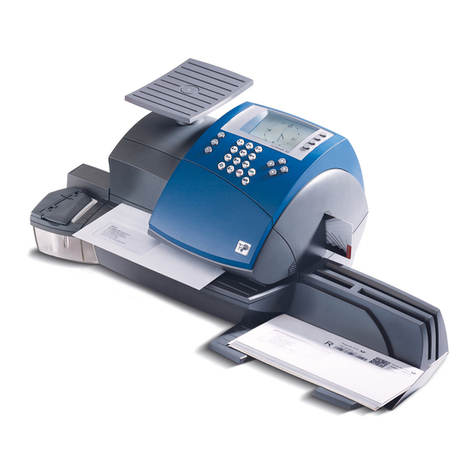
1. IJ35/45
2. Autofeed (Option)
3. Hand Feed Platform
4. Platform Infill
5. Receiving Tray
6. Power Cable
7. Ink Cartridge
8. Telephone Adaptor
9. Telephone Cable
10. Weigh Platform (Option)
11. Platform Support (Option)
12. User’s Guide (Not Shown)
13. Self Adhesive Labels (30 off) (Not Shown)
Items Sent SeparatelyItems Sent Separately
Items Sent Separately
Supervisor PIN, Credifon PIN & Memory Card
22
22
2Detach Platform InfillDetach Platform Infill
Detach Platform InfillDetach Platform Infill
Detach Platform Infill 33
33
3Attach Platform InfillAttach Platform Infill
Attach Platform InfillAttach Platform Infill
Attach Platform Infill
to Autofeedto Autofeed
to Autofeed (Option)(Option)
(Option)(Option)
(Option)
Fit the slots over the tabs.
44
44
4Attach IJ35/45Attach IJ35/45
Attach IJ35/45Attach IJ35/45
Attach IJ35/45
Fit the slots over the tabs.
1
3
4
5
6
7
10
11
9
8
2
55
55
5AttachWAttachW
AttachWAttachW
AttachWeigh Platform & Supporteigh Platform & Support
eigh Platform & Supporteigh Platform & Support
eigh Platform & Support
(Option)(Option)
(Option)(Option)
(Option)
Pins on underside of support mate with location points on casing.
66
66
6Connect WConnect W
Connect WConnect W
Connect Weigh Platform/Scaleeigh Platform/Scale
eigh Platform/Scaleeigh Platform/Scale
eigh Platform/Scale
(Options)(Options)
(Options)(Options)
(Options) 77
77
7Connect Autofeed (Connect Autofeed (
Connect Autofeed (Connect Autofeed (
Connect Autofeed (OptionOption
OptionOption
Option))
))
)88
88
8Connect TConnect T
Connect TConnect T
Connect Telephone Cableelephone Cable
elephone Cableelephone Cable
elephone Cable
If you have an Autofeeder then follow Steps 2 & 3. If not go straight to Step 4.
1212
1212
12 Set PSet P
Set PSet P
Set Print Alignmentrint Alignment
rint Alignmentrint Alignment
rint Alignment
After a short delay the prompt to make
a Test Print will be observed:
To make a test print, insert a blank envelope or card.
Press key.
Inspect the test print and enter the number corresponding to best alignment:
e.g.
Press to confirm.
The following screen will now be
observed.
1515
1515
15 Fill the Label HopperFill the Label Hopper
Fill the Label HopperFill the Label Hopper
Fill the Label Hopper
Tab Printing
Hold lever fully left then insert Surface
Max. 50 labels.
1313
1313
13 Connecting to the Credifon CentreConnecting to the Credifon Centre
Connecting to the Credifon CentreConnecting to the Credifon Centre
Connecting to the Credifon Centre
If your telephone line is routed through a switchboard, the Credifon Crediting
Centre telephone number must be prefixed by the appropriate outside line digit,
if you are connecting by way of a direct line, proceed to operation 14 .
The procedure to amend the stored telephone number is as follows:
From the Ready Mode screen, press the key, the following screen will be
observed:
Using the and keys, or the appropriate number key, move
the cursor to 3 SUPERVISOR and press to confirm, the following prompt
will now be observed.
Enter the SUPERVISOR PINSUPERVISOR PIN
SUPERVISOR PINSUPERVISOR PIN
SUPERVISOR PIN.
The SUPERVISOR screen will now be observed:
Using the & keys or the appropriate number key, move
the cursor to SETUP and press to confirm.
The SETUP screens will now be observed:
Screen 1Screen 1
Screen 1Screen 1
Screen 1
By scrolling passed option 5 MOTOR TIMEOUT screen 2 will be displayed:
Screen 2Screen 2
Screen 2Screen 2
Screen 2
Again using the key or the appropriate number key, move the cursor to
option 7 TELEPHONE SETTINGS and press to confirm, the TELEPHONE
SETTINGS screen will now be observed:
Move the cursor to PREFIX and press to confirm, the PREFIX screen will
be observed:
Using the numerical keypad enter the required Prefix and press to
confirm.
Press three times, the SLEEP screen will now be observed:
Press the key.
The prompt to ENTER USER PIN will be observed:
Enter the Default User PIN 1 2 3 4.
You are now ready to add credit to your machine.
99
99
9Connect PConnect P
Connect PConnect P
Connect Power Cordower Cord
ower Cordower Cord
ower Cord 1111
1111
11 Install the Ink CartridgeInstall the Ink Cartridge
Install the Ink CartridgeInstall the Ink Cartridge
Install the Ink Cartridge
Switch on the power at the supply outlet.
After a short delay, the following screen will be observed:
Press the key.
If the machine is protected by a User PIN, the prompt to ENTER USER PIN
will be observed:
The Default User PIN is factory set to 1 2 3 4.
If the correct PIN is entered the INSERT CARTRIDGE screen will be observed.
Unpack the Ink Cartridge (Item 7) and carefully remove Open the top cover.
both tape seals.
Do NONO
NONO
NOTT
TT
T touch or remove
the copper strip on Ink
Cartridges.
Place the ink cartridge into its holder. From the front top edge of the cartridge push the cartridge firmly up and to the back
(see arrow) until it CLICKSCLICKS
CLICKSCLICKS
CLICKS into place, the cartridge should now be firmly locked into position. Close the machine top cover
and press .
1010
1010
10 PP
PP
Position Rosition R
osition Rosition R
osition Receiving Teceiving T
eceiving Teceiving T
eceiving Trayray
rayray
ray
YY
YY
You Are Now Rou Are Now R
ou Are Now Rou Are Now R
ou Are Now Ready to Feady to F
eady to Feady to F
eady to Frank Yrank Y
rank Yrank Y
rank Your Mailour Mail
our Mailour Mail
our Mail
1414
1414
14 Add CreditAdd Credit
Add CreditAdd Credit
Add Credit
The machine will now show the following
screen:
Press
Enter your Credifon PIN.Credifon PIN.
Credifon PIN.Credifon PIN.
Credifon PIN.
The prompt to ENTER AMOUNTENTER AMOUNT
ENTER AMOUNTENTER AMOUNT
ENTER AMOUNT will be observed:
e.g. £50.00
Press
Press .
If amount Incorrect, press to return to ENTER AMOUNTENTER AMOUNT
ENTER AMOUNTENTER AMOUNT
ENTER AMOUNT
If amount Correct, press .
On completion of the crediting
procedure the following screen will
be observed:
Press to go to READREAD
READREAD
READYY
YY
Y Mode.
CREDIFON PIN
_ _ _ _
ENTER AMOUNT
0.00
RECREDIT SUCCESSFUL
50.00
CONFIRM AMOUNT
50.00
INSPECTION DUE - RECREDIT
CALL CREDIFON
Issue D
Copyright© Neopost 2002
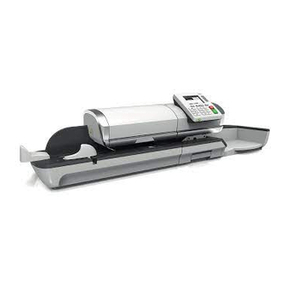
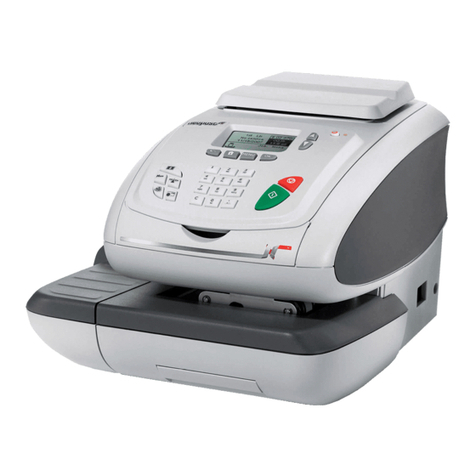
Other manuals for IJ35

3

This manual suits for next models

1

Other Neopost Postal Equipment manuals

Neopost IS-400 Series Parts list manual

Neopost

Neopost IS-400 Series Parts list manual

Neopost ij25 User manual

Neopost

Neopost ij25 User manual

Neopost IS-280 iMeter User manual

Neopost

Neopost IS-280 iMeter User manual

Neopost IJ35 User manual

Neopost

Neopost IJ35 User manual

Neopost IS-280 iMeter Manual

Neopost

Neopost IS-280 iMeter Manual

Neopost IN-360 User manual

Neopost

Neopost IN-360 User manual

Neopost IJ65 User manual

Neopost

Neopost IJ65 User manual

Neopost IS-6000 User manual

Neopost

Neopost IS-6000 User manual

Neopost ij25 User manual

Neopost

Neopost ij25 User manual

Neopost IS-5000 User manual

Neopost

Neopost IS-5000 User manual

Neopost IN-360 User manual

Neopost

Neopost IN-360 User manual

Neopost IM-18 User manual

Neopost

Neopost IM-18 User manual

Neopost IJ65 User manual

Neopost

Neopost IJ65 User manual

Neopost Automailer 5 User manual

Neopost

Neopost Automailer 5 User manual

Neopost IJ-60 User manual

Neopost

Neopost IJ-60 User manual

Neopost IS-350 User manual

Neopost

Neopost IS-350 User manual

Neopost IN-360 Installation and operating manual

Neopost

Neopost IN-360 Installation and operating manual

Neopost DS-90 User manual

Neopost

Neopost DS-90 User manual

Neopost IS-240 User manual

Neopost

Neopost IS-240 User manual

Neopost IS-440 User manual

Neopost

Neopost IS-440 User manual

Neopost IS-430 User manual

Neopost

Neopost IS-430 User manual

Neopost IJ65 User manual

Neopost

Neopost IJ65 User manual

Neopost Franker Link Unit 140 Series User manual

Neopost

Neopost Franker Link Unit 140 Series User manual

Neopost IJ35 User manual

Neopost

Neopost IJ35 User manual

Popular Postal Equipment manuals by other brands

Burg Wächter eBoxx A-625 Assembly instructions

Burg Wächter

Burg Wächter eBoxx A-625 Assembly instructions

XPOtool 60006 user manual

XPOtool

XPOtool 60006 user manual

Salsbury Industries 4325 installation instructions

Salsbury Industries

Salsbury Industries 4325 installation instructions

Hasler HJ980 operating guide

Hasler

Hasler HJ980 operating guide

Opex Model 72 Operator's manual
Opex

Opex Model 72 Operator's manual

Zippity Rockport Assembly instructions

Zippity

Zippity Rockport Assembly instructions

Hasler WJ20 operating guide

Hasler

Hasler WJ20 operating guide

quadient IS-480 Quick installation guide

quadient

quadient IS-480 Quick installation guide

eSafe ALBO Fenix NG manual

eSafe

eSafe ALBO Fenix NG manual

SSS Siedle BGU 611-4/4-0 Product information

SSS Siedle

SSS Siedle BGU 611-4/4-0 Product information

Labelmate UCAT-S user manual

Labelmate

Labelmate UCAT-S user manual

quadient iX-5 Series Quick installation guide

quadient

quadient iX-5 Series Quick installation guide

XPOtool 60000 user manual

XPOtool

XPOtool 60000 user manual

quadient IS-480 user guide

quadient

quadient IS-480 user guide

Pitney Bowes SendPro Mailstation user guide

Pitney Bowes

Pitney Bowes SendPro Mailstation user guide

FP Mailing Solutions Optimail Operator's manual

FP Mailing Solutions

FP Mailing Solutions Optimail Operator's manual

Aesh Design Mailbox Post instructions

Aesh Design

Aesh Design Mailbox Post instructions

manuals.online logo
manuals.online logoBrands
  • About & Mission
  • Contact us
  • Privacy Policy
  • Terms and Conditions

Copyright 2025 Manuals.Online. All Rights Reserved.