FRANKING
4IJ25 Franking Machine User Guide
INTRODUCTION
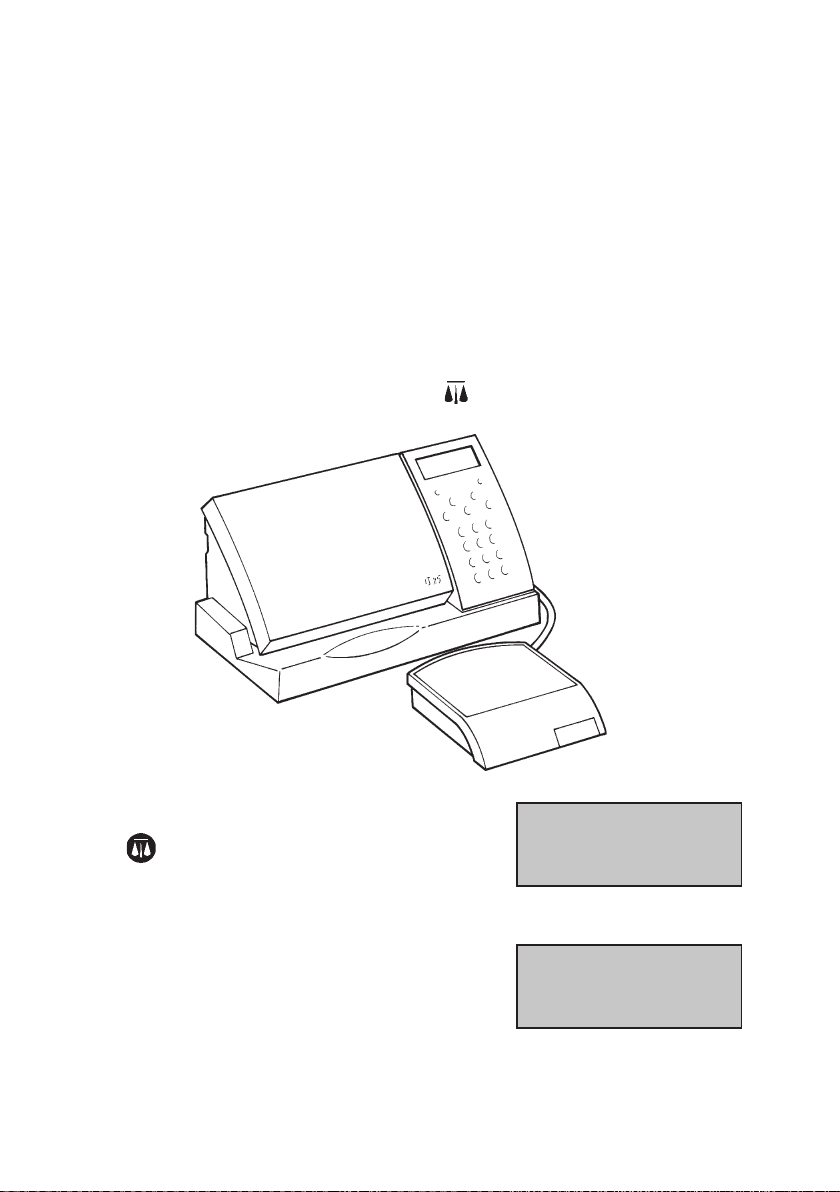
The IJ25 should be operated on a flat level surface. In order to achieve the best
impression,your IJ25requires thatwith bulkyor unevenitems, thecontents arecorrectly
folded and inserted into the envelope.
It is sometimes unavoidable that your mail will contain staples, paper clips and
other fixings. The machine will accept these, but it is recommended that the fixings
are situated at the bottom of the envelope. This will avoid any risk of damage to your
ink cartridge.
In the event that a satisfactory print cannot be achieved due to oversize or uneven
contents (Maximum mail thickness 8mm) the envelope should be treated as a packet
and a label used.
It is recommended that the IJ25 is left powered on at all times. This will assist in
maintaining print quality. In the event that you have to power the machine down,
please wait for one minute after performing the last operation before removing the
power.
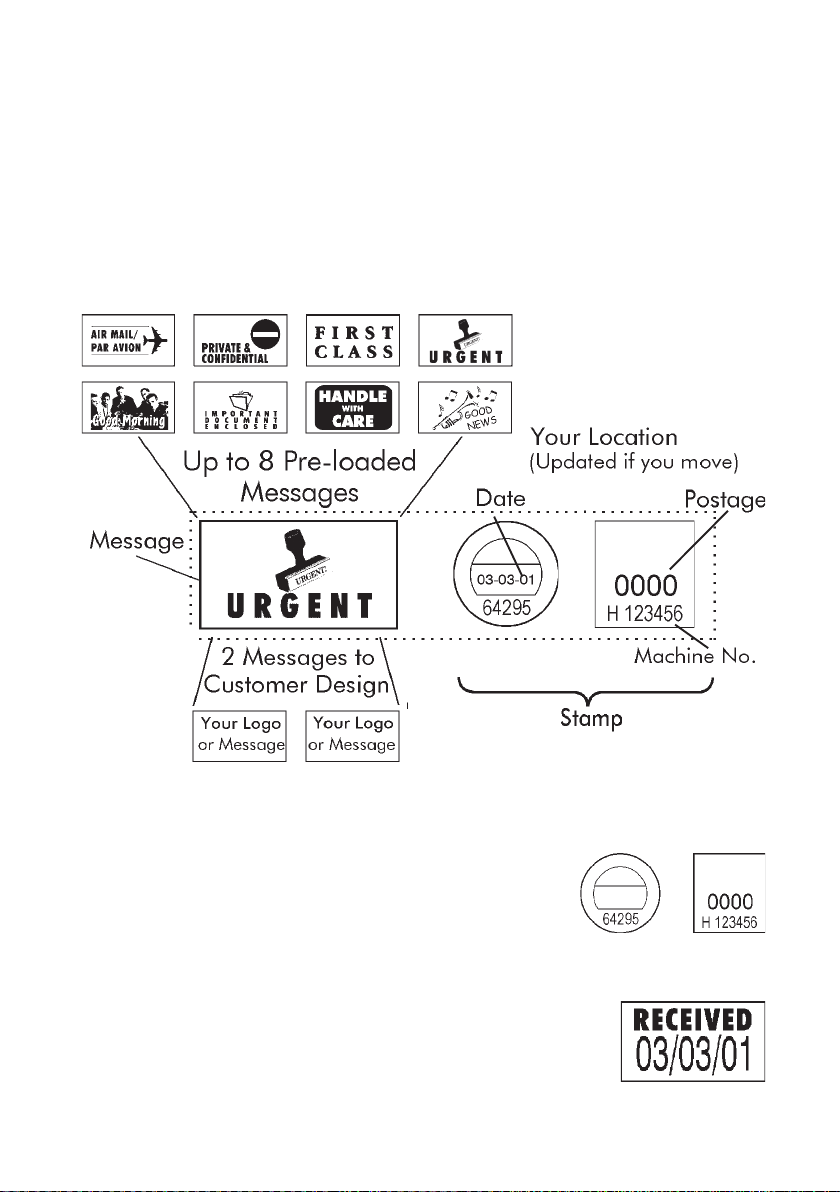
PRINTING POSTAGE
If you are using the franking machine for the first time, please consult the separate
‘Getting Started’ guide supplied with your machine. If you have successfully added credit
to your machine, go to Select a Postage Value, otherwise, proceed as follows.
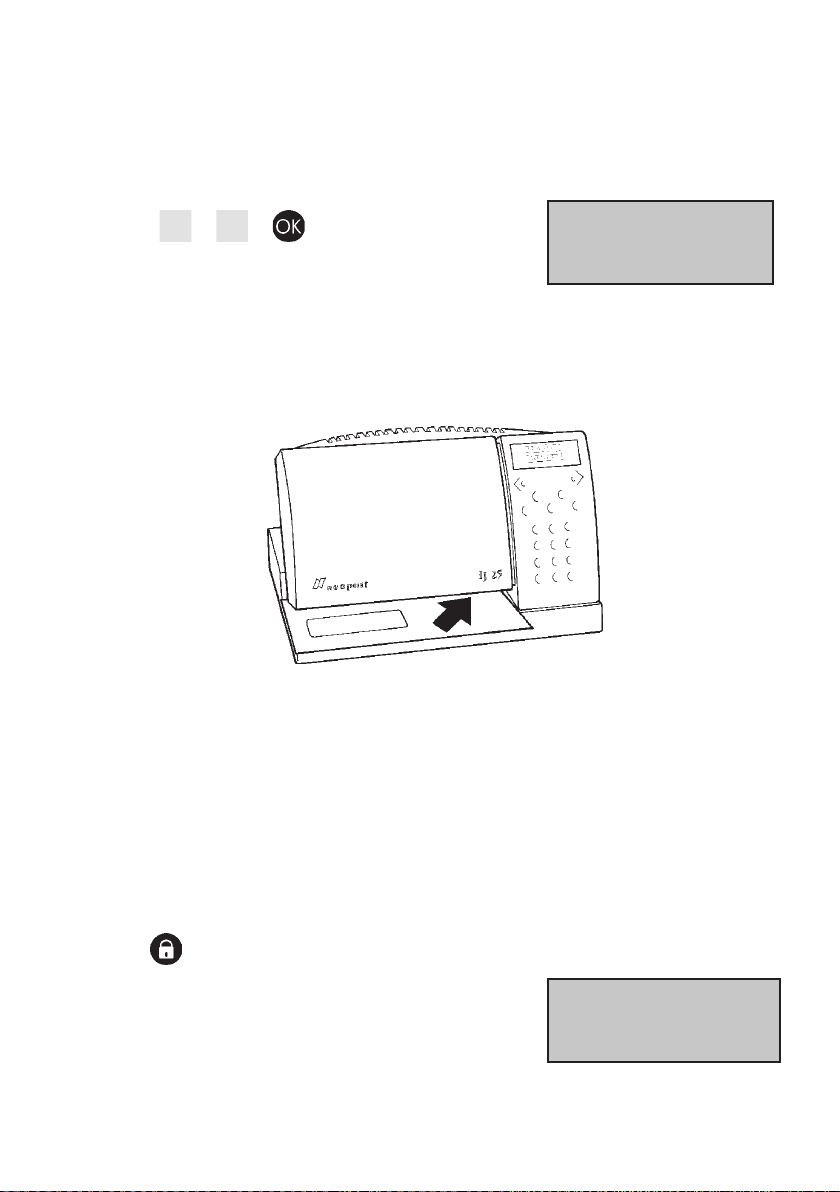
Set the switch on the power supply outlet to the OFF position, connect the power unit
to the power supply outlet and the other end to the D.C. input socket ( ) at the back
of the machine.
Now set the switch on the power outlet socket to ON.
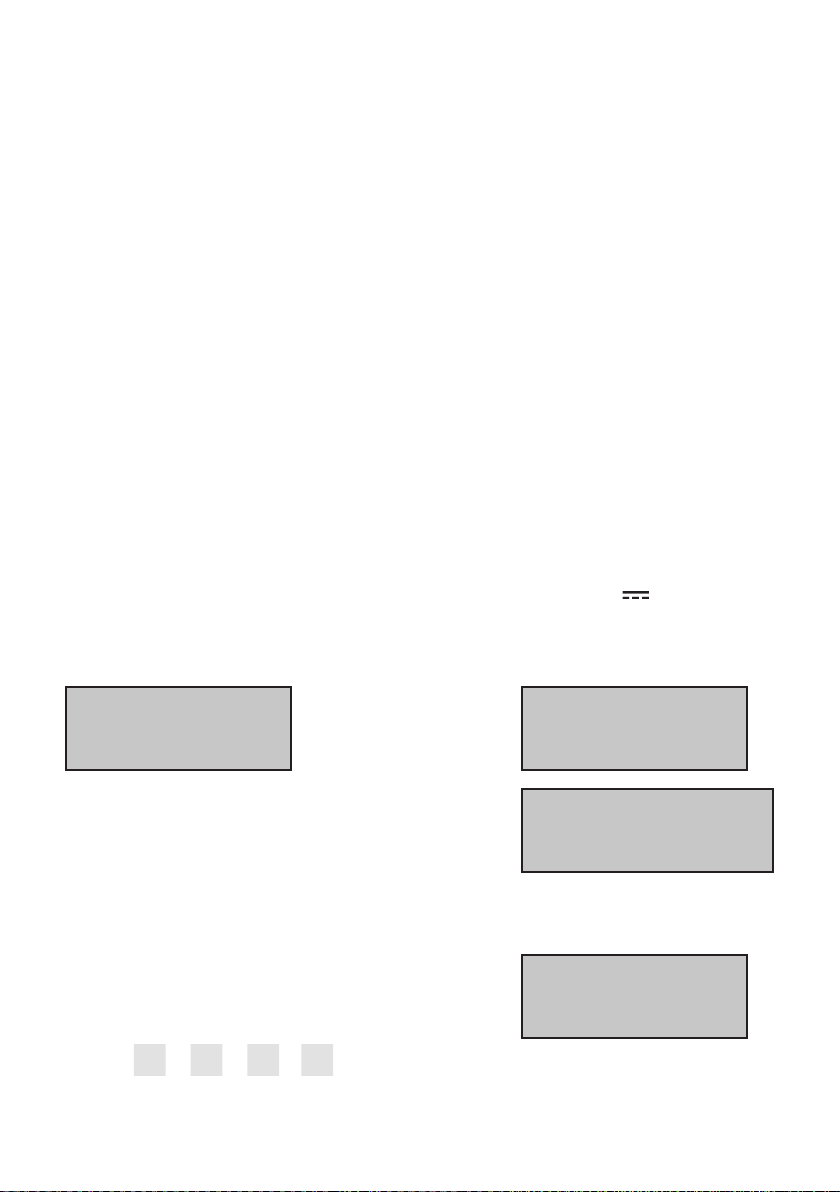
When the machine is ready, the following displays will be observed:
If the WARNING INSPECTION REQD display is
observed, go to page 22 to add credit to the
machine, or complete a zero credit transaction.
Ready Mode (PIN Entry)
The Factory default PIN is set to zero, therefore PIN entry is not necessary.
To set up a PIN, please see page 19.
If the PIN is reset to a number other than zero, the
LOCKED displaywillbeobserved:
Enter PIN, e.g. 1 2 3 4
Press: .
If an incorrect User PIN is entered, check PIN for accuracy and try again.
LOCKED
----
WELCOME TO IJ25
PLEASE WAIT... Followed by
WARNING
INSPECTION REQD
Ready 0.27
03/03/01