manuals.online logo
Brands
  1. Home
  2. •
  3. Brands
  4. •
  5. Teknik
  6. •
  7. Indoor Furnishing
  8. •
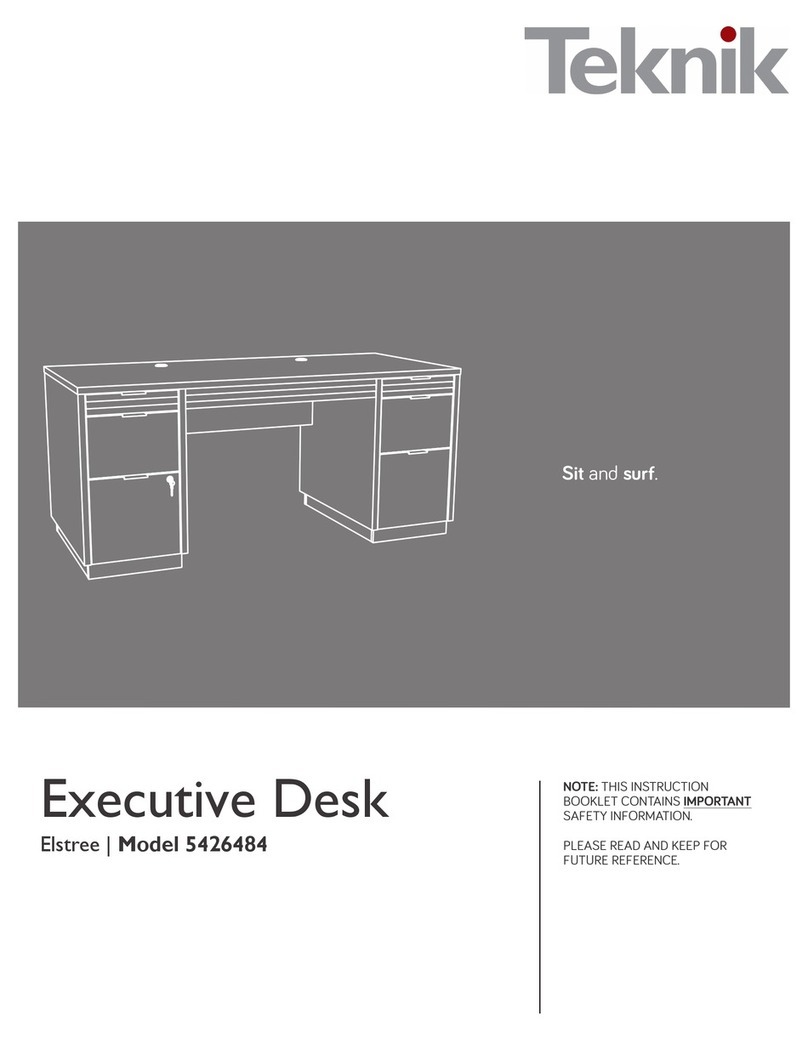
  9. Teknik Office Affiliate 5427414 User manual

Teknik Office Affiliate 5427414 User manual

NOTE: THIS INSTRUCTION
BOOKLET CONTAINS
IMPORTANT SAFETY
INFORMATION.
PLEASE READ AND KEEP
FOR FUTURE REFERENCE.
10/28/21 Lot # 573163
Purchased:
__________________
English pg 1-27
Français pg 28-31
Español pg 32-35
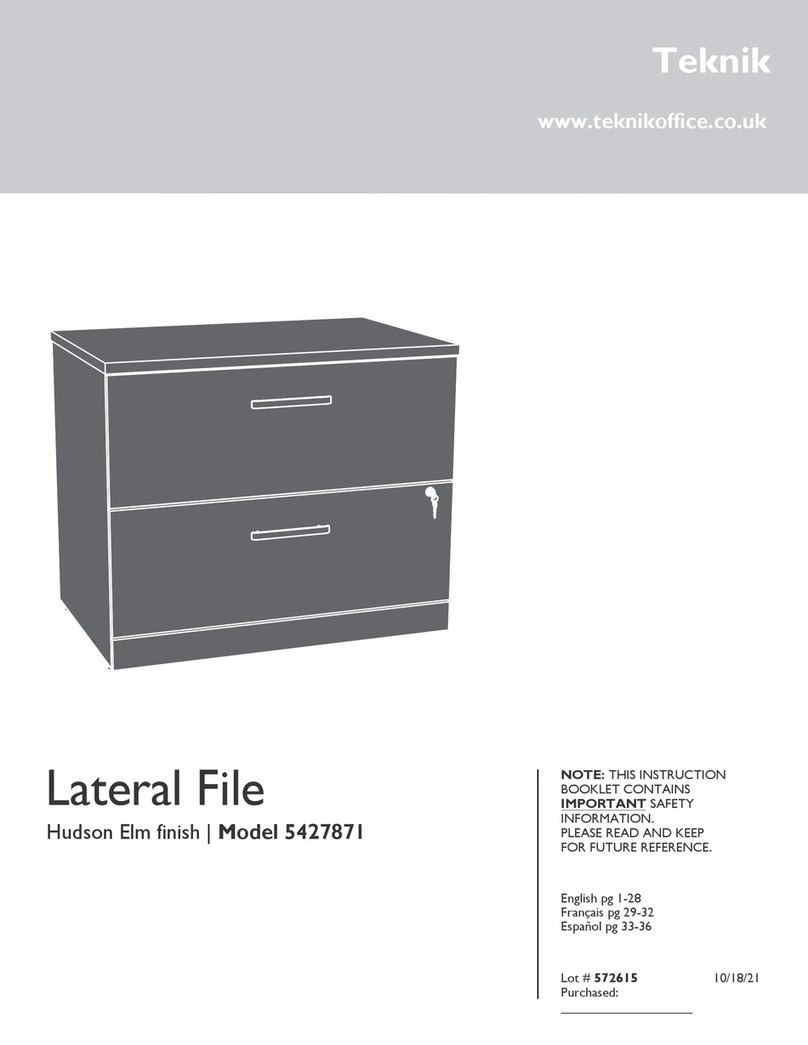
1200x600 Desk
Hudson Elm finish | Model 5427414
Teknik
www.teknikoffice.co.uk
Table of Contents Assembly Tools Required
Hammer
Not actual size
No. 2 Phillips Screwdriver
Tip Shown Actual Size
Part Identification
Hardware Identification
Optional Accessories
Hardware Usage Guide
Assembly Steps
Français
Español
Safety
Warranty
3
4
5
7, 14, 21
6-27
28-31
32-35
36-38
39
Page 2
Part Identification
åWhile not all parts are labeled, some of the parts will have a label or an inked letter on the edge
to help distinguish similar parts from each other. Use this part identification to help identify similar parts.
Now you know
our ABCs.
A RIGHT END (1)
B LEFT END (1)
C SMALL END (1)
D TOP (1)
E MODESTY PANEL (1)
Page 3
A
B C
D
E
Hardware Identification
åScrews are shown actual size. You may receive extra hardware with your unit.
Page 4
42F WOOD DOWEL - 12 41G PLATE - 2
10M TOUCH-UP PEN - 1 2P GROMMET - 2 3P GROMMET
CAP - 2
9P CORD CLIP - 2 126P SMALL HOLE
PLUG - 2
1S BLACK 9/16" LARGE HEAD SCREW - 8
46E LEVELER - 6
LARGE HOLE
PLUG - 3
127P
TWIST-LOCK®
FASTENER COVER - 15
125P
å This piece of furniture accommodates one or more of the following optional accessories (sold separately).
å Powered Grommet (Item 427829)
å Articulating Keyboard Shelf (Item 426468)
The Articulating Keyboard Shelf is designed to be fastened to the underside of your desk, desk return, or credenza top.
å LED Light (Item 426494)
The LED Light is designed to be fastened to the underside of a hutch.
Optional Accessories (sold separately)
Page 5
Step 1
å See below for the options with your unit.
427415 or 427422
427414
Steps 2 - 8
427414
Steps 9 - 15
Steps 16 - 22
427415 or 427422
427414
Page 6
å Assemble your unit on a carpeted floor or on the empty
carton to avoid scratching your unit or the floor.
å Insert four WOOD DOWELS (42F) into the exact holes
shown in the MODESTY PANEL (E).
å NOTE: You may need to gently tap the WOOD DOWEL
in with your hammer.
Hardware Usage Guide
1. Insert the dowel end of the FASTENER into the
hole of the adjoining part.
NOTE: The dowel end of the FASTENER must
remain fully inserted in the hole of the adjoining
part while locking the FASTENER.
2. Tighten the FASTENER with a Phillips
screwdriver as tight as possible.
Dowel end
2.
Push a TWIST-LOCK® FASTENER
into the large hole in the part.
1.
HOW TO USE A TWIST-LOCK®FASTENER
Step 2
42F
42F
E
Page 7
Step 3
å Using your hammer, gently tap four LEVELERS (46E)
completely into the holes in the ENDS (A and B).
å NOTE: Adjustments to the LEVELERS will be made later in
assembly once your unit is standing upright.
A
B
46E
Page 8
Step 4
å Fasten the MODESTY PANEL (E) to the RIGHT END (A). Tighten three TWIST-LOCK® FASTENERS.
å NOTE: Be sure the WOOD DOWELS in the MODESTY PANEL insert into the END.
å Fasten the LEFT END (B) to the MODESTY PANEL (E). Tighten three TWIST-LOCK® FASTENERS.
å NOTE: Be sure the WOOD DOWELS in the MODESTY PANEL insert into the END.
E
A
E
B
Edge with
TWIST-LOCK®
FASTENERS
For support, place packing
foam or books here.
Page 9
å Turn two CORD CLIPS (9P) into the TOP (D).
å NOTE: The CORD CLIP is used to hold your cords
against the TOP.
Step 5
Pilot hole to be used only if you
purchased the optional 426468
Articulating Keyboard Shelf.
Page 10
9P
D
å Insert six WOOD DOWELS (42F) into the holes in the edges of the ENDS (A
and B) and MODESTY PANEL (E).
å NOTE: You may need to gently tap the WOOD DOWEL in with your hammer.
å With someone's help, fasten the TOP (D) to the ENDS (A and B) and
MODESTY PANEL (E). Tighten seven TWIST-LOCK® FASTENERS.
å NOTE: Be sure the WOOD DOWELS in the ENDS and MODESTY PANEL
insert into the TOP.
Step 6
Page 11
D
A
E
B
42F
(6 used)
Step 7
å Your unit may need leveling. To raise a corner of your unit,
rotate the LEVELER downward. To lower a corner of your
unit, rotate the LEVELER upward.
å Insert a GROMMET (2P) and GROMMET CAP (3P) into
each large hole in the TOP (D).
Page 12
To raise a corner of your
unit, rotate the LEVELER
downward. To lower a
corner of your unit, rotate
the LEVELER upward.
3P
2P
D
Step 8
å For long-term care and maintenance of your unit, you may touch up the edges with the TOUCH-UP PEN (10M).
å Using your hammer, gently tap a TWIST-LOCK® FASTENER COVER (125P) onto each visible TWIST-LOCK® FASTENER.
å NOTE: Please read the back pages of the instruction booklet for important safety information.
å This completes assembly. Clean with a damp cloth. Wipe dry.
Page 13
10M
125P
å Assemble your unit on a carpeted floor or on the empty
carton to avoid scratching your unit or the floor.
å Insert four WOOD DOWELS (42F) into the exact holes
shown in the MODESTY PANEL (E).
å NOTE: You may need to gently tap the WOOD DOWEL
in with your hammer.
Hardware Usage Guide
Step 9
42F
42F
E
Page 14
1. Insert the dowel end of the FASTENER into the
hole of the adjoining part.
NOTE: The dowel end of the FASTENER must
remain fully inserted in the hole of the adjoining
part while locking the FASTENER.
2. Tighten the FASTENER with a Phillips
screwdriver as tight as possible.
Dowel end
2.
Push a TWIST-LOCK® FASTENER
into the large hole in the part.
1.
HOW TO USE A TWIST-LOCK®FASTENER
Step 10
å Using your hammer, gently tap four LEVELERS (46E)
completely into the holes in the ENDS (B and C).
å NOTE: Adjustments to the LEVELERS will be made later in
assembly once your unit is standing upright.
C
B
46E
Page 15
Step 11
å Fasten the MODESTY PANEL (E) to the SMALL END (C). Tighten three TWIST-LOCK® FASTENERS.
å NOTE: Be sure the WOOD DOWELS in the MODESTY PANEL insert into the END.
å Fasten the LEFT END (B) to the MODESTY PANEL (E). Tighten three TWIST-LOCK® FASTENERS.
å NOTE: Be sure the WOOD DOWELS in the MODESTY PANEL insert into the END.
E
C
E
B
Edge with
TWIST-LOCK®
FASTENERS
For support, place packing
foam or books here.
Page 16
Step 12
Pilot hole to be used only if you
purchased the optional 426468
Articulating Keyboard Shelf.
9P
D
Page 17
å Turn two CORD CLIPS (9P) into the TOP (D).
å NOTE: The CORD CLIP is used to hold your cords
against the TOP.
Step 13
C
å Insert six WOOD DOWELS (42F) into the holes in the edges of the ENDS (B and C) and MODESTY PANEL (E).
å NOTE: You may need to gently tap the WOOD DOWEL in with your hammer.
å With someone's help, fasten the TOP (D) to the ENDS (B and C) and MODESTY PANEL (E). Tighten seven
TWIST-LOCK® FASTENERS.
å NOTE: Be sure the WOOD DOWELS in the ENDS and MODESTY PANEL insert into the TOP.
å Insert a HOLE PLUG (126P or 127P) into any unused hole in the SMALL END (C).
D
E
B
42F
(6 used)
127P
Page 18
126P
(2 used)
(3 used)
Step 14
å Fasten the TOP (D) to the TOP of the other desk. Use two PLATES (41G) and eight
BLACK 9/16" LARGE HEAD SCREWS (1S).
å Your unit may need leveling. To raise a corner of your unit, rotate the LEVELER
downward. To lower a corner of your unit, rotate the LEVELER upward.
å Insert a GROMMET (2P) and GROMMET CAP (3P) into each large hole in the TOP (D).
427415 or 427422
D
41G
BLACK 9/16" LARGE HEAD SCREW
(8 used in this step)
1S
To raise a corner of your
unit, rotate the LEVELER
downward. To lower a
corner of your unit, rotate
the LEVELER upward.
3P
2P
Page 19
Step 15
å For long-term care and maintenance of your unit, you may touch up the edges with the TOUCH-UP PEN (10M).
å Using your hammer, gently tap a TWIST-LOCK® FASTENER COVER (125P) onto each visible TWIST-LOCK® FASTENER.
å NOTE: Please read the back pages of the instruction booklet for important safety information.
å This completes assembly. Clean with a damp cloth. Wipe dry.
10M
125P
Page 20

Other Teknik Indoor Furnishing manuals
Teknik 5427412 User manual

Teknik

Teknik 5427412 User manual

Teknik Barrister Home L-Shaped Desk 5418270 User manual

Teknik

Teknik Barrister Home L-Shaped Desk 5418270 User manual

Teknik Hudson 5425709 User manual

Teknik

Teknik Hudson 5425709 User manual

Teknik 5424943 User manual

Teknik

Teknik 5424943 User manual

Teknik 5410416 User manual

Teknik

Teknik 5410416 User manual

Teknik Barrister Home 4 Drawer Chest User manual

Teknik

Teknik Barrister Home 4 Drawer Chest User manual

Teknik Canyon Lane 5425302 User manual

Teknik

Teknik Canyon Lane 5425302 User manual

Teknik Scribed Oak Storage Desk 5418294 User manual

Teknik

Teknik Scribed Oak Storage Desk 5418294 User manual

Teknik Shaker Style 5428225 User manual

Teknik

Teknik Shaker Style 5428225 User manual

Teknik 5402174 User manual

Teknik

Teknik 5402174 User manual

Teknik 5412885 User manual

Teknik

Teknik 5412885 User manual

Teknik Barrister Home 3 Drawer Chest 5418702 User manual

Teknik

Teknik Barrister Home 3 Drawer Chest 5418702 User manual

Teknik 5417593 User manual

Teknik

Teknik 5417593 User manual

Teknik Stationmaster 5426454 User manual

Teknik

Teknik Stationmaster 5426454 User manual

Teknik 5427429 User manual

Teknik

Teknik 5427429 User manual
Teknik 5418793 User manual

Teknik

Teknik 5418793 User manual

Teknik Hudson 5425815 User manual

Teknik

Teknik Hudson 5425815 User manual

Teknik 5425907 User manual

Teknik

Teknik 5425907 User manual
Teknik Denver Swivel Recliner User manual

Teknik

Teknik Denver Swivel Recliner User manual

Teknik 5420275 User manual

Teknik

Teknik 5420275 User manual

Teknik 5425015 User manual

Teknik

Teknik 5425015 User manual

Teknik Canyon Lane 5425306 User manual

Teknik

Teknik Canyon Lane 5425306 User manual

Teknik Barrister Home 5418705 User manual

Teknik

Teknik Barrister Home 5418705 User manual

Teknik Canal Heights 5419228 User manual

Teknik

Teknik Canal Heights 5419228 User manual

Popular Indoor Furnishing manuals by other brands

Forte DURK331-C818 Assembling Instruction

Forte

Forte DURK331-C818 Assembling Instruction

U-Line H-9480 quick start guide

U-Line

U-Line H-9480 quick start guide

W.Schillig move 202.11 Assembly instructions

W.Schillig

W.Schillig move 202.11 Assembly instructions

Honey Can Do SHF-02217 Assembly instructions

Honey Can Do

Honey Can Do SHF-02217 Assembly instructions

Lancaster 164WAITRS4WL Assembly instructions

Lancaster

Lancaster 164WAITRS4WL Assembly instructions

Courtyard Creations TGS28SW-WM Assembly instructions

Courtyard Creations

Courtyard Creations TGS28SW-WM Assembly instructions

Santalucia Mobili HOMY Night Assembly instructions

Santalucia Mobili

Santalucia Mobili HOMY Night Assembly instructions

Tennsco J2478C Assembly Instructions/Parts Manual

Tennsco

Tennsco J2478C Assembly Instructions/Parts Manual

ATA Etagere T1633x037 manual

ATA

ATA Etagere T1633x037 manual

Lovi GINGER 8103345415 Assembly instructions

Lovi

Lovi GINGER 8103345415 Assembly instructions

GiFi 601996 manual

GiFi

GiFi 601996 manual

OfficeSource PL236T Assembly instructions

OfficeSource

OfficeSource PL236T Assembly instructions

Southern Enterprises BE6622 Assembly instructions

Southern Enterprises

Southern Enterprises BE6622 Assembly instructions

Southern Enterprises CM404300TX Assembly instructions

Southern Enterprises

Southern Enterprises CM404300TX Assembly instructions

Cult 5059413122835 Assembly & care instructions

Cult

Cult 5059413122835 Assembly & care instructions

MAD airfoil G28T quick start guide

MAD

MAD airfoil G28T quick start guide

Sanus AFDVglass Assembly instructions

Sanus

Sanus AFDVglass Assembly instructions

m-Dimension Sadie 1108 Assembly instructions

m-Dimension

m-Dimension Sadie 1108 Assembly instructions

manuals.online logo
manuals.online logoBrands
  • About & Mission
  • Contact us
  • Privacy Policy
  • Terms and Conditions

Copyright 2025 Manuals.Online. All Rights Reserved.