manuals.online logo
Brands
  1. Home
  2. •
  3. Brands
  4. •
  5. Teknik
  6. •
  7. Indoor Furnishing
  8. •
  9. Teknik 5426436 User manual

Teknik 5426436 User manual

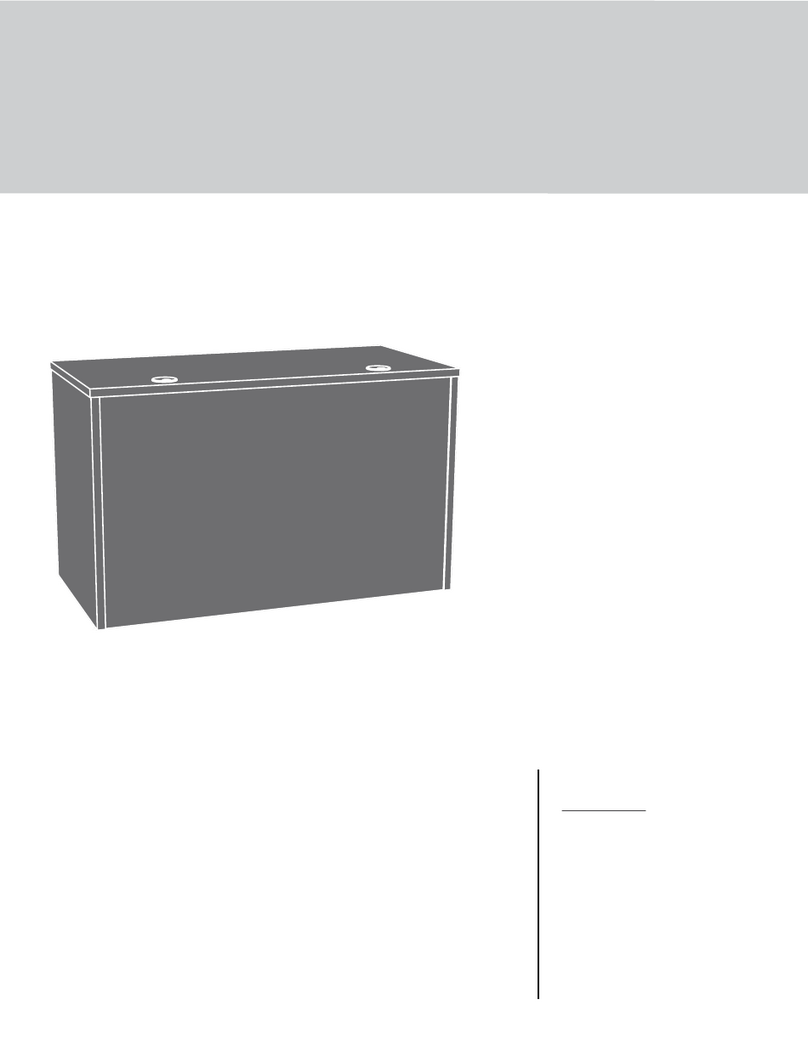
Hythe Wall Mounted 4 Shelf Bookcase with Door
5426436
The stories of your life.
Teknik
www.teknikoffice.co.uk
Part Identification
Hardware Identification
Assembly Steps
No. 2 Phillips Screwdriver
Tip Shown Actual Size
Table of Contents Assembly Tools Required
3
4-5
6-17
Straiht Ede Screwdriver
Pae 2
Electric drill with 5/16" bit
(ONLY in indicated step)
Part Identification
åWhile not all parts are labeled, some of the parts will have a label or an inked letter on the ede
to help distinuish similar parts from each other. Use this part identification to help identify similar parts.
Now you know
our ABCs.
A TOP (1)
B LEFT END (1)
C RIGHT END (1)
D UPRIGHT (1)
E BACK (1)
F BOTTOM (1)
G BRACE (2)
H UPPER FRAME (2)
J DOOR (1)
K LOWER FRAME (2)
L SHELF (3)
A
B
C
D
E
F
G
H
H
J
K
K
L
L
L
Pae 3
G
Hardware Identification
åScrews are shown actual size. You may receive extra hardware with your unit.
CAM SCREW - 6
2
HIDDEN CAM - 6
1
WOOD DOWEL - 6
3
PULL - 1
4
UPPER GUIDE - 2
5LOWER GUIDE - 2
6
WALL ANCHOR - 2
7L-WRENCH - 1
8
APPLIQUE CARD - 1
9
Pae 4
Hardware Identification
åScrews are shown actual size. You may receive extra hardware with your unit.
1-9/16" PAN HEAD SCREW - 6
11
1-3/16" HEX HEAD SCREW - 8
12 1/2" FLAT HEAD SCREW - 8
13
1/2" HEX HEAD SCREW - 8
14 1-15/16" HEX HEAD SCREW - 16
15
Pae 5
2" PAN HEAD SCREW - 2
16
10 38" MACHINE SCREW  2
Hardware Usae Guide
HOW TO USE A HIDDEN CAM & CAM SCREW OR CAM DOWEL
NOTE: Various CAM SCREWS or a CAM DOWEL may be used.
Cam Screws Cam Dowel
Turn the CAM SCREW or
ently tap the CAM DOWEL
until the shoulder is aainst
the surface of the part.
1.
Hidden CamHidden Cam
Arrow
Push a HIDDEN CAM into
the part. The arrow in the
HIDDEN CAM must point
toward the hole in the
ede of the board.
Hole
2.
3.
1
2
Insert the CAM SCREW or CAM DOWEL into the
HIDDEN CAM. Tihten the HIDDEN CAM.
Pae 6
Step 1
å Assemble your unit on a carpeted floor or on the empty
carton to avoid scratchin your unit or the floor.
å Turn six CAM SCREWS (2) into the TOP (A).
å Push six HIDDEN CAMS (1) into the ENDS (B and C),
and UPRIGHT (D).
A
B
C
D
2
Arrow
1
Pae 7
Just think. The sooner
you do this, the sooner
you do somethin else.
Step
å Insert three WOOD DOWELS (3) into the TOP (A).
å Fasten the ENDS (B and C) and UPRIGHT (D) to the TOP (A).
Tihten six HIDDEN CAMS.
å NOTE: Be sure the WOOD DOWELS in the TOP insert into the
ENDS and UPRIGHT.
Step 2
B
D
C
Surface with HIDDEN CAMS
Surface without HIDDEN CAMS
Groove
3
A
Pae 8
Step
å Slide the BACK (E) into the rooves
in the ENDS (B and C) and TOP (A).
Step 3
B
D
C
A
E
With the palm of your hand, tap
the BACK down into the roove.
Finished surface
Pae 9
Step
å Insert three WOOD DOWELS (3) into the ENDS (B and C),
and UPRIGHT (D).
å Fasten the BOTTOM (F) to the ENDS (B and C), and UPRIGHT (D).
Use six 1-9/16" PAN HEAD SCREWS (11).
å NOTE: Be sure the WOOD DOWELS in the ENDS and UPRIGHT
insert into the BOTTOM.
Step 4
B
D
C
E
F
These holes must be
closest to this ede.
3
(3 used)
1-9/16" PAN HEAD SCREW
(6 used in this step)
11
Pae 10
Step
å Fasten the BRACES (G) to the BOTTOM (F). Tihten four
1-3/16" HEX HEAD SCREWS (12) usin the L-WRENCH (8).
å NOTE: You should start each SCREW a few turns before
completely tihtenin any of them.
Step 5
F
G
G
8
1-3/16" HEX HEAD SCREW
(4 used in this step)
12
Pae 11
Now miht be a
ood time to refresh
your drink.
Step
å Fasten a UPPER FRAME (H) to a LOWER FRAME (K).
Tihten four 1/2" HEX HEAD SCREWS (14) usin
the L-WRENCH (8).
å NOTE: You should start each SCREW a few turns before
completely tihtenin any of them.
å Repeat this step for the remainin FRAMES.
Step 6
H
H
K
K
8
1/2" HEX HEAD SCREW
(8 used in this step)
14
Pae 12
Step
å Turn the assembly onto its back edes.
å Fasten the FRAMES (H and K) to the TOP (A)
and SHELVES (L). Tihten sixteen 1-15/16" HEX
HEAD SCREWS (15) usin the L-WRENCH (8).
å NOTE: You should start each SCREW a few turns before
completely tihtenin any of them.
å Fasten the LOWER FRAMES (K) to the BRACES (G).
Tihten four 1-3/16" HEX HEAD SCREWS (12) usin
the L-WRENCH (8).
å NOTE: You should start each SCREW a few turns before
completely tihtenin any of them.
Step 7
H
K
K
H
LL
L
GG
A
8
1-3/16" HEX HEAD SCREW
(4 used in this step)
12
1-15/16" HEX HEAD SCREW
(16 used in this step)
15
Meet Part (L). This component has
been enineered to be lihter, stroner,
faster… well ok. Not technically faster.
But definitely makes for a sturdier wall-
mounted bookcase With door that’s
easier to assemble and friendlier to
the environment.
Pae 13
These holes
must be closer
to this ede
StepStep 8
å 1st-Carefully stand your unit upriht aainst the wall in its final location. Strike a mark throuh the center of the hole in
the UPPER FRAMES (H). Lay your unit down.
å 2nd-Drill a 5/16" hole on the marks.
å 3rd-While you squeeze the wins toether, ently tap two WALL ANCHORS (7) into the holes until they are even with
the surface of the wall.
å Stand your unit upriht placin the brackets in the UPPER FRAMES (H) over the WALL ANCHORS (7).
å Turn two 2" PAN HEAD SCREWS (16) throuh the holes in the UPPER FRAMES (H) and into the WALL ANCHORS. (7).
å NOTE: You will need to turn the 2" PAN HEAD SCREWS (16) multiple turns to completely tihten and secure your unit
to the wall.
Pae 14
H
H
1st
7
Mark and drill a
5/16" hole into
the wall.
Mark and drill a
5/16" hole into
the wall.
2nd
2" PAN HEAD SCREW
(2 used in this step)
16
Step
å Fasten the PULL (4) to the DOOR (J). Use two 38"
MACHINE SCREWS (10).
å Fasten the GUIDES to the DOOR (J). Use eiht 1/2" FLAT
HEAD SCREWS (13).
Step 9
J
J
1/2" FLAT HEAD SCREW
(8 used in this step)
13
13
38" MACHINE SCREW
(2 used in this step)
10
4
6
5
Pae 15
If you're doin this to
help a friend, don't
leave without a bite.
Step
å NOTE: The UPPER GUIDE (5) tabs should be down before startin this step.
å Insert the LOWER GUIDES (6) in the DOOR (J) at an anle into the roove in the BOTTOM (F). Then, tilt
the DOOR (J) up vertically. Push the UPPER GUIDE (5) tabs up into the roove in the TOP (A).
å NOTE: The DOOR should slide freely in the track.
å NOTE: The DOOR ap is adjustable. Turn the cam on the LOWER GUIDES (6) with a
STRAIGHT EDGE SCREWDRIVER to adjust the door up or down.
Step 10
J
F
A
The tab should
be down before
you insert it into
the upper track.
The tab should
be up after the
DOOR is in place.
A
A
FF
JJ
Turn this
cam to
adjust the
door ap.
6
Pae 16
Step
å Peel APPLIQUES from the APPLIQUE CARD (9) and stick them onto each visible HIDDEN CAM.
å NOTE: Please read the back paes of the instruction booklet for important safety information.
å This completes assembly. Clean with a damp cloth. Wipe dry.
Step 11
9
To cover HIDDEN CAMS
15 lbs.
35 lbs.
35 lbs.
35 lbs.
35 lbs. total
Pae 17
6 used
WARNING
Please use your furniture correctly and safely. Improper use can cause safety hazards,
or damae to your furniture or household items. Carefully read the following chart.
Look out for: What can happen: How to avoid the problem:
• Overloaded shelves.
• Improper loadin can cause the
product to be top-heavy.
• Risk of injury.
• Top-heavy furniture can tip over.
• Overloaded shelves can break.
• Never exceed the weiht limits shown in
the instructions.
• Work from bottom to top when loadin
shelves. Place the heavier items on the
lower shelves.
• Improperly movin furniture that is not
desined and equipped with casters. • Furniture can tip over or break if
improperly moved.
• Physical injury. Furniture can be very
heavy.
• Unload shelves from top to bottom before
movin the furniture.
• Do not push furniture, especially on a
carpeted floor. Have a friend help you lift
the item and set it in place.
• This unit must be positioned aainst a
wall.
• Children climbin on the shelves can
cause the product to tip. • Risk of injury or death. • Do not allow children to climb on the
shelves. Avoid placin items like toys or
candy on upper shelves.
• Use the supplied tippin restraint kit for
added stability.
• Placin TVs on furniture items that are
not desined to support a television is
hazardous.
• Risk of injury or death. TVs can be very
heavy. Plus the weiht and location of the
picture tube tends to make TVs unbalanced
and prone to tippin forward.
• This product is not desined to support a
television.

Other Teknik Indoor Furnishing manuals

Teknik Boulevard Cafe Desk 5420701 User manual

Teknik

Teknik Boulevard Cafe Desk 5420701 User manual

Teknik Elstree Credenza 5426916 User manual

Teknik

Teknik Elstree Credenza 5426916 User manual

Teknik Lux Desk 5426429 User manual

Teknik

Teknik Lux Desk 5426429 User manual

Teknik Industrial Style Chunky Desk 5422097 User manual

Teknik

Teknik Industrial Style Chunky Desk 5422097 User manual

Teknik 5414142 User manual

Teknik

Teknik 5414142 User manual

Teknik Barrister Home Credenza 5421458 User manual

Teknik

Teknik Barrister Home Credenza 5421458 User manual

Teknik New Hyde 426440 User manual

Teknik

Teknik New Hyde 426440 User manual

Teknik Canal Heights 5419231 User manual

Teknik

Teknik Canal Heights 5419231 User manual

Teknik White Home Study L-Shaped Desk User manual

Teknik

Teknik White Home Study L-Shaped Desk User manual

Teknik 5425907 User manual

Teknik

Teknik 5425907 User manual

Teknik 5417593 User manual

Teknik

Teknik 5417593 User manual

Teknik 5412314 User manual

Teknik

Teknik 5412314 User manual

Teknik Home Study 5426055 User manual

Teknik

Teknik Home Study 5426055 User manual

Teknik 5424259 User manual

Teknik

Teknik 5424259 User manual

Teknik 5423547 User manual

Teknik

Teknik 5423547 User manual
Teknik Hampstead Park 5423704 User manual

Teknik

Teknik Hampstead Park 5423704 User manual

Teknik Barrister Home User manual

Teknik

Teknik Barrister Home User manual

Teknik Contemporary Bureau 5416966 User manual

Teknik

Teknik Contemporary Bureau 5416966 User manual

Teknik Hudson Chunky Desk 5425833 User manual

Teknik

Teknik Hudson Chunky Desk 5425833 User manual

Teknik Hampstead Park 5420731 User manual

Teknik

Teknik Hampstead Park 5420731 User manual

Teknik 5431262 User manual

Teknik

Teknik 5431262 User manual

Teknik Industrial Style Bench Desk 5420032 User manual
Teknik

Teknik Industrial Style Bench Desk 5420032 User manual

Teknik 5412320 User manual

Teknik

Teknik 5412320 User manual

Teknik 5425655 User manual

Teknik

Teknik 5425655 User manual

Popular Indoor Furnishing manuals by other brands

Next FIJI Assembly instructions

Next

Next FIJI Assembly instructions

Next NEW S WHITE GLOSS WD 752065 Assembly instructions

Next

Next NEW S WHITE GLOSS WD 752065 Assembly instructions

Next 514033 Assembly instructions

Next

Next 514033 Assembly instructions

Furinno 13059 Assembly instruction

Furinno

Furinno 13059 Assembly instruction

kupper 70180 Assembly instruction

kupper

kupper 70180 Assembly instruction

U-Line H-9748 quick start guide

U-Line

U-Line H-9748 quick start guide

Target Furniture 139-9 SKY Assembly instruction

Target Furniture

Target Furniture 139-9 SKY Assembly instruction

Buhl SWB-80 instruction sheet

Buhl

Buhl SWB-80 instruction sheet

Crack MTL14 Assembly instructions

Crack

Crack MTL14 Assembly instructions

UPC 1401 Assembly instructions

UPC

UPC 1401 Assembly instructions

Emmezeta LUNA SHELF Assembling Instruction

Emmezeta

Emmezeta LUNA SHELF Assembling Instruction

GUIDO MARIA KRETSCHMER HOME&LIVING Como 476344 manual

GUIDO MARIA KRETSCHMER HOME&LIVING

GUIDO MARIA KRETSCHMER HOME&LIVING Como 476344 manual

Hay WOODY - COLOUMN LOW instruction manual

Hay

Hay WOODY - COLOUMN LOW instruction manual

Kesseböhmer TopFlex Assembly instructions

Kesseböhmer

Kesseböhmer TopFlex Assembly instructions

Matt Blatt MBOBANSBBKA user guide

Matt Blatt

Matt Blatt MBOBANSBBKA user guide

OAKWORKS Cabana Lounger instruction manual

OAKWORKS

OAKWORKS Cabana Lounger instruction manual

Dauphin Syncro-Automatic @Just magic2 Series owner's manual

Dauphin

Dauphin Syncro-Automatic @Just magic2 Series owner's manual

Kettler ELBA Left & Right Loveseat Assembly instructions

Kettler

Kettler ELBA Left & Right Loveseat Assembly instructions

manuals.online logo
manuals.online logoBrands
  • About & Mission
  • Contact us
  • Privacy Policy
  • Terms and Conditions

Copyright 2025 Manuals.Online. All Rights Reserved.