Toro Trans Pro 100 User manual
Other Toro Farm Equipment manuals
Toro
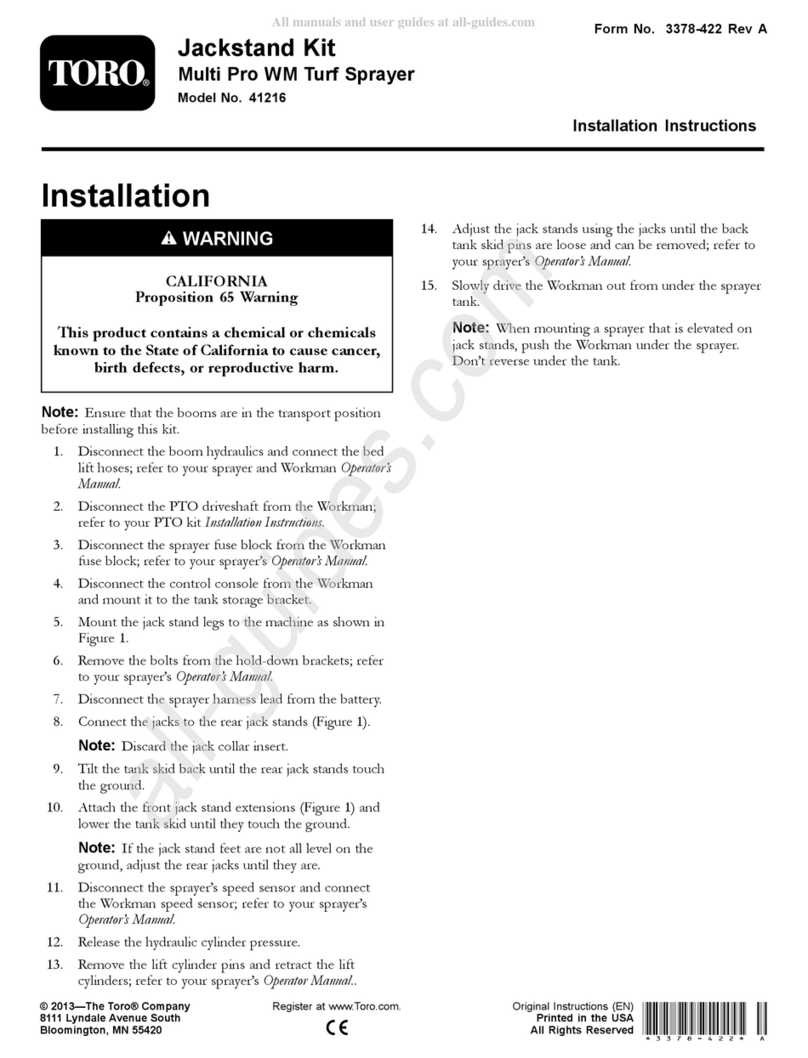
Toro 41216 User manual
Toro
Toro 23106 User manual

Toro
Toro Multi Pro 5800 User manual

Toro
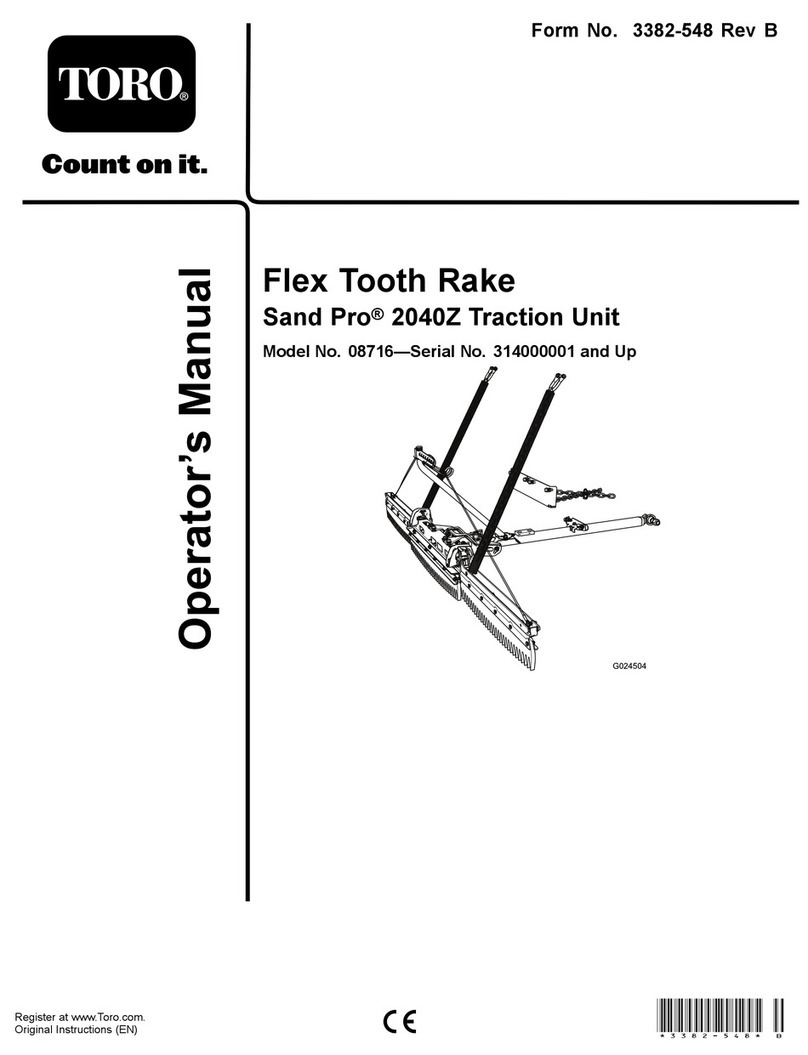
Toro Sand Pro 140-0274 User manual
Toro
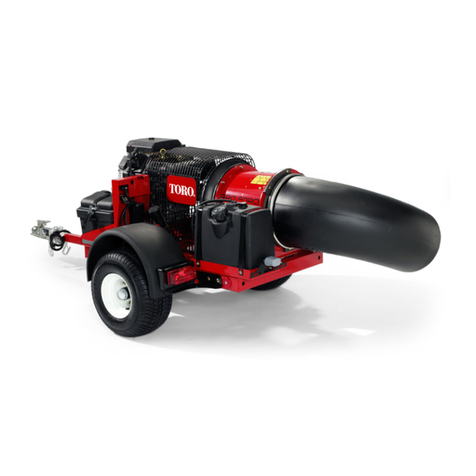
Toro Road-Ready Pro Force User manual
Toro
Toro 41622 User manual
Toro
Toro Z Master TURBO FORCE Z453 User manual
Toro
Toro Workman 3000 Series User manual
Toro
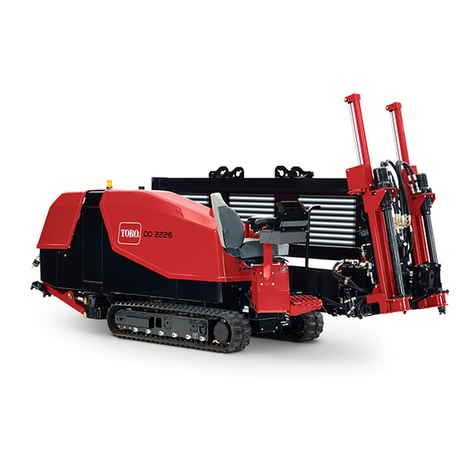
Toro 2226 Quick start guide
Toro
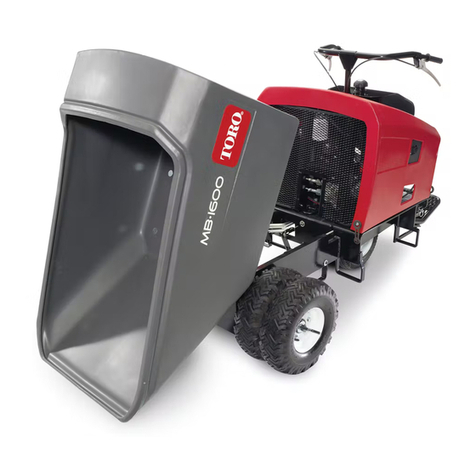
Toro MB-1600 User manual
Toro
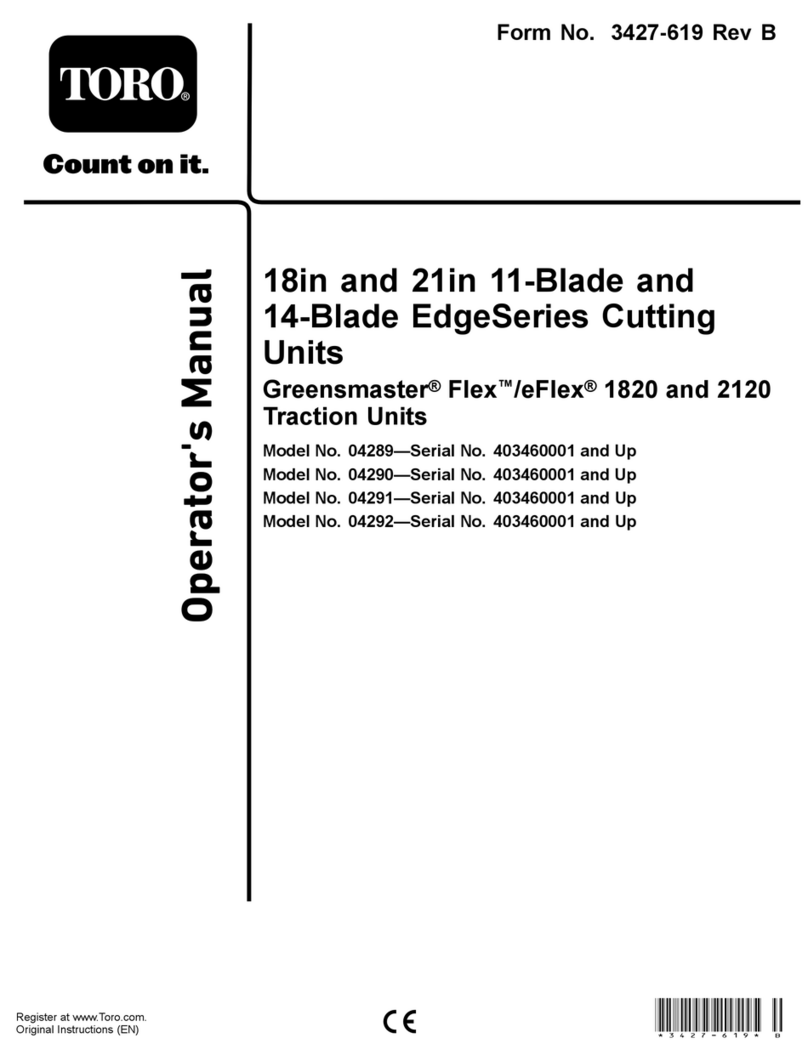
Toro Greensmaster Flex 1820 User manual

Toro
Toro Reelmaster 7000-D User manual
Toro
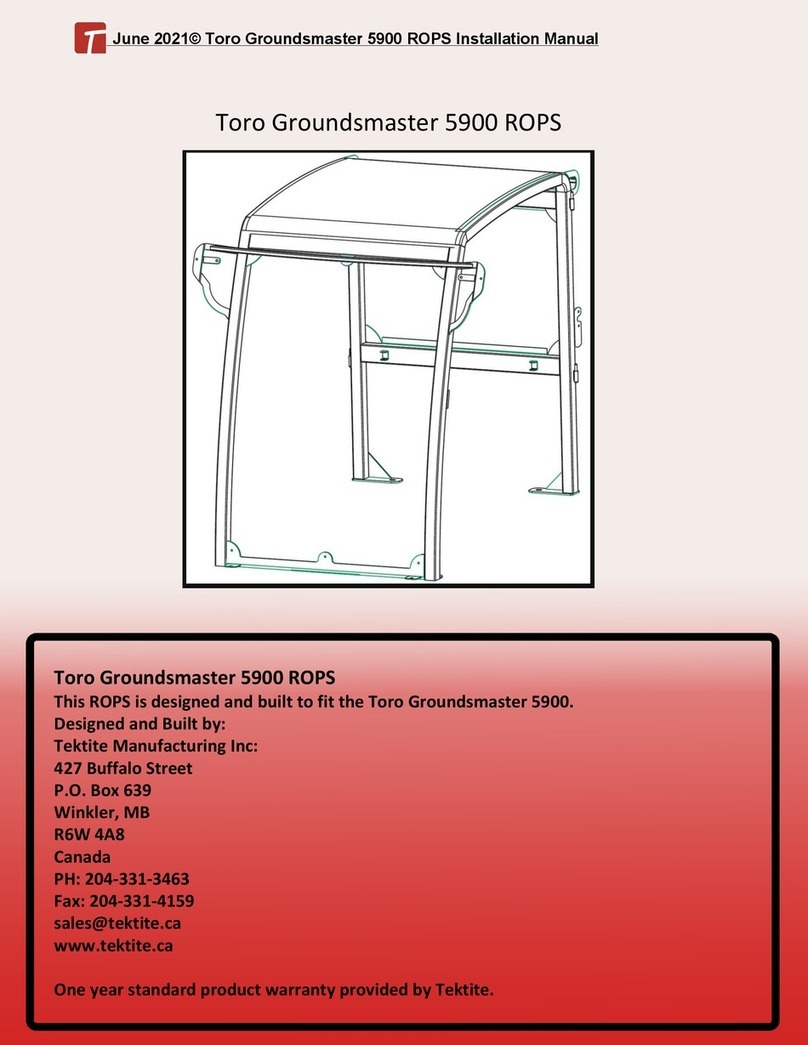
Toro Groundsmaster 5900 ROPS User manual
Toro
Toro Reelmaster 33455 User manual

Toro
Toro 08718 User manual

Toro
Toro 41355 User manual

Toro
Toro 25464 User manual
Toro
Toro ProLine 30139 User manual
Toro
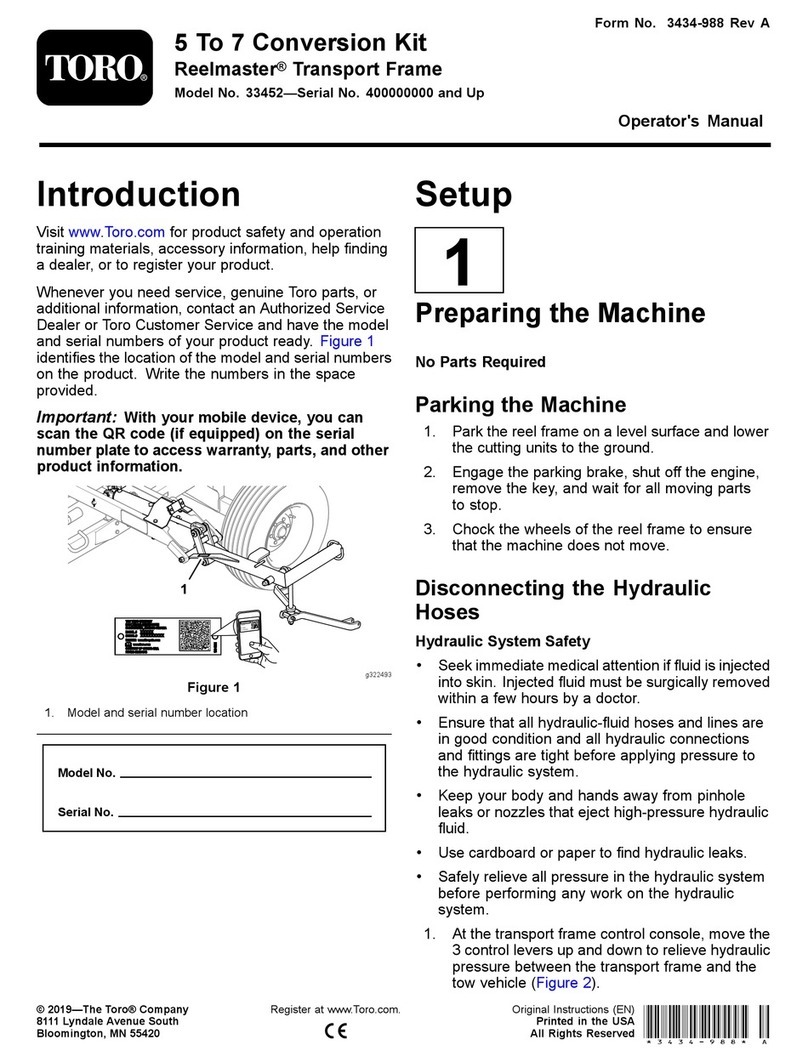
Toro Reelmaster 33452 User manual
Toro
Toro Reelmaster 03486 User manual
