manuals.online logo
Brands
  1. Home
  2. •
  3. Brands
  4. •
  5. Cisco
  6. •
  7. IP Phone
  8. •
  9. Cisco SPA 509G User manual

Cisco SPA 509G User manual

Quick Start Guide
Cisco Small Business
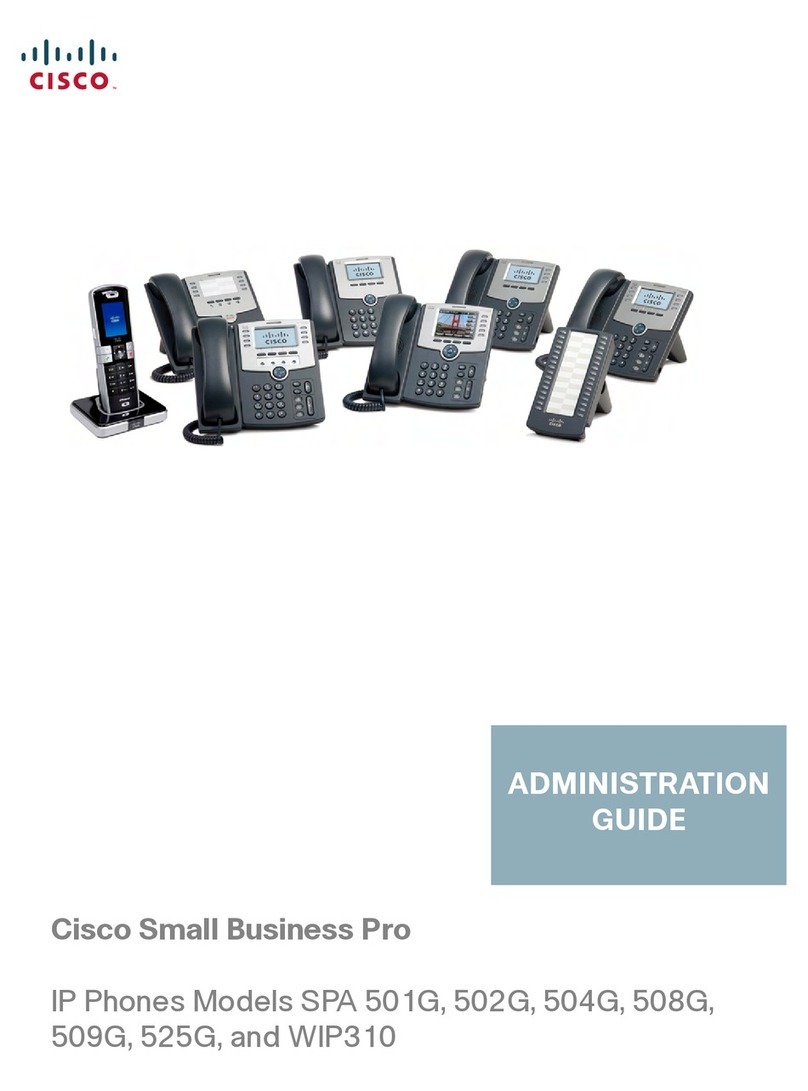
IP Phone Models SPA 501G, SPA 502G, SPA 504G,
SPA 508G, and SPA 509G
Package Contents
•IP Telephone
•Phone Stand
•RJ-45 Ethernet Cable
•Quick Start Guide
•Documentation on CD-ROM
Welcome
Thank you for choosing the Cisco Small Business IP phone. This guide
describes how to install your phone and how to perform some basic tasks. The
features available on your phone depend on the type of system to which your
phone is connected. Your phone system might not provide all of the features
mentioned in this document. Contact your phone system administrator for
questions about phone features.
Installing Your IP Phone
Use these procedures to install the phone and connect it to your network.
1
STEP 1Turn the phone body over to expose the ports on the back of the unit.
CAUTION Do not insert a telephone line cord into the auxiliary port.
STEP 2Insert the long end of the phone cord into the handset port on the
phone body that is marked with a phone symbol.
STEP 3(Optional) Route the phone cord through the cable slot.
STEP 4Insert the other end of the phone cord into the port at the bottom of the
handset (not shown).
STEP 5(Optional) Connect the phone stand by lining up the tabs on the stand
with the slots on the phone body. Slide the bottom tabs into the lower
slots on the phone body and lightly press down on the stand. It should
easily slide into the upper stand slots. Do not force.
STEP 6If you are using an external power source, insert one end of the power
cord into an outlet and insert the other end of the power cord into the
power port on the phone body.
STEP 7Connect your phone to the network:
•Using an Ethernet Connection—Insert one end of the Ethernet cable
into the network port on the phone body marked “SW.” Insert the
other end of the Ethernet cable into the appropriate device, such as
a network switch, on your network.
•Using a Wireless Connection—You can use a Cisco WBP54G
Wireless-G Bridge with the IP phone to create a wireless
connection between the phone and the network. See the WBP54G
documentation on Cisco.com for more information. The Where to
Go From Here section contains links to the documentation area on
Cisco.com
STEP 8(Optional) To provide network access to a PC, connect one end of an
additional Ethernet cable (not provided) to the PC port on the back of
the phone body. Connect the other end of the Ethernet cable to the
network port on your PC.
STEP 9(Optional) To install the phone on a vertical surface, use the Cisco
MB100 Wall Mount bracket. See the
Cisco Small Business IP Phone
SPA 50X User Guide (SIP)
or the
Cisco Unified Communications
Manager Express for the Cisco Small Business IP Phone SPA 50X
documents on Cisco.com for more information. The Where to Go From
Here section contains links to the documentation area on Cisco.com.
Phone Lines and Buttons
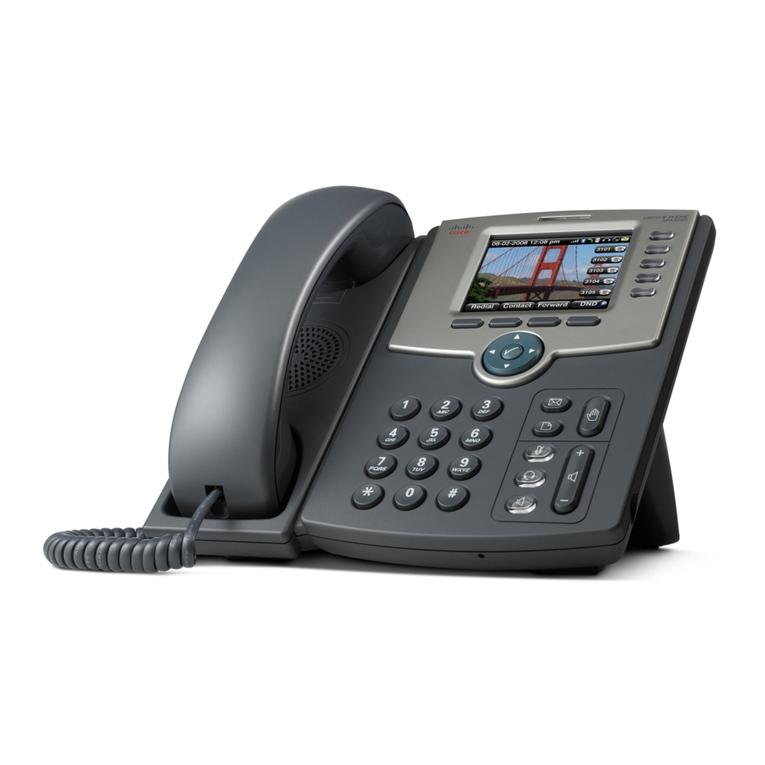
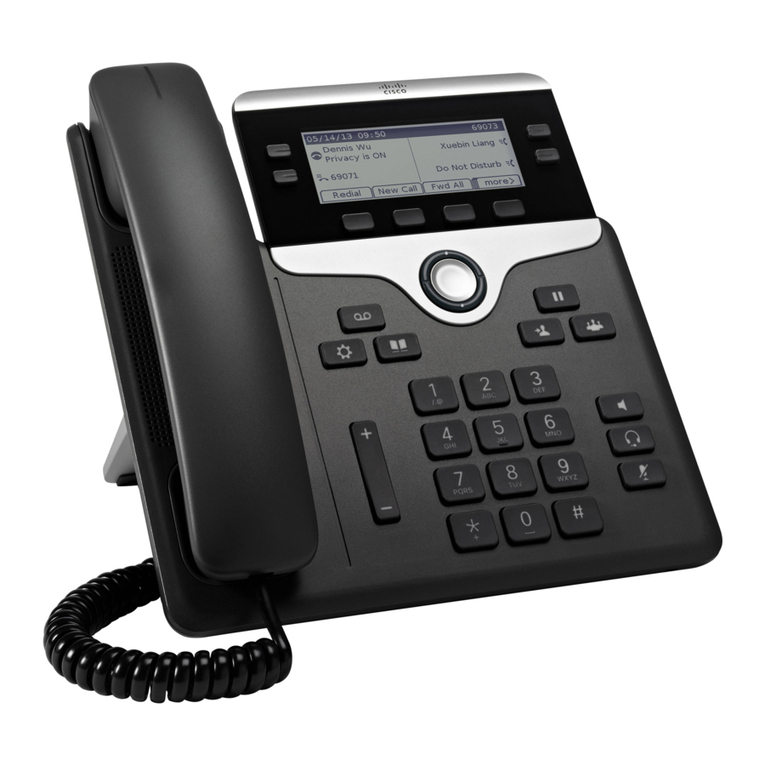
The photo above shows the Cisco SPA 509G. Other models differ.
Numbered objects in the photo are explained in the following table.
#PhoneFeature Description
1 Handset Pick up to place or answer a call.
2 Message Waiting
Indicator
Displays solid red when you have a new voice
mail message. Flashes red during an incoming call
or when the phone’s firmware is being updated.
(Behavior may differ depending on phone system.)
3 LCD Screen Displays date and time, phone station name, line
extensions, and softkey options. (Not available on
the Cisco SPA 501G.)
2
4 Line keys Indicates phone line status. (Not available on the
Cisco SPA 502G.) These keys can also be
programmed by your phone system administrator
to perform functions such as speed dial, call
pickup, or monitoring an extension.
Line colors depend on the type of phone system
to which your phone is connected. (SIP or SPCP).
See the User Guide for your phone for more
information. The Where to Go From Here section
contains links to the documentation area on
Cisco.com.
5 Softkey buttons Press a softkey button to perform the action
shown on the label on the LCD screen above.
Note: The Cisco SPA 501G has the following four
buttons:
Redial—Dials the last number called.
Cancel—Cancels an action (such as a
transfer).
Conference—While on a call, press to start
a conference call and dial another number.
After the second party answers, press
Conference again to create the conference.
Transfer—While on a call, press to transfer,
then dial the number to which to transfer.
Press Tra n sfer again to transfer the call.
6 Programmable Keys These keys can be programmed by your phone
system administrator to perform functions such as
speed dial, call pickup, or monitoring an extension.
(Only available on the Cisco SPA 509G.)
7 Navigation button Press an arrow to scroll left, right, up, or down
through items shown on the LCD screen. (Not
available on the Cisco SPA 501G.)
8 Messages button Press to access voice mail (must be set up by
your phone system administrator).
9 Hold button Press to place a call on hold.
#PhoneFeature Description
Americas Headquarters
Cisco Systems, Inc.
170 West Tasman Drive
San Jose, CA 95134-1706
USA
www.cisco.com
Small Business Support US: 1-866-606-1866 (Toll Free, 24/7)
Small Business Support, Global: www.cisco.com/go/sbsc
Cisco and the Cisco Logo are trademarks of Cisco Systems, Inc. and/or its affiliates in the U.S. and
other countries. A listing of Cisco's trademarks can be found at www.cisco.com/go/trademarks.
Third party trademarks mentioned are the property of their respective owners. The use of the word
partner does not imply a partnership relationship between Cisco and any other company. (1005R)
© 2010 Cisco Systems, Inc. All rights reserved.
78-19101-01B0
10 Setup button Press to access a menu to configure features and
preferences (such as your directory and speed
dials), access your call history, and set up
functions (such as call forwarding).
For the Cisco SPA 501G, accesses the Interactive
Voice Response menu, which allows you to
perform tasks like getting the IP address of the
phone. See the User Guide documents on
Cisco.com for more information. The Where to Go
From Here section contains links to the
documentation area on Cisco.com.
11 Mute button Press to mute or unmute the phone. When phone
is muted, the button glows red. A flashing mute
button indicates the network connection cannot
be found.
12 Volume button Press +to increase the volume and -to lower the
volume of the handset, headset, speaker (when
the handset is off the phone, or ringer volume
(when the handset is on the phone).
#PhoneFeature Description
Softkey Buttons
The softkey buttons and labels on your phone display vary depending on your
phone model and the phone system setup. (Softkey buttons are not available
on the Cisco SPA 501G.) Press the right arrow on the navigation button to view
additional softkey buttons. Below is a partial listing of softkey buttons that may
be available on your phone.
13 Headset button Push to turn the headset on or off. When the
headset is on, the button glows green.
14 Speaker button Push to turn the speaker on or off. When the
speaker is on, the button glows green.
15 Keypad Use to dial phone numbers, enter letters, and
choose menu items.
Button Function
<< or >> Move left or right through an entry without deleting
characters.
add Add an entry.
bXfer Performs a blind call transfer (transferring a call without
speaking to the party to whom you are transferring the call.)
cancel Cancels any changes you have made (press before ok or
save).
cfwd/CFwdAll Forwards all calls coming to your phone to a specified
number.
clear Clears the call history.
conf/Confrn Initiates a conference call.
confLx Conferences active lines on the phone together.
delChr Deletes the last number or letter.
delete Deletes an entire item (for example, a number from the Call
History list).
dial Dials a number.
dir Provides access to phone directories.
dnd/DnD Do Not Disturb; prevents incoming calls from ringing your
phone.
-dnd Clears Do Not Disturb.
edit Opens an item so that you can edit numbers or letters, or
enable or disable a feature.
Exit Closes a menu.
#PhoneFeature Description
Using Your IP Phone
Placing or Answering Calls
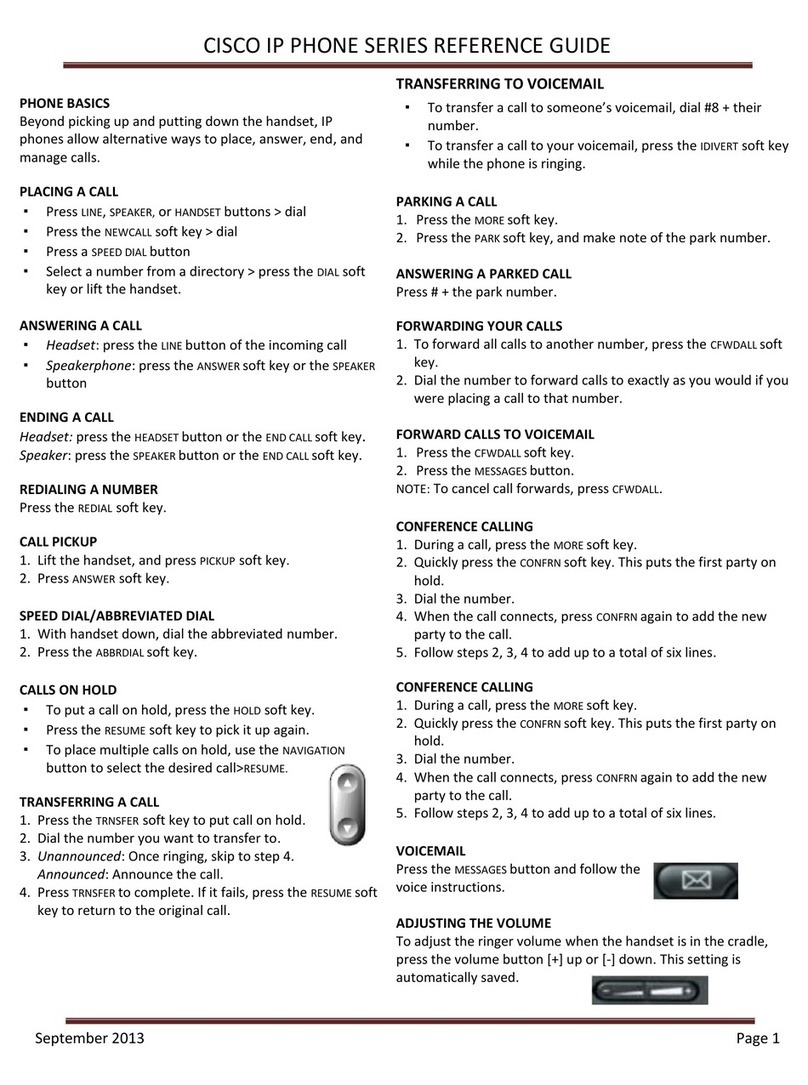
To place or answer a call, you can pick up the handset, press the Speaker or
Headset button, or press a line button (on some phones).
Putting a Call on Hold
To put a call on hold, press the Hold button. The caller hears a series of three
rapid beeps or music while on hold.
To resume the call, press the flashing red line button for the call. For the Cisco
SPA 502G, press the resume softkey.
grPick/GPickUp Allows you to answer a call ringing on an extension by
discovering the number of the ringing extension.
lcr Returns the last missed call by dialing the number that
called you.
miss Shows the Missed Calls list.
more Displays other softkey buttons that are available.
NewCall Press to start a new call.
Option Press this button to display options. To choose the
displayed option, press OK.
park Puts a call on hold at a designated “park” number. The call is
parked on the line until you unpark it or the caller
disconnects. Must be configured by your phone system
administrator.
pickup Allows you to answer a call ringing on another extension by
entering the extension number.
redial Displays a list of recently dialed numbers.
resume Resumes a call that is on hold.
save Saves your changes.
select Selects the highlighted item on the LCD screen.
unpark Resumes a parked call.
xfer/Trnsfer Performs a call transfer.
xferLx Transfers an active line on the phone to a called number.
y/n Enters a submenu and when pressed, toggles between Ye s
or No to enable or disable an option.
Button Function
3
Ending a Call
If you are using the handset, hang up or press the EndCall softkey (on some
phones). If you are using the speakerphone, press the Speaker button. If you
are using the headset, either press the Headset button (wired) or replace the
handset (wireless).
Adjusting Volume and Muting
To adjust the volume of the handset or speaker, lift the handset or press the
speaker button. Press +on the Volume button to increase the volume, or press
-to decrease the volume. Press Save.
To adjust the ringer volume, press the Volume button when the handset is on
the phone and the speaker button is off. Press Save.
To mute the phone microphone, speaker, or headset microphone, press the
Mute button on the phone. The button glows red. Press the Mute button again
to unmute.
Using Keypad Shortcuts
When using the phone menus, you can use the keypad to enter the number
shown next to the menu or sub-menu item on the LCD screen. (Not applicable
to the Cisco SPA 501G.) For example, to obtain your IP address on the Cisco
SPA 504G, press the Setup button and dial 9.
The IP address is displayed on the Network screen.
NOTE Menus and options vary depending on phone model.
Where to Go From Here
Support
Cisco Small Business
Support Community
www.cisco.com/go/smallbizsupport
Cisco Small Business
Support and Resources
www.cisco.com/go/smallbizhelp
Phone Support Contacts www.cisco.com/en/US/support/
tsd_cisco_small_business
_support_center_contacts.html
Cisco Small Business
Firmware Downloads
www.cisco.com/cisco/web/download/
index.html
Select a link to download firmware for Cisco
Small Business Products. No login is
required.
Downloads for all other Cisco Small Business
products, including Network Storage
Systems, are available in the Download area
on Cisco.com at www.cisco.com/go/
software.
Product Documentation
Cisco Small Business
SPA 500 Series IP
Phones
www.cisco.com/go/spa500phones
Accessories (includes
WBP54G and MB100)
www.cisco.com/en/US/products/ps10042/
tsd_products_support_series_home.html
Cisco Small Business
Cisco Partner Central
for Small Business
(Partner Login Required)
www.cisco.com/web/partners/sell/smb
Cisco Small Business
Home
www.cisco.com/smb
4

Other manuals for SPA 509G

3

This manual suits for next models

3

Other Cisco IP Phone manuals

Cisco 7941G - Unified IP Phone VoIP Instruction Manual

Cisco

Cisco 7941G - Unified IP Phone VoIP Instruction Manual

Cisco DX650 User manual

Cisco

Cisco DX650 User manual

Cisco 7941G - Unified IP Phone VoIP User manual

Cisco

Cisco 7941G - Unified IP Phone VoIP User manual

Cisco 7940G User manual

Cisco

Cisco 7940G User manual

Cisco 3911 User manual

Cisco

Cisco 3911 User manual

Cisco 7945 Series User manual

Cisco

Cisco 7945 Series User manual

Cisco 7941G - Unified IP Phone VoIP Instruction Manual

Cisco

Cisco 7941G - Unified IP Phone VoIP Instruction Manual

Cisco 7931G - Unified IP Phone VoIP User manual

Cisco

Cisco 7931G - Unified IP Phone VoIP User manual

Cisco DATAVOX 7941 User manual

Cisco

Cisco DATAVOX 7941 User manual

Cisco 7945 Series User manual

Cisco

Cisco 7945 Series User manual

Cisco SPA 303 Series User manual

Cisco

Cisco SPA 303 Series User manual

Cisco Cisco Unified IP Phone 7960G User manual

Cisco

Cisco Cisco Unified IP Phone 7960G User manual

Cisco SPA504 User manual

Cisco

Cisco SPA504 User manual

Cisco UNIFIED 9971 User manual

Cisco

Cisco UNIFIED 9971 User manual

Cisco SPA 301 User manual

Cisco

Cisco SPA 301 User manual

Cisco 3905 User manual

Cisco

Cisco 3905 User manual

Cisco MCS 7800 Series User manual

Cisco

Cisco MCS 7800 Series User manual

Cisco 7962G - Unified IP Phone VoIP Instruction Manual

Cisco

Cisco 7962G - Unified IP Phone VoIP Instruction Manual

Cisco 7910G - IP Phone VoIP User manual

Cisco

Cisco 7910G - IP Phone VoIP User manual

Cisco 7962G - Unified IP Phone VoIP User manual

Cisco

Cisco 7962G - Unified IP Phone VoIP User manual

Cisco 7931G - Unified IP Phone VoIP User manual

Cisco

Cisco 7931G - Unified IP Phone VoIP User manual

Cisco IP 7925 User manual

Cisco

Cisco IP 7925 User manual

Cisco SVP2000P User manual

Cisco

Cisco SVP2000P User manual

Cisco 7906G - Unified IP Phone VoIP User manual

Cisco

Cisco 7906G - Unified IP Phone VoIP User manual

Popular IP Phone manuals by other brands

Yealink T43U user guide

Yealink

Yealink T43U user guide

Xblue Networks X2020 Quick reference card

Xblue Networks

Xblue Networks X2020 Quick reference card

AEG SOLO 10 quick start guide

AEG

AEG SOLO 10 quick start guide

Avaya IP Office 1400 Series user guide

Avaya

Avaya IP Office 1400 Series user guide

Avaya J169 quick reference

Avaya

Avaya J169 quick reference

Ansel 5520 user manual

Ansel

Ansel 5520 user manual

Yealink Yealink SIP-T26P user manual

Yealink

Yealink Yealink SIP-T26P user manual

Yealink Yealink SIP-T20P Admin guide

Yealink

Yealink Yealink SIP-T20P Admin guide

ACD GRUPPE Voxter Elite Edition Set V7 Brief overview

ACD GRUPPE

ACD GRUPPE Voxter Elite Edition Set V7 Brief overview

Aastra 6753I Important notes

Aastra

Aastra 6753I Important notes

NEC GT210 user guide

NEC

NEC GT210 user guide

Gigaset DE410 IP Pro manual

Gigaset

Gigaset DE410 IP Pro manual

Mine Site Technologies MP70 MinePhone user guide

Mine Site Technologies

Mine Site Technologies MP70 MinePhone user guide

Polycom RealPresence Trio 8500 Quick reference guide

Polycom

Polycom RealPresence Trio 8500 Quick reference guide

Mitel 6863i installation guide

Mitel

Mitel 6863i installation guide

Avaya 9640 Series user guide

Avaya

Avaya 9640 Series user guide

Siemens Gigaset C385 quick start guide

Siemens

Siemens Gigaset C385 quick start guide

ATL Berkshire IP5000 user manual

ATL

ATL Berkshire IP5000 user manual

manuals.online logo
manuals.online logoBrands
  • About & Mission
  • Contact us
  • Privacy Policy
  • Terms and Conditions

Copyright 2025 Manuals.Online. All Rights Reserved.