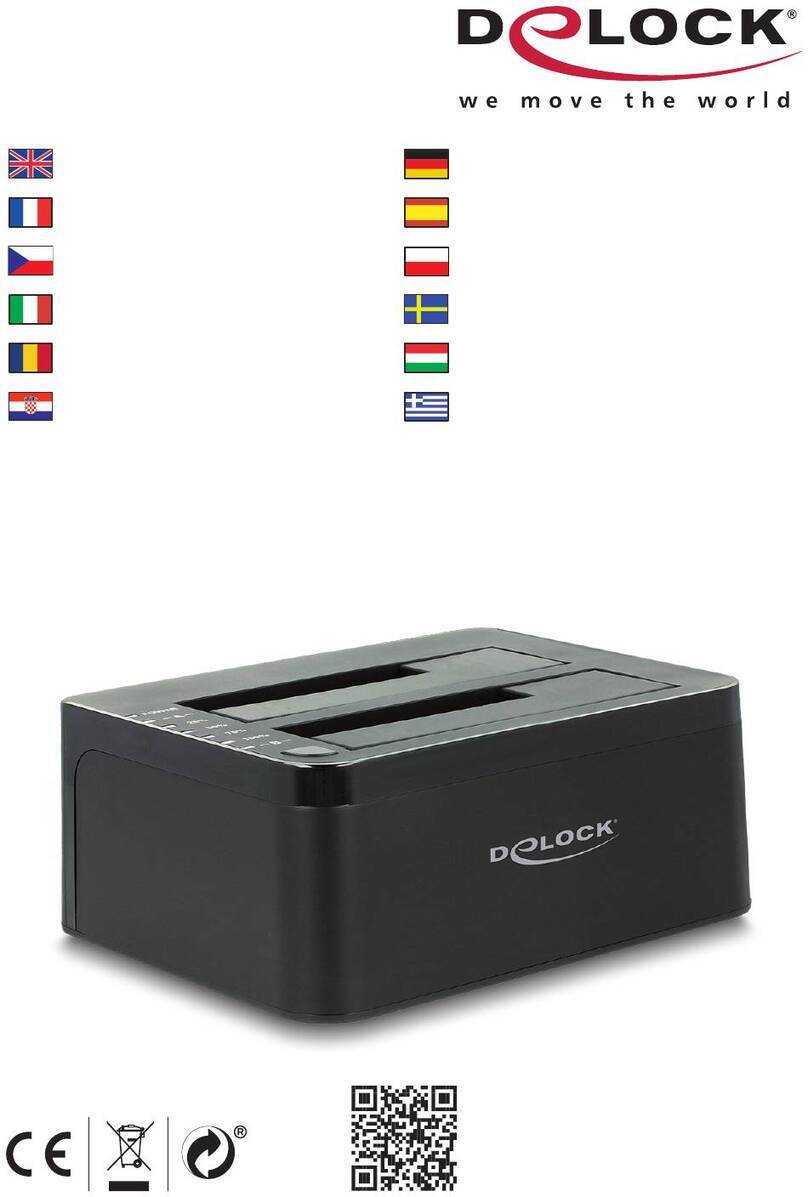
DeLOCK 63205 User manual

SuperSpeed USB 5 Gbps
Docking Station for
1 x 2.5″ SATA HDD / SSD
Product-No:63205
User manual no:63205-a
www.delock.com
User manual
Mode d’emploi
Uživatelská příručka
Manuale utente
Manual de utilizare
Korisnički priručnik
Bedienungsanleitung
Manual del usuario
Instrukcja obsługi
Bruksanvisning
Használati utasítás
Εγχειρίδιο χρήστη

-2-
English
Description
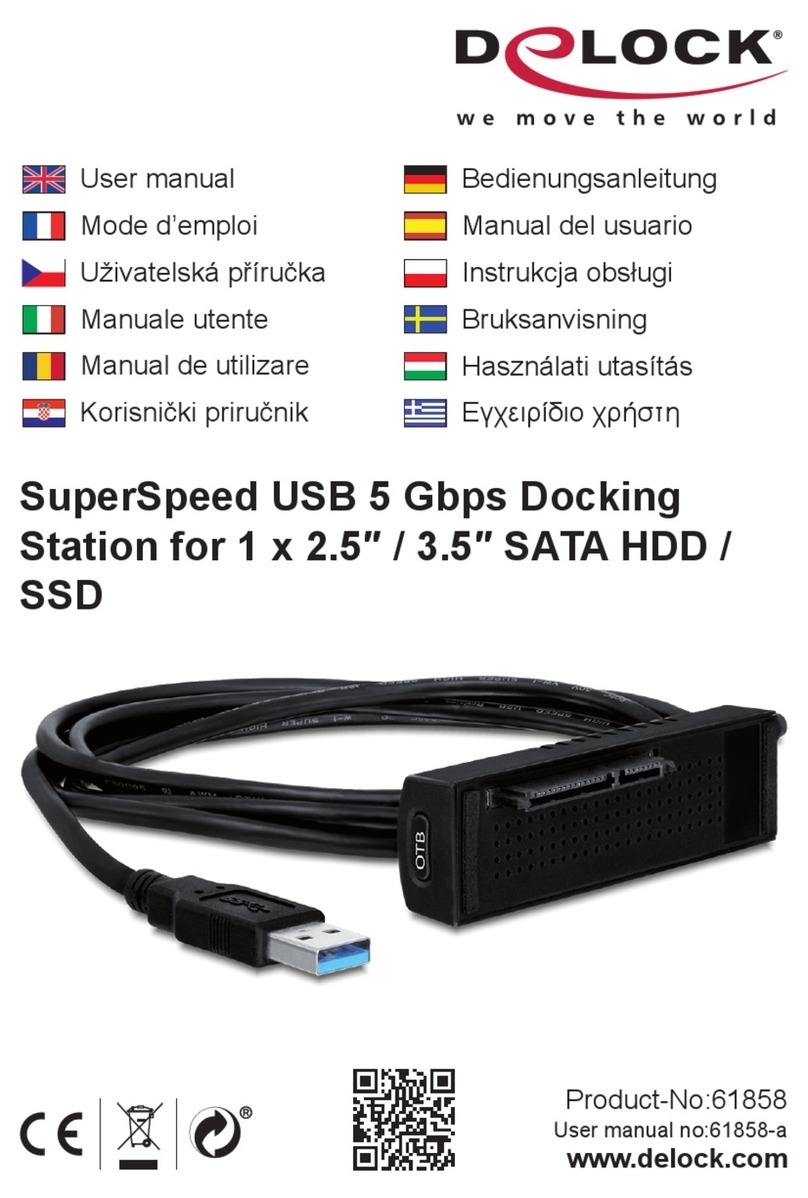
This Docking Station by Delock enables an external connection of one 2.5″
SATA HDD or SSD through the USB interface. This solution does not require an
external enclosure since the drive can just plug in directly into the docking station.
Good cooling
The bottom consists of a stable metal plate with cooling ns. These provide a
passive cooling for the inserted memory.
Specication
• Connectors:
1 x SuperSpeed USB 5 Gbps (USB 3.2 Gen 1) USB Type-C™ female
1 x SATA 6 Gb/s 22 pin receptacle
1 x DC jack (optional for power supply)
• Chipset: Asmedia ASM225
• Function key: 1 x On / O switch
• Suitable for 2.5″ SATA HDD / SSD
HDD height up to 15 mm
• Suitable for all SATA HDDs up to SATA 6 Gb/s
• Data transfer rate up to 5 Gbps
• LED indicator for power and access
• Supports S.M.A.R.T.
• Supports TRIM
• Supports UASP
• Plug & Play
• Bootable
• Colour: black
• Dimensions (LxWxH): ca. 138 x 80 x 23 mm
System requirements
• Android 10.0 or above
• Chrome OS
• Linux Kernel 5.11 or above
• Mac OS 11.2.3 or above
• Windows 8.1/8.1-64/10/10-64/11
• PC or laptop with a free USB Type-A port

-3-
English
Package content
• Docking station
• Cable USB-C™ male to USB Type-A male, length ca. 80 cm
• User manual
Safety instructions
• Protect the product against moisture
• Protect the product against direct sunlight
• Pay attention that the HDD can be hot when it is connected to the device.
Installation of the Docking Station
1. Start your Computer.
2. Plug the USB cable to the Docking Station and to a free USB port of your
computer.
3. Insert your 2.5″ HDD / SSD into the slot of the docking station.
4. Switch on the Docking Station.
5. The HDD will be recognized by your computer as a drive and is ready to use.
If necessary you may need to set or partition your drive through the data
manager.
Support Delock
If you have further questions, please contact our customer support
You can nd current product information on our homepage: www.delock.com
Final clause
Information and data contained in this manual are subject to change without
notice in advance. Errors and misprints excepted.
Copyright
No part of this user manual may be reproduced, or transmitted for any purpose,
regardless in which way or by any means, electronically or mechanically, without
explicit written approval of Delock.
Edition: 06/2022

-4-
Deutsch
Kurzbeschreibung
Diese Dockingstation von Delock dient zum externen Anschluss einer 2.5″
SATA HDD oder SSD über die USB Schnittstelle. Durch diese Lösung wird
kein externes Gehäuse benötigt, da das Laufwerk direkt in die Dockingstation
eingesetzt wird.
Gut gekühlt
Die Unterseite besteht aus einer stabilen Metallplatte mit Kühlrippen. Dies sorgt
für eine passive Kühlung des eingesetzten Speichers.
Spezikation
• Anschlüsse:
1 x SuperSpeed USB 5 Gbps (USB 3.2 Gen 1) USB Type-C™ Buchse
1 x SATA 6 Gb/s 22 Pin Buchse
1 x DC Strombuchse (optional zur Stromversorgung)
• Chipsatz: Asmedia ASM225
• Funktionstasten: 1 x Ein-/ Ausschalter
• Für 2.5″ SATA HDD / SSD geeignet
Festplattenhöhe bis zu 15 mm
• Für alle SATA HDDs bis zu SATA 6 Gb/s geeignet
• Datentransferrate bis zu 5 Gbps
• LED Anzeige für Power und Zugri
• Unterstützt S.M.A.R.T.
• Unterstützt TRIM
• Unterstützt UASP
• Plug & Play
• Bootfähig
• Farbe: schwarz
• Maße (LxBxH): ca. 138 x 80 x 23 mm
Systemvoraussetzungen
• Android 10.0 oder höher
• Chrome OS
• Linux Kernel 5.11 oder höher
• Mac OS 11.2.3 oder höher
• Windows 8.1/8.1-64/10/10-64/11
• PC oder Notebook mit einem freien USB Typ-A Port

-5-
Deutsch
Packungsinhalt
• Dockingstation
• Kabel USB-C™ Stecker zu USB Typ-A Stecker, Länge ca. 80 cm
• Bedienungsanleitung
Sicherheitshinweise
• Produkt vor Feuchtigkeit schützen
• Produkt vor direkter Sonneneinstrahlung schützen
• Achten Sie darauf, dass die Festplatte am Gerät sehr heiß sein könnte.
Installation der Dockingstation
1. Starten Sie Ihren Computer.
2. Stecken Sie das USB Kabel an die Dockingstation und an einen freien USB
Port Ihres Computers.
3. Setzen Sie Ihre 2.5″ HDD / SSD einfach in den Schacht der Dockingstation.
4. Schalten Sie die Docking Station ein.
5. Die Festplatte wird von Ihrem Computer als Laufwerk erkannt und kann nun
verwendet werden. Gegebenenfalls müssen Sie Ihre Laufwerke über den
Datenträgermanager einrichten bzw. partitionieren.
Support Delock
Bei weitergehenden Supportanfragen wenden Sie sich bitte an
Aktuelle Produktinformationen nden Sie auf unserer Homepage: www.delock.de
Schlussbestimmung
Die in diesem Handbuch enthaltenen Angaben und Daten können ohne vorherige
Ankündigung geändert werden. Irrtümer und Druckfehler vorbehalten.
Copyright
Ohne ausdrückliche schriftliche Erlaubnis von Delock darf kein Teil dieser
Bedienungsanleitung für irgendwelche Zwecke vervielfältigt oder übertragen
werden, unabhängig davon, auf welche Art und Weise oder mit welchen Mitteln,
elektronisch oder mechanisch, dies geschieht.
Stand: 06/2022

-6-
Français
Conguration système requise
• Android 10.0 ou version ultérieure
• Chrome OS
• Linux Kernel 5.11 ou version ultérieure
• Mac OS 11.2.3 ou version ultérieure
• Windows 8.1/8.1-64/10/10-64/11
• PC ou portable avec un port USB Type-A disponible
Contenu de l’emballage
• Station d’accueil
• Câble USB-C™ mâle vers USB Type-A mâle, longueur env. 80 cm
• Mode d’emploi
Instructions de sécurité
• Protéger le produit contre l’humidité
• Protéger le produit contre la lumière directe du soleil
• Faites attention car le disque dur devient brûlant lorsqu’il est connecté à
l’appareil.
Installation de la station d'accueil
1. Allumez votre ordinateur.
2. Branchez ensuite le câble USB sur la station d’accueil et sur un port USB de
votre ordinateur.
3. Insérer votre HDD / SSD 2.5″ dans la prise de la station d’accueil.
4. Allumez la station d'accueil.
5. Le DD sera détecté par votre ordinateur en tant que lecteur et sera prêt à
être utilisé. Si besoin, vous pouvez régler ou partitionner votre disque avec
le gestionnaire de données.

-7-
Español
Requisitos del sistema
• Android 10.0 o superior
• Chrome OS
• Linux Kernel 5.11 o superior
• Mac OS 11.2.3 o superior
• Windows 8.1/8.1-64/10/10-64/11
• PC o equipo portátil con un puerto USB Tipo-A disponible
Contenido del paquete
• Base de acoplamiento
• Cable USB-C™ macho a USB Tipo-A macho, longitud aprox. 80 cm
• Manual del usuario
Instrucciones de seguridad
• Proteja el producto contra el polvo
• Proteja el producto contra la luz solar directa
• Preste atención, ya que la unidad de disco duro puede calentarse cuando esté
conectada al dispositivo.
Instalación de la base de conexiones
1. Encienda su PC.
2. Conecte el cable USB a la Base de acoplamiento y a un puerto USB libre de
su ordenador.
3. Inserte su HDD / SSD de 2.5″ en la ranura de la estación de acoplamiento.
4. Encienda la base de conexiones.
5. El disco duro será reconocido por el equipo como una unidad y estará
listo para utilizarse. Puede que tenga que establecer la unidad o realizar
particiones en ella mediante el administrador de datos.

-8-
České
Systémové požadavky
• Android 10.0 nebo vyšší
• Chrome OS
• Linux Kernel 5.11 nebo vyšší
• Mac OS 11.2.3 nebo vyšší
• Windows 8.1/8.1-64/10/10-64/11
• PC nebo notebook s volným USB Typ-A portem
Obsah balení
• Dokovací stanice
• Kabel USB-C™ samec na USB Typ-A samec, délka cca. 80 cm
• Uživatelská příručka
Bezpečnostní pokyny
• Chraňte produkt před vlhkostí
• Chraňte produkt před přímým slunečním světlem
• Dbejte na to, že když je HDD připojen k zařízení, může být horký.
Instalace dokovací stanice
1. Zapněte počítač.
2. Připojte USB kabel k dokovací stanici a k volnému USB rozhraní počítače.
3. Vložte váš 2.5″ HDD / SSD do slotu dokovací stanice.
4. Zapněte dokovací stanici.
5. HDD bude rozpoznám jako další jednotka a ihned připraven k použití. V
případě potřeby můžete prostřednictvím správce dat (data managerem)
nastavit oddíl disku.

-9-
Polsku
Wymagania systemowe
• Android 10.0 lub nowszy
• Chrome OS
• Linux Kernel 5.11 lub nowszy
• Mac OS 11.2.3 lub nowszy
• Windows 8.1/8.1-64/10/10-64/11
• Komputer osobisty lub laptop z wolnym portem USB Typ-A
Zawartość opakowania
• Stacja dokująca
• Przewód USB-C™, męski na USB Typu-A, męski, długości ok. 80 cm
• Instrukcja obsługi
Instrukcje bezpieczeństwa
• Produkt należy zabezpieczyć przed wilgocią
• Produkt należy zabezpieczyć przed bezpośrednim światłem słonecznym
• Podczas podłączania do urządzenia należy pamiętać, że dysk twardy może być
gorący.
Instalacja stacji dokującej
1. Włącz komputer.
2. Podłącz kabel USB do stacji dokującej i do wolnego portu USB komputera.
3. Wcisnąć SATA HDD / SSD 2.5″ do stacji dokującej.
4. Włącz stację dokującą.
5. Dysk twardy zostanie rozpoznany przez komputer jako napęd i będzie
gotowy do użycia. Jeśli to konieczne można ustawić lub podzielić dysk na
partycje, przez menedżera danych.

-10-
Italiano
Requisiti di sistema
• Android 10.0 o superiore
• Chrome OS
• Linux Kernel 5.11 o superiore
• Mac OS 11.2.3 o superiore
• Windows 8.1/8.1-64/10/10-64/11
• PC o laptop con porta USB Tipo-A libera
Contenuto della confezione
• Docking station
• Cavo USB-C™ maschio - USB Tipo-A maschio, lunghezza ca. 80 cm
• Manuale utente
Istruzioni per la sicurezza
• Proteggere il prodotto dall'umidità
• Proteggere il prodotto dalla luce solare diretta
• Attenzione: l'HDD può essere caldo quando è collegato al dispositivo.
Installazione della Docking Station
1. Avviare il computer.
2. Collegare il cavo USB alla Docking Station e a una porta USB libera del
computer.
3. Inserire l'HDD / SSD da 2.5″ nell'alloggiamento della docking station.
4. Accendere la Docking Station.
5. L'HDD verrà riconosciuto dal computer come disco ed è pronto all'uso. Se
necessario, si può impostare o partizionare il disco tramite la gestione dei
dati.

-11-
Svenska
Systemkrav
• Android 10.0 eller högre
• Chrome OS
• Linux Kernel 5.11 eller högre
• Mac OS 11.2.3 eller högre
• Windows 8.1/8.1-64/10/10-64/11
• Dator eller bärbar dator med en ledig USB Typ-A-port
Paketets innehåll
• Dockningstation
• Kabeln USB-C™ (hane) till USB Typ-A (hane), längd ca 80 cm
• Bruksanvisning
Säkerhetsinstruktioner
• Skydda produkten mot fukt
• Skydda produkten mot direkt solljus
• Tänk på att hårddisken kan bli het när den är ansluten till enheten.
Installation av dockningsstation
1. Slå på datorn.
2. Koppla in USB-kabeln till dockningsstationen och till en ledig USB-port på
din dator.
3. Sätt i din 2.5″ HDD / SSD-enhet i uttaget på dockningsstationen.
4. Sätt på dockningsstationen.
5. Datorn känner igen hårddisken som en enhet och är redo att börja
användas. Vid behov måste du ställa in eller partitionera din enhet genom
datahanteraren.

-12-
Română
Cerinte de sistem
• Android 10.0 sau superior
• Chrome OS
• Linux Kernel 5.11 sau superior
• Mac OS 11.2.3 sau superior
• Windows 8.1/8.1-64/10/10-64/11
• PC sau laptop cu un port USB Tip-A liber
Pachetul contine
• Staţie de andocare
• Cablu USB-C™ tată la USB Tip-A tată, lungime aprox. 80 cm
• Manual de utilizare
Instrucţiuni de siguranţă
• Protejaţi produsul împotriva umidităţii
• Protejaţi produsul împotriva luminii directe a soarelui
• Atenţie: hard diskul se poate încălzi atunci când este conectat la dispozitiv.
Instalarea stației de andocare
1. Porniţi computerul.
2. Conectați cablul USB la stația de andocare și la un port USB liber al
computerului.
3. Introduceți HDD-ul de 2.5″ pe slotul stației de andocare.
4. Porniți stația de andocare.
5. HDD-ul va recunoscut de calculator ca unitate și este gata de utilizare.
Dacă este necesar, poate necesar să setați sau să partiționați unitatea prin
intermediul managerului de date.

-13-
Magyar
Rendszerkövetelmények
• Android 10.0 vagy újabb
• Chrome OS
• Linux Kernel 5.11 vagy újabb
• Mac OS 11.2.3 vagy újabb
• Windows 8.1/8.1-64/10/10-64/11
• PC vagy notebook számítógép szabad USB A-típusú-csatlakozóval
A csomag tartalma
• Dokkolóállomás
• Kábel USB-C™ csatlakozódugóval és USB A-típusú csatlakozódugóval,
hossza kb. 80 cm
• Használati utasítás
Biztonsági óvintézkedések
• Óvja a terméket a nedvességtől.
• Óvja a terméket a közvetlen napsugárzástól.
• Óvatosan járjon el, mivel a HDD működés közben felforrósodhat.
A dokkoló állomás szerelése
1. Kapcsolja be a számítógépet.
2. Csatlakoztassa az USB-kábelt a dokkolóállomáshoz, illetve a számítógép
egyik szabad USB-portjába.
3. Helyezze be a 2.5″ HDD / SSD-t a dokkolóegység nyílásába.
4. Kapcsolja be a dokkoló állomást.
5. A HDD-t felismeri a számítógép mint meghajtót és készen áll használatra.
Ha szükséges, beállíthatja a partíciókat az adatkezelőn keresztül.

-14-
Hrvatski
Preduvjeti sustava
• Android 10.0 ili noviji
• Chrome OS
• Linux Kernel 5.11 ili noviji
• Mac OS 11.2.3 ili noviji
• Windows 8.1/8.1-64/10/10-64/11
• Osobno ili prijenosno računalo sa slobodnim USB Tipa-A priključkom
Sadržaj pakiranja
• Priključna stanica
• Kabel USB-C™ muški na USB Tipa-A muški, duljina oko 80 cm
• Korisnički priručnik
Sigurnosne upute
• Zaštitite proizvod od vlage
• Zaštitite proizvod od izravne sunčeve svjetlosti
• Ne zaboravite da HDD može biti vruć kada je spojen na uređaj.
Instalacija priključne stanice
1. Ponovno pokrenite računalo.
2. Ukopčajte USB kabel na priključnu stanicu i na slobodni USB priključak na
računalu.
3. Umetnite svoj 2.5″ HDD / SSD u utor priključne stanice.
4. Uključite priključnu stanicu.
5. Računalo će prepoznati HDD kao pogon koji će biti spreman za upotrebu. Po
potrebi možete podesiti ili podijeliti pogon uz pomoć upravitelja za podatke.

-15-
ελληνικά
Απαιτήσεις συστήματος
• Android 10.0 ή νεότερο
• Chrome OS
• Linux Kernel 5.11 ή νεότερο
• Mac OS 11.2.3 ή νεότερο
• Windows 8.1/8.1-64/10/10-64/11
• Η/Υ ή φορητός υπολογιστής με διαθέσιμη θύρα USB τύπου-A
Περιεχόμενα συσκευασίας
• Σταθμός βάσης
• Καλώδιο USB-C™ αρσενικό σε USB Τύπου-A αρσενικό, μήκους περ. 80 εκ.
• Εγχειρίδιο χρήστη
Οδηγίες ασφάλειας
• Προστατεύστε το προϊόν από την υγρασία
• Προστατεύστε το προϊόν από την άμεση ηλιακή ακτινοβολία
• Προσέχετε καθώς η HDD μπορεί να καίει όταν είναι συνδεδεμένη με τη συσκευή.
Εγκατάσταση του σταθμού βάσης
1. Ενεργοποιήστε τον υπολογιστή σας.
2. Συνδέστε το καλώδιο USB με τον σταθμό βάσης και μία ελεύθερη θύρα USB
του υπολογιστή σας.
3. Εισάγετε το 2.5″ HDD / SSD στην υποδοχή του σταθμού σύνδεσης.
4. Ενεργοποιήστε το σταθμό βάσης.
5. Η HDD θα αναγνωριστεί από τον υπολογιστή σας ως μονάδα δίσκου και
είναι έτοιμη για χρήση. Εάν είναι απαραίτητο, ίσως χρειαστεί να ορίσετε ή να
διαμερισματοποιήσετε τη μονάδα δίσκου που διαθέτετε μέσω της διαχείρισης
δεδομένων.

Declaration of conformity
Products with a CE symbol fulll the EMC directive (2014/30/EU) and
RoHS directive (2011/65/EU+2015/863+2017/2102), which were released by the
EU-comission.
The declaration of conformity can be downloaded here:
https://www.delock.de/produkte/G_63205/merkmale.html
WEEE-notice
The WEEE (Waste Electrical and Electronic Equipment)-directive, which became
eective as European law on February 13th 2003, resulted in an all out change
in the disposal of disused electro devices. The primarily purpose of this directive
is the avoidance of electrical waste (WEEE) and at the same time the support of
recycling and other forms of recycling in order to reduce waste. The WEEE-logo
on the device and the package indicates that the device should not be disposed
in the normal household garbage. You are responsible for taking the disused
electrical and electronical devices to a respective collecting point. A separated
collection and reasonable recycling of your electrical waste helps handling the
natural resources more economical. Furthermore recycling of electrical waste is
a contribution to keep the environment and thus also the health of men. Further
information about disposal of electrical and electronical waste, recycling and
the collection points are available in local organizations, waste management
enterprises, in specialized trade and the producer of the device.
EU Import: Tragant Handels- und Beteiligungs GmbH
Beeskowdamm 13/15, 14167 Berlin, Germany
Table of contents
Languages:
Other DeLOCK Docking Station manuals

DeLOCK
DeLOCK 64178 User manual

DeLOCK
DeLOCK 62661 User manual

DeLOCK
DeLOCK 87771 User manual

DeLOCK
DeLOCK 88050 User manual

DeLOCK
DeLOCK 87721 User manual

DeLOCK
DeLOCK 87743 User manual

DeLOCK
DeLOCK SuperSpeed 87728 User manual

DeLOCK
DeLOCK 87865 User manual

DeLOCK
DeLOCK 88017 User manual

DeLOCK
DeLOCK 87742 User manual

DeLOCK
DeLOCK 87772 User manual

DeLOCK
DeLOCK 63992 User manual

DeLOCK
DeLOCK 64177 User manual

DeLOCK
DeLOCK Thunderbolt 3 User manual
DeLOCK
DeLOCK 87683 User manual

DeLOCK
DeLOCK SuperSpeed 61858 User manual

DeLOCK
DeLOCK 64000 User manual

DeLOCK
DeLOCK 64098 User manual

DeLOCK
DeLOCK 87731 User manual

DeLOCK
DeLOCK 87895 User manual