Elko Smart Tag 1P+N 230 V User manual

Smart Tag
Device User Guide
Information about features and functionality of the devices
11/2022
www.elko.no

Legal Information
The ELKO brand and any trademarks of ELKO AS and its subsidiaries referred to in
this guide are the property of ELKO AS or its subsidiaries. All other brands may be
trademarks of their respective owners.
This guide and its content are protected under applicable copyright laws and
furnished for informational use only. No part of this guide may be reproduced or
transmitted in any form or by any means (electronic, mechanical, photocopying,
recording, or otherwise), for any purpose, without the prior written permission of
ELKO.
ELKO does not grant any right or license for commercial use of the guide or its
content, except for a non-exclusive and personal license to consult it on an "as
is" basis. ELKO products and equipment should be installed, operated,
serviced, and maintained only by qualified personnel.
As standards, specifications, and designs change from time to time, information
contained in this guide may be subject to change without notice.
To the extent permitted by applicable law, no responsibility or liability is assumed by
ELKO and its subsidiaries for any errors or omissions in the informational content of
this material or consequences arising out of or resulting from the use of the
information contained herein.

Table of Contents
Safety information.......................................................................................4
Smart Tag Energy .......................................................................................5
For your safety ...........................................................................................5
About the device.........................................................................................6
Installing the device ....................................................................................6
Supported mounting positions................................................................7
Pairing the device .......................................................................................8
Pairing device manually.........................................................................8
Pairing device with auto scan...............................................................10
Configuring the device .............................................................................. 11
Setting Smart Tag as Grid.................................................................... 11
Tariff information .................................................................................12
Checking currency type .......................................................................16
Identifying the device ..........................................................................17
Changing the device icon ....................................................................18
Renaming the device ..........................................................................18
Using the device.......................................................................................19
Identifying the signal strength...............................................................19
Checking the device history .................................................................19
Creating an automation .......................................................................21
Removing the device ................................................................................25
LED indications ........................................................................................26
Troubleshooting .......................................................................................27
Technical data ..........................................................................................28
DUG_Smart TagE_ELKO-00 3

Safety information
Safety information
Important information
Read these instructions carefully and look at the equipment to become familiar
with the device before trying to install, operate, service, or maintain it. The
following special messages may appear throughout this manual or on the
equipment to warn of potential hazards or to call attention to information that
clarifies or simplifies a procedure.
The addition of either symbol to a “Danger” or “Warning” safety label indicates
that an electrical hazard exists which will result in personal injury if the
instructions are not followed.
This is the safety alert symbol. It is used to alert you to potential personal injury
hazards. Obey all safety messages that accompany this symbol to avoid possible
injury or death.
DANGER
DANGER indicates a hazardous situation which, if not avoided, will result in
death or serious injury.
Failure to follow these instructions will result in death or serious injury.
WARNING
WARNING indicates a hazardous situation which, if not avoided, could result
in death or serious injury.
CAUTION
CAUTION indicates a hazardous situation which, if not avoided, could result in
minor or moderate injury.
NOTICE
NOTICE is used to address practices not related to physical injury.
4 DUG_Smart TagE_ELKO-00

Smart Tag Energy
Smart Tag Energy
For your safety
DANGER
HAZARD OF ELECTRIC SHOCK, EXPLOSION, OR ARC FLASH
Safe electrical installation must be carried out only by qualified electrical
personnel. Qualified electrical personnel must prove profound knowledge in the
following areas:
• Connecting to installation networks
• Connecting several electrical devices
• Laying electrical cables
• Safety standards, local wiring rules, and regulations
Failure to follow these instructions will result in death or serious injury.
EKO01824EKO01825EKO01826
EKO01951EKO01952
DUG_Smart TagE_ELKO-00 5

Smart Tag Energy
About the device
Smart Tag E (hereinafter referred as Smart Tag) is a compact, robust, and easy-
to-install wireless communication energy sensor. It is used together with the
SmartHub to collect information from every equipped circuit to identify the energy
consumption of each connected load. It is designed specifically to manage energy
consumption for new and existing residential installations. It monitors and
measures energy and power in real-time, and also provides complete visibility of
power transfer between power source and loads.
Features of Smart Tag:
• Easily mounted with top or bottom position directly on circuit breaker.
• Measures energy consumption and real-time power.
• Sends real-time notifications and alarms to the ELKO Smart app in case of
consumption limit set by user in automation exceeds.
Benefits of Smart Tag:
• Easy accessibility and fastest installation.
• Energy Class 1: accurate measurement.
• Compact and cost effective.
Installing the device
It is recommended to install the Smart Tag within 3 meters of the ELKO
SmartHub for best results. This provides good network signal strength and helps
to prevent online/offline issues, which might result in corrupt data. Refer to the
installation instruction supplied with this product.
Instruction manual links:
•Smart Tag EKO01824,EKO01825,EKO01826
•Smart Tag EKO01825,EKO01951,EKO01952
6 DUG_Smart TagE_ELKO-00

Smart Tag Energy
Supported mounting positions
Mounting position Smart Tag Model number
Top Smart Tag 1P+N 230 V EKO01824
Top or bottom Smart Tag 3P 230 V EKO01825
Top Smart Tag 3P+N 400 V EKO01826
Top or bottom Smart Tag Flex 1P+N 230 V EKO01951
Smart Tag Flex 3P+N 400 V EKO01952
EKO01824 - 1P+N/2P (IT network)EKO018025 - 3PEKO018026 - 3P+N
RF-Id:
E2100000
RF-Id:
E2100000
V001.001.001
SM2116100100001
Madein
LATIVA
EKO01951 - 1 P+N (IT network)Un:200-240 V
RF-Id:
E2100000
RF-Id:
E2100000
V001.001.001
SM2116100100001
N
N
N
N
N
RF-Id:
E2100000
RF-Id:
E2100000
V001.001.001
SM2116100100001
Un: 3N220-240 / 380-415 V
EKO01952 - 3P +N
RF-Id:
E2100000
RF-Id:
E2100000
V001.001.001
SM2116100100001
X
Y
Z
N
N
N
N
N
X
Y
Z
RF-Id:
E2100000
RF-Id:
E2100000
V001.001.001
SM2116100100001
DUG_Smart TagE_ELKO-00 7

Smart Tag Energy
Pairing the device
Pair your Smart Tag with the ELKO SmartHub to access and control the Smart
Tag using the ELKO smart app.
• We recommend to configure your main Smart Tag as Grid on the main
incomer of the house. This helps to record the overall consumption.
NOTE:
◦Grid: main supply (referred as Grid in the app) of the house.
◦Load: power consumed from the Grid or a production source by
electrical devices such as light, water heater, and fridge.
• If you have more than one Smart Tag installed, it is recommended to pair the
main Smart Tag first and set it as Grid. Refer to Setting Smart Tag as Grid,
page 11 and then pair the additional Smart Tag.
NOTE:
◦Main Smart Tag is connected to the Grid.
◦Additional Smart Tag are connected to the loads.
IMPORTANT: Smart Tag must be installed by qualified professional.
Pairing device manually
To pair the device manually:
1. On the Home page, tap +.
2. Tap , select the required ELKO SmartHub on the slide-up menu.
3. Select an option to add the device (A):
–Add Device with Install Code
–Add Device without Install Code
Add Device
Install Code is Recommended
Add Device without Install Code
A
TIP: It is highly recommended to add the device with install code.
8 DUG_Smart TagE_ELKO-00

Smart Tag Energy
4. To pair the device with install code, tap Add Device with Install Code to
display the slide-up menu. Select any one of the options (B):
–Scan Install Code - you can scan the device for the install code. Position
your camera to scan the QR code or barcode available on the Smart Tag.
–Enter Install Code Manually - you can manually enter the install code on
the device.
Add Device
Install Code is Recommended
Add Device without Install Code
Add Device
Install Code is Recommended
B
After adding the device with Install Code, proceed to Step 6.
5. To pair the device without install code, tap Add Device without Install Code.
6. Select Confirm LED is blinking amber > Start Configuration (C).
Cancel
Ensure that the device is connected to the
C
NOTE: Smart Tag must be connected to the MCB and powered ON.
Wait for a few minutes for the app to connect with your Smart Tag.
On successful pairing, Smart Tag will appear on the home screen.
DUG_Smart TagE_ELKO-00 9
Smart Tag Energy
Pairing device with auto scan
Pairing the device with auto scan automatically discovers the device when the
corresponding device is powered on.
To pair the device:
1. On the Home page, tap +.
2. Tap Auto scan and then tap Confirm.
3. If you have one hub proceed with step 5, if you have multiple hubs proceed
with step 4.
4. Tap Select hub and select the ELKO SmartHub from the slide-up menu.
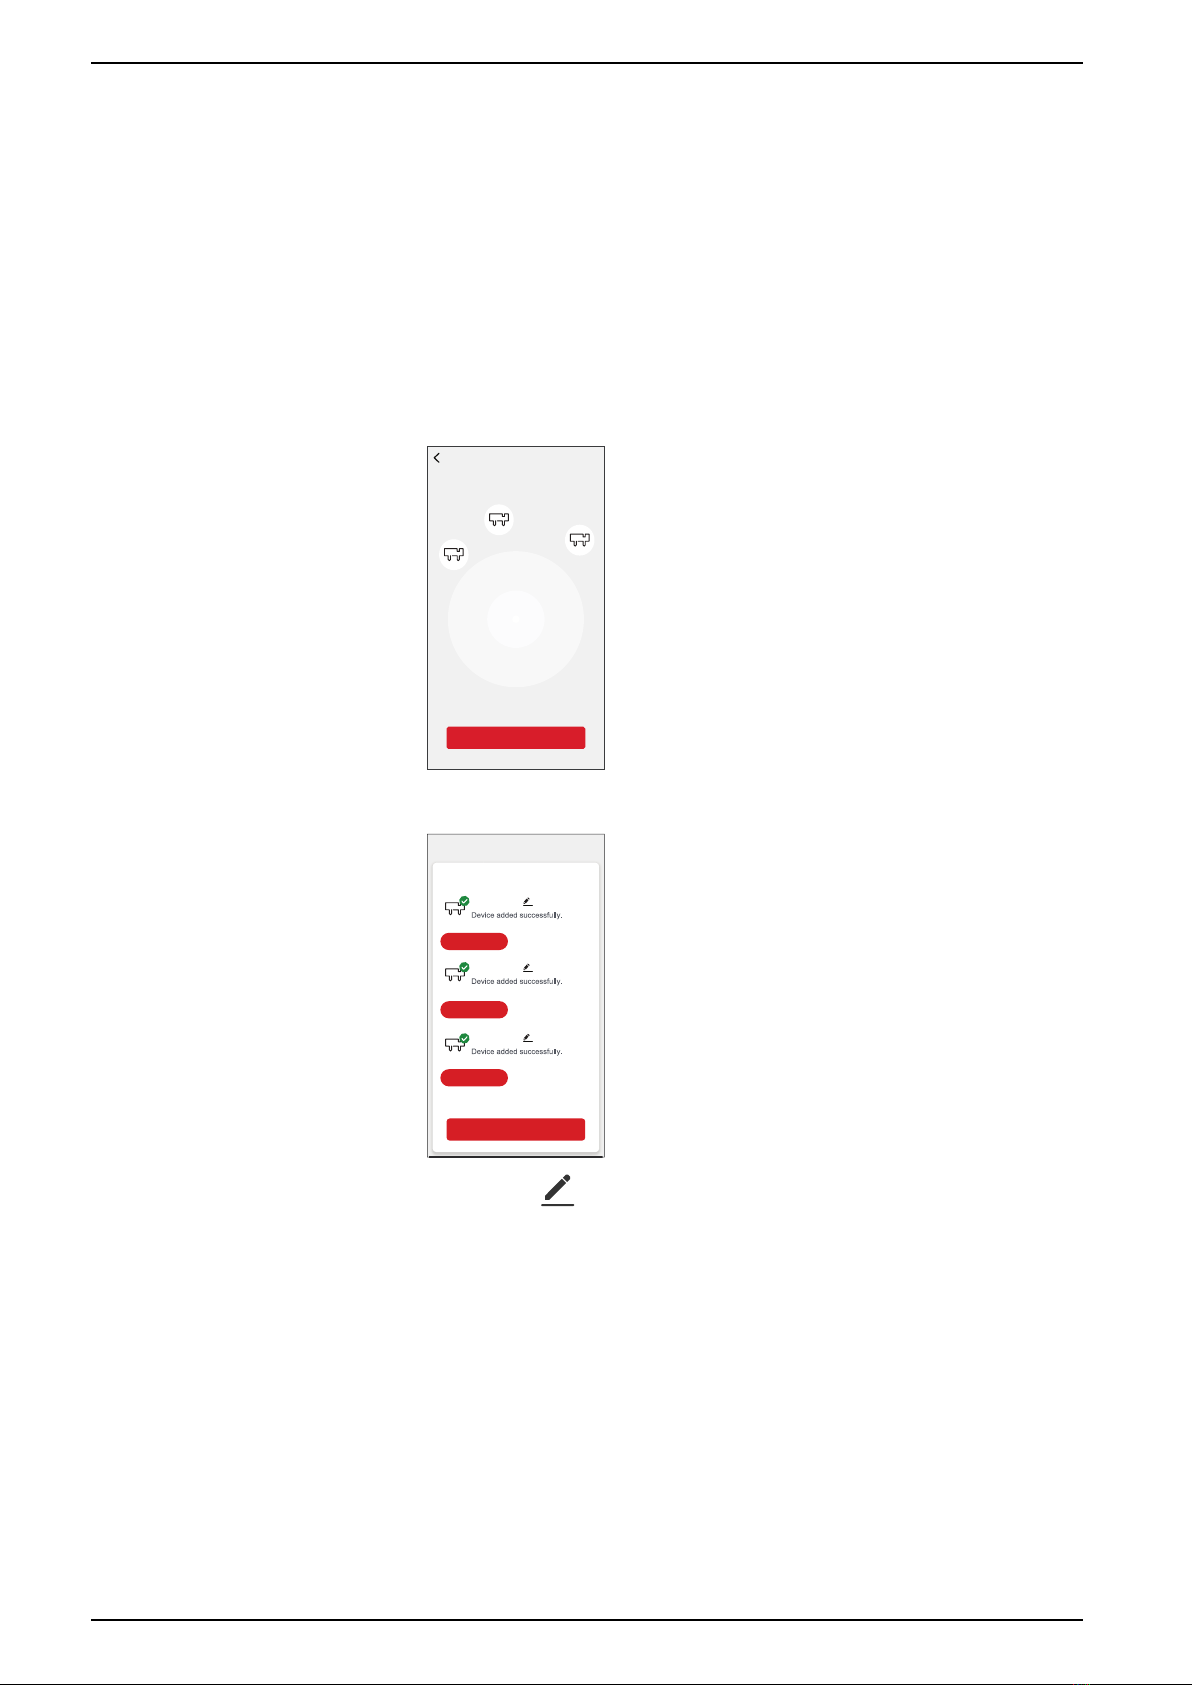
5. Tap Next and select Smart Tag.
Next
Auto Scan
Available devices found
Smart Tag 16
Smart Tag 15
Smart Tag 14
6. Tap Done once all Smart Tag are paired successfully.
Added successfully
Smart Tag 16
Smart Tag 15
Smart Tag 14
Energy Center
Energy Center
Energy Center
Done
NOTE: Tap to rename the Smart Tag.
10 DUG_Smart TagE_ELKO-00

Smart Tag Energy
Configuring the device
Setting Smart Tag as Grid
It is mandatory to configure the main Smart Tag as Grid on the main incomer of
the house. This helps to record the overall consumption and to display recorded
data in Energy Dashboard tab.
To set the Smart Tag as Grid:
1. On the Home page, select the Smart Tag which you want to set as Grid.
2. Tap Settings (A).
History
Settings
Smart Tag
Current Power (kW) Day (kWh)
0.895 8.37
A
3. Enable the toggle switch (B) to set the Smart Tag as Grid.
Settings
Identify
Grid
Signal Quality Good
Diagnosis
Energy
Power
B
Once Smart Tag is set as Grid, you can see the Energy Dashboard option
on the Home page.
DUG_Smart TagE_ELKO-00 11

Smart Tag Energy
Tariff information
You can view and update tariff information in the ELKO Smart app to access your
energy cost and billing data.
To access tariff information:
1. Tap on the home page.
2. Select Home Management and select your home where the energy device is
installed, to view Home Settings.
3. On Home Settings page, select Tariff > Electricity.
You can view and update the following in electricity menu:
A. Contract options, page 13
B. Tariff Zone, page 14 (only available for spot price rate contract option)
C. Subscription type, page 14
D. Rates, page 15 (Not available for spot price rate contract option)
E. Schedules, page 15 (Only available for time of use contract option)
Electricity
Close
No 1
Save
A
B
Please Select C
Electricity
Close
Peak Rate
My Schedule 00:00 - 00:00
Rates
Schedules
Rate 1 kr/kWh
Add a Rate
Add A Schedule
Save
E
D
4. Once all the settings are updated, tap Save.
12 DUG_Smart TagE_ELKO-00
Smart Tag Energy
Setting contract options
You can update flat and peak rate based on your contract option in the ELKO
Smart app.
To set the contract option:
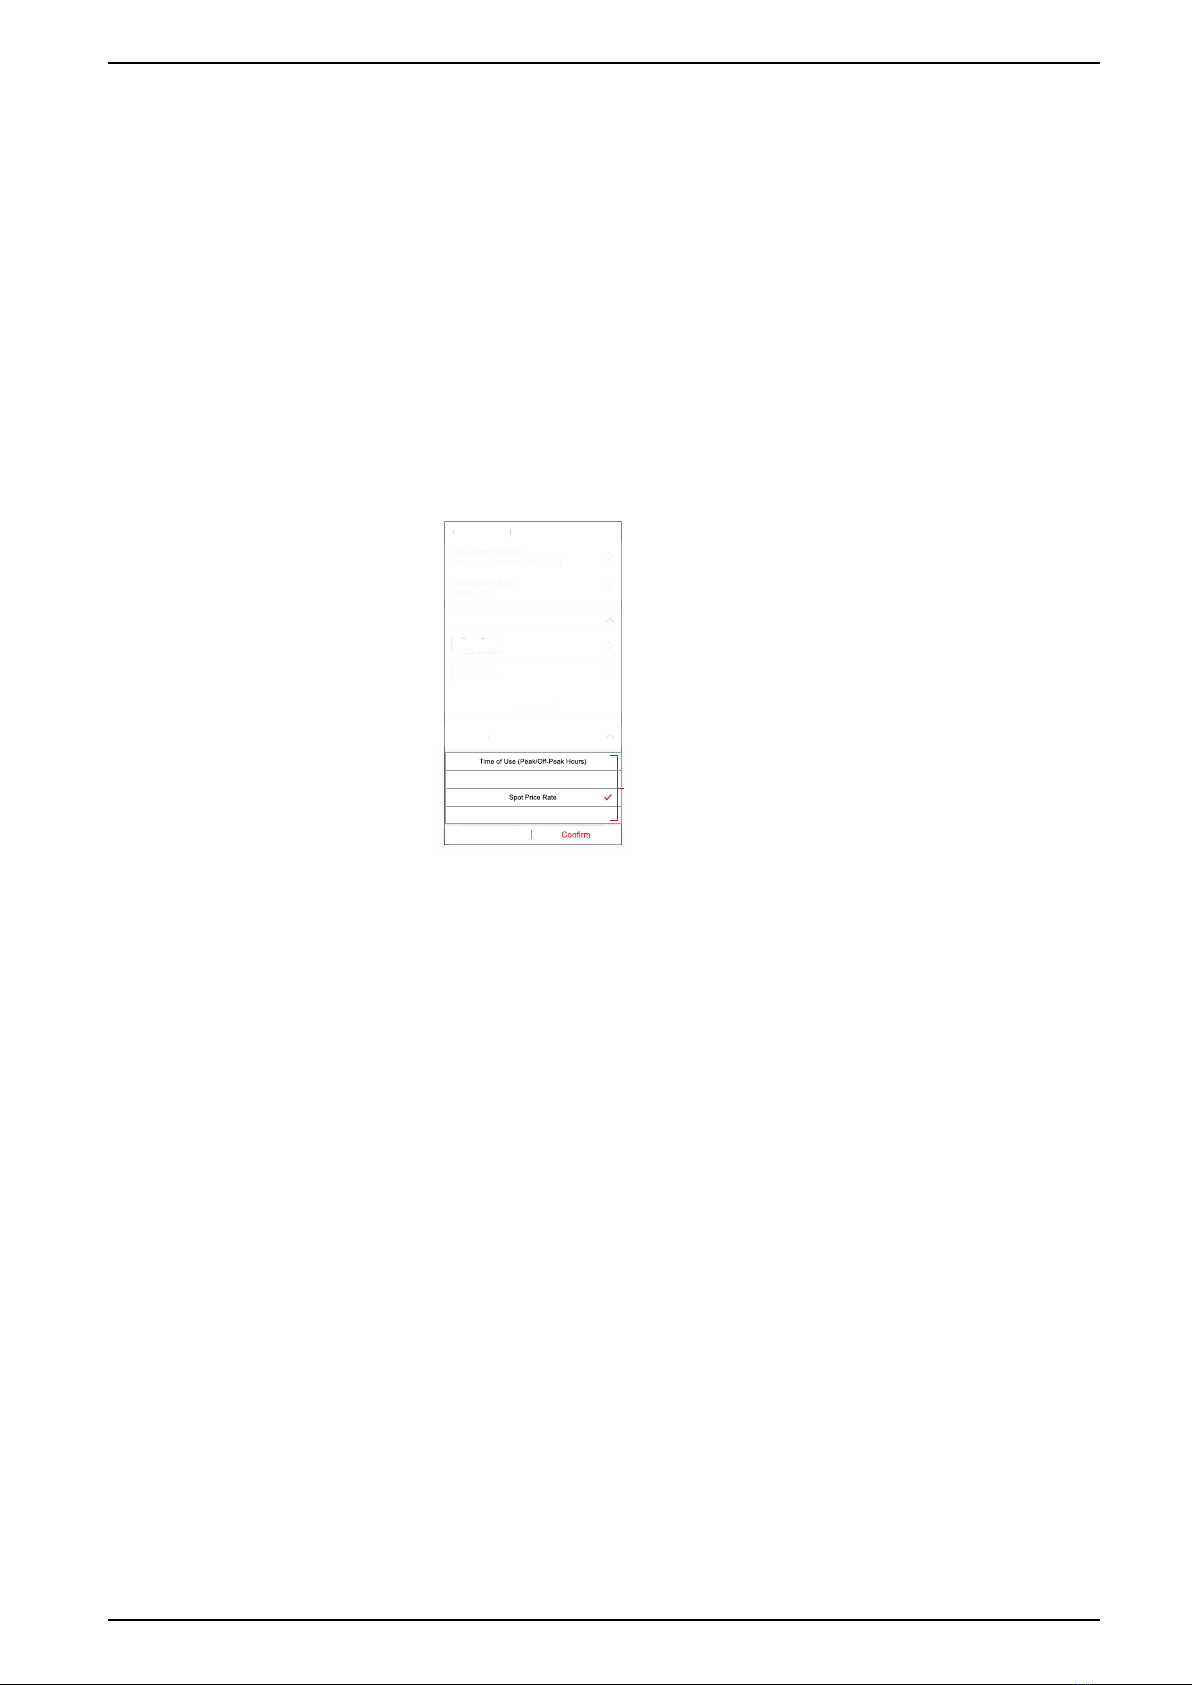
1. Tap My Contract Options on Electricity page.
2. In the slide-up menu, select any one of the following (A):
–Time of Use (Peak/Off-Peak Hours): rate set to a specific period of time
at which consumption is at its highest. It is the amount you pay for each
unit of electricity consumed for the time period set.
–Flat Rate: fixed rate for the entire time period of electricity consumption.
–Spot Price Rate: standard hourly rate of electricity consumption as per
tariff zone.
–No Contract: electricity rate is not set, no information related to bill will be
shown in the app.
Electricity
Close
Peak Rate
My Schedule 00:00 - 00:00
Rates
Schedules
Add a Rate
Add A Schedule
Save
Electricity
Close
Peak Rate
Rates
Schedules
Flat Rate
Rate 1 kr/kWh
Add a Rate
Cancel
No Contract
A
Flat Rate
NOTE: By default, No Contract option is set.
3. After selecting an option, tap Confirm.
DUG_Smart TagE_ELKO-00 13
Smart Tag Energy
Tariff Zone
Once you select the spot price rate contract option, tariff zone option will be
available.
To select the tariff zone:
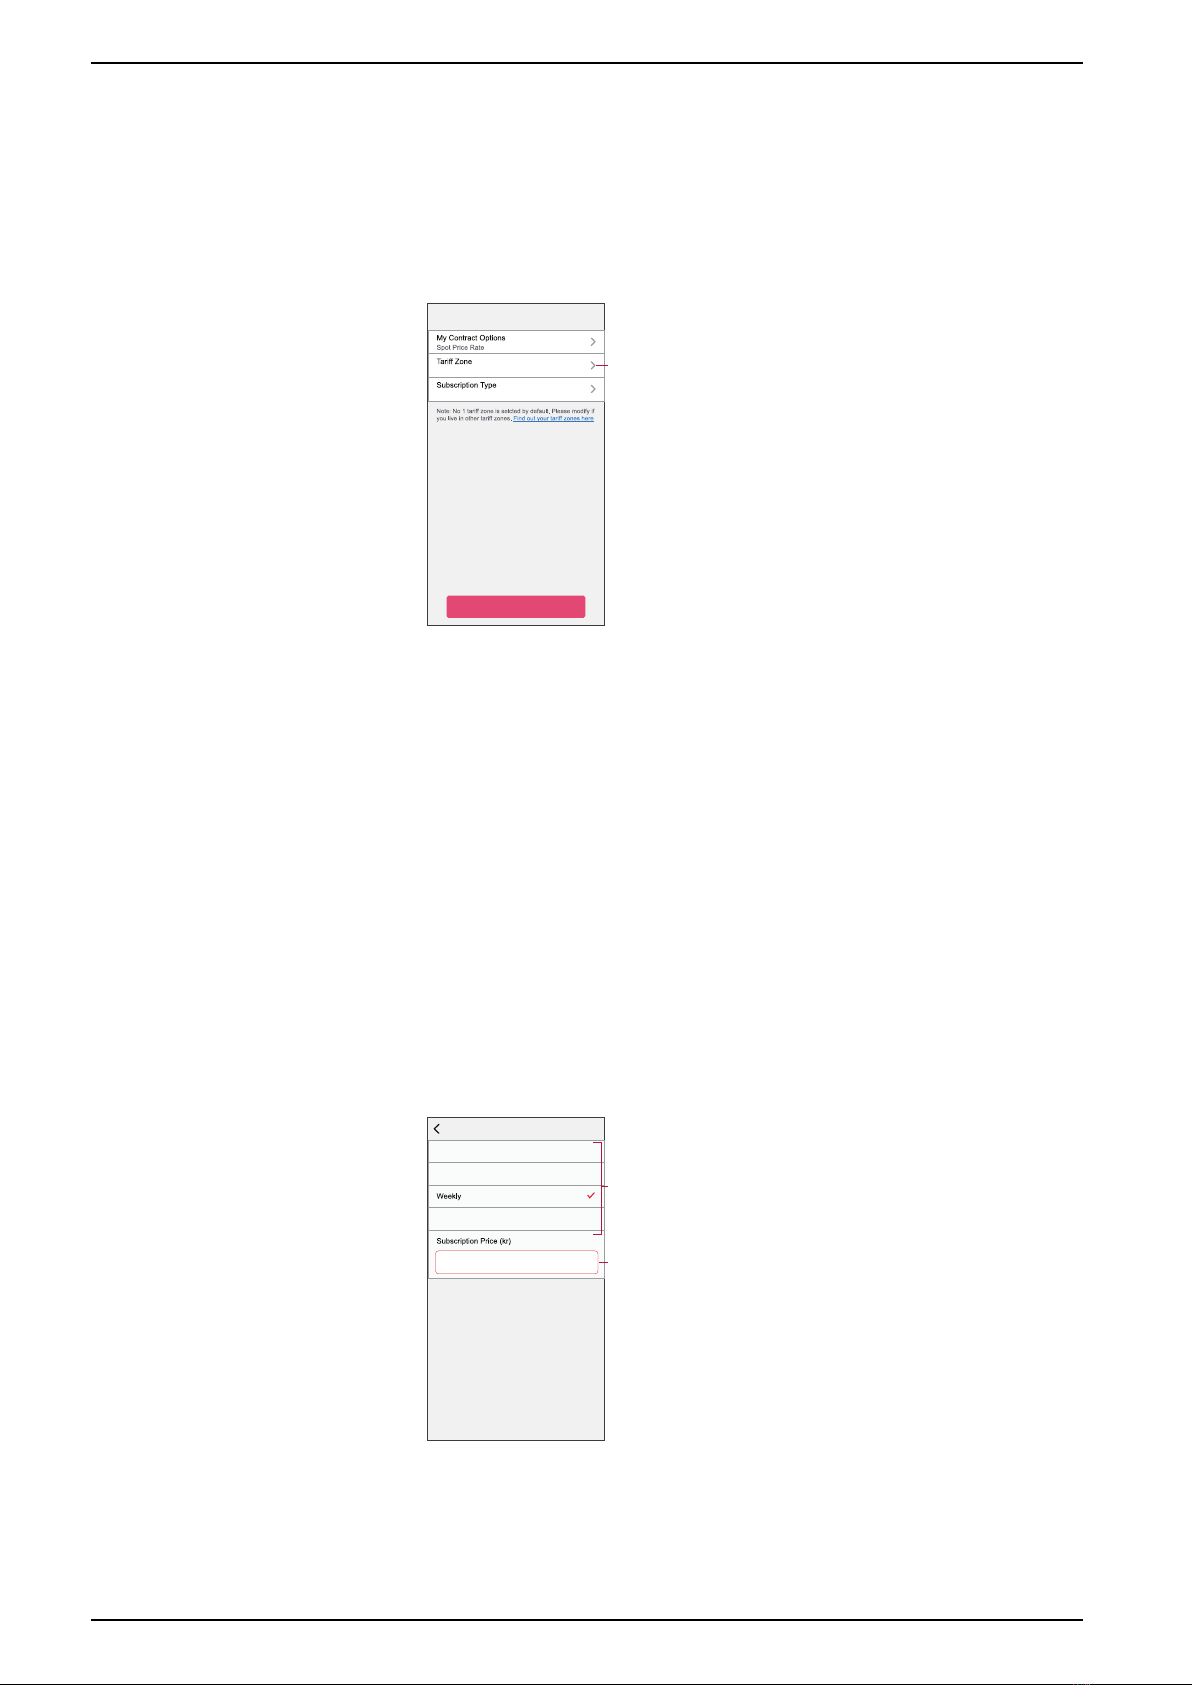
1. On Electricity page, tap Tariff Zone (A).
2. Select the zone based on your home location and tap Confirm.
Electricity
Close
No 1
Save
A
Please Select
NOTE: No 1 tariff zone is selected by default. Please modify if you live in
other tariff zones. Click here to find your tariff zone.
Setting subscription type
Based on your electricity subscription, you can update subscription period and
price in the ELKO Smart app.
To set the subscription type:
1. Tap Subscription Type on Electricity page.
2. Select the subscription period (A).
–Yearly
–Monthly
–Weekly
–Daily
3. Enter Subscription Price (B).
Subscription types Set
Yearly
Monthly
Daily
1
A
B
4. Tap Set.
14 DUG_Smart TagE_ELKO-00

Smart Tag Energy
Adding tariff rate
You can add flat and peak rate value in the ELKO Smart app.
To add a rate:
1. Tap Add a Rate on Electricity page.
2. Enter name and rate per kWh (A).
3. Tap Add (B).
Add a Rate
Rate
Add
A
B
NOTE: Flat rate should be lower than peak rate.
Adding schedule to tariff rate
You should add a scheduled time period for which a tariff rate will be active.
To add a schedule:
1. Tap Add A Schedule on electricity page.
2. Enter a schedule Name (A).
3. Select the number of Days (B).
4. Tap Start Time and Finish Time to set the time period (C).
5. Tap Rate (D) and select the type of rate (Flat or Peak rate).
6. Tap Add (E) to save the schedule.
Add Schedule
Name
Days
Sun Sat
Time
Start Time
Rate
Finish Time
Add
E
D
A
B
C
Mon Tue Thu Fri
DUG_Smart TagE_ELKO-00 15

Smart Tag Energy
Checking currency type
You can view the currency type in the ELKO Smart app.
NOTE: Default currency is set based on the home location.
To view currency type:
1. Tap on the home page.
2. Select Home Management and select your home where the energy device is
installed, to view Home Settings.
3. On Home Settings page, you can view the currency type.
Following currency are available based on home location:
•Kr NOK: Norway
•Kr SEK: Sweden
•Kr DKK: Denmark
•€ EUR: Finland and Spain
•Ft HUF: Hungary
•£ LE: Egypt
16 DUG_Smart TagE_ELKO-00

Smart Tag Energy
Identifying the device
Using the ELKO Smart app, you can identify the device.
To identify the Smart Tag:
1. On the Home page, select the desired Smart Tag from the list of available
devices.
2. Tap Settings (A) and then tap Identify (B).
History
Settings
Smart Tag
Current Power (kW) Day (kWh)
0.895 8.37
A
B
Settings
Identify
Energy
3. Tap OK on the pop-up notification panel when the Smart Tag is identified.
NOTE: The green LED on the identified Smart Tag blinks for 30 s.
DUG_Smart TagE_ELKO-00 17

Smart Tag Energy
Changing the device icon
You can change the device icon using the ELKO Smart app.
1. On the Home page, select the device for which you wish to change the icon.
2. At the top-right corner of the screen, tap .
3. Tap edit next to the device name.
4. Tap Icon to view the menu.
5. In the slide-up menu, select any one of the following (A) to change the device
icon:
–Take photo - allows you to click a photo from the mobile camera.
–Select from Icon Library - allows you to select an icon from the app
library.
–Select from Album - allows you to select a photo from the mobile gallery.
Renaming the device
You can rename the device using the ELKO Smart app.
1. On the Home page, select the device for which you wish to rename.
2. At the top-right corner of the screen, tap .
3. Tap edit next to the device name.
4. Tap Name, enter the new name (A) and then tap Save.
Name
Name
Save
Rename
A
18 DUG_Smart TagE_ELKO-00

Smart Tag Energy
Using the device
Identifying the signal strength
The signal strength is an indicator of the wireless range that is received by the
device.
To check the signal strength:
1. On the Home page, select the Smart Tag for which you want to check the
signal strength.
2. Tap Settings, in the Diagnosis section you can see the following:
•Signal Quality (A): the signal strength is an indicator of the wireless
signal that is received by the device.
•Energy (B): total energy consumed by Smart Tag in kWh.
•Power (C): instant power consumed by Smart Tag in kW.
Settings
Identify
Energy
A
B
C
Checking the device history
To check device history:
1. On the Home page, tap All devices and select Smart Tag.
2. Tap History (A).
History
Settings
Current Power (kW) Day (kWh)
0.895 8.37
A
Smart Tag
DUG_Smart TagE_ELKO-00 19

Smart Tag Energy
3. In the History window, select required time frame:
–Day: to view the daily consumption.
NOTE: Hourly information is only available for last 7 days.
–Week: to view the weekly consumption.
–Month: to view the monthly consumption.
–Year: to view the yearly consumption.
History
00 04 08 12 16
Hours
20 23
Note: Hourly information is only available for the past 7 days.
20 Oct 2022
Month
Mon Tue Thu
17 Oct 2022 - 23 Oct 2022
Sun
History
Month
01 08
Oct 2022
22 30
History
Month
2022
J
Months
M M J J S O N D
History
Month
NOTE: Select the required day/week/month/year in the bar graph to view
the energy consumption.
20 DUG_Smart TagE_ELKO-00
This manual suits for next models
9
Table of contents
Other Elko Relay manuals


