6
7. FIXATION D‘UNVÉLO AVEC LE SUPPORT DE CADRE
Tournez la poignée écrou dans le sens antihoraire jusqu’à ce que les attaches du cadre s‘ouvrent susamment pour le cadre du vélo. Insérez le cadre du vélo dans les attaches
du cadre.Tournez la poignée écrou dans le sens des aiguilles d‘une montre jusqu’à ce que les attaches du cadre de vélo soit desserrées. Alignez le vélo et le support de cadre de
manière à ce que tout s‘emboîte parfaitement. Serrez maintenant fermement la poignée écrou.
Insérez la clé dans la serrure de la poignée écrou et tournez-la de façon à ce que le marquage rouge indique le symbole de la serrure. Retirer de nouveau la clé. Votre vélo est
maintenant protégé contre le vol.
ATTENTION
Vous ne pouvez verrouiller le support de cadre que lorsqu‘il est fermement serré.
Avant de commencer à rouler, vous devez immobiliser le vélo conformément aux instructions de votre porte-vélo (sangles de serrage,
ceintures de sécurité, etc.).
8. MAINTENANCE ET ENTRETIEN
9. REMARQUES RELATIVES À LA PROTECTION DE L‘ENVIRONNEMENT
Nettoyez le support de cadre avec un chion doux très légèrement humide et avec un nettoyant non agressif. N‘utilisez ni nettoyants agressifs, ni solvants, ni essence.
Assurez-vous qu‘aucun nettoyant ni liquide ne pénètre dans le tube du support de cadre.
Appliquez de l‘huile sans résine occasionnellement sur la serrure, par exemple WD40.
Conservez le support de cadre dans un endroit sec.
Veuillez vous débarrasser de cet appareil dans des conteneurs pour matériaux recyclables ou auprès des services de collecte publics/communaux/cantonaux.
Les matériaux sont recyclables. Par le recyclage, la récupération des matières ou d’autres formes de réutilisation d’anciens appareils, vous contribuez activement à la protection
de notre environnement !
10. DONNÉES DE CONTACT
AVVERTENZA !
Leggere attentamente le istruzioni per l‘uso prima della messa in funzione e osservare tutte le avvertenze di sicurezza!
La mancata osservanza di queste istruzioni può provocare lesioni personali, danni al prodotto o alla vostra proprietà!
Conservare l‘imballo originale, la ricevuta di acquisto e il presente manuale per poterlo eventualmente consultare in seguito! In caso di
cessione del prodotto, consegnare anche le presenti istruzioni.
Prima della messa in funzione vericare l‘integrità e la completezza del contenuto della confezione!
1. USO CONFORME _________________________________________________________________________________________ 6
2. VOLUME DI CONSEGNA _____________________________________________________________________________________ 6
3. SPECIFICHE ____________________________________________________________________________________________ 7
4. AVVERTENZE DI SICUREZZA __________________________________________________________________________________ 7
5. ISTRUZIONI PER L‘USO _____________________________________________________________________________________ 7
6. MONTAGGIO DEL BRACCIO DI FISSAGGIO __________________________________________________________________________ 7
7. BLOCCAGGIO DELLA BICICLETTA MEDIANTE IL BRACCIO DI FISSAGGIO ________________________________________________________ 7
8. MANUTENZIONE E PULIZIA___________________________________________________________________________________ 7
9. AVVERTENZE SULLA TUTELA AMBIENTALE _________________________________________________________________________ 7
10. COME CONTATTARCI _______________________________________________________________________________________ 7
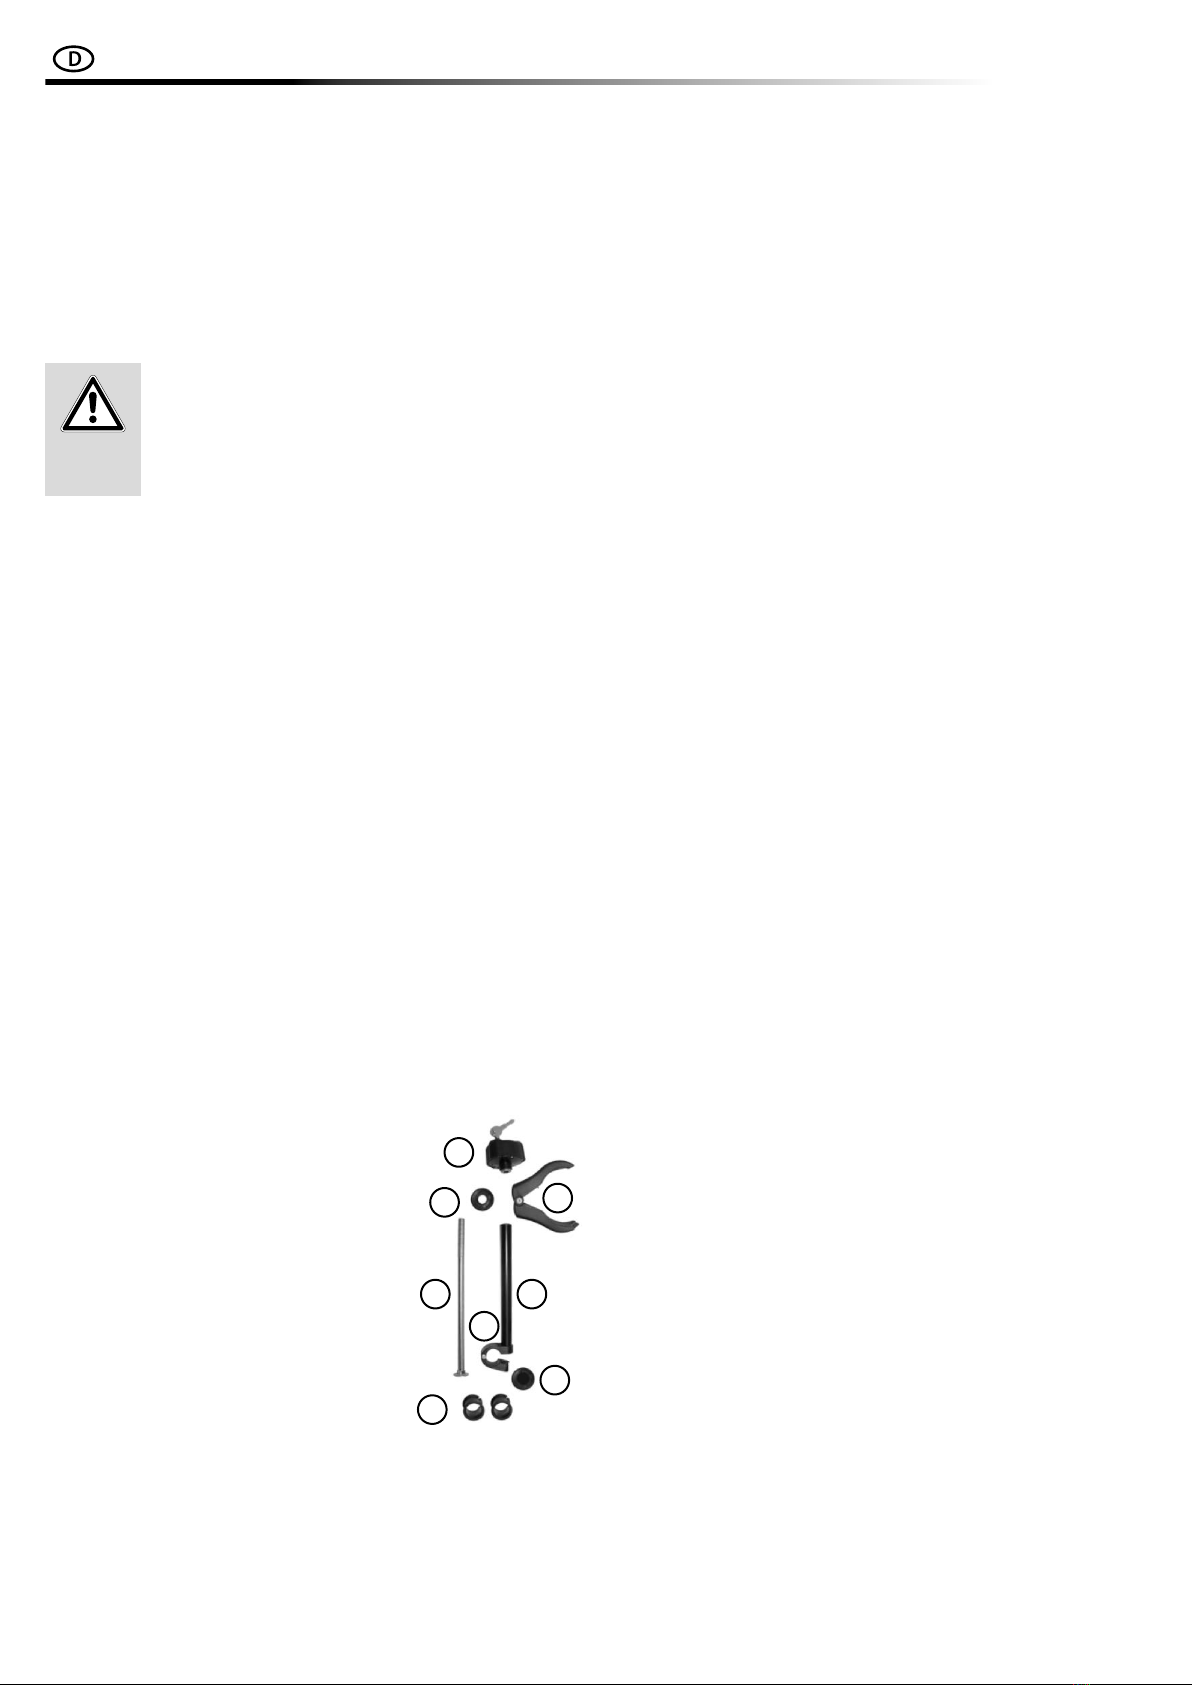
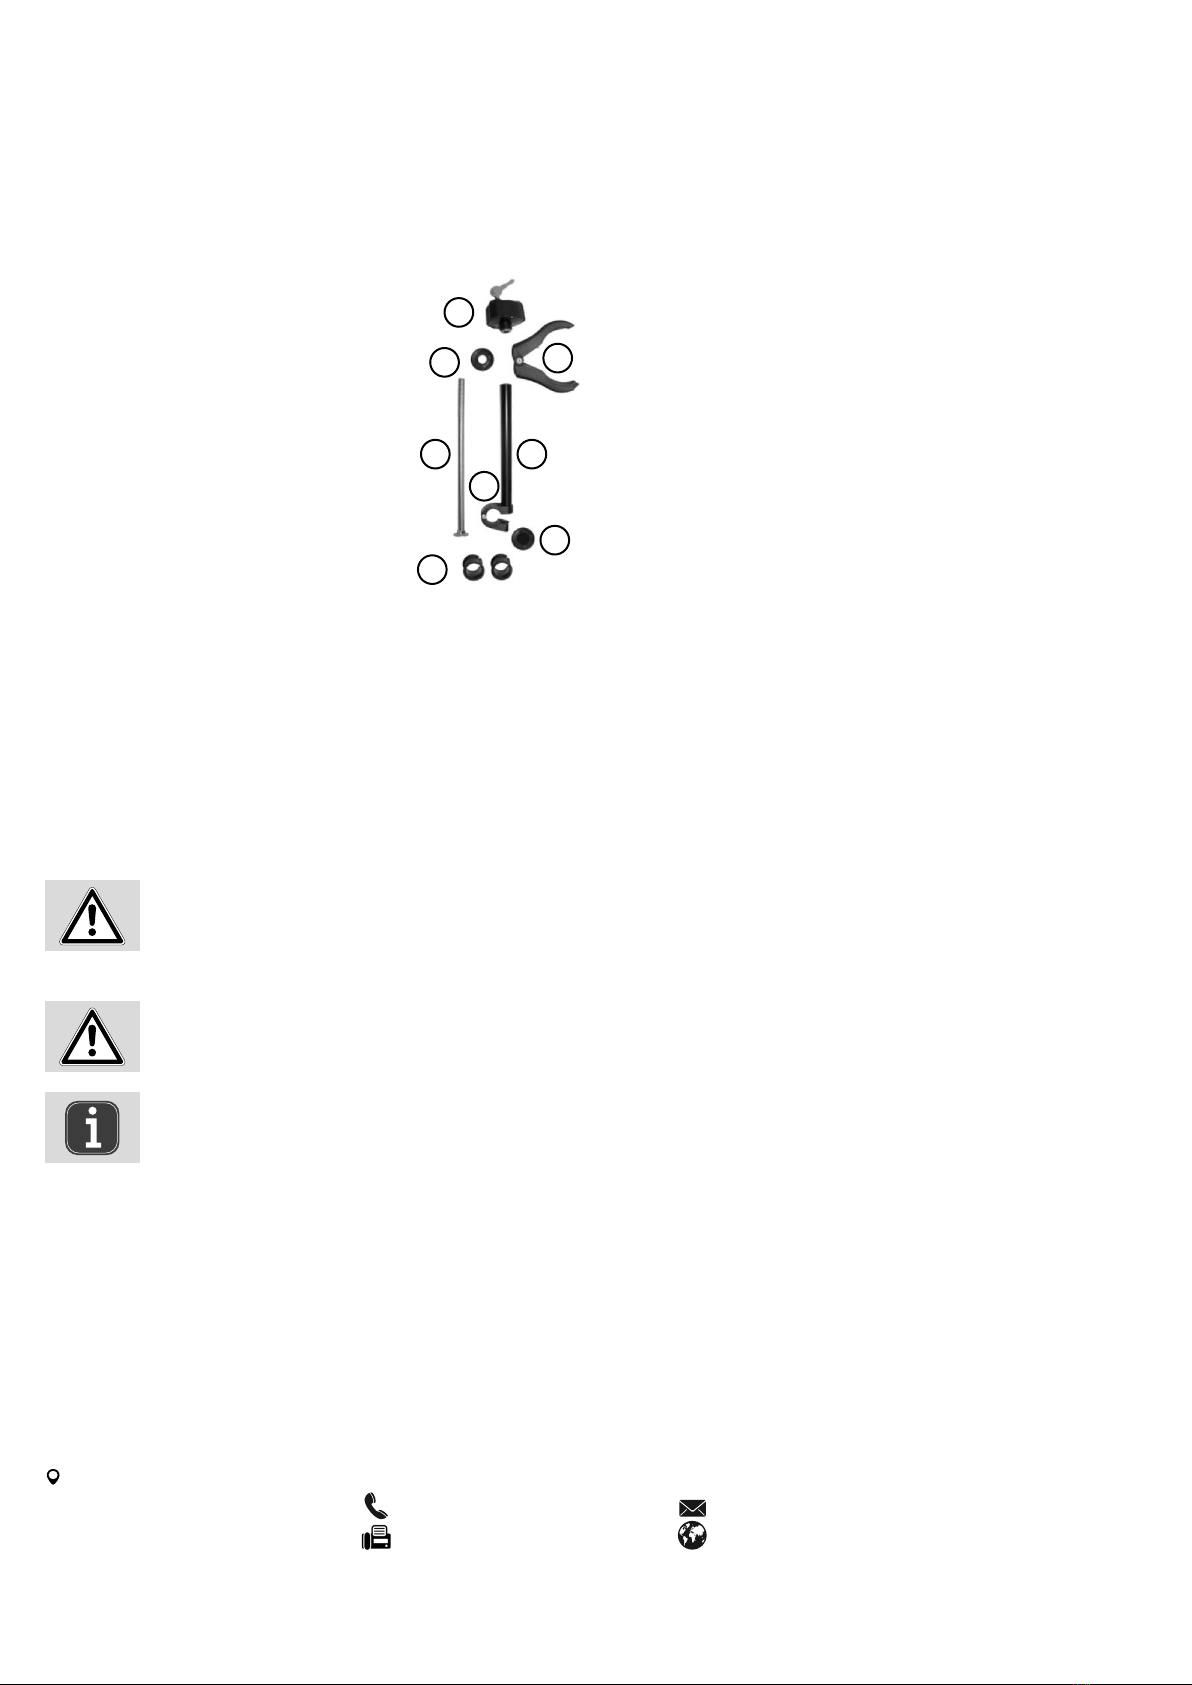
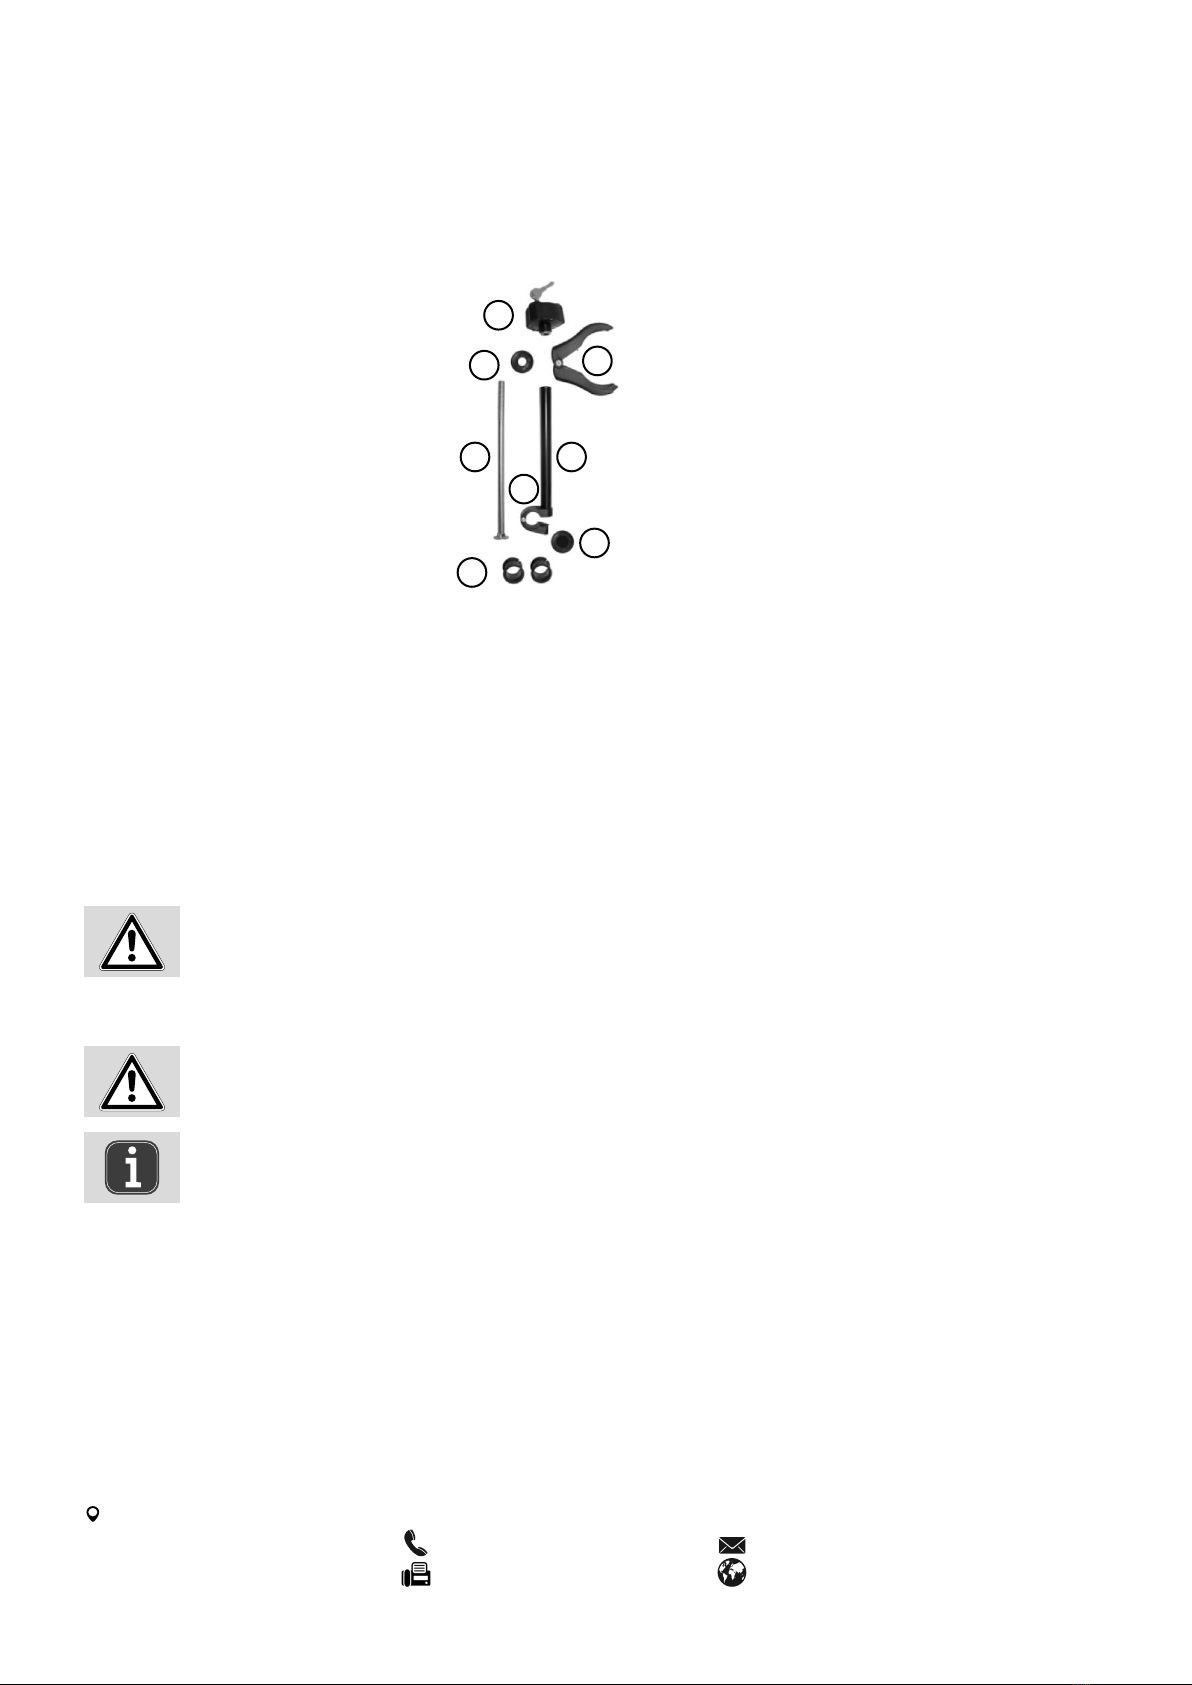
Supporto per telaio, chiudibile a chiave
1 x Braccio di ssaggio
1 x Inserto in gomma Ø 25 mm
2 x Chiavi
1 x Inserto in gomma ø 30 mm
1. USO CONFORME
2. VOLUME DI CONSEGNA
Il braccio di ssaggio serve a ssare la bicicletta alla staa a U di un portabiciclette. Il dado zigrinato con chiusura a chiave protegge la bicicletta ulteriormente dai furti.
Questo dispositivo non è destinato all‘uso da parte di bambini e persone con capacità mentali limitate o che non siano in possesso delle necessarie conoscenze. Tenere il
dispositivo lontano dalla portata dei bambini.
Questo dispositivo non è destinato all‘impiego industriale.
Dell’uso appropriato fa parte anche il rispetto di tutte le informazioni fornite in queste istruzioni, soprattutto delle avvertenze sulla sicurezza. Ogni altro utilizzo viene
considerato improprio e può causare danni a persone o cose. EAL GmbH non risponde dei danni derivanti da un uso improprio.
EAL GmbH
Otto-Hausmann-Ring 107
42115Wuppertal, Allemagne
+49 (0)202 42 92 83 0
+49 (0) 202 42 92 83 – 160
info@eal-vertrieb.com
www.eal-vertrieb.com
INDICE
Les supports de cadre peuvent exercer de légers points de pression et endommager la peinture du cadre de vélo. Protégez le cadre du vélo
avec un lm de protection par exemple.
1 x Manuale d‘uso