Start-up
protection
Over heat
protection
ESC will cut off output if it fails to start the motor within 3 seconds by accelerating throttle. you need to move the throttle
back to the neutral position and restart the motor.( The possible causes : Bad connection or disconnection between
ESC & motor , propellers are blocked, etc)
When ES C temperature is higher than 100 ℃,it will reduce output power (throttle will be limited below 40%) for protection,
make the motor has enough power for return , when the temperature drops to 80℃ , ESC will return to normal working.
ES C detects the loss of throttle signal for over 1 seconds during motor running, it will cut off output immediately to avoid
an even greater loss caused by the continuous high speed rotation of motor. E S C will return the corresponding output
after the signal is restored.
Throttle signal
loss protection
ATTENTION
User Manual
Brushless ESC For RC Boat
01Main features
After motor emits a
Item tone ,move the
trigger or stick to the
neutral position,
then will enters this
item, and motor will
emits the parameter
tone in a loop .
Please see the table
below)
Item parameter
03 Wiring Diagram
Shadow parts are factory default value.
*In some specific cases, the E SC can work under 2S . For 2S, when the battery voltage is lower than 6V,
the ESC will not work or the B EC output will be below the nominal value.
www.flycolor.net
06 T rouble Shooting
Thank you for using our product. Any improper operation may cause personal injury or damage the
product and relevant equipments. This high power system for RC model can be dangerous ,we strongly
recommend reading the user manual carefully and completely. We will not assume any responsibility for any
losses caused by unauthorized modifications to our product. We have the right to change the design,
appearance, performance and usage requirements of the product without notice.
02 Specifications
After power on, the motor doesn't work and
doesn't emit any sound.
Bad connection between ESC and battery.
Bad soldering cause bad contact.
Low voltage of the battery.
Water got in, damage or other quality
problems with E SC.
Clean the connectors or replace them, check and
confirm that the polarity is correct..
Solder the wires again.
Check battery voltage, use full-charged battery.
After power on, E SC emits the sound of
battery cells, but motor doesn't work. ES C doesn't calibrate throttle range.Calibrate throttle range again.
After power on,E SC works ,but the motor
doesn't work and doesn't emit any sound.
Bad connection between ESC and motor, or
bad soldering.
Bad motor.
Battery voltage out of range
Check the connectors or replace the connectors or
solder the motor wire again.
Change motor.
Check the battery voltage is within the range of ESC.
After powering up, motor doesn't work and
emits warning tone“B-,B-,B-”(emits every 2
seconds).
No throttle signal from receiver.
1.Check if right connection between signal wire and
receiver throttle channel.
2.Check remote control and receiver, make sure there
are signal outputs.
After power on, the motor doesn't work and
emits continuous warning tone“B-B-B-B-B-”
(urgent short tone).
Throttle trigger or stick doesn't in the
neutral position (zero position).
Move the throttle trigger or stick to the neutral
position, or Calibrate throttle range again.
After power on, the motor doesn't work.
Motor emits 2 long “B-” and 2 short “B-”.
The positive and negative of throttle channel
is wrong. So ESC enters programming mode. Refer to the user instruction of transmitter, adjust
the setting of throttle channel.
Motor rotates in the opposite direction. The wrong sequence of connection wires
between motor and E SC.
1.Exchange random 2 of the 3 connection wires
between ES C and motor.
2.Change motor rotation direction via mobile phone
App or Remote control.
Motor stops during running Loss throttle signal
Bad connection between wires
Troubles Possible causes Solutions
Battery voltage is lower than low-voltage
protection threshold.
1.Check if the operate correctly. remote control
2.Check if match with the receiver.remote control
3.Check if the signal wire is loose or falling off.
4.Strong electromagnetic interference around the
environment, try to turn off and power up again, to
see if it recovers normal work, if the problem come
up again and again, please change to another field.
251400-1138 V1.0
Alarm tone: (To judge the abnormal cases via alarm tone )
1. Alarm of throttle signal is not detected:
ESC detects no signal when power on, motor will emit the alarm tone “B-、B-、B-”(emits every 2 seconds).
2. Alarm of throttle not in the neutral position:
Throttle not in the neutral position, motor will emit “B-B-B-B-” ( urgent short tone).
3. Alarm of voltage out of range:
The ESC detects that the battery voltage is higher than rated voltage when power on, , motor will emit“B-B-, B-B-, B-B-”(emits every 1.5 seconds).
4. Alarm of narrower throttle range:
when throttle range is set too narrow, motor emits “B-B-B-”( urgent short tone, stop after 2 seconds). You must set throttle range again.
Iterm
1.Running Mode
2.Motor Running
Direction
Check the connectors of battery pack, battery wires
and motor wires connections are good.
3.Low Voltage
Threshold
4.Start Acceleration
5.Motor Timing
6.BEC Voltage
Burst Current
(Good heat dissipation)B EC Size
(For reference)
Model
LiPo
Weight
(For reference)
Con. Current
(Good heat dissipation)
Kraken Series(Wifi)
7.LiPo Cells
● STM32F051 MC U with 32-bit cortex core and working frequency of 48mhz;
● Small in size and light in weight, especially suitable for race class boat;
● Support brushless motor up to 240k erpm;
● The starting mode can be set, throttle response fast, and the speed regulation linearity is very stable. which
is suitable for various RC boat.
● Multiple protection make the equipments safety. Beeping alarm can indicate working condition.
● Low voltage protection threshold can be set to meet personalized needs;
● Good safety performance when power on, when power on, the motor will not be started immediately regardless
of the throttle position of the remote controller.
● Cycle programming menu for easy operation. Compatible with all kinds of remote controls.
● Built in 6V/7.4V,5A adjustable switch BEC .
● Nanometer waterproof coating, anti splash water .
● Water cooled aluminum heat sink can effectively slow down the temperature rise.
● Support programming via mobile phone APP (extra Flycolor Wi-Fi Trans needed).
● Support close-range detection and recording of real-time data via mobile phone APP, such as current, voltage, R PM, temperature ...(extra Flycolor
Wi-Fi Trans needed).
● Support speed up function, suitable for sudden increase of motor rotation speed in the final sprint to get faster running speed.
6V/7.4V,5A
40A 60A 3-6S
60A
80A
3-6S
90A 110A 3-6S
Kraken 90A (Wifi)
Kraken 60A (Wifi)
Kraken 40A (Wifi)
6V/7.4V,5A
6V/7.4V,5A
120A 140A 3-6S
Kraken 120A (Wifi)
6V/7.4V,5A
150A 170A 3-6S
Kraken 150A (Wifi)
6V/7.4V,5A
180A 200A 3-6S
Kraken 180A (Wifi)
6V/7.4V,5A
ESC
Wi-Fi Trans wire
2
1
Motor
Throttle signal
&BEC wire
Receiver
Battery
*Please ensure all solder joints are insulated well where necessary.
04 Protections
05 Operation instruction
Power on safety
protection
If the throttle is not in the neutral position after power on, the motor will emit alarm. The motor can not be started until
the neutral position throttle is detected.
Low voltage
protection
If the voltage is lower than the set low-voltage protection threshold, E S C will automatically reduce the output power
for protection. After running for several seconds, the motor will stops, it can restart when the throttle returned to
neutral position. The above operation can be repeated.
Note: the following are the diagrams of pistol or stick remote control with neutral position (zero point), which are recommended for Unidirectional
and Bidirectional running modes; in addition, stick remote control without neutral position can be selected for unidirectional operation.
SU
Speed Up function wire
3
S + G
P + G SU
Speed Up Function
Programming-To“S”on Wifi Trans
Vout-Power to Wifi Trans
GN D
Throttle signal-To“S” on receiver
BE C Vout
GN D
1
2
: Plug it into & Throttle signal wire the throttle channel on the receiver, the white wire is for transmitting throttle signal, the red black wires are the
BEC output wire and ground wire.
Wi-Fi Trans wire Connect with Flycolor Wi-Fi Trans : , supports programming and detection of real-time data at close range via mobile phone APP.
Speed Up : Plug it into an two-stage switch channel on the receiverFunction wire , during the running, the speed is increased by triggering the switch.
3
SU
●40A
●60A
SU
●90A
●120A
SU
S
+
G
P + G
180 3 - 6 S
6V/7.4V, 5A
A
●150A
●180A
SU
Clean up and dry the water of ESC ,try again ;
Replace ES C .
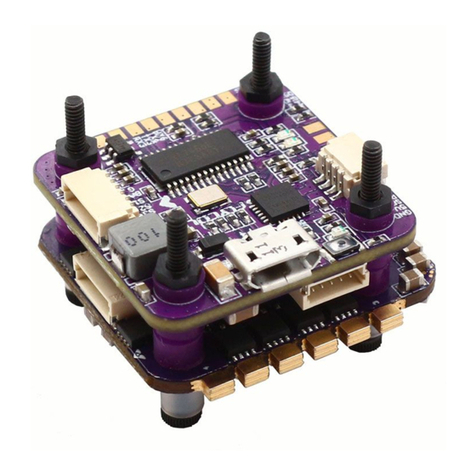
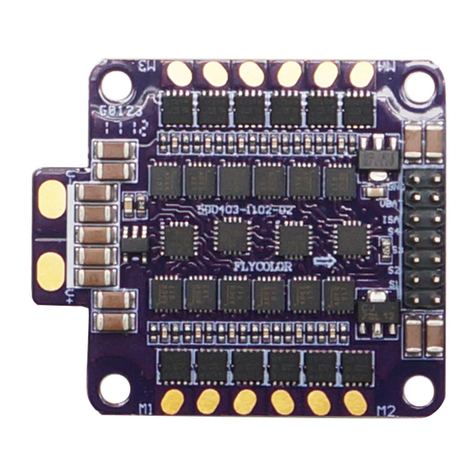
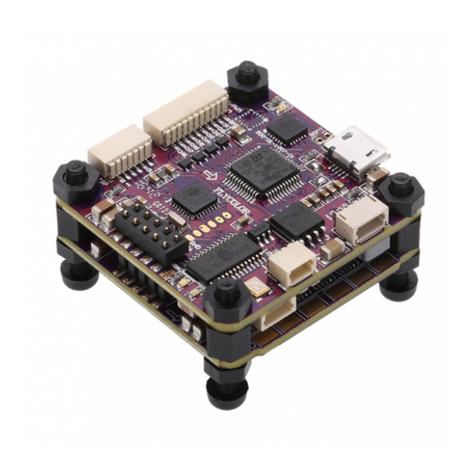
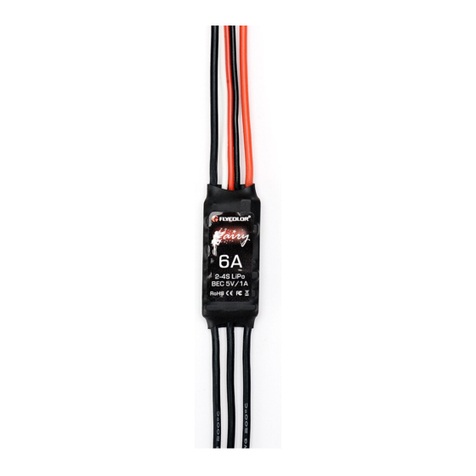
*There are differences in the appearance of the products, the pictures are the representative models for reference only.
ATTENTION
●It is suggested that users should do extra waterproof to get better waterproof effect. If there is water on E SC after use, please dry the
water before use ,in order to avoid damaging the product).
●There is different with remote controls , some receivers generate signals when the remote control is not turned on. To avoid injury,
please turn on the remote control first and then power on the ESC at any time.
●, to get the most stable throttle linearity for different remote controls ,andIt is recommended to calibrate throttle range for the first time
let the ESC acquire and memorize the throttle output signal of the remote control. This operation only needs to be carried out once,
and needs to be repeated when replacing the remote control.
● Before normal start-up, according to the actual number of battery cells used, it is recommended that the user should select the fixed number of
battery cells via programming. In combination with the low voltage protection, it can effectively prevent the battery from over discharge.
1
Throttle Range calibration
。
2
Normal start-up
Turn on the remote control, move
trigger or stick to the full throttle
position, then power on.
Turn on the remote control, leave the
throttle trigger or stick at the neutral position.
Wait for 2 seconds, after motor emits
2 short "B-B-",the full throttle position
is memorized. Leave the throttle trigger
or stick to the neutral position in 5 seconds.
Then waits for 1 second, Motor
emits short "B-" several times,
sound times is the number of
battery cells.
Then the motor emits a long
and a short tone means the“zero
throttle“position is memorized.
ES C is ready for
working now.
C o n n e c t E S C w i t h b a t t e r y.
Wait for 2 seconds, motor emits
sho rt“ B-” seve ra l times, so un d
times is the number of battery cells.
Then waits for 1 second,the motor emits
1 long and 1 short tone.
ESC is ready for working now.
Option 1 Via Wi-Fi Trans: (recommended)
WiFi
Wi - F i Tr a ns w i r e
(E S C)
Wi - F i Tr a ns w i r e
3
Programming
●Flycolor Wi-Fi TransPlease refer to the user manual of ;
●Wi-Fi Trans needs to be purchased separately.
●Download and install the flycolor configurator App.
Note:
Usually,1 long tone
"Beeeep--" equals to
5 short tone"beep-",
for example:1 long
tone"Beeep--" and 1
short tone “beep-”
equals to 6.
When motor emits
“Exit” tone,
move throttle to
neutral position
(zero point) in 3
seconds, then motor
emits special tone
“♪765765”, it will
exit the programming
mode.
If don't want select
other parameter,
move the trigger or
stick to the neutral
position in 3
seconds, then motor
emits special tone
“♪765765”, it will
exit the programming
mode. Or power off,
it will exit the
programming mode.
♪12321
Running Mode 1short
Motor running direction 2short
3short
Start Acceleration
Motor Timing
BEC Voltage
4short
Restore factory defaule
Exit
1long
1long&1short
1long&2short
1long&3short
Beep-
Beep-Beep-
Beep-Beep-Beep-
Beep-Beep-Beep-Beep-
Beeeep--
Beeeep--Beep-
Beeeep--Beep-Beep-
Beeeep--Beep-Beep-Beep-
123 4 56 7 8
1short 2short 3short 4short 1long 1long&
1short
1long&
2short
1long&
3short
Unidirectional Bidirectional
Normal Reverse
No 2.6V 2.8V
0°3.75°7.5°11.25°15°18.75°22.5°26.25°
6V 7.4V
Prompt
tone
Low Voltage Threshold
Move the trigger or stick to the full
throttle position after a certain
tone that the parameter you
want, the parameter is
selected, then motor emits
special tone“♪1212”, this
parameter will be stored.
Just wait If you still want select
other item, it will go back to the
Level 1 menu to select item, the
operate method is the same.
3.0V 3.2V 3.4V
Level 1 Level 2 Level 3 Level 4 Level 5
1long&4short Beeeep--Beep-Beep-Beep-Beep-
LiPo Cells
Auto 2S* 3S 4S 5S 6S
Wait for 2 seconds,motor emits 2 short "B-B-".
Then still wait for 5 seconds. motor emits
special tone“♪12321”,it has entered
programming mode.
Select Items
After entering programming mode, you will hear groups tone which
emits in a loop as following sequence .
1
2
3
4
5
6
7
8
9
Option 2 Via : Remote Control
ES C parameters can be programmed by remote control.
Turn on the remote
control, move
trigger or stick to
the full throttle
position, then
power on.
1. Running Mode:
[1]Unidirectional(default): It can only move forward, no effect when move the trigger or stick from forward to reverse.
[2]Bidirectional: When move the trigger or stick from forward to reverse, the motor will immediately reverse after it stops running. (The maximum
throttle of forward and reverse is equal)
2.Motor Running Direction:
[1]Normal(default):Default motor rotation direction;
[2]Reversed:Change the direction of rotation of the motor.
3. Low Voltage Threshold:
[1]No [2]2.6V [3]2.8V [4]3.0V(default) [5]3.2V [6]3.4V
In order to keep the battery at a safe minimum voltage (for LiPo batteries). The ES C monitors the battery voltage all the time, when the voltage goes
below the threshold,ESC will be protected immediately. Please set to “Disabled” if you’re using NiMH batteries.
4. Start Acceleration:
[1]Level 1 [2]Level 2 [3]Level 3(default) [4]Level 4 [5]Level 5
It can be adjustable from 1 to 5,set a high value to have a quick start-up response, but requires high discharge capacity of the battery.
5. Motor Timing:
[1]0° [2]3.75° [3]7.5° [4]11.25° [5]15°(default) [6]18.75° [7]22.5° [8]26.25°
As usual, 15° applies to all the outer rotor motors , but for improving efficiency ,recommend that set low timing for 2 poles motor( most inner rotor
motors), set high timing for 6 poles and high poles motors( most outer rotor motors). If need high speed motor, you can set high timing. Some motors
should set special timing, if not sure, you'd better to set timing as motor manufacturer recommended ,or set 15°.
Note: After changing timing, please test on the ground before running.
6.BEC Voltage:
[1]6.0V(default) [2]7.4V
BE C can be selected according to the actual demand.
7.IiPo Cells: (Available for LiPo battery only)
[1] Auto(default) [2]2S [3]3S [4]4S [5]5S [6]6S .
Auto:The number of battery cells will be automatically determined according to the current voltage every time the E SC is restarted or powered on;
if "Auto" is selected, please always pay attention to the battery voltage to avoid battery over discharge.
2-6s (recommended): Users are advised to select a fixed value according to the actual number of batteries used. With the low voltage protection ,
the battery can be effectively prevented from over discharge.
8.Restore factory default:
When the beeping indicates the "Restore default settings", move the throttle trigger or stick to neutral position in 3 seconds. There is no sub-menu
under this mode,then motor emits special tone “♪765765” which means default settings are restored.
9.Exit:
When the beeping indicates the "Exit" mode, move the trigger or stick to the neutral position in 3 seconds, then motor emits special tone “♪765765”,
it will exit the programming mode.
Parameter description
4
Speed Up Function
Speed Up Function is suitable for sudden increase of motor rotation speed in the final sprint to get faster running speed.
Plug the speed up into an two-stage switch channel on the receiverfunction wire , during the running, the speed is increased by triggering the switch.
Speed up function effective conditions:
1) It is required that the maximum value of channel shall be greater than 1500us.
2) The setting value of motor timing should be less than 26.25 ° in order to be effective; if the motor timing is set to 26.25 ° then the speed up function
is invalid.
After power on , the motor doesn't run and
emits warning tone“B-B- ,B-B-,B-B-”.(emits
every 1.5 seconds)
1. Drive back in time, check the battery voltage
and charge the battery;
2. Pay attention to the voltage of the remote
control within the controllable range .it needs to
drive back in time if the voltage is low .
42g
46g
82.5g 95.5x37.5x13mm
70x35x9.5mm
66x35x9.5mm
90g 98x37.5x13mm
135g 110x49x15mm
135g 110x49x15mm
