ATTENTION
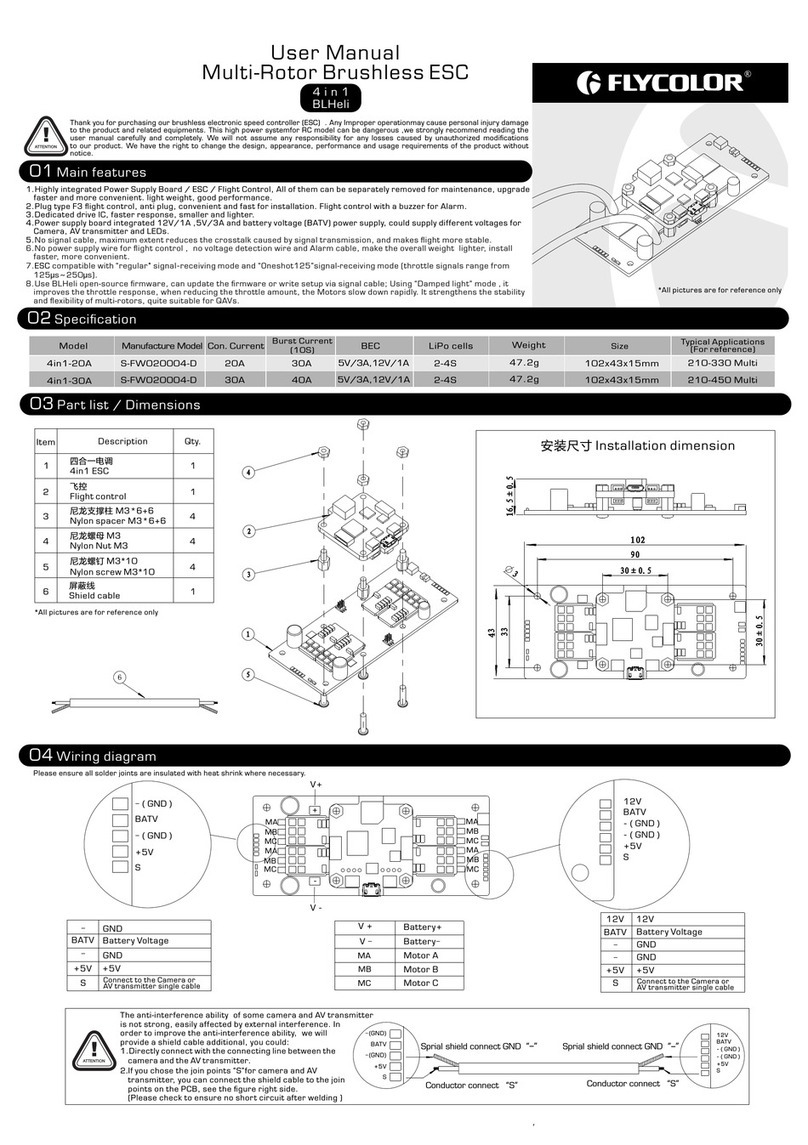
01 Main features
02 Specification
03 Part list / Install Dimensions
BEC
04 Connect diagram
ATTENTION
05 ES C Programming parameters
06 Attention
Install Dimensions(mm)
User Manual
Multi-Rotor Brushless ESC
Thank you for using our product. Any Improper operation may cause personal injury damage to the
product and related equipments. This high power system for RC model can be dangerous ,we strongly
recommend reading the user manual carefully and completely. We will not assume any responsibility for any
losses caused by unauthorized modifications to our product. We have the right to change the design,
appearance, performance and usage requirements of the product without notice.
Con. Current Burst Current
(10S)
Size
( For reference )
Weight
LiPo cells Typical Application
( For reference )
Model
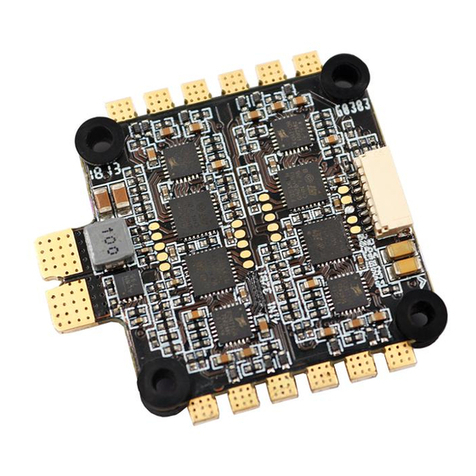
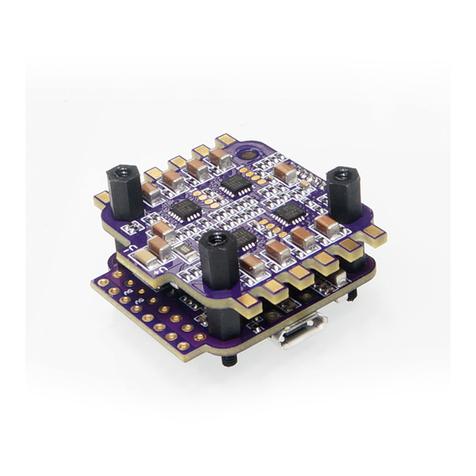
Raptor B L S 4in1 ES C 1
4
4
4
Item Description Qty.
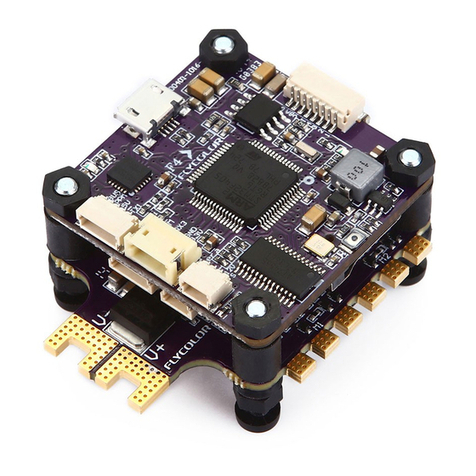
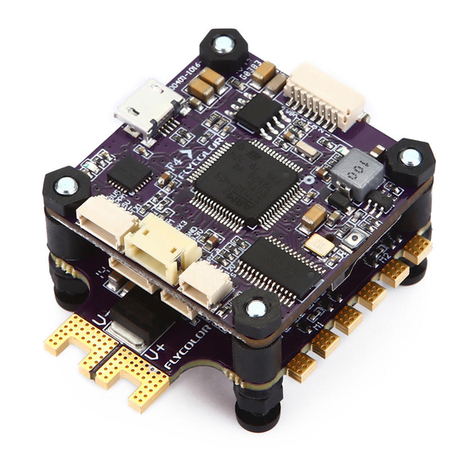
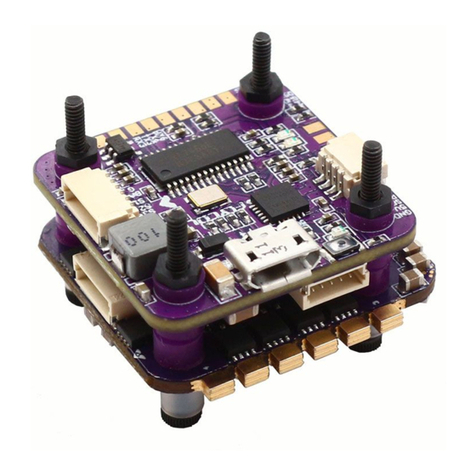
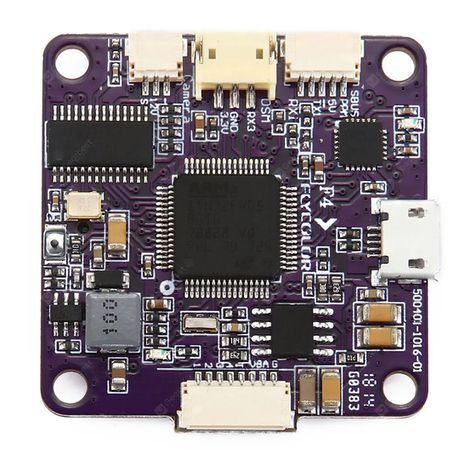
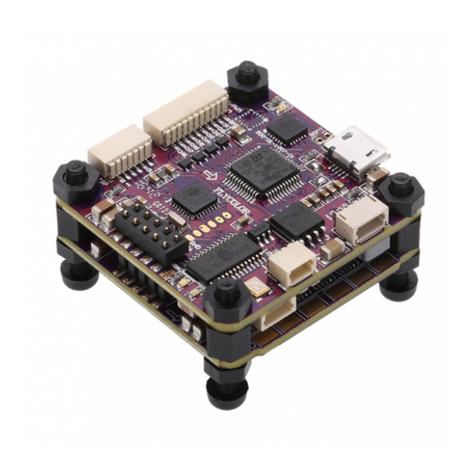
Recommend Raptor S-Towe r 20A F4 flight
controller, assembly w ill be more simple.
ESC addition al provid e:
for connection One 6p cable (6-pin S H1 .0 termina l)
with Flight Controller;
One 16AW G power input cable(XT30 terminal).
*All pictures are for reference only
● All welding requires good welding technology,
short circuit between the element or the wire
should be avoided at any time.
● Please ensure all solder joints are insulated
with heat shrink where necessary.
● Please double-checkthe polarity is correct
before power up.
● VBAT is battery output, make sure your device
operating voltage is matched if you want to use
VBAT.
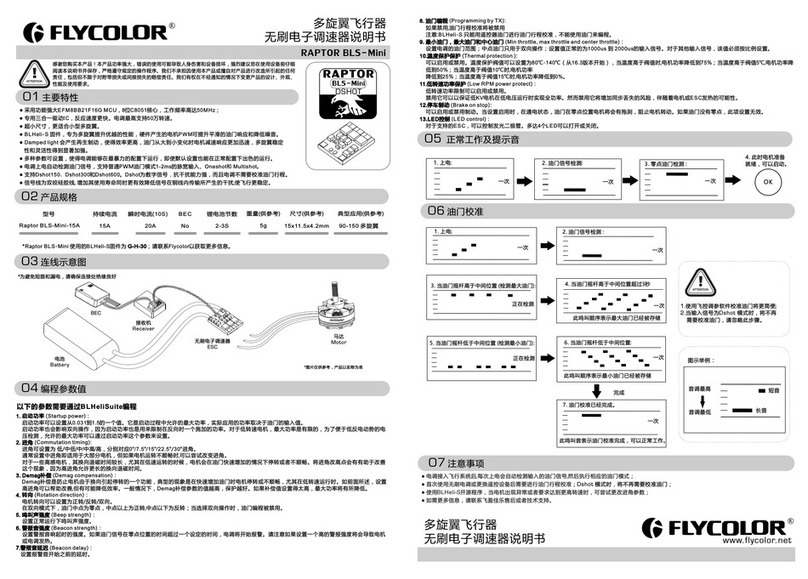
● EFM8BB21F16G MCU, pipelined 8-bit C8051 core with 50 MHz maximum operating frequency.
ESC maximum speed is limited to 500k eR PM.● Dedicated 3in1 drivers, makes the start more smooth.
Small size ,20A 4in1 E SC,● using cable for quick con nection from E SC to FC .
● ESC firmware: B LHeli-S,F-H-40.
● Silicon spacer for supp orting could reduce the effect of vibration, makes the flight more stable.
BLHeli-S firmware. It is designed for super ior performance in multirotors, and uses hardware generated motor ●
pwm for smooth throttle response and silent operation.
● The code supports regul ar 1-2ms pulse width inpu t, as well as Oneshot125 , Oneshot42 and Multishot .
Supports Dshot150, Dshot300 and Dshot600.Dshot is digital signal, anti-interference ability is stronger, and do●
not need throttle calibration.
● Install holes: 20x20m m,M2.
Raptor B L S 4in1-20A 20A 30A 2-4S 31.6x31.2x6mm
6.2g
No
120-180 Multi
1. Startup power:
Startup power can be set to relative values from 0.031 to 1.5. This is the maximum power that is allowed during startup. Actual applied power depends
on throttle input, and can be lower, but the minimum level is a quarter of the maximum level. Startup power also affects bidirectional operation, as the
parameter is used to limit the power applied during direction reversal. For low rpms, the maximum power to the motor is limited, in order to facilitate
detection of low B EMF voltages. The maximum power allowed can be set via the startup power parameter.
2. : Motor timing
Motor timing can be set to low/mediumlow/medium/mediumhigh/high, that correspond to 0°/7.5°/15°/22.5°/30° timing advance.
Typically a medium setting will work fine, but if the motor stutters it can be beneficial to change timing. Some motors with high inductance can have a
very long commutation demagnetization time. This can result i n motor stop or stutter upon quick throttle increase, particularly when running at a low
rpm. Setting timing to high will allow more time for demagnetization, and often helps.
3. Demag compensation:
Demag compensation is a feature to protect from motor stalls caused by long winding demagnetization time after commutation. The typical symptom
is motor stop or stutter upon quick throttle increase, particularly when running at a low rpm. As mentioned above, setting high commutation timing
normally helps, but at the cost of efficiency.
Generally, a higher value of the compensation parameter gives be tter protection. If demag compensation is set too high, maximum power can be
somewhat reduced.
4. Motor direction:
Motor direction can be set to fwd/rev/bidirectional fwd/bidirectional rev. In bidirectional mode, center throttle is zero and above is fwd rotation and
below is reverse rotation.
When bidirectional op eration is selected, programming by TX is disabled.
5. : Startup Beep Volume
Sets the strength of beeps under normal operation.
6. : Beacon/Signal Volume
Sets the strength of beeps when beeping beacon beeps. The ESC will start beeping beacon beeps if the throttle sig nal has been zero for a given time.
Note that setting a high beacon strength can cause hot motors or E SCs !
7. Beacon delay:
Beacon delay sets the delay before beacon beeping starts.
8. Programming by TX: If disabled, throttle calibration is disabled.
Please notice that throttle stick can calibrate throttle range only, and can not programming paramenter via throttle stick .
9. PP M Min throttle, PPM max throttle and PPM center throttle:
These settings set the throttle range of t he ES C. Center thro ttle is only used for bidirectional operation. The values given for these settings are for a
normal 1000us to 2000us i nput signal, and for the other input signals, the values must be scaled.
10.Temperature protection:
Temperature protection can be enabled or disabled. And the temperature thr eshold can be programme d between 80°C and 140°C(from rev16.3).
The ESC measures temperature within the MCU and limits motor power if the temperature is too high. Motor po wer is limited in four steps:
- If the temperature is above threshold , motor power is limited to 75%.
- If the temperature is above threshold 5°C, motor power is limited to 50%.
- If the temperature is above threshold 10°C, motor power is limited to 25%.
- If the temperature is above threshold 15°C, motor power is limited to 0%.
11.Low RPM power protect:
Power limiting for low RPMs can be enabled or di sabled. Disabling it ca n be necessary in order to achieve full power on some low kV motors running
on a low supply voltage.
However, disabling it in creases the risk of sync loss, with the possibility of toasting motor or E SC.
12.Brake on stop:
Brake on stop can be enabled or disabled. When enabled, brake will be applied when throttle is zero. For nonzero throttle, this setting has no effect.
Programming parameters below can be accessed from the configuration software (BLHeliSuite):
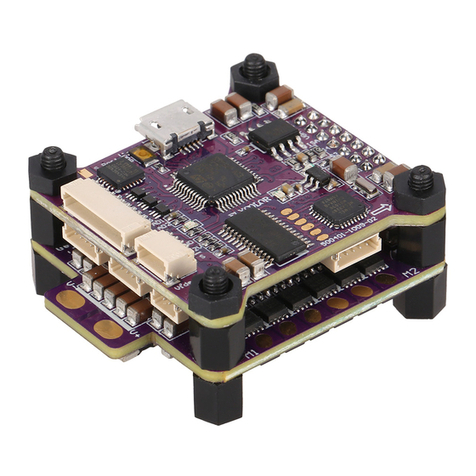
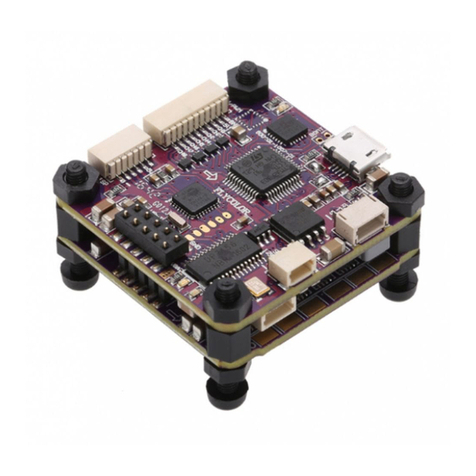
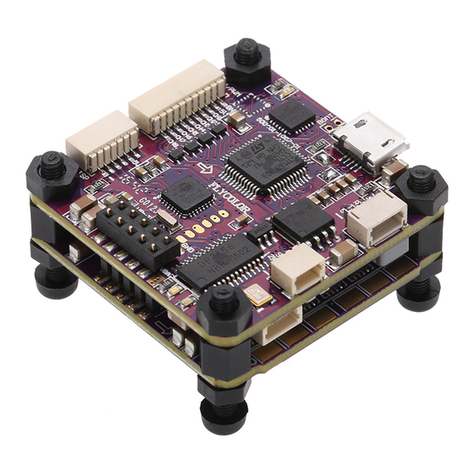
Raptor 20A S-Tower 4in1 ESC
*Raptor B L S 4in1-20A ESC is using the F-H-40 BL Heli-S firmware;
4
1
2
3
5
1
2Plastic spacer
3Silicon spacer
4Screw M2*22
5Nylon nut M2 4
31.2mm
20mm
31.6mm
20mm
● User needs to calibrate the throttle range when starting to use a new ESC or another transmitter. When the input signal is Dshot, throttle calibration is
disabled.
● BLHeli-S firmware, please don't flash any other firmware except “F-H-40”. when some abnormality occurs in ESC driving the motor or need the motor to
reach a higher RPM, user can try to change the timing.
● Please do not exceed the ESC current range.
● Observe polarity at all times. Check and double check before applying power.
● Power off before unplugging ,plugging in or making any connections.
●Do everything you can to prevent vibrations.
●Please contact Flycolor sales or technical support for more information.
251400-1101,V 1.0
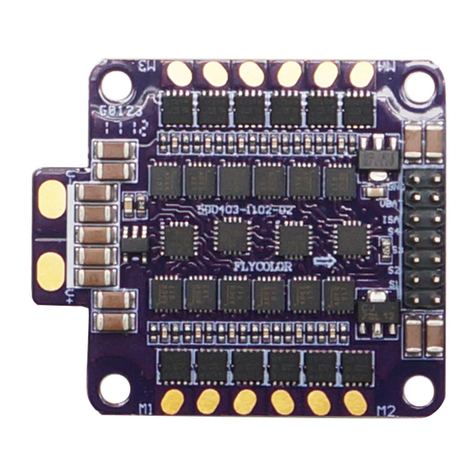
M3
Battery V-
Battery V+
3#Motor
2#Motor
1#Motor
V-
V+
M1 M2
4
3
2
1
V
G
S4
S3
S2
S1
VBAT
GND
4#Motor
M4
1# signal
GND
Battery V+ Output
2# signal
3# signal
4# signal
RAPTOR
S- TOWER
BLS 4in1
