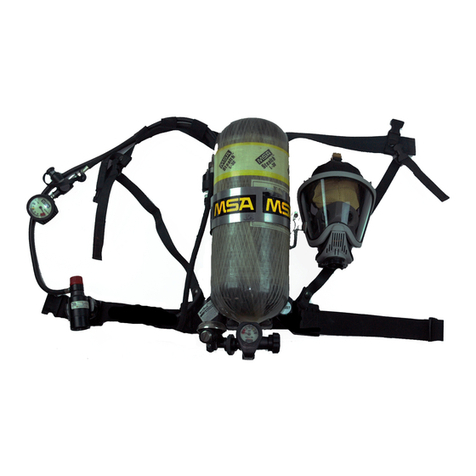
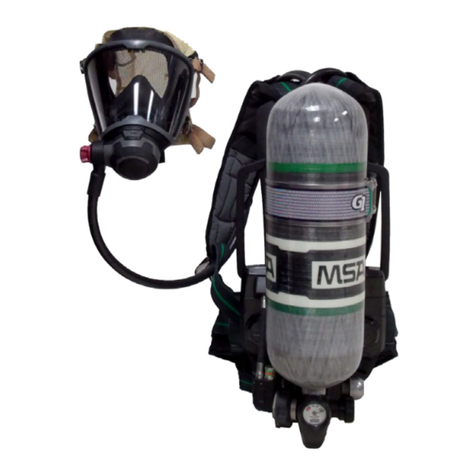
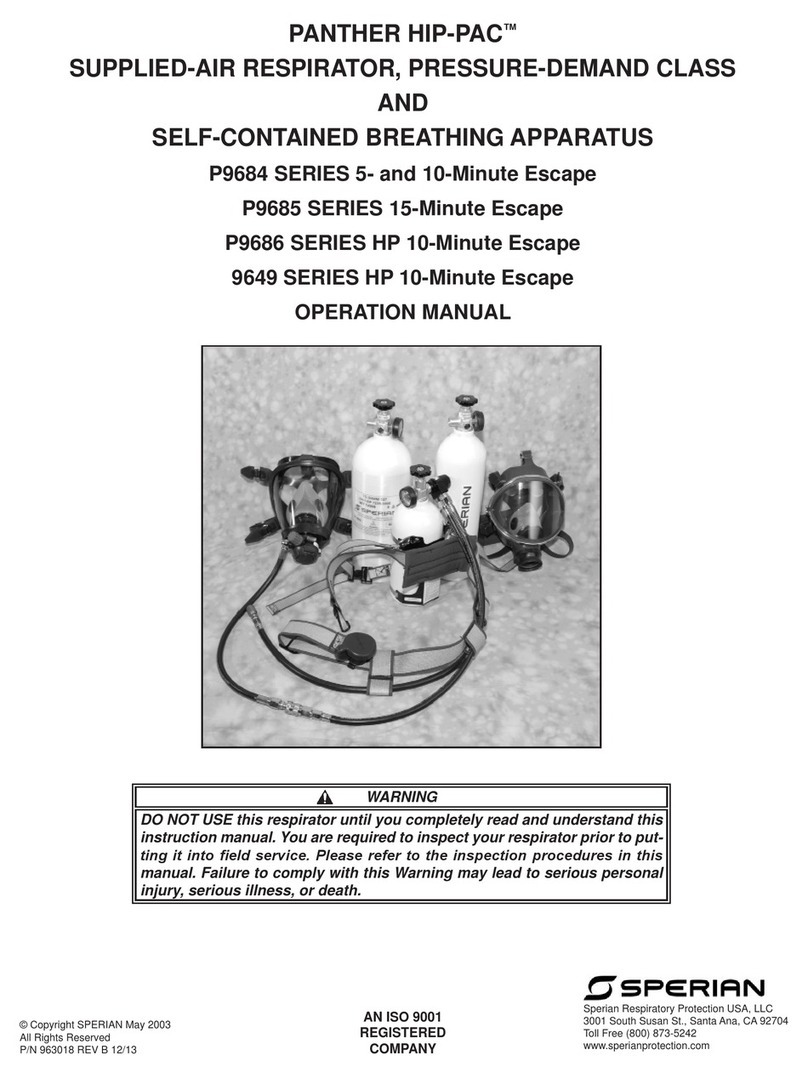
MSA G1 AirHawk II SCBA User manual

MSAsafety.com
Certified Air Mask Repair Education (C.A.R.E.) Manual
G1 AirHawk II SCBA
Regulator Upgrade
Order No.: 10188882/01
Print Spec.: 10000005389(A)
CR 800000026666

1000 Cranberry Woods Drive
Cranberry Township, PA 16066
USA
Phone 1-800-MSA-2222
Fax 1-800-967-0398
For your local MSA contacts please go to our website www.MSAsafety.com
© MSA 2018. All rights reserved
WARNING!
Read this manual carefully before servicing the device. The device will perform as designed only if it is used
and maintained in accordance with the manufacturer's instructions. Otherwise, it could fail to perform as
designed and persons who rely on this device for their safety could sustain serious personal injury or death.
Please read and observe the WARNINGS and CAUTIONS inside. For any additional information relative to
use or repair, call 1-800-MSA-2222 during regular working hours.

3
G1 AirHawk II SCBA
US
Contents
1 G1 AirHawk II SCBA Regulator Upgrade . . . . . . . . . . . . . . . . . . . . . . . . . . . . . . . . . . . . . . . . . . . . . . . .4
1.1 Required Tools and Equipment . . . . . . . . . . . . . . . . . . . . . . . . . . . . . . . . . . . . . . . . . . . . . . . . . . . . . . .4
1.2 Parts List. . . . . . . . . . . . . . . . . . . . . . . . . . . . . . . . . . . . . . . . . . . . . . . . . . . . . . . . . . . . . . . . . . . . . . . . .4
2 General Instructions . . . . . . . . . . . . . . . . . . . . . . . . . . . . . . . . . . . . . . . . . . . . . . . . . . . . . . . . . . . . . . . . . .4
2.1 Releasing Pressure from the SCBA. . . . . . . . . . . . . . . . . . . . . . . . . . . . . . . . . . . . . . . . . . . . . . . . . . . .4
3 Maintenance and Repair Procedures . . . . . . . . . . . . . . . . . . . . . . . . . . . . . . . . . . . . . . . . . . . . . . . . . . .5
3.1 Replacing the AirHawk II Regulator with a G1 Regulator. . . . . . . . . . . . . . . . . . . . . . . . . . . . . . . . . . . .5
3.1.1 Continuous Hose . . . . . . . . . . . . . . . . . . . . . . . . . . . . . . . . . . . . . . . . . . . . . . . . . . . . . . . . . . . . . . . . . .5
3.1.2 Quick-connect Hose. . . . . . . . . . . . . . . . . . . . . . . . . . . . . . . . . . . . . . . . . . . . . . . . . . . . . . . . . . . . . . . .6
3.1.3 Threaded Hose. . . . . . . . . . . . . . . . . . . . . . . . . . . . . . . . . . . . . . . . . . . . . . . . . . . . . . . . . . . . . . . . . . . .6
3.2 Testing Regulator and Audible Alarm Operation . . . . . . . . . . . . . . . . . . . . . . . . . . . . . . . . . . . . . . . . . .7
3.3 Verifying Correct Operation of the G1 AirHawk II SCBA . . . . . . . . . . . . . . . . . . . . . . . . . . . . . . . . . . . .8
3.4 Replacing the Regulator Retainer . . . . . . . . . . . . . . . . . . . . . . . . . . . . . . . . . . . . . . . . . . . . . . . . . . . . .8
3.5 Applying a New NIOSH Approval Label. . . . . . . . . . . . . . . . . . . . . . . . . . . . . . . . . . . . . . . . . . . . . . . . .8
3.6 Recording Serial Numbers . . . . . . . . . . . . . . . . . . . . . . . . . . . . . . . . . . . . . . . . . . . . . . . . . . . . . . . . . . .8
3.7 References. . . . . . . . . . . . . . . . . . . . . . . . . . . . . . . . . . . . . . . . . . . . . . . . . . . . . . . . . . . . . . . . . . . . . . .8

4
G1 AirHawk II SCBA Regulator Upgrade
G1 AirHawk II SCBA
US
1 G1 AirHawk II SCBA Regulator Upgrade
1.1 Required Tools and Equipment
1.2 Parts List
2 General Instructions
WARNING!
Only certified C.A.R.E. technicians are approved to do the procedures in this manual.
Before starting any repair or maintenance procedure, make sure all pressure has been released from
the SCBA. Trying to disassemble a pressurized SCBA can cause parts to become airborne projectiles.
Failure to follow these warnings can result in serious personal injury or death.
2.1 Releasing Pressure from the SCBA
(1) Turn the handwheel clockwise to close the cylinder valve.
(2) Push the regulator release buttons.
(3) Turn the regulator bypass knob counterclockwise to open the regulator bypass valve and release pres-
sure from the SCBA.
Description Part Number
Torque screwdriver, 10 - 50 in·lbf 10175879
Torque wrench, 60 - 300 in·lbf 10148007
Christo-Lube lubricant 604070
Crowfoot, ¾ in. 634196
Flat wrench, ¾ in.
Philips screwdriver
Description Part Number
G1 FACEPIECE
G1 REGULATOR
REGULATOR RETAINER 10146925-SP
G1 AIRHAWK II NIOSH BACKPLATE LABEL

5
Maintenance and Repair Procedures
G1 AirHawk II SCBA
US
3 Maintenance and Repair Procedures
WARNING!
Only certified C.A.R.E. technicians are approved to do the procedures in this manual.
Before starting any repair or maintenance procedure, make sure all pressure has been released from
the SCBA. Trying to disassemble a pressurized SCBA can cause parts to become airborne projectiles.
Protect quick-connect fittings and threaded connectors from damage, dirt, and debris during hose
replacement. Dirt and debris can cause connection seals to leak.
Failure to follow these warnings can result in serious personal injury or death.
3.1 Replacing the AirHawk II Regulator with a G1 Regulator
3.1.1 Continuous Hose
(1) Use a Phillips screwdriver to remove the two screws that
hold the pressure reducer in position.
(2) Pull the pressure reducer away.
(3) Use your fingers to remove the U-clip.
(4) Disconnect the hose from the pressure reducer.
(5) Pull the AirHawk II regulator hose out through the retaining
loops on the shoulder strap.
(6) If the retaining loops or shoulder straps are torn or fraying,
replace them.
(7) Put the G1 regulator hose through the retaining loops on the
shoulder strap with the hose connector end in the direction
of the pressure reducer.
(8) Remove the cap from the G1 hose and connector.
(9) Make sure there is an O-ring in the hose connector.

6
Maintenance and Repair Procedures
G1 AirHawk II SCBA
US
3.1.2 Quick-connect Hose
3.1.3 Threaded Hose
(10) Apply a thin layer of Christo-Lube lubricant to the O-ring.
(11) Attach the G1 regulator hose to the pressure reducer.
(12) Install the U-clip.
(13) Use a 10 - 50 in·lbf torque screwdriver to install and tighten
the two screws that hold the pressure reducer in position to
35 ±5 in·lbf (3.95 ±0.6 N·m).
(1) Disconnect the AirHawk II quick-connect fitting and hose.
(2) Make sure there is no dirt or debris on the openings of the
quick-connect fittings.
(3) Connect the G1 quick-connect hose and quick-connect
fitting.
(4) Make sure the quick-connect fittings operate correctly and
are tightly connected.
(1) Loosen the threads and disconnect the AirHawk II hose.
(2) Make sure the threads are not damaged.
(3) Connect the G1 hose.
(4) Use a ¾ in. flat wrench to hold the regulator hose fitting.
(5) Use a ¾ in. crowfoot connected to a 60 - 300 in·lbf torque
wrench to tighten the G1 hose fitting to 125 ±5 in·lbf
(14.2 ±0.6 N·m).

7
Maintenance and Repair Procedures
G1 AirHawk II SCBA
US
3.2 Testing Regulator and Audible Alarm Operation
WARNING!
Do NOT return the SCBA to service if the alarm does not activate and continue to activate until pressure is
less than 200 psig.
Failure to follow this warning can result in serious personal injury or death
(5) Make sure there is no air flow from the regulator. If there is air flow, do steps 1 and 2 again.
(6) Make sure the difference between the reading on the remote pressure gauge and the reading on the
cylinder gauge is less than 220 psig for 2216 systems or less than 450 psig for 4500 systems.
(7) Make sure the regulator bypass valve operates correctly.
a) Turn the regulator bypass knob counterclockwise to open the regulator bypass valve.
b) Listen for airflow.
c) Turn the regulator bypass knob clockwise to close the regulator bypass valve.
d) Reach behind and turn the handwheel clockwise to close the cylinder valve.
(9) Slowly turn the regulator bypass knob counterclockwise to open the regulator bypass valve and
release pressure until the needle on the cylinder gauge goes below 550 psig for low-pressure systems
or 1125 psig for high-pressure systems.
(10) Make sure the alarm activates and continues to activate until pressure is less than 200 psig.
(11) Turn the regulator bypass knob clockwise to close the regulator bypass valve fully.
(1) Push the top regulator release button.
(2) Turn the regulator bypass knob clockwise to close the regulator bypass valve fully.
(3) Reach behind and turn the handwheel counterclockwise to open the cylinder valve fully.
(4) Listen for the alarm to activate briefly. As the pressure increases from 50 to 200 psig, make sure the
alarm activates automatically, indicating that the alarm is functional.
(8) Make sure there are no air leaks.
a) Reach behind and turn the handwheel counterclockwise
to open the cylinder valve and pressurize the system.
b) Turn the handwheel clockwise to close the cylinder valve.
c) Monitor the remote pressure gauge on the shoulder
strap. If the needle shows a decrease of more than
100 psi in 10 seconds, there is a leak. Do NOT returnthe
SCBA to service until you find and repair the leak.
8
Maintenance and Repair Procedures
G1 AirHawk II SCBA
US
3.3 Verifying Correct Operation of the G1 AirHawk II SCBA
Review all NIOSH approval labels and approval inserts to make sure the SCBA is in an approved configu-
ration. For NIOSH approval information, refer to the Approval Label Insert (PN 10188795).
(1) In the PosiChek software, select the Test menu, then the Complete SCBA Test option.
(2) Select from the available AirHawk II 2216 or AirHawk II 4500 models.
(3) Make sure the SCBA satisfies all of the test requirements.
3.4 Replacing the Regulator Retainer
To remove the regulator retainer, pull the webbing of the waist belt out through the openings on the ends of
the retainer.
To install a new regulator retainer, push the webbing of the left waist belt into the openings on the ends of
the retainer. Make sure the webbing is not twisted.
3.5 Applying a New NIOSH Approval Label
(1) Remove the previous NIOSH Approval Label from the backplate.
(2) Apply the new NIOSH Approval Label supplied in the G1 upgrade kit to the backplate.
3.6 Recording Serial Numbers
Use an MSA Inspection and Maintenance Checklist for Self-Contained Breathing Apparatus (PN 492329)
to record the serial numbers on the current and replacement NIOSH Approval Labels.
3.7 References
Refer to the following C.A.R.E. manuals:
Description Part Number
Second Stage Regulator: AirHawk® II Air Mask: C.A.R.E. Manual 10104241
G1 Industrial SCBA Facepiece C.A.R.E. Manual 10188594

9
Maintenance and Repair Procedures
G1 AirHawk II SCBA
US

For local MSA contacts, please visit us at MSAsafety.com
Because every life has a purpose...
Table of contents
Other MSA Respiratory Product manuals

MSA
MSA Advantage 900 User manual

MSA
MSA Advantage 400 Series User manual

MSA
MSA 3S-H User manual

MSA
MSA Advantage 400 Series User manual

MSA
MSA G1 SCBA User manual

MSA
MSA OptimAir 6A User manual

MSA
MSA BlackHawk MMR User manual

MSA
MSA 3S-R AirElite Full Face Mask User manual

MSA
MSA Safe Escape NIOSH CBRN 15 User manual

MSA
MSA Advantage 3100 User manual

MSA
MSA TransAire 10008292 User manual

MSA
MSA FireHawk M7 I-HUD User manual

MSA
MSA advantage 1000 User manual

MSA
MSA FireHawk Ultra Elite 10048814 Setup guide

MSA
MSA SSR 90 User manual

MSA
MSA Turbo-Flo B1260 009 User manual

MSA
MSA SavOxCap 60 User manual

MSA
MSA G1 APR User manual

MSA
MSA Advantage 200 LS User manual

MSA
MSA 3S small User manual