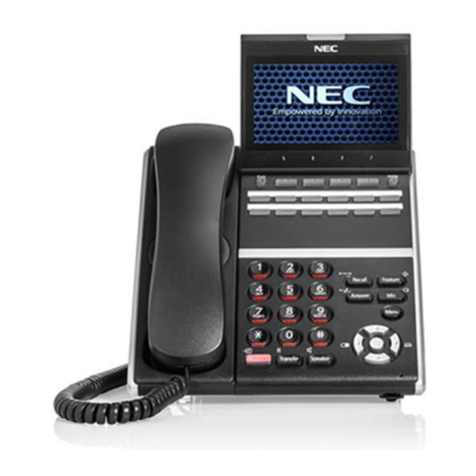
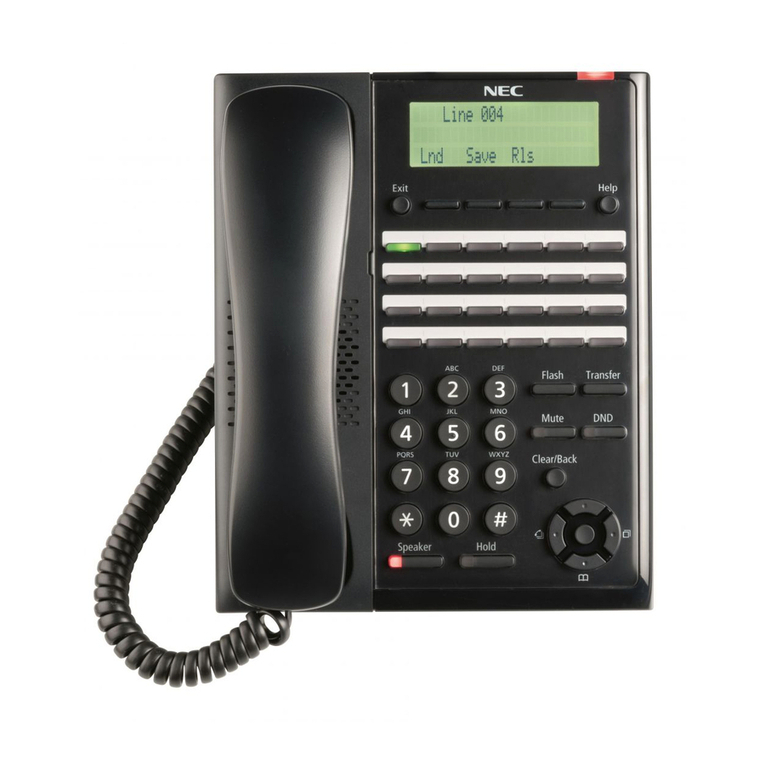
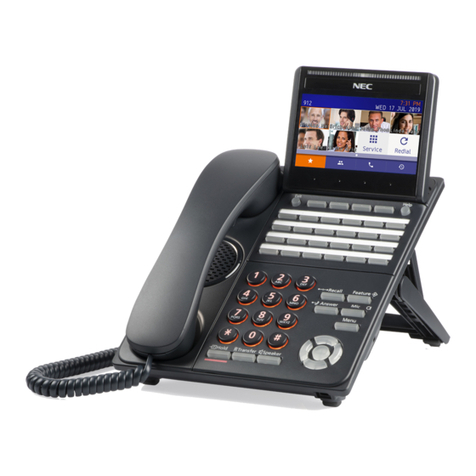
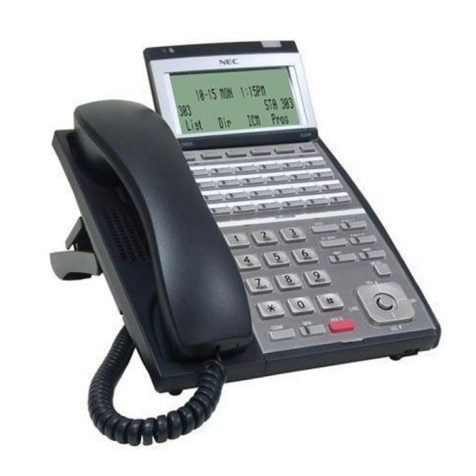
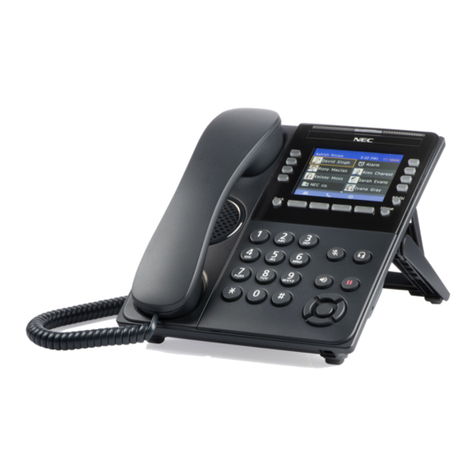
NEC Univerge SV9100 User manual

SV9100
System Maintenance Manual
ISSUE 1.0

NEC Unified Solutions reserves the right to change the specifications, functions, or features at any
time
without notice.
NEC Unified Solutions has prepared this document for use by its employees and customers. The
information contained herein is the property of NEC Unified Solutions and shall not be reproduced
without prior written approval of NEC Unified Solutions.
Dterm® is a registered trademark of NEC Corporation. UNIVERGE® is a trademark of NEC
Corporation.
Windows® is a registered trademark of Microsoft Corporation. All other brand names
and product names referenced in this document are trademarks or registered trademarks of their
respective companies.
Copyright 2015
NEC Nederland B.V.
Olympia 4
1213 NT Hilversum
The Netherlands

Before Reading this Manual
This manual provides detailed information for diagnostic and maintenance information for the SV9100
system.
There are eight parts to this manual:
Chapter 1 –Troubleshooting IP on an SV9100 System
This chapter provides some helpful tips for troubleshooting IP on the SV9100 system.
Chapter 2 –System Maintenance
The technician can use this chapter to troubleshoot and diagnose problems during and after SV9100
system
installation. The troubleshooting flow charts and general test procedures help the technician
identify
possible causes of the problem by defining the problem area.
Chapter 3 –Diagnostics
This chapter provides a description of the SV9100 Diagnostic Interface Module (DIM) built into the GCD-
CP10 blade. The DIM can monitor the activity of the system under the control of commands
entered by the
engineer.
Chapter 4 –SV9100 Automatic Log File Export from the GCD-CP10
The SV9100 adds new options to generate and save Diagnostic files to the built-in memory card. These files
can be exported/viewed in several ways.
Chapter 5 –Alarm Reports
System alarms are reported by the system and can be viewed by WebPro, PCPro or exported as text files or
e-mail.
Chapter 6 –ISDN Layer 1 Status Display
View the connection status of the ISDN basic rate circuits, can be viewed via WebPro, PCPro or KeyTel Pro.
Chapter 7 –Keyphone Access to System Settings
Use any terminal to view the system’s IP addresses, Main Software version etc.
Chapter 8 –Terminal Test Routine –DT400
Check the DT400’s keys, lamps and LCD display.
Preface

Issue 1.0
UNIVERGE SV9100
iv
List of Figures
Contents
Troubleshooting IP on an SV9100 System..........................................................................................................1
SECTION 1 Introduction............................................................................................................................1
SECTION 2 Ping .........................................................................................................................................1
Pinging from a PC........................................................................................................................................3
Pinging from an UNIVERGE SV9100 IP Phone ............................................................................................3
SECTION 3 PACKET TRACES.......................................................................................................................5
System Maintenance ..........................................................................................................................................7
SECTION 1 INTRODUCTION ......................................................................................................................7
SECTION 2 OPERATIONAL TEST PROCEDURES ........................................................................................7
Initialization Check......................................................................................................................................8
System Initialization....................................................................................................................................8
After Initialization .......................................................................................................................................8
SECTION 3 TROUBLESHOOTING ..............................................................................................................3
Remote Administration and Maintenance.................................................................................................3
Problem Solving..........................................................................................................................................3
System Down ..............................................................................................................................................3
Partial Operation.........................................................................................................................................3
Reset ...........................................................................................................................................................3
Flowcharts ..................................................................................................................................................4
Diagnostics....................................................................................................................................................... 22
SECTION 1 WHAT IS AVAILABLE? .......................................................................................................... 22
SECTION 2 BEFORE YOU START ............................................................................................................. 22
SECTION 3 TO LOG ON TO THE DIM ...................................................................................................... 23
Connect locally via Ethernet Socket of the GCD-CP10 card. ................................................................... 24
Connect Via PCPro Debug Terminal ........................................................................................................ 24
SECTION 4 TO DISCONNECT FROM THE DIM........................................................................................ 26
SECTION 5 SV9100 DIM COMMANDS.................................................................................................... 27
SECTION 6 COMMON DIM COMMANDS............................................................................................... 31
SECTION 7 SV9100 NET DIM COMMANDS ............................................................................................ 33
SECTION 8 IP RELATED COMMANDS..................................................................................................... 38
SECTION 9 InMail RELATED COMMANDS.............................................................................................. 48
LIST OF FIGURES
System Maintenance Manual
iii
SECTION 10 READING SV9100 DIM TRACES ............................................................................................ 55
SECTION 11 ISDN LAYER 3 TRACE (MAIL IN 0 0 1 2)................................................................................ 57
SECTION 12 ISDN LAYER 3 TRACE (MAIL IN 0 0 1 2) WITH SV9100 MAIN .............................................. 59
SV9100 Automatic DIM Log File Export from the GCD-CP10 .......................................................................... 63
DIMLOG ....................................................................................................................................................... 63
DIMLAST ...................................................................................................................................................... 63
Record Live System Activity to USB............................................................................................................. 63
Technical Information.................................................................................................................................. 64
Saving DIMLOG and DIMLAST files using PCPro...................................................................................... 64
Saving DIMLOG and DIMLAST files using KeyTelPro ............................................................................... 65
Record Live System Activity to USB Memory .......................................................................................... 66
Selecting DIM Items via WebPro ............................................................................................................. 67
Alarm Reports.................................................................................................................................................. 68
Overview of Alarm Reporting Options ........................................................................................................ 68
Summary of SV9100 Alarms ........................................................................................................................ 69
Alarm Reporting via Keytelephone.......................................................................................................... 80
Alarm Reporting via WebPro................................................................................................................... 80
Alarm Reporting via PCPro ...................................................................................................................... 81
Output the Alarm Report to a USB stick.................................................................................................. 82
Alarm Report via e-mail........................................................................................................................... 83
ISDN Layer 1 Status Display ............................................................................................................................. 87
Keytelephone Access to System Settings ........................................................................................................ 90
System Properties........................................................................................................................................ 90
VIOPDB ........................................................................................................................................................ 90
IP Address .................................................................................................................................................... 90
Terminal Test Routine –DT400 ....................................................................................................................... 91
Key Matrix and LED Test.............................................................................................................................. 91

Issue 1.0
UNIVERGE SV9100
iv
List of Figures
THIS PAGE INTENTIONALLY LEFT BLANK

System Maintenance Manual
1
Troubleshooting IP on an SV9100 System
SECTION 1Introduction
This book provides some helpful tips for troubleshooting IP on the
UNIVERGE® SV9100 system.
SECTION 2Ping
This is one of the most useful tools available to troubleshoot IP
connectivity. PING is a standard component
of Microsoft Windows® and is
also implemented on the UNIVERGE SV9100 IP Phones. Ping sends a
small IP packet to a specified destination and waits for a response back.
It should be possible to ping IP Phones, the GCD-CP10 (CPU), GPZ-IPL (VoIP) and any other devices on the
network. Send a ping and wait for a reply. If a reply is not
received, the ping response “times out”. This
indicates a connection
problem.
Refer to Figure 1-1 Ping Traces on page 1-2 for examples of these two
conditions.
Chapter
1

2
Troubleshooting IP on an SV9100 System
Issue 1.0
UNIVERGE SV9100
Successful Ping Trace
Unsuccessful Ping Trace
Figure 1-1 Ping Traces

System Maintenance Manual
3
UNIVERGE SV9100
Issue 1.0
If unable to ping a device, it may mean that either the source or destination device:
O is not configured correctly
O is not connected to the LAN (e.g., cable disconnected)
O has a developed a fault
O or any device in between the source or destination may be faulty (e.g., routers)
Pinging from a PC
The command syntax for ping is:
ping [-t] [-n count] [-l size] target
-t (optional) continually sends PING requests until Ctrl-C is
pressed to cancel -n (optional) sends a
specified number of PING
requests -l (optional) sends packets of a specified size (bytes)
target the
destination IP address or host name
Note that there are other options available with the Microsoft Windows®
implementation of ping. The most
commonly used options are listed above.
Examples:
O ping 192.168.2.100 -t Continually pings 192.168.2.100 until Ctrl-C pressed
O 192.168.2.100 -n 10 -l 40 Sends ten 40-byte packets to 192.168.2.100
O ping 192.168.2.100 Sends four 32-byte packets (default) to192.168.2.100
Pinging from an UNIVERGE SV9100 IP Phone
The System IP Phone has a version of ping within the Maintenance Menu.
Hold down help button for 3 sec
Press 3 (Ping)
Enter address
Press OK
The following options are available:
Echo request start: Starts the ping process using the settings in options
2 and 3 below.
Destination address: The target destination IP Address
A successful ping results in: 1.OK 2.OK 3.OK 4.OK Complete
A unsuccessful ping results in: 1.NG 2.NG 3.NG 4.NG Complete

4
Troubleshooting IP on an SV9100 System
Issue 1.0
UNIVERGE SV9100
An example of ping usage:
A UNIVERGE SV9100 IP Phone unsuccessfully attempts to connect to the
UNIVERGE SV9100 system as
shown in Figure 1-2 Ping Usage Example.
Figure 1-2 Ping Usage Example
As seen in Figure 1-2 Ping Usage Example, there are several devices that
could cause a connection problem:
O UNIVERGE SV9100 IP Phone (192.168.1.100)
O Local Hub
O Local Router (192.168.1.1)
O Leased Line
O Remote Router (192.168.2.1)
O Remote Hub
O UNIVERGE SV9100
You will see that by pinging from the System IP Phone and PCs, we can work
out where the problem lies by
process of elimination. We start by pinging the
nearest device and working outward toward the intended
destination.
UNIVERGE
SV9100
192.168.2.
100
Lease
d
Line
IP
Phone
192.16
8.1.100
Default
Gateway
192.168.
1.1
Default
Gateway
192.168.
2.1
Hu
b
Rout
er
Rout
er
Hu
b
PC
192.16
8.1.101

System Maintenance Manual
5
UNIVERGE SV9100
Issue 1.0
Examples:
The UNIVERGE SV9100 IP Phone can successfully ping all devices up to and
including the local router. Anything beyond that point fails. This would suggest that the Leased Line or
remote router has a problem.
O The local PC (192.l68.1.101) can ping all devices except the UNIVERGE
SV9100 IP Phone. The UNIVERGE SV9100 IP Phone can not ping anywhere. This would suggest that there
is a problem with the UNIVERGE SV9100 IP Phone or its connection to the switch/hub.
SECTION 3PACKET TRACES
It is possible to use a packet trace utility (also known as “Sniffers”) to determine what
data is being
transmitted and received on an ethernet network. These can be
particularly useful to determine the cause of
connection issues or voice quality issues.
The packet trace utility has to be run on a PC that is connected to the same hub (not
a switched hub) where
the UNIVERGE SV9100 system or UNIVERGE SV9100 IP Phone is connected.
There are many utilities available that will allow packet trace to be run on a network.
One such utility is
Ethereal. This is a software application distributed under a GNU
general public license
(www.wireshark.org). This allows the files to be captured and
saved in a standard format for analysis later.
A sample trace file is shown in Figure 1-3 Trace File Example on page 1-6.

6
Troubleshooting IP on an SV9100 System
Issue 1.0
UNIVERGE SV9100
Figure 1-3 Trace File Example

System Maintenance Manual
7
System Maintenance
SECTION 1INTRODUCTION
The technician can use this book to troubleshoot and diagnose problems
during and after system
installation. The troubleshooting flow charts and
general test procedures help the technician identify
possible causes of the
problem by defining the problem area.
Using the System Data Upload/Download feature, all System
Programming and Speed Dial data can be stored
on disk for safe keeping.
After all System Programming is completed, it should be downloaded to a
disk for
backup. When system memory fails, this data on the disk can be
uploaded and the memory restored.
SECTION 2 OPERATIONAL TEST PROCEDURES
General Information
When an UNIVERGE SV9100 system is first powered up, an
initialization is performed. During this process the
GCD-CP10 (CPU),
located in the first chassis, scans each interface slot to determine
the hardware
configuration used. This information is stored in the
resident system program memory with the system
default values.
This section provides test procedures that are used before, during,
and after the initialization
process.
Before Initializing
The technician must follow these steps before initializing the
system.
Cable Connections
All wiring for power supplies or flat cable connectors
should be checked for solid connections.
Chapter
2

8
System Maintenance
Issue 1.0
UNIVERGE SV9100
Initialization Check
To determine if the system is initializing correctly, only the first
chassis, GCD-CP10, one GGCD-8DLCA, and
terminals should be
installed on the system. After initialization, all the terminals assigned
to the GGCD-
8DLCA can be used for internal calls to one another. (By
default, these stations are assigned station
numbers 200~207).
System Initialization
Before initialization is performed and verified, the entire system should be
initialized.
With power OFF, all interface and option cards can be installed in the
controlling chassis. The technician
can then power up the system to perform
a First Initialization. After the initialization, each station display
shows default
time and date indications.
For example: 12-2 Fri 10:47 AM
After Initialization
Ensure that the battery is installed in CN15 on the GCD-CP10.
Check all blade slots in software to ensure the initialization process scanned
the installed hardware
correctly.
A general system operation check should be performed using default values
prior to system programming.
After all previous steps are performed and any problems corrected, system
programming is complete.
After System Programming is finished, the technician should perform a
Second Initialization. Performing the
First Initialization a second time causes
all programming memory to be lost. Second Initialization refreshes
the system
RAM without losing any memory.
This completes the installation procedure for the UNIVERGE SV9100 system.
The technician should check
the operation of each Multiline Terminal to
ensure the system is working properly.

System Maintenance Manual
UNIVERGE SV9100
Issue 1.0
3
SECTION 3 TROUBLESHOOTING
Remote Administration and Maintenance
PCPro can remotely access the UNIVERGE SV9100 system for maintenance
and diagnostics. The
remote PC and the system are connected using a
modem on the GCD-CP10 or using IP.
Problem Solving
To find the cause, consider all problem symptoms carefully. As each aspect of
the problem is considered, the
technician is guided to a probable solution.
The problem must be defined as accurately as possible, so that the most
efficient steps to the solution can be
taken. Flowcharts in the next section help
define the problem.
System Down
This term describes one of the following situations:
No access to internal dial tone on any installed Multiline Terminal or
Single Line Telephone.
No LED or display indication on any installed Multiline Terminal.
No system tones are generated.
PartialOperation
This term refers to any situation that cannot be completely described
under the System Down conditions.
Reset
At times, the station and/or the blade must be reset. The following
resets are used in the system:
Terminal Reset –Unplug the station line cord from the station and then
plug it back into the station.
Blade Reset - Unseat the blade and reseat.

Issue 1.0
UNIVERGE SV9100
4
System Maintenance
Flowcharts
Condition
Flowchart
A. System Down
1. No Internal Dial Tone to any
Multiline
Terminal or SLT
A1
2. No LED or Display
Indications on any
Multiline
Terminal
A2
B.
Partial Operations
1. Frequency Interference
B1
2. No or Intermittent CO/PBX
Ring
C1
3. Call Dropping
C2
4. No Outside Dial Tone Access
C3
5. CO/PBX Dialing Problem:
Cannot Dial Out
on CO
C4
C.
Multiline Terminal Problems
1. Multiline Terminal Function
D1
2. Multiline Terminal Ringing
D2
3. Multiline Terminal Dial Tone
Access
D3
D.
Single Line Telephone Problems
1. No Dial Tone Access on SLT
E1
2. Ringing Problem on SLT
E2
3. No Dial Access to SLT
Features
E3
E.
Low Volume Problems
F1
F. External Paging Problems
G1
G.
SMDR Output Problems
No Call Accounting System
H1

System Maintenance Manual
UNIVERGE SV9100
Issue 1.0
5
A1
Correct AC Power
Problem.
Replace
Fuse(s).
Build system, one blade
at a
time until problem
reappears.
Replace
defective blade.
Done.
Yes
Build system
one
blade at a
time and
replace bad
blade(s).
1.
If problem not solved, perform First Initialization
and test. If
trouble persists go to step 2.
2.
Replace GCD-CP10 and test system
using default program.
Replace chassis.
Check AC Input
Power.
Turn system Off. Disconnect all connectors
and
remove all blades except GCD-CP10 and the first
installed GCD-8DLCA in the
controlling chassis
associated with the
programming station.
ReplaceCorresponding
Power
Supply.
Reset CD-8DLCA. If trouble
persists, replace
CD-8DLCA.
No internal Dial Tone to any Multiline Terminal or SLT
chassis panel lit on
GCD-CP10 or any other
blade?
No
Ye
s
Bad
AC Power?
Good
Bad
Dial
Tone
Turn system On.
Dial Tone on Multiline
Terminal on 1st
CD-8DLCA?
MPS7101
Fuses F1 and
F2 good?
Good
No Dial Tone
Yes
Problem
Solved?
Dial tone?
No
Remove all blades but
one GCD-8DLCA, and
retest.
Yes
No
Problem
Solved?
No

Issue 1.0
UNIVERGE SV9100
6
System Maintenance
A2
Correct AC Power
Problem.
Check
Station
Cabling.
Replace
Fuse(s).
Done.
Rebuild System one blade at
a time. If
problem reappears
replace defective
blade(s).
Build system
one
blade at a
time and
replace bad
blade(s).
1.
If problem not solved, perform First Initialization
and test. If
trouble persists go to step 2.
2.
Replace GCD-CP10and test system using
default program.
Replace chassis.
Check AC Input
Power.
Terminate one Multiline Terminal to
controlling
chassis, 1st CD-8DLCA
(Programming Station)
directly to MDF
and test.
Replace Corresponding
Power
Supply.
Reset CD-8DLCA. If trouble
persists,
replace CD-8DLCA.
No LED or Display Indications on any Multiline Terminal
Are LEDs on front of
chassis panel lit on
GCD-
CP10or any other
blade?
No
Yes
Bad
AC Power?
Yes
No
Terminal
Indications?
Turn system Off. Disconnect
connectors; remove all blades
except GCD-CP10and first
installed
CD-8DLCA in
controllingchassis,
associated
with the programming
station.
Good
Bad
MPS7101
Fuses F1 and F2 good?
Good
No Indication
Terminal
Installed
Indication?
Yes
Correct
Indication
Problem
Solved?
Correct
Indications?
No
Remove all blades but
one CD-8DLCA, and retest.
None
Yes
Problem
Solved?
No

System Maintenance Manual
UNIVERGE SV9100
Issue 1.0
7
B1
Telco.
End
End
Is interference only on outside calls
or anytime
station is off-hook?
Remove one CO line
at MDF
and test using
standard SLT.
Check cable for the
affected
terminal(s).
Ground all unused
pairs at
MDF.
Cable with 1-pair twisted
pair
cable.
Frequency Interference (RFI)
Outside calls
RFI Event?
Any off-hook
No
RFI on CO
Lines?
More than 1-pair
Twisted
Yes
pair?
No
No
RFI Cleared?
RFI Cleared?
Yes
Yes
You should investigate the source of the external RFI

Issue 1.0
UNIVERGE SV9100
8
System Maintenance
C1
Done.
Reset/ Replace
G
CD-
4COTA.
Perform the following tests:
1. Measure CO ring voltage with AC meter
(100 Vac 20 Hz) at
the MDF.
2. Perform second initialization
3. Place external ringer in front of system on
worst case CO line.
Check if customer can hear external ringer at times when the
system does not detect ringing on this line.
4. If problem is not solved, perform First
Initialization and
replace CD-CP00.
Test system using default program.
Done.
Replace CAT 5 cable
between
chassis.
Test to see if problem occurs
on one
line or several lines.
CheckPRG22-04toensurethatlineis
programmed to ring on an installed
station.
See if problem occurs on
all
Multiline Terminals
Assigned
Ringing.
Replace one terminal
that has
problems.
Program station for off-hook and
day/night ring, deny DND feature,
and test
again.
Program ring assignment
a
..nd
test.
See if affected lines
can be
isolated to One
G
CD-
4COTA.
Return defective Multiline
Terminal for repair.
Check whether or not
affected lines can be
i
.
solated
to one chassis.
No or Intermittent CO/PBX Ring
One Line
Several Lines
Occurrence?
Yes
All Terminals
Ringing
Assigned?
Occurrence?
Not all terminals
No
Still have
Problem?
Not Cleared
Cleared
Yes
No
Yes
No
End.
Corrected?
Corrected?
Yes
1 GCD-4COTA?
No
No
Yes
Corrected?
Yes
Controlling
Chassis?
No
Other manuals for Univerge SV9100
59
Table of contents
Other NEC IP Phone manuals

NEC
NEC DT310 User manual

NEC
NEC XEN IPK DIGITAL TELEPHONE User manual

NEC
NEC Univerge SV9100 User manual

NEC
NEC Univerge DT820 User manual

NEC
NEC Inaset R2 User manual

NEC
NEC DT830 Series User manual

NEC
NEC DT730 User manual

NEC
NEC IP3AT-8WV(AUSTRALIA) User manual

NEC
NEC Xen Master User manual

NEC
NEC Univerge MH250 User manual

NEC
NEC UNIVERGE DT700 User manual

NEC
NEC Univerge SV9300 User manual

NEC
NEC DT750 User manual

NEC
NEC ITK-32TGCG-1 User manual

NEC
NEC Univerge SV8100 User manual

NEC
NEC I766 DECT User manual

NEC
NEC Xen Master User manual

NEC
NEC Univerge MH250 User manual

NEC
NEC Univerge SV9100 Owner's manual

NEC
NEC UNIVERGE DT830G(DG) User manual