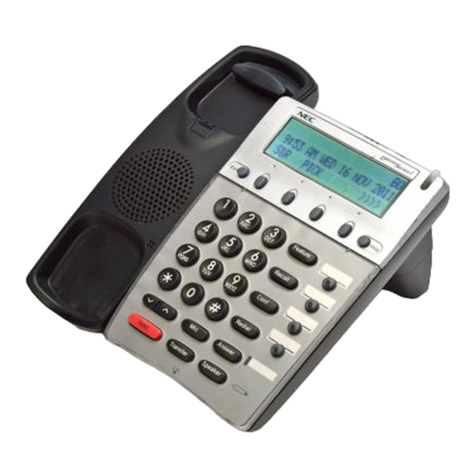
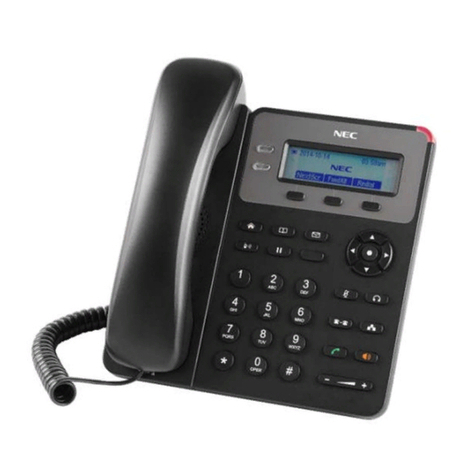
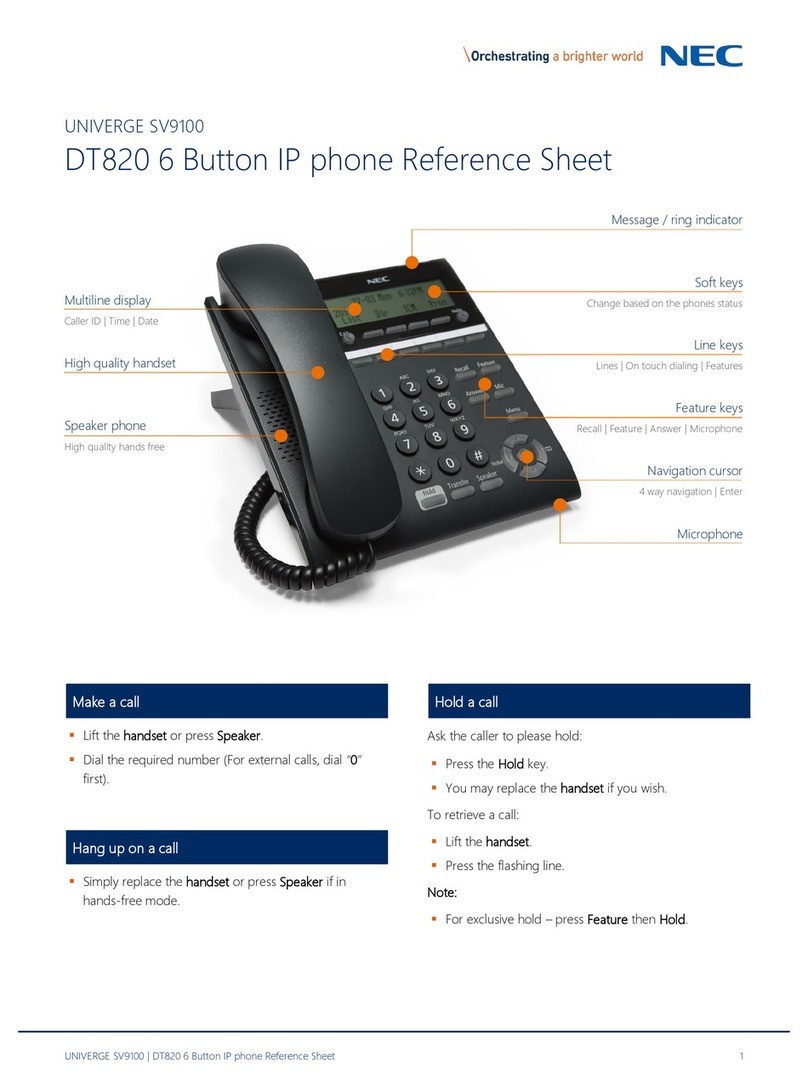
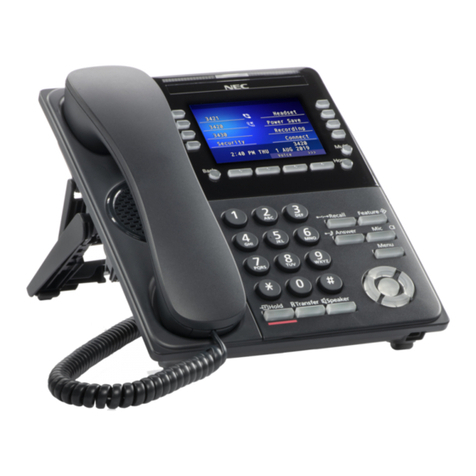
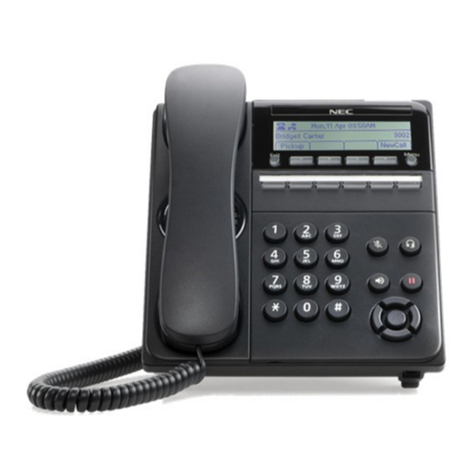
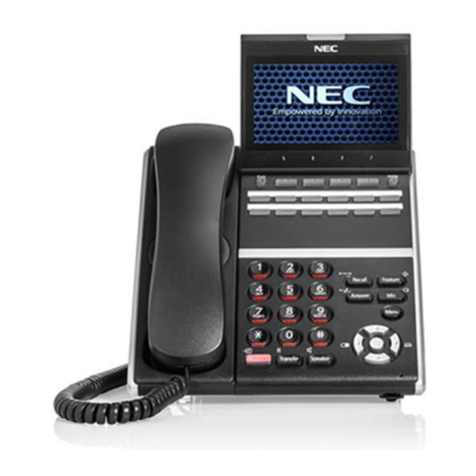
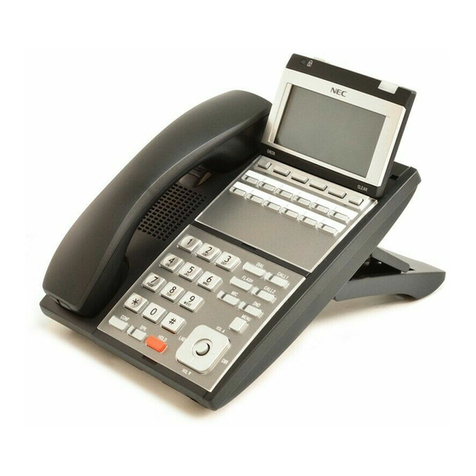
NEC DT830 Series User manual

DT830/DT430/DT410
USER’S GUIDE
NEC Corporation
2014 SEPTEMBER
NWD-172904-001
ISSUE 1.0

LIABILITY DISCLAIMER
NEC Corporation reserves the right to change the specifications, functions,
or features, at any time, without notice.
NEC Corporation has prepared this document for use by its employees and
customers. The information contained herein is the property of NEC Cor-
poration and shall not be reproduced without prior written approval from
NEC Corporation. All brand names and product names on this document
are trademarks or registered trademarks of their respective companies.
Copyright 2014
NEC Corporation

WARNING
For Customers in Australia
Telephone receivers produce magnetic fields that can attract small metallic objects such as pins or staples. To
avoid injury, do not place the handset where such objects can be picked up.

i
TABLE OF CONTENTS
1. INTRODUCTION
FACE LAYOUT ................................................................................... 1
KEYS AND PARTS............................................................................. 6
MENU KEY ......................................................................................... 9
SIMPLE OPERATION BY MENU KEY AND CURSOR KEY.............. 12
DISPLAY............................................................................................. 12
SHORTCUT MENU ............................................................................ 13
PROGRAMMABLE FEATURE KEYS................................................. 15
SOFT KEYS........................................................................................ 17
8LD DISPLAY ..................................................................................... 21
CONDITIONS FOR DT830 SERIES................................................... 24
2.INSTALLATION PROCEDURE
ADJUSTING ANGLE OF TILT LEG.................................................... 25
TO REMOVE TILT LEG...................................................................... 26
TO ATTACH TILT LEG ....................................................................... 26
CONNECTING LAN CABLE ............................................................... 27
CONNECTING LINE CORD ............................................................... 28
CONNECTING AC ADAPTER............................................................ 29
INSTALLING DIRECTORY CARD...................................................... 29
ATTACHING THE HANDSET............................................................. 30
ATTACHING THE HEADSET ............................................................. 30
INSTALLING/REMOVING KEY SET UNIT ....................................... 31
WALL MOUNTING ............................................................................ 32
3.TERMINAL SETUP
SETUP WITH UP/DOWN KEY ........................................................... 35
SETUP WITH FEATURE KEY............................................................ 36
SETUP WITH MENU KEY FOR DT830 SERIES ............................... 40
SETUP WITH MENU KEY FOR DT430 SERIES ............................... 89

ii
TABLE OF CONTENTS
4.BASIC OPERATION
TO LOGIN .......................................................................................... 94
TO LOGOUT ...................................................................................... 95
DISPLAY ENLARGED CHARACTERS ............................................. 95
TO MAKE AN EXTERNAL CALL........................................................ 96
TO MAKE AN INTERNAL CALL ......................................................... 98
TO ANSWER AN EXTERNAL CALL .................................................. 99
TO ANSWER AN INTERNAL CALL ................................................... 101
MULTILINE APPEARANCE................................................................ 102
TO HOLD A CALL ............................................................................. 102
TO PLACE A CALL ON EXCLUSIVE HOLD .................................... 103
TO TRANSFER A CALL ..................................................................... 103
TERMINAL OPERATION USING THE HEADSET ........................... 104
ADUSTING HEADSET RINGER TONE VOLUME ........................... 105
HOW TO USE THE WIRELESS HEADSET ..................................... 105
HOW TO INPUT CHARACTERS ....................................................... 106
SECURITY MODE ............................................................................. 120
EMERGENCY CALL .......................................................................... 122
XML APPLICATION ........................................................................... 123
SCREEN POP-UP ............................................................................. 125
5.FEATURE OPERATION
TO ORIGINATE A CALL USING SELECTIVE DIALING
(DYNAMIC DIAL PAD, PRESET DIAL) .............................................. 128
TO ORIGINATE A CALL USING SPEED CALLING
(ONE-TOUCH SPEED CALLING KEYS)............................................ 129
TO REGISTER NAME ON ONE-TOUCH SPEED CALLING KEY ..... 130
TO ORIGINATE A CALL USING SPEED CALLING
- STATION/GROUP ........................................................................... 132
TO ORIGINATE A CALL USING SPEED CALLING - SYSTEM......... 132

iii
TABLE OF CONTENTS
ACCOUNT CODE ............................................................................. 133
FORCED ACCOUNT CODE............................................................... 134
AUTHORIZATION CODE ................................................................... 134
VOICE CALL ..................................................................................... 134
TO ANSWER A VOICE CALL HANDS FREE .................................. 135
AUTOMATIC INTERCOM................................................................... 136
MANUAL INTERCOM......................................................................... 137
DIAL INTERCOM .............................................................................. 138
CONFERENCE ................................................................................. 139
TO ESTABLISH A BROKER CALL..................................................... 139
TO ANSWER A CAMPED-ON CALL.................................................. 139
CALL WAITING - ORIGINATING........................................................ 140
CALL PARK ...................................................................................... 142
CALL PICK-UP (GROUP)................................................................... 143
CALL PICK-UP (DIRECT)................................................................... 143
OUTGOING TRUNK QUEUING ......................................................... 144
OFF-HOOK TRUNK QUEUING.......................................................... 144
EXECUTIVE OVERRIDE.................................................................... 144
LAST NUMBER REDIAL .................................................................... 145
REDIAL ............................................................................................... 145
CALL FORWARDING - ALL CALLS ................................................... 147
CALL FORWARDING - BUSY LINE ................................................... 149
CALL FORWARDING - DON’T ANSWER .......................................... 150
LOGGED OUT IP STATION - CALL DESTINATION ......................... 151
CALL BACK ...................................................................................... 153
TO SAVE AND REPEAT A NUMBER ................................................ 153
TO LEAVE A MESSAGE .................................................................... 154
TO ANSWER A MESSAGE ................................................................ 155
VOICE MAIL SYSTEM........................................................................ 156
iv
TABLE OF CONTENTS
MEET-ME PAGING ............................................................................ 156
PAGING TRANSFER.......................................................................... 157
BOSS/SECRETARY TRANSFER....................................................... 158
BOSS/SECRETARY - MW LAMP CONTROL .................................. 159
BOSS SECRETARY OVERRIDE ....................................................... 160
DO NOT DISTURB ........................................................................... 161
CALL REDIRECT .............................................................................. 162
PRIVACY .......................................................................................... 163
PRIVACY RELEASE........................................................................... 164
PHONEBOOK ................................................................................... 165
CALL HISTORY ................................................................................ 175
6.DIRECTORY OPERATION
TO ADD NEW DATA ......................................................................... 179
TO CHANGE GROUP NAME ............................................................ 187
TO FIND REGISTERED DATA........................................................... 189
TO MAKE A CALL FROM DIRECTORY............................................. 203
TO ADD PREFIX TO NUMBER ......................................................... 204
TO EDIT DIRECTORY DATA ............................................................ 207
TO DELETE ALL DATA ..................................................................... 208
TO DELETE SPECIFIC DATA ........................................................... 209
7.CALL HISTORY OPERATION
FOR DT830 SERIES ........................................................................... . 211
TO VIEW CALL HISTORY ................................................................. 211
TO MAKE A CALL FROM CALL HISTORY ....................................... 212
TO ADD CALL HISTORY DATA TO DIRECTORY ............................ 213
TO EDIT DIRECTORY DATA FROM CALL HISTORY ...................... 215
TO DELETE ALL DATA ..................................................................... 218
TO DELETE SPECIFIC DATA ........................................................... 219

v
TABLE OF CONTENTS
FOR DT430 SERIES ........................................................................... . 220
TO VIEW CALL HISTORY ................................................................. 220
TO MAKE A CALL FROM CALL HISTORY ....................................... 223
TO DELETE ALL DATA ..................................................................... 224
TO DELETE SPECIFIC DATA ........................................................... 225
8.SPECIFICATIONS
TECHNICAL SPECIFICATIONS......................................................... 226
9.MENU LIST
MENU LIST FOR DT830 SERIES ...................................................... 228
MENU LIST FOR DT430 Series ......................................................... 237
10.WEB PROGRAMMING
OUTLINE ............................................................................................ 238
TO LOGIN........................................................................................... 239
TO LOGOUT....................................................................................... 241
HOW TO OPERATE ........................................................................... 243
11.OPTION DEVICES
SMART DEVICE INTEGRATION ....................................................... 244
TERMINAL MODE .............................................................................. 247
OTHER FEATURES ........................................................................... 250

1
1.
1. INTRODUCTION
FACE LAYOUT
ITZ-8LD-3 (DT830 Series) DTZ-8LD-3 (DT430 Series)
1
2
ABC
3
DEF
4
GHI
5
JKL
6
MNO
7
PQRS
8
TUV
9
WXYZ
0
#
Menu
HOLD Transfer Speaker
Recall Feature
Answer Mic
Scroll
Exit Help
Redial
1
2
ABC
3
DEF
4
GHI
5
JKL
6
MNO
7
PQRS
8
TUV
9
WXYZ
0
#
Menu
HOLD Transfer Speaker
Recall Feature
Answer Mic
Scroll
Exit Help
Redial

2
1.
ITZ-8LDG-3 (DT830 Series) ITZ-24D-3 (DT830 Series)
1
2
ABC
3
DEF
4
GHI
5
JKL
6
MNO
7
PQRS
8
TUV
9
WXYZ
0
#
Menu
HOLD Transfer Speaker
Recall Feature
Answer Mic
Scroll
Exit Help
Redial
1
2
ABC
3
DEF
4
GHI
5
JKL
6
MNO
7
PQRS
8
TUV
9
WXYZ
0#
Menu
HOLD Transfer Speaker
Recall Feature
Answer Mic
Exit Help
Redial

3
1.
DTZ-24D-3 (DT430 Series) ITZ-12D-3 (DT830 Series)
1
2
ABC
3
DEF
4
GHI
5
JKL
6
MNO
7
PQRS
8
TUV
9
WXYZ
0#
Menu
HOLD Transfer Speaker
Recall Feature
Answer Mic
Exit Help
Redial
1
2
ABC
3
DEF
4
GHI
5
JKL
6
MNO
7
PQRS
8
TUV
9
WXYZ
0
#
Menu
HOLD Transfer Speaker
Recall Feature
Answer Mic
Exit Help
Redial

4
1.
DTZ-12D-3 (DT430 Series) DTZ-6DE-3 (DT410 Series)
1
2
ABC
3
DEF
4
GHI
5
JKL
6
MNO
7
PQRS
8
TUV
9
WXYZ
0
#
Menu
HOLD Transfer Speaker
Recall Feature
Answer Mic
Exit Help
Redial
1
2
ABC
3
DEF
4
GHI
5
JKL
6
MNO
7
PQRS
8
TUV
9
WXYZ
0
#
HOLD Transfer Speaker
Exit Help
Recall Feature
Redial Conf
Directory
Mic
Message
Answer

5
1.
DTZ-2E-3 (DT410 Series)
1
2
ABC
3
DEF
4
GHI
5
JKL
6
MNO
7
PQRS
8
TUV
9
WXYZ
0
#
HOLD Transfer Speaker
Recall
Feature
Redial Conf
Directory
Mic
Message
Answer

6
1.
KEYS AND PARTS
• KEYS AND PARTS ON ITZ-24D-3
This subsection explains keys and parts of DT Series
taking ITZ-24D-3 as an example.
(1) Call Indicator Lamp
Lamp at the top corner of DT Series Display
flashes when a call terminates to the terminal.
Also, when Voice Mail service is available, the
Lamp lights to indicate there has been a message.
(2) LCD
LCD (Liquid Crystal Display) provides DT Series
activity information plus date, time and Soft Key
Operation.
(3) Exit
To exit Menu or Help mode and go back to the
time display.
(4) Soft Keys
Any feature shown at the bottom of the LCD is
available. The appropriate feature key is displayed
on the screen according to the call handling pro-
cess.
(5) Help
Explanations of the Soft Keys can be called up on
the LCD by pressing this key.
(6) Programmable Keys
These keys can be programmed as Flexible Line
key/Programmable Feature Key by Telephony
Server Administrator.
When Telephony Server Administrator sets “One-
Touch Speed Dial key” on the programmable keys,
you can assign any numbers (ex. Telephone num-
ber, etc.) to the key (up to 32 digits).
* For the assignment of the keys, contact your
Telephony Server Administrator.
1
2
ABC
3
DEF
4
GHI
5
JKL
6
MNO
7
PQRS
8
TUV
9
WXYZ
0
#
Menu
HOLD Transfer Speaker
Recall Feature
Answer Mic
Exit Help
Redial
(15) (14) (13)
(2)
(3)
(5)
(4)
(6)
(7)
(8)
(9)
(10)
(11)
(12)
(1)

7
1.
** When two telephone numbers are assigned on
A side and B side of “One-Touch Speed Dial key”,
you can switch the side by Page key (Soft key).
(7) Recall
Press key to finish the call and hear the dial tone.
(8) Feature
Used to activate any features as terminal setup
functions, etc. and to program One-Touch Speed
Dial Keys.
(9) Answer
When LED on this key is lit, press key to answer a
waiting call.
(10) Mic
Press key to respond hands free. LED on this key
lights during speaker phone operation.
(11) Menu
To access the local menu of DT830 Series, such
as Call History, Directory or Terminal Setting.
(12) Cursor
By using this key, DT Series user can access to
various features with simple operation.
Details on Cursor key
(a) Up/Down
(DOWN UP)
Used to adjust LCD contrast, speaker/receiver vol-
ume, and ringer volume.
• LCD Contrast:
Press ( ) or ( ) key while idle.
• Speaker/Receiver Volume:
Press ( ) or ( ) key during conversation.
• Ringer Volume:
Press ( ) or ( ) key during ringing.
(b) Redial
(Last Number Call, Speed Calling-Station/Group)
Press key to activate redial feature. Press redial
and scroll back through numbers that have been
dialed. When the desired number is displayed,
press the or # key to activate dialing.
(c) Directory
Pressing this key opens Directory menu. For
details on Directory service, see 6.DIRECTORY
OPERATION.
Note:
A-law Countries [Europe, Australia, Russia, Latin
America, Middle Near East, other Asian nations]: #
µ-law Countries [North America, Japan, Hong
Kong, Taiwan]:
Enter Key
(4-way Scroll DOWN key)
(4-way Scroll RIGHT key)
Directory key
(4-way Scroll UP key)
(4-way Scroll LEFT key)
Redial key
Volume (UP) key
Volume (DOWN) key
(a)
(b)
(a)
(c)
(d)

8
1.
(d) Enter
DT830 Series/DT430 Series has shortcut menu for
frequently-used features. Use this key to display
the shortcut menu (see SHORTCUT MENU) and
determine the selected item in the menu.
Also, this key is used as cursor-movement key on
the Menu screen.
(13) Speaker
Controls the built-in speaker which can be used for
Hands Free dialing/monitoring.
LED on key lights when key is active.
(14) Transfer
Allows the station user to transfer established calls
to another station, without attendant assistance.
(15) Hold
Press this key to place an internal or external call
on hold.
• THE OTHER KEYS AND PARTS
Redial (only for DTZ-2E-3 and DTZ-6DE-3)
(Last Number Call, Speed Calling-Station/Group)
Press key to activate redial feature. Press redial
and scroll back through numbers that have been
dialed.
When the desired number is displayed,
press the or # key to activate dialing.
Conf (only for DTZ-2E-3 and DTZ-6DE-3)
Press key to establish a conversation. LED on key
lights when key is active.
Up Move the highlighted area one line up
the screen.
Down Move the highlighted area one line
down the screen.
Left Go back to the previous screen.
Right Go to the screen which corresponds to
the highlighted menu item.
Enter Go to the screen which corresponds to
the highlighted menu item.
Note:
DT830/DT430 support for full duplex hands-free
mode. DT410 is half duplex hands-free mode.
Note:
A-law Countries [Europe, Australia, Russia, Latin
America, Middle Near East, other Asian nations]: #
µ-law Countries [North America, Japan, Hong
Kong, Taiwan]:

9
1.
Directory (only for DTZ-2E-3 and DTZ-6DE-3)
Press key to activate speed calling - system fea-
ture.
Message (only for DTZ-2E-3 and DTZ-6DE-3)
Press key to access the voice mail system.
Up/Down (only for DTZ-2E-3 and DTZ-6DE-3)
(DOWN UP)
Used to adjust LCD contrast, speaker/receiver vol-
ume, and ringer volume.
• LCD Contrast:
Press ( ) or ( ) key while idle.
• Speaker/Receiver Volume:
Press ( ) or ( ) key during conversation.
• Ringer Volume:
Press ( ) or ( ) key during ringing.
MENU KEY
From the key, you can use various application
features such as Directory and Call History.
To Display Menu List
STEP 1: Press key while indicating the current
time on LCD. The Menu List is displayed in
LCD. Use Cursor Key to select desired Menu
Item. You can also select the Menu Item di-
rectly using digit keys.
Main Menu for DT830 Series without XML
application
Menu
Menu
History
Directory
Setting
Phone

10
1.
Main Menu for DT830 Series with XML application
Menu Item Digit key
to select Description
History
To view Call History. There
are two types of Call History
features. On the one hand,
the history data is stored in
the server (system) memory.
On the other hand, the history
data is stored in the memory
of the telephone (see 7.1FOR
DT830 SERIES in chapter 7
Call History Operation).
Directory
To use Directory
features.There are the
following three types of
directory features.
• Personal Directory: Con-
trolled by telephone set. For
details, see 6.DIRECTORY
OPERATION.
• Phonebook: Controlled
by the system. For details,
see PHONEBOOK in chap-
ter 5.
• Corporate Directory:
Controlled by the external
XML server. For details,
please contact the system
administrator.
History
Directory
Setting
Portal
Service
1
2
Service
To access external XML
server. For details, please
contact the system
administrator.
Note: This icon appears only
when XML service is used.
Setting
To control settings for ringing
volume, LCD display, and
Music on Hold.
For details, see SETUP
WITH MENU KEY FOR
DT830 SERIES.
Phone To switch from Main Menu to
the Portal screen or Phone
screen (time indication
screen).
• When Home URL is reg-
istered, Portal icon ap-
pears.
• When Home URL is not
registered, Phone icon ap-
pears.
For details, please contact
the system administrator.
Portal
XML-1
To display XML application 1
screen. History or Directory
screen being used is treated
as an application. This icon is
displayed when an XML
application starts with a new
window.
XML-2
To display XML application 2
screen. This icon is displayed
when an XML application
starts with a new window.
Menu Item Digit key
to select Description
3
4
5
6
7

11
1.
Main Menu for DT430 Series
XML-3
To display XML application 3
screen. This icon is displayed
when an XML application
starts with a new window.
Phone Soft Key 1 To switch from application
screen to phone screen
(Time Indication screen).
Home Soft Key 2
XML application screen
registered in the home URL is
displayed. When the home
URL is not registered, Home
URL icon is not displayed.
Return Soft Key 4 To close the main menu and
go back to the previous
screen.
Note:
A Portal screen is the home (entrance) screen of
the phone. When you use multiple XML applica-
tions, the URL that is registered as the home
URL is the Portal screen: this is where other XML
applications can be accessed.
Menu Item Digit key
to select Description
8
Menu Item Description
Call History To view Call History. For details, see
7.2FOR DT430 SERIES in chapter 7Call
History Operation.
Directory To use Phonebook function. For details,
see PHONEBOOK in Chapter 5.
Setting
To control settings for ringing volume, LCD
display.
For details, see SETUP WITH MENU KEY
FOR DT430 SERIES.
Note:
DTZ-6DE-3/DTZ-2E-3 does not have Menu key.
Note:
Unavailable Menu items are grayed out.
1
2
[Menu]
3
OKBack
Settings
Directory
Call History
1
2
3

12
1.
SIMPLE OPERATION BY MENU KEY
AND CURSOR KEY
By using key and key, DT Series user can
access Call History, Directory and terminal settings
with simple operation.
As an example, the following operations show how to
access the Directory menu.
DISPLAY
The LCD of DT830 Series/DT430 Series displays
Desktop Icons which provide notification when events
(such as missed call and voice mail) occur.
Menu
GHI
9
WXYZ
#
Menu
Speaker
Answer Mic
Redial
Press Menu key
Press Directory key
2 Directory
1 Hisotry
[Menu]
2 System
1 Personal
[Directory]
3 Tool
Up Down Back OK
Up Down Back OK
Up Down Back OK
Feature Icon Description
Missed Call
This icon appears when there is a
missed call. Once you have checked
the missed call, this icon will
disappear.
Voice Mail
This icon provides notification of
received Voice Mail. Once you have
checked the Voice Mail, this icon will
disappear.
Bluetooth
This icon appears when a cordless
handset or Bluetoothadapter
(BCA-Z) is connected to DT830
Series/DT430 Series.
Power Save This icon appears when the terminal
is in a power save mode. This icon is
displayed for DT830 Series only.
Cursor This icon indicates the currently
available direction of the Cursor key.
4:26 PM MON 22 SEP 2014
Icon Display
NoDist
>>>
Mic
VM
Ken Kobus [31300 ]
My Line Information
(Name and Station Number)
Other manuals for DT830 Series
1
This manual suits for next models
11
Table of contents
Other NEC IP Phone manuals

NEC
NEC UX5000 User manual

NEC
NEC Aspire User manual

NEC
NEC Dterm Series i User manual

NEC
NEC Univerge SV9100 User manual

NEC
NEC ITK-32LCGS-1 User manual

NEC
NEC GT200 User manual

NEC
NEC UNIVERGE Aspire UX Assembly instructions

NEC
NEC Univerge DT820 Reference guide

NEC
NEC ITK-6DGS-1 Guide

NEC
NEC DT430 Series Reference guide

NEC
NEC Xen Master User manual

NEC
NEC Univerge SV9100 User manual

NEC
NEC SL1100 Instruction manual

NEC
NEC Univerge SV8100 User manual

NEC
NEC DT310 Reference guide

NEC
NEC Univerge SV9300 User manual

NEC
NEC Univerge SV9100 User manual

NEC
NEC Univerge DT820 Instruction manual

NEC
NEC DT710 Instruction manual

NEC
NEC Inaset R2 User manual