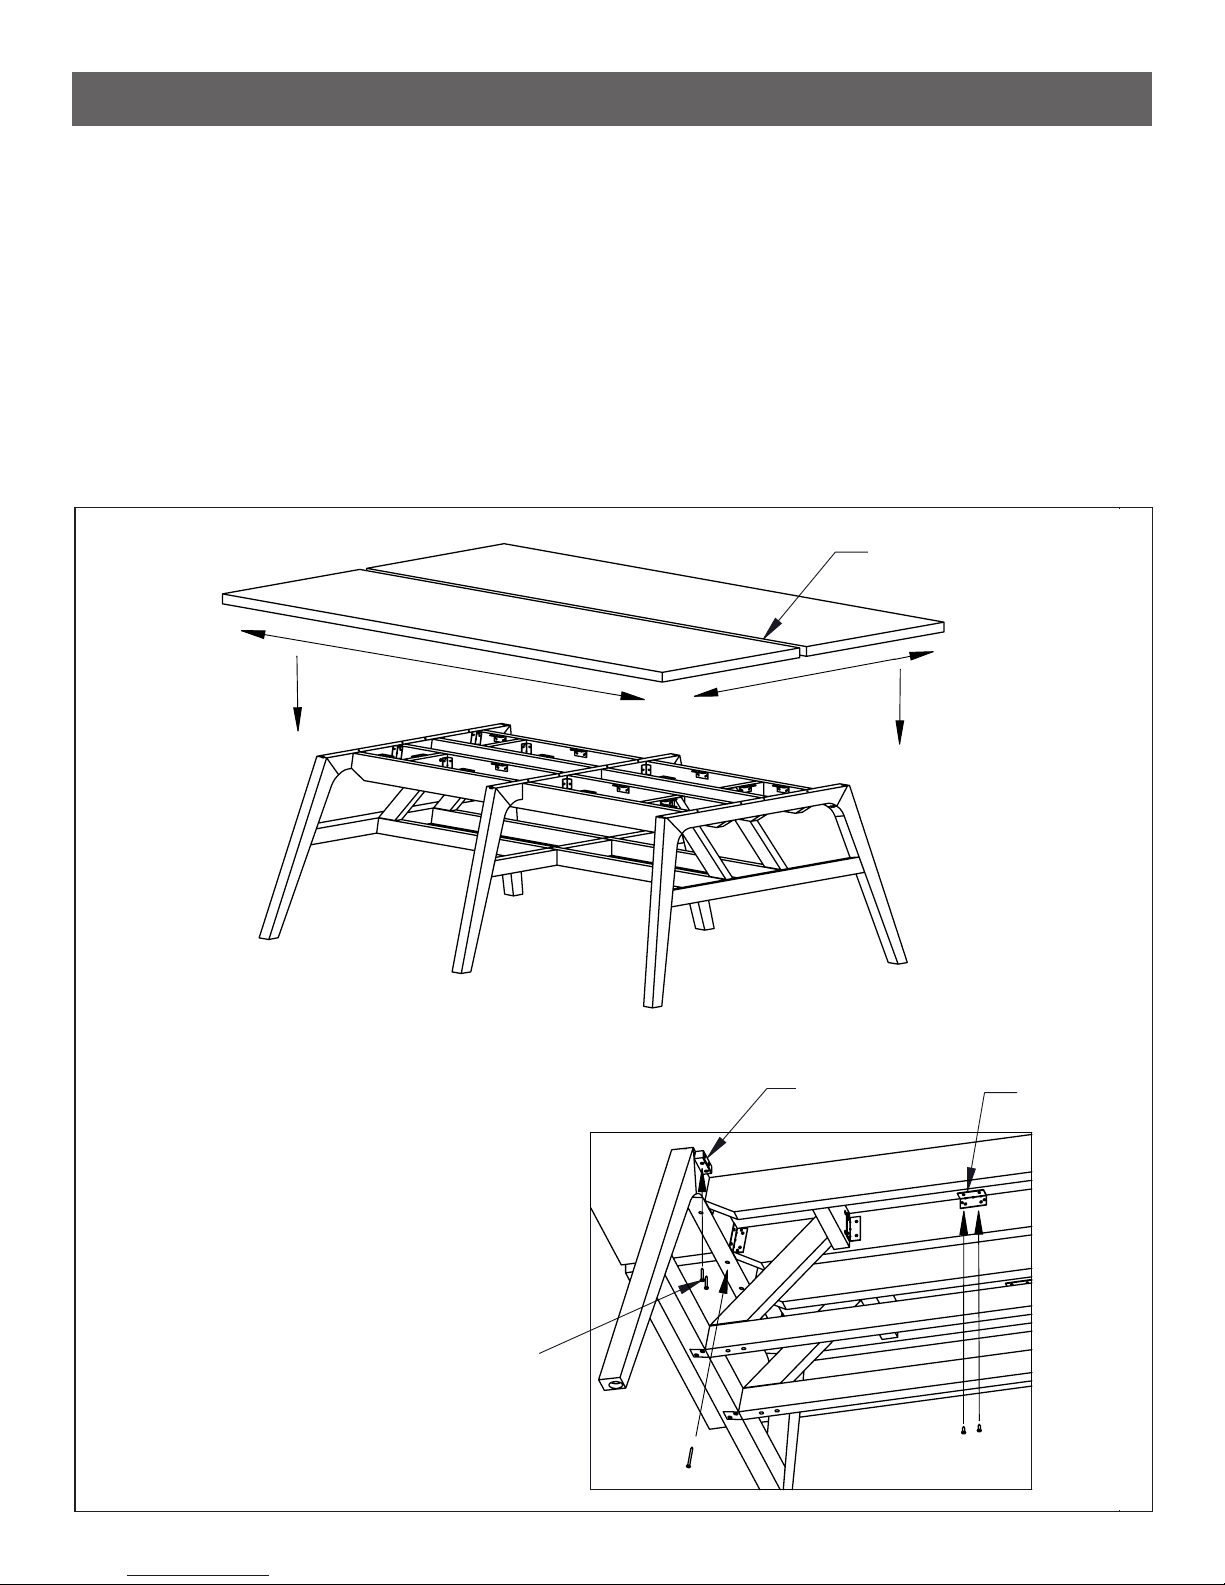
Ofs Riff User manual
Other Ofs Indoor Furnishing manuals


Ofs
Ofs Staks benching assembly User manual

Ofs
Ofs Zero User manual

Ofs
Ofs Edward Jones BOA User manual

Ofs
Ofs ELEVEN COLLABORATIVE User manual

Ofs
Ofs Kintra User manual

Ofs
Ofs Obeya User manual

Ofs
Ofs Kintra User manual

Ofs
Ofs LeanTo User manual

Ofs
Ofs Electric Height Adjustable Tables User manual

Ofs
Ofs ELEVEN WOOD User manual


Popular Indoor Furnishing manuals by other brands


Coaster
Coaster 4799N Assembly instructions

Stor-It-All
Stor-It-All WS39MP Assembly/installation instructions

Lexicon
Lexicon 194840161868 Assembly instruction

Next
Next AMELIA NEW 462947 Assembly instructions

impekk
impekk Manual II Assembly And Instructions

Elements
Elements Ember Nightstand CEB700NSE Assembly instructions