manuals.online logo
Brands
  1. Home
  2. •
  3. Brands
  4. •
  5. Perma
  6. •
  7. Lubrication System
  8. •
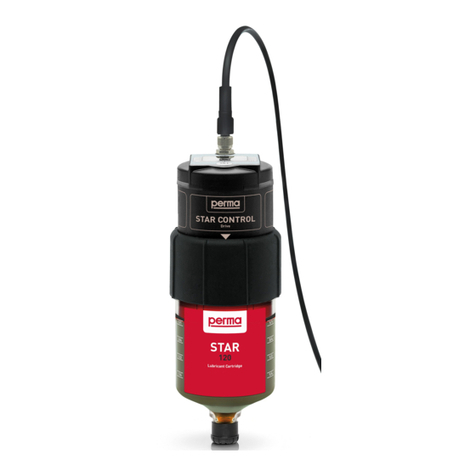
  9. Perma STAR CONTROL User manual

Perma STAR CONTROL User manual

2
1…
7
01/2022
07/2022
360°
www.perma-tec.com
perma STAR CONTROL - Quick Start Guide
1. Predefi ne installation / Select lubricant, discharge period + connecting parts
2. Prepare lube-point
Clean lube-point Remove grease fi tting Add reducer, support fl ange
and tubes (if required)
For remote mounting:
Prefi ll lube-point and any grease lines / connections
(use the same grease that is contained in the lubrication system)
For direct mounting:
Prefi ll lube-point and any connecting parts
(use the same grease that is contained in the lubrication system)
3. Activation / Installation of lubrication system
Pressure check: Lube-point / all connecting parts
2022/01 · Version: 1.2 · en
Select a suitable lubricant
for perma STAR LC unit
→ e. g. perma Multipurpose grease SF01
Select discharge period
→ e. g. with perma SELECT APP
(refer to our product catalog for details)
Possible mounting positions:
(Oil fi lled LC
+/- 45°)
Assemble drive
and LC
Tighten threaded ring hand tight until
the white triangle is completely visible
Note activation /
exchange date
on label
Confi guration can be
found on the back page Remove plug
Connect the cable to the
drive by screwing it on
Remove cap and screw
the lubrication system into
the lubrication point
Reducer
Remote mounting for lube-points with vibration,
limited mounting space, high temperature
Direct mounting
Examples: Bearing lubrication
Mounting bracket
STAR Standard Duty
1-point G1/4 female
(109663) Hose connector G1/4 male for
hose iØ 9.5 mm - push-lock
(101554)
Heavy Duty hose up to
+100 °C oØ 16 mm x iØ 9.5 mm
(101555)
Hose connector G1/4 male for
hose iØ 9.5 mm - push-lock
(101554)
Support fl ange STAR
G1/4 male x G1/4 female
(109420)
Support fl ange STAR
Reducer
Add sealant
(e. g.
Loctite® 243™)
LC120
MODE
cm³/Impulse
IMPULSE
/Impulse
/Impulse
/Impulse
cm
cm
cm
/Impulse
/Impulse
/Impulse
IMPULSE
IMPULSE
IMPULSE
IMPULSE
IMPULSE
IMPULSE
IMPULSE
MODE
IMPULSE
MODE
IMPULSE
MODE
IMPULSE
IMPULSE
IMPULSE
LC120
MODE
Month
TIME
Month
Month
Month
TIME
TIME
MODE
MODE
TIME
MODE
TIME
TIME
TIME
TIME
TIME
SET
MODE
◄
TIME
MODE
►
IMPULSE
IMPULSE
IMPULSE
3
4
1
2
1 + V DC
2 OK
3 GND
4 Err
210 0 1
40101
OK/ Err Err LC 2101
40 0 1
OK/ Err Err/LC
LC60
LC120
LC250
LC500
MODE
TIME
500
L
L
TIME
L
L
L
L
L
TIME
L
L
L
L
L
TIME
L
L
TIME
L
L
L
L
L
L
L
L
L
L
L
L
TIME Mode
Electrical connection Signal output Connection in parallel
IMPULSE Mode
www.perma-tec.com/star-control-parallel-wiring
HINT
Wiring diagram for 4 perma STAR CONTROL
OR
Confi guration
Electrical connection
Quick Reference
Feature Description
Power supply Power supply is indicated by the plug symbol in the display.
Purge
Access the purge feature by holding down the SET button for 10 seconds. Release
the button when “PU” appears and the purge will start automatically and show the
“PU” LCD display. The green LED will fl ash. The purge cycle runs for 3 complete
revolutions of the drive spindle to deliver around 6 cm³ of grease. It can be stopped
at any time by pushing the SET button once.
Normal operation:
- Green LEDs fl ash every 7 seconds
- LCD screen displays Time / Impulse setting & volume
Run cycle (lubricant being delivered):
- Green LED’s fl ash every second
- LCD screen displays “ru”
Empty Lubricant Cartridge (LC):
- Red LED’s double fl ash every 2 seconds
- LCD screen displays “LC”
Blockage / Back Pressure Overload (OL):
- Red LED’s double fl ash every 7 seconds
- LCD screen displays “OL”
Purge (PU):
- Green LED’s fl ash every second
- LCD screen displays “PU”
L
C120
◄
cm³
/100 h
Month
TIME
L
C1
L
C1
L
C1
L
L
L
L
L
TIME
TIME
L
L
L
L
L
L
L
◄
TIME
TIME
TIME
TIME
◄
L
C120
◄
cm³
/100 h
Month
TIME
L
C1
L
C1
L
C1
L
L
L
L
L
TIME
TIME
L
L
L
L
L
L
L
◄
TIME
TIME
TIME
TIME
◄
LED Light & LCD
Screen combinations
9-30 V OUTPUT
Set the LC size by
pressing the SET button
(60, 120, 250, 500 cm³)
Hold down SET button for 5 s; Select
desired mode („TIME“ & „IMPULSE“)
by pressing the SET button
Set the discharge period by
pressing the SET button
(1-12 months; 1-26 weeks → only 500 cm³)
Set the discharge volume per
impulse by pressing the SET button
(0,1 - 9,5 cm³)

Other Perma Lubrication System manuals
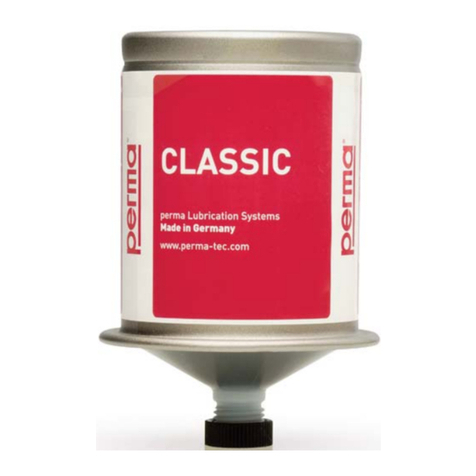
Perma CLASSIC User manual

Perma

Perma CLASSIC User manual

Perma NOVA 125 User manual

Perma

Perma NOVA 125 User manual

Perma PRO 250 Manual

Perma

Perma PRO 250 Manual

Perma NOVA 125 User manual

Perma

Perma NOVA 125 User manual

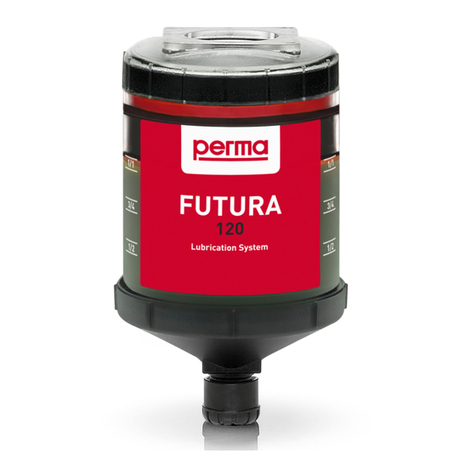
Perma FUTURA User manual

Perma

Perma FUTURA User manual

Perma FLEX 60 User manual

Perma

Perma FLEX 60 User manual

Perma PRO 250 User manual

Perma

Perma PRO 250 User manual

Perma FUTURA SF01 User manual

Perma

Perma FUTURA SF01 User manual

Perma FUTURA PLUS User manual

Perma

Perma FUTURA PLUS User manual

Perma PRO 500 Quick guide

Perma

Perma PRO 500 Quick guide

Perma FUTURA 120 User manual

Perma

Perma FUTURA 120 User manual

Perma FLEX 60 User manual

Perma

Perma FLEX 60 User manual

Perma FLEX Series User manual

Perma

Perma FLEX Series User manual

Perma ECOSY 5 Quick guide

Perma

Perma ECOSY 5 Quick guide

Perma STAR VARIO Owner's manual

Perma

Perma STAR VARIO Owner's manual

Perma Classic 120 User manual

Perma

Perma Classic 120 User manual

Perma CLASSIC User manual

Perma

Perma CLASSIC User manual

Perma STAR CONTROL User manual

Perma

Perma STAR CONTROL User manual

Perma STAR VARIO User manual

Perma

Perma STAR VARIO User manual

Perma CLASSIC User manual

Perma

Perma CLASSIC User manual

Perma Classic 120 User manual

Perma

Perma Classic 120 User manual

Perma Star Control Time User manual

Perma

Perma Star Control Time User manual

Perma CLASSIC Series User manual

Perma

Perma CLASSIC Series User manual

Perma star LC 60 User manual

Perma

Perma star LC 60 User manual

Popular Lubrication System manuals by other brands
Scottoiler eSystem operating guide

Scottoiler

Scottoiler eSystem operating guide

Lincoln 549 instructions

Lincoln

Lincoln 549 instructions

Pulsarlube ML500 manual

Pulsarlube

Pulsarlube ML500 manual

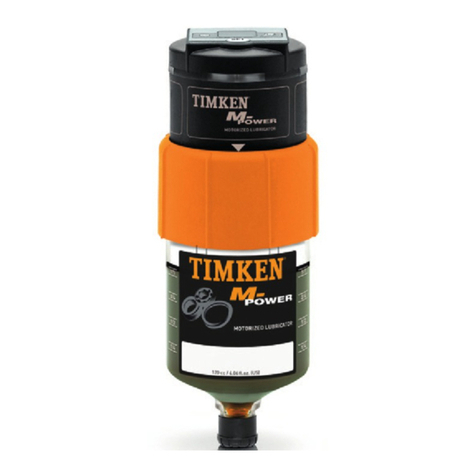
Timken M-Power operating instructions

Timken

Timken M-Power operating instructions

Lincoln Quicklub 203 Series owner's manual

Lincoln

Lincoln Quicklub 203 Series owner's manual

GUDEL FlexxPump4 N operating manual

GUDEL

GUDEL FlexxPump4 N operating manual

Bijur Delimon SureFire II Quick start manual

Bijur Delimon

Bijur Delimon SureFire II Quick start manual

Bijur Delimon V5 quick start guide

Bijur Delimon

Bijur Delimon V5 quick start guide

MIRCONA MINIBOOSTER instructions

MIRCONA

MIRCONA MINIBOOSTER instructions

Lincoln 4100 installation instructions

Lincoln

Lincoln 4100 installation instructions

Whitmore LUBRICURVE ELECTRO 5 Installation & maintenance manual

Whitmore

Whitmore LUBRICURVE ELECTRO 5 Installation & maintenance manual

SKF TLGU 10 Instructions for use

SKF

SKF TLGU 10 Instructions for use

Graco 24W633 instructions

Graco

Graco 24W633 instructions

ABB ZSD 2020 OVERHAUL INSTRUCTIONS

ABB

ABB ZSD 2020 OVERHAUL INSTRUCTIONS

BEROTEC Mofessor manual

BEROTEC

BEROTEC Mofessor manual

AUTOL ALP01 Series installation manual

AUTOL

AUTOL ALP01 Series installation manual

SKF UFD20 Series Assembly instructions

SKF

SKF UFD20 Series Assembly instructions

Aventics NL1 operating instructions

Aventics

Aventics NL1 operating instructions

manuals.online logo
manuals.online logoBrands
  • About & Mission
  • Contact us
  • Privacy Policy
  • Terms and Conditions

Copyright 2025 Manuals.Online. All Rights Reserved.