manuals.online logo
Brands
  1. Home
  2. •
  3. Brands
  4. •
  5. REH4MAT
  6. •
  7. Personal Care Product
  8. •
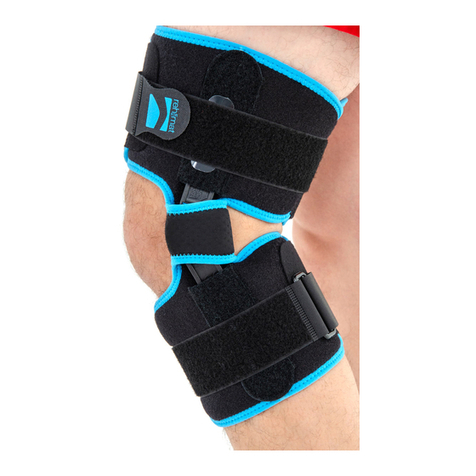
  9. REH4MAT COMPLEX/2R DUAL User manual

REH4MAT COMPLEX/2R DUAL User manual

KOD KATALOGOWY COMPLEX/2R DUAL
NAZWA HANDLOWA ORTEZA KOŃCZYNY DOLNEJ
MODEL COMPLEX/2R DUAL
CODE COMPLEX/2R DUAL
TRADE NAME LOWER-EXTREMITY SUPPORT
MODEL COMPLEX/2R DUAL
(D)
(B)
(2)
(A)
(C)
8X
A. Elementy ortezy kończyny dolnej
Elements of the lower limb orthosis
B. Dodatkowe elementy opasek
Additional elements of the bands
C. Stopa z włókna węglowego
Carbon foot-drop brace
D. Kosz biodrowy / Hip basket
E. Osłony szyny / Splint covers
F. Szyny biodrowe z pasami
Hip splints with additional belts
G. Klucz imbusowy / Allen key
(B)
(3)
2. PL: Załóż ortezę na nogi i zapnij opaski na rzepy
(2,3). Jeśli istnieje potrzeba, skoryguj
ustawienia szyn bocznych.
EN: Put the brace on your legs and close the
Velcro fasteners (2,3). If necessary, adjust
the side splints.
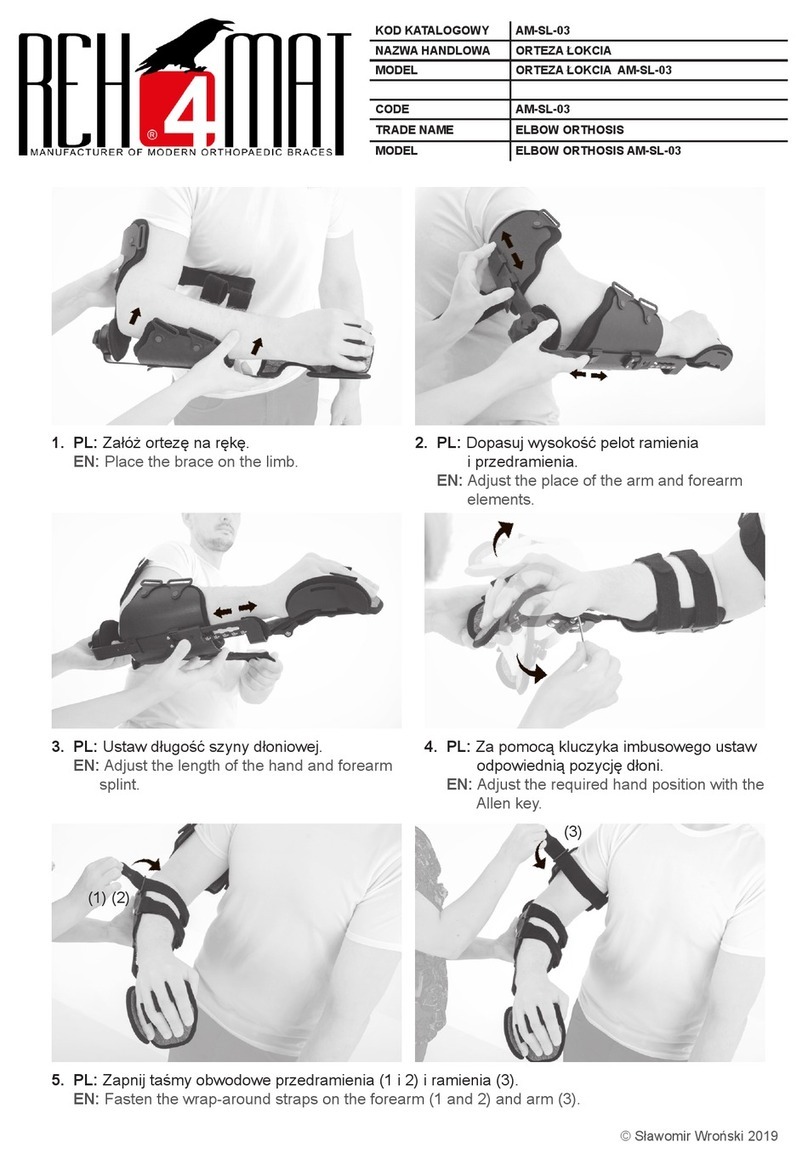
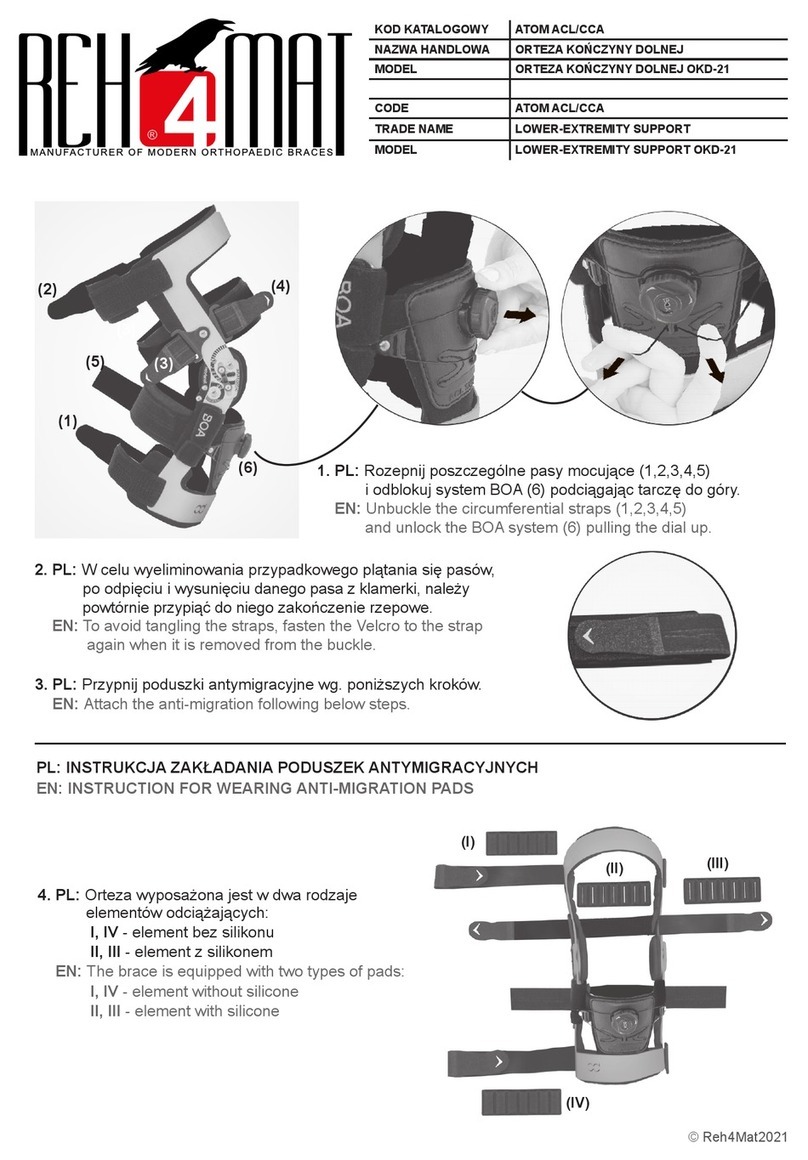
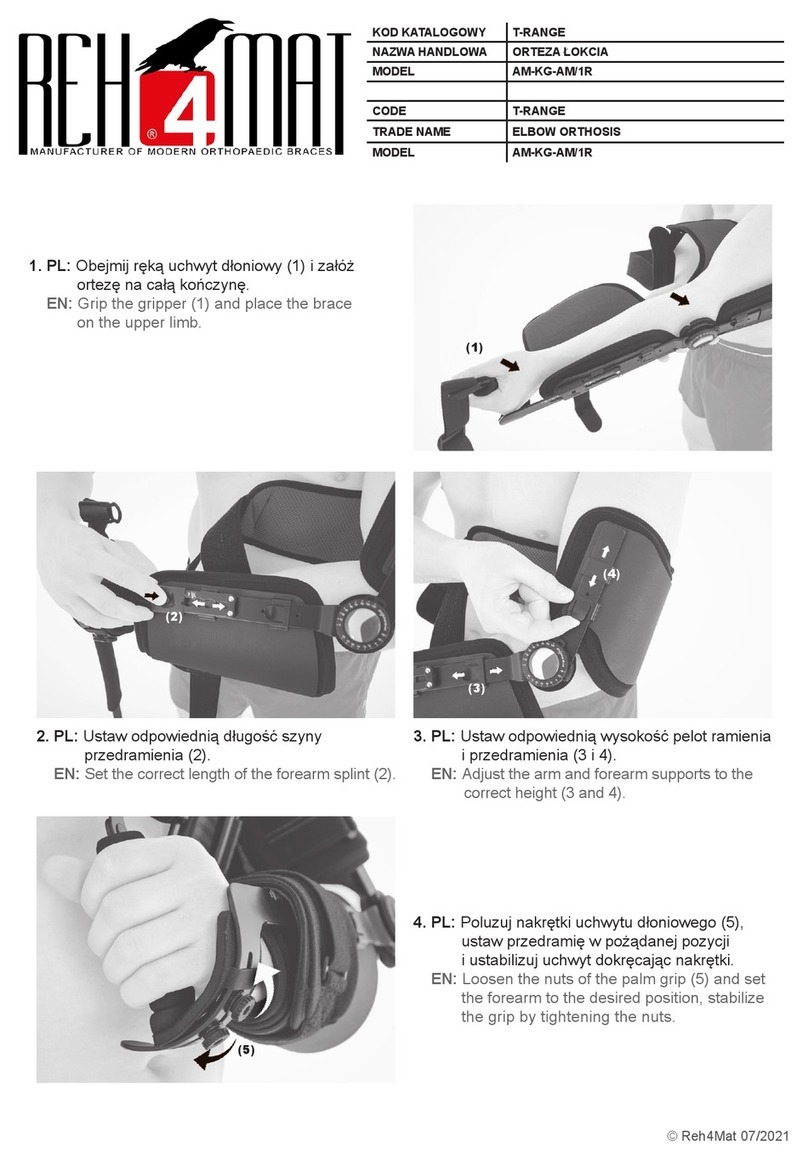
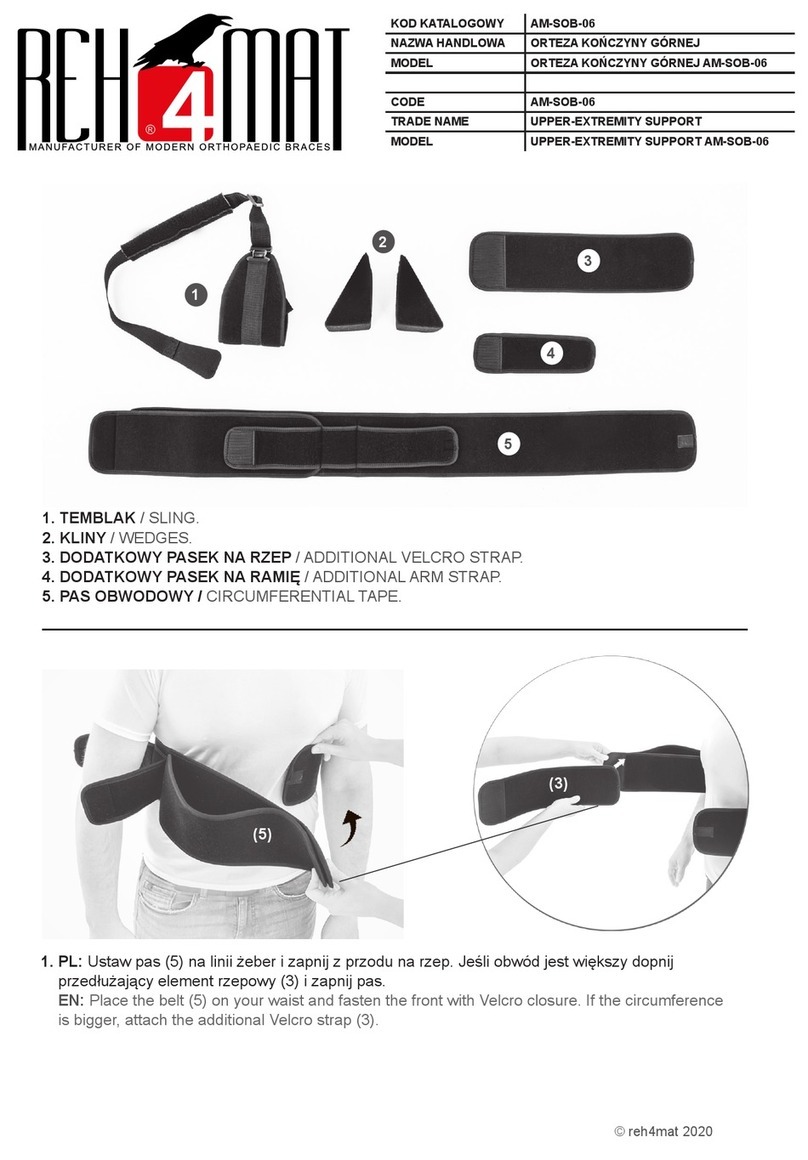
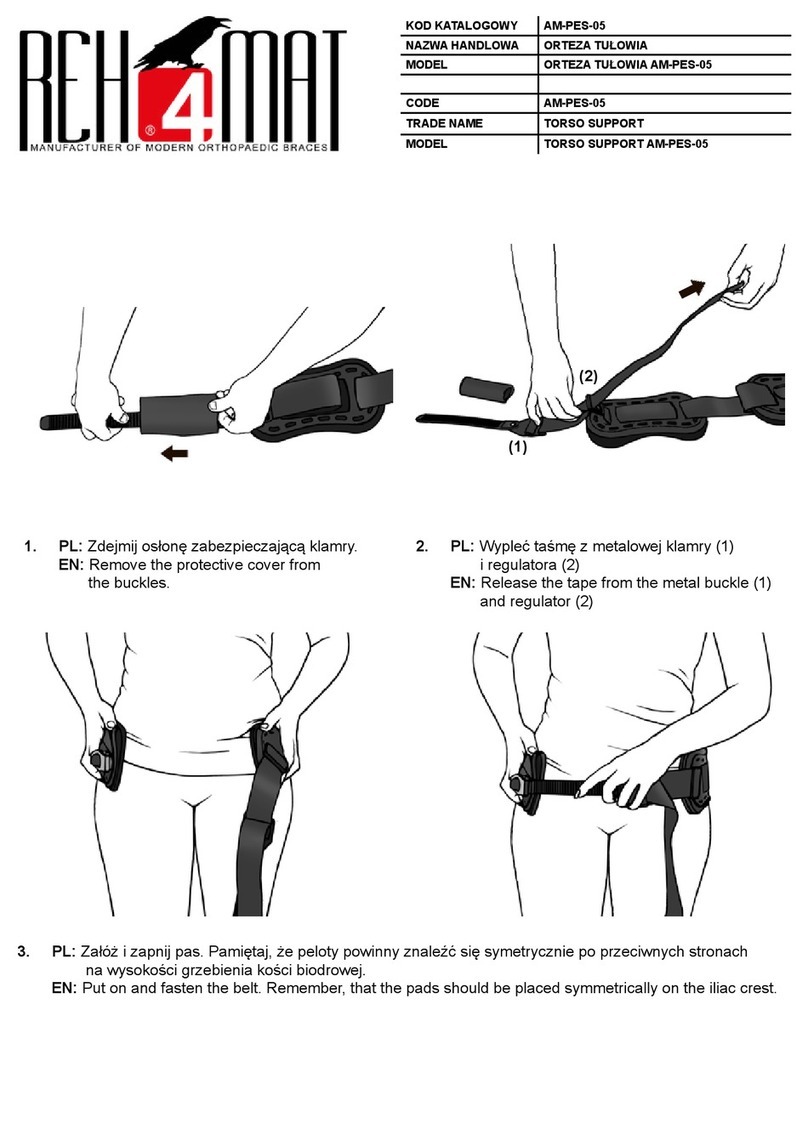
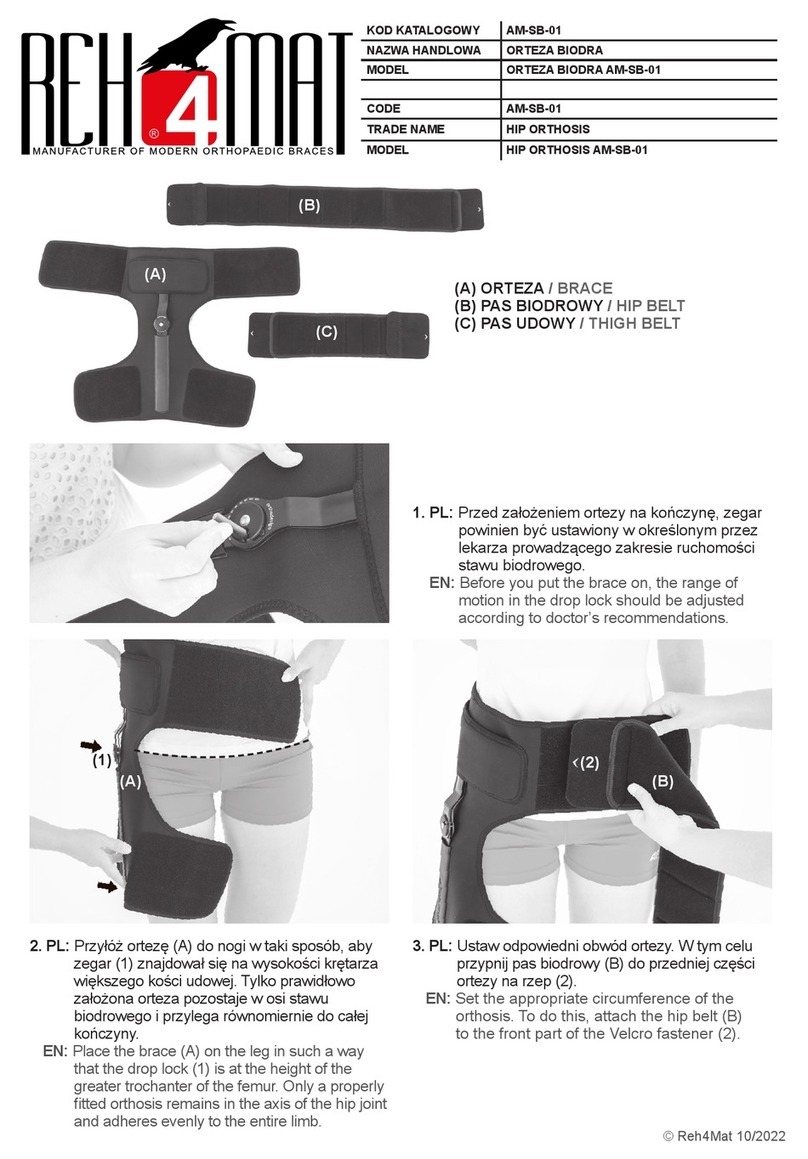
1. PL: Przed założeniem ortezy, rozepnij wszystkie
paski i ustaw odpowiedni obwód. Jeśli istnieje
potrzeba, zastosuj dodatkowe elementy
opasek (B), przypinając je na rzepy (1),
do elementów (A).
EN: Before putting on the brace, unfasten all straps
and set the appropriate circumference. If there is
a need, apply additional elements of the bands (B)
by fastening them with Velcro (1) fasteners to the
elements (A).
(G)
(B)
(A)
(A)
(1)
(E)
(A)
(B) (B)
(F)
(E)
PL: UWAGA!: Ortezę należy zakładać
w pozycji siedzącej lub leżącej.
EN: ATTENTION!: The brace should be
put on in a sitting or lying position.
© Reh4Mat 09/2022
(4)
(5)
3. PL: Przed zapięciem pasów zegary szyn powinny
być ustawione dokładnie w osi stawu
kolanowego w określonym przez lekarza
prowadzącego zakresie ruchomości stawu.
EN: Before fastening the belts, the drop locks
should be set exactly in the axis of the knee
joint within the range of joint mobility specied
by the physician or doctor.
(6)
(7)
(8)
(9)
4. PL: Przepleć taśmy (4,5,6.7,8,9) przez klamry
i zapnij na rzepy w podanej kolejności.
Zapinanie ortezy zawsze zaczynaj od pasków
leżących najbliżej stawu kolanowego. Taka
sama kolejność obowiązuje na drugiej nodze.
EN: Interlace the straps (4,5,6.7,8,9) through the
buckles and fasten with Velcros according to the
following steps. First, buckle the straps which
are the closest to the knee. The same sequence
applies to the other leg.
(C)
5. PL: Umieść podkładki metalowe (10) na nitonakrętkach (11) znajdujących się od zewnętrznej strony szyn
podudzia. Nałóż stopy z włókna węglowego (C) na nitonakrętki. Umieść podkładki z tworzywa (12) na
śrubkach (13) i za pomocą klucza imbusowego (G) przymocuj stopy z włókna węglowego (C) do szyn
podudzia.
EN: Place the metal elements (10) on the rivets (11) on the outside of the lower leg splint. Place the carbon
foot-drop splints (C) on the rivet nuts. Place the plastic elements (12) on the screws (13) and use an Allen
key (G) to fasten the feet (C) to the leg splints.
(11)
(10)
(12)
(13)
(C)
© Reh4Mat 09/2022
6. PL: Ustaw obwód pasa biodrowego (D). W tym celu odepnij od niego element łączący (14) i jeśli istnieje
potrzeba, odetnij w zaznaczonych miejscach (15) zbędną długość pasa, symetrycznie z obu stron
elementu łączącego. Zapnij dopasowany pas na rzepy (16,17).
EN: Adjust the circumference of the hip belt (D). To do this, unfasten the connecting element from it (14),
and if necessary, cut o󰀨 the unnecessary length (15) of the strap symmetrically on both sides of the
connecting element in the marked places. Close the tted Velcro strap (16,17).
7. PL: Umieść tylną część ortezy (D), w odcinku lędzwiowo-krzyżowym i zapnij pas na rzep (18).
EN: Place the back part of the brace (D) in the lumbosacral region and close the Velcro strap (18).
(18)
(D)
(D)
(14)
(14)
(15) (15)
(15)
(15) (16)
(17)
© Reh4Mat 09/2022
8. PL: Ustaw osłony szyny (E) w odpowiednim miejscu i przypnij szyny (F) z wcześniej ustawionym przez
lekarza prowadzącego zakresem ruchomości stawu biodrowego do kosza biodrowego (D) w taki
sposób, aby zegary szyny znajdowały się na wysokości stawu biodrowego.
EN: Place the splint covers (E) in the right place and fasten the splints (F) with the range of motion of the hip
joint previously set by the treating physician to the hip basket (D) in such a way that the drop locks of
the splint are at the height of the hip joint.
(F)
(E)
(D)
(D)
(19)
(20)
(21)
(22)
(23)
9. PL: Przepleć tylne pasy (19,20) przez szlufki (21) elementu łączącego. Następnie przepleć pasy przez
klamerki i zapnij na rzepy (22,23). Jeśli istnieje potrzeba odepnij rzepy, odetnij zbędną długość taśm
i ponownie przypnij rzepy.
EN: Interlace the rear straps (19,20) through the loops (21). Then interlace the straps through the buckles
and fasten with Velcro (22,23). If necessary, unfasten the Velcro, cut the excess length of the straps
and reattach the Velcro.
© Reh4Mat 09/2022
(26)
(25)
(24)
(27)
(D)
(D)
(28)
10. PL: Przepleć przednie pasy (24,25) przez szlufki (26) znajdujące się w przedniej części kosza biodrowego (D).
Następnie przepleć pasy przez klamerki i zapnij rzepy (27,28). Jeśli istnieje potrzeba odepnij rzepy,
odetnij zbędną długość taśm i ponownie przypnij rzepy.
EN: Interlace the front straps (24,25) through the loops (26) on the front of the hip basket (D).
Then interlace the straps through the buckles and fasten the Velcro fasteners (27,28). If necessary,
unfasten the Velcro, cut the excess length of the straps and reattach the Velcro.
(30)
(F)
11. PL: Umieść podkładki metalowe (29) na nitonakrętkach (30) znajdujących się od zewnętrznej strony szyn
udowych. Nałóż szyny biodrowe (F) na nitonakrętki. Umieść podkładki z tworzywa (31) na śrubkach (32)
i za pomocą klucza imbusowego (G) przymocuj szyny biodrowe (F) do szyn udowych.
EN: Place the metal elements (29) on the thigh rivet nuts (30). Place the hip splints (F) over the blind rivet
nuts. Place the plastic elements (31) on the screws (32) and use the Allen key (G) to attach the hip
splints (F) to the thigh splints.
(29)
(31) (32)
(F)
(G)
© Reh4Mat 09/2022
13. PL: Gotowy wyrób.
EN: Product is ready to use.
12. PL: Ustaw pacjenta w pozycji
pionowej, skoryguj długości
szyn pomiędzy poszczególnymi
stawami oraz naprężenie
pasów.
EN: Keeping an upright position
correct the length of the
splints between the joints
and belt tension.
© Reh4Mat 09/2022

Other REH4MAT Personal Care Product manuals
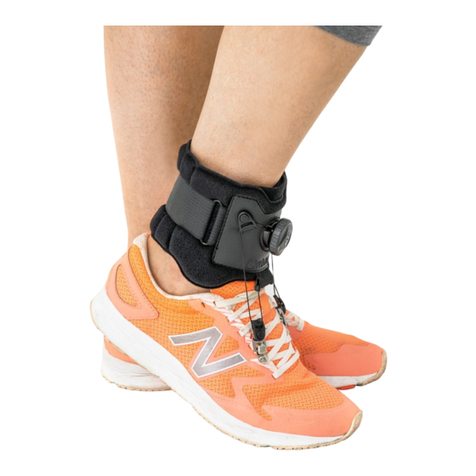
REH4MAT 2RA PRECISION User manual

REH4MAT

REH4MAT 2RA PRECISION User manual

REH4MAT MASTER-01 User manual

REH4MAT

REH4MAT MASTER-01 User manual

REH4MAT OKG-22 User manual

REH4MAT

REH4MAT OKG-22 User manual

REH4MAT AM-OSS-05/CCA User manual

REH4MAT

REH4MAT AM-OSS-05/CCA User manual

REH4MAT AM-GJ-01 User manual

REH4MAT

REH4MAT AM-GJ-01 User manual

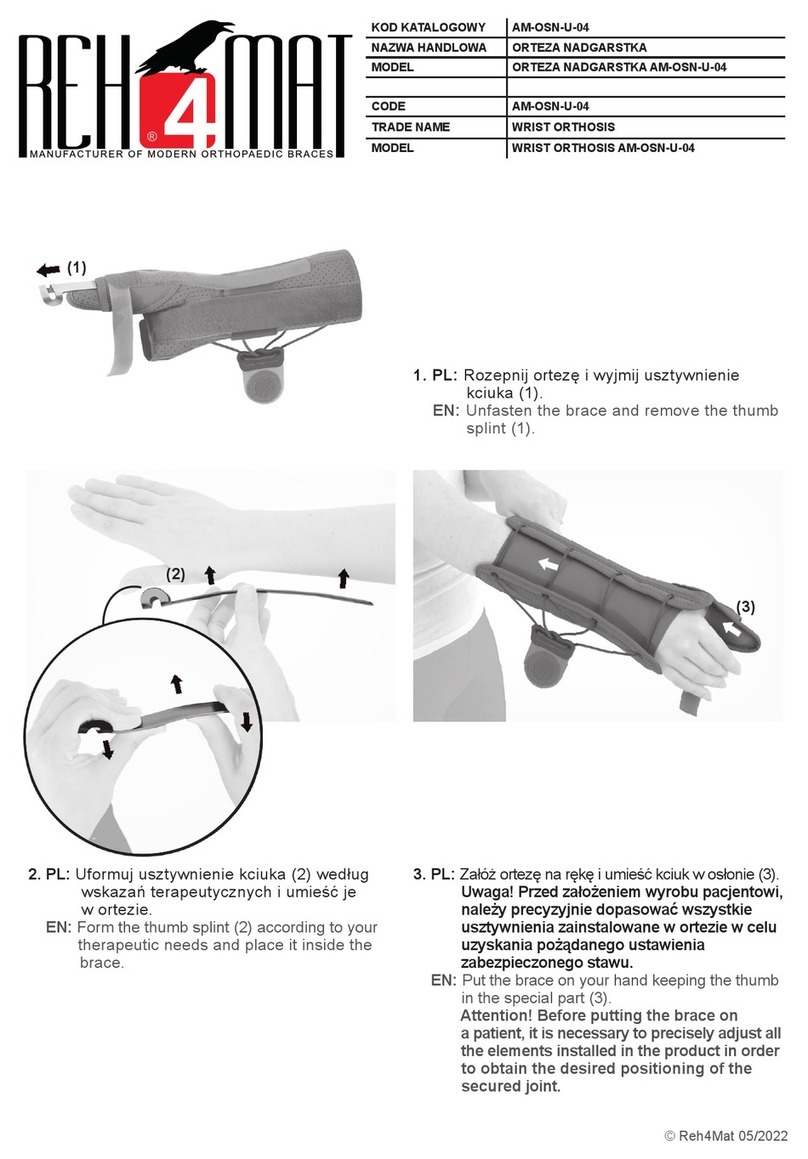
REH4MAT AM-OSN-U-04 User manual

REH4MAT

REH4MAT AM-OSN-U-04 User manual

REH4MAT AM-AO-KG-01 User manual

REH4MAT

REH4MAT AM-AO-KG-01 User manual

REH4MAT AM-OSS-21 / CCA User manual

REH4MAT

REH4MAT AM-OSS-21 / CCA User manual
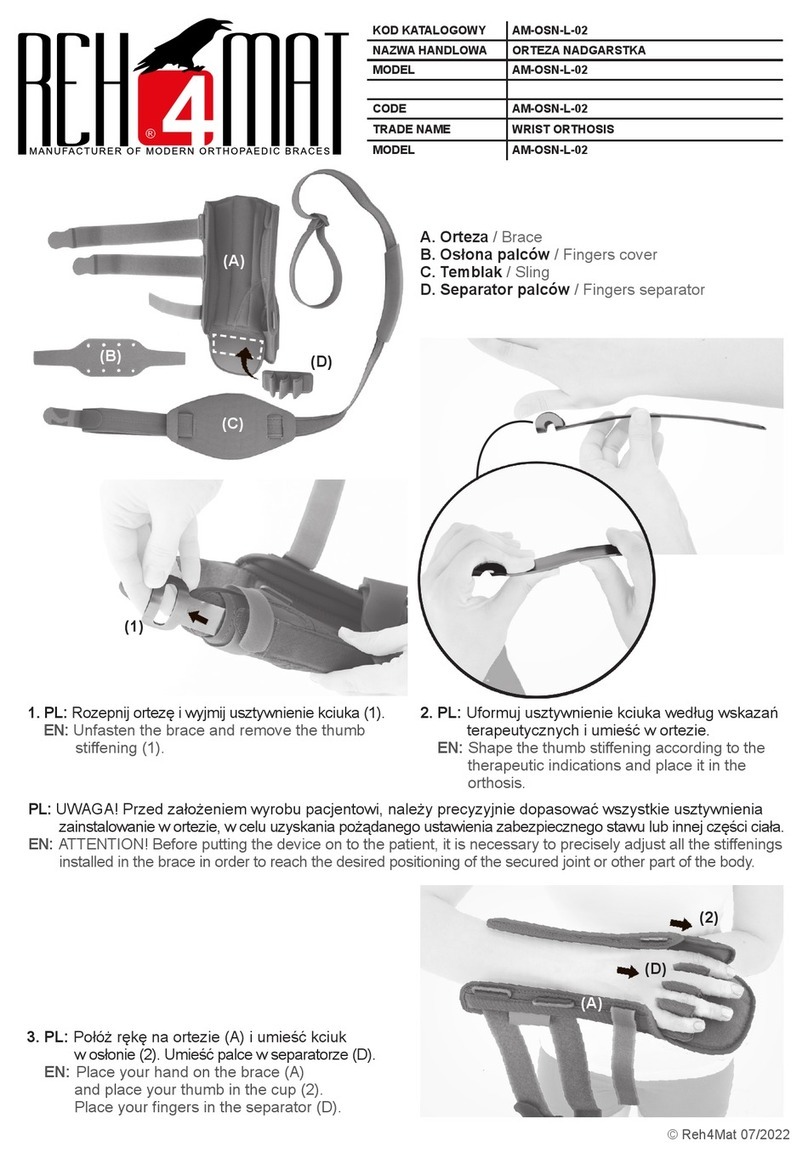
REH4MAT AM-SL-02 User manual

REH4MAT

REH4MAT AM-SL-02 User manual

REH4MAT AM-SOB-02 User manual

REH4MAT

REH4MAT AM-SOB-02 User manual

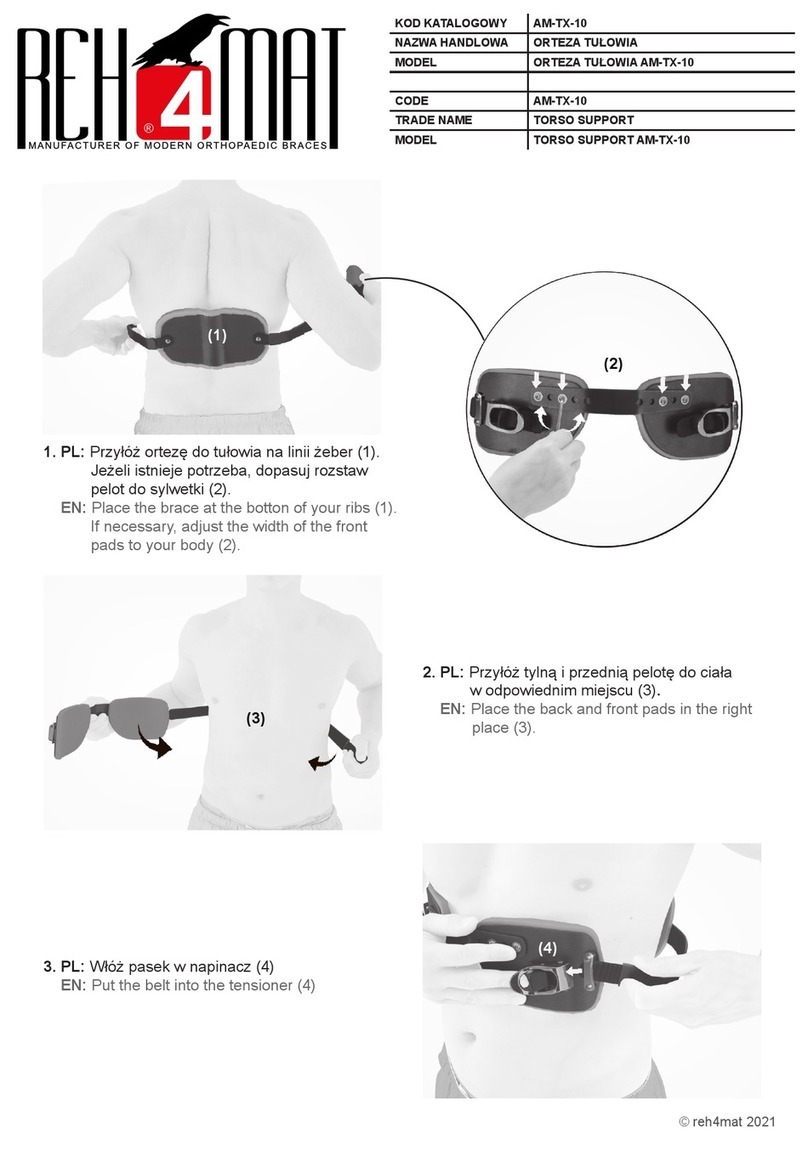
REH4MAT AM-TX-10 User manual

REH4MAT

REH4MAT AM-TX-10 User manual

REH4MAT AM-SL-03 User manual

REH4MAT

REH4MAT AM-SL-03 User manual

REH4MAT FOOT ORTHOSIS OSS-OS-02 User manual

REH4MAT

REH4MAT FOOT ORTHOSIS OSS-OS-02 User manual

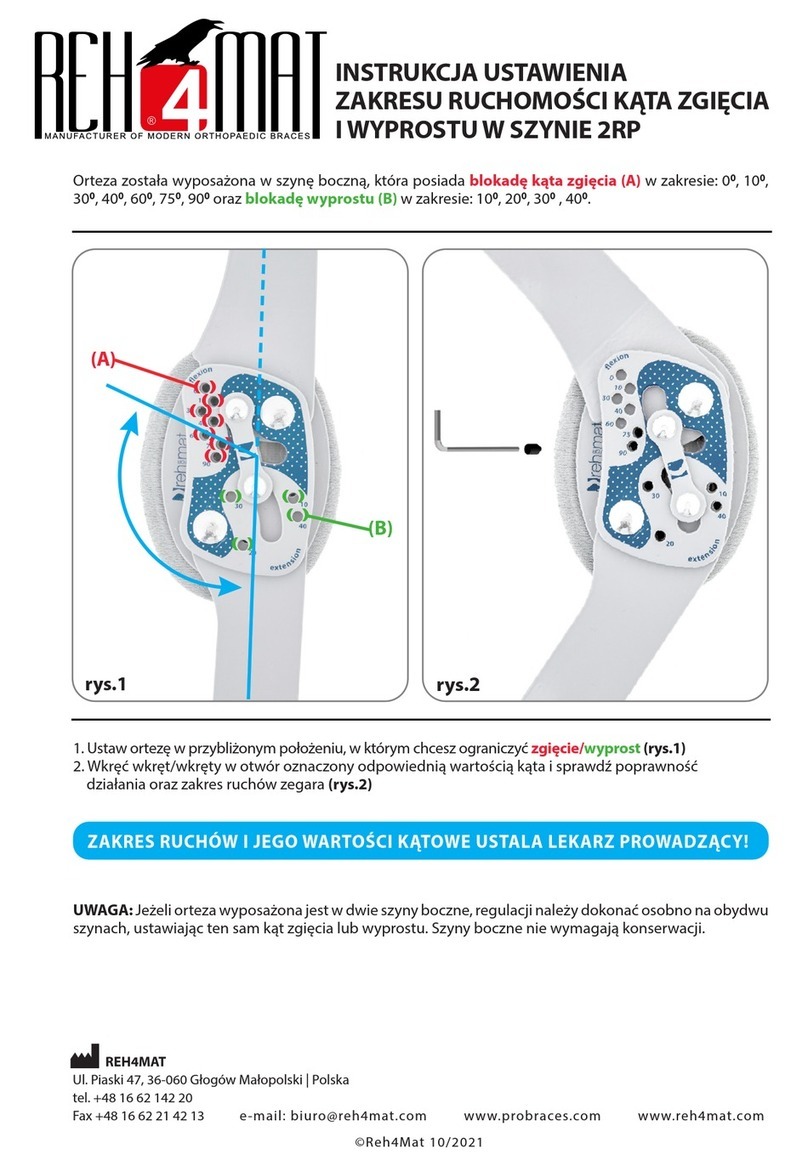
REH4MAT 2RP Setup guide

REH4MAT

REH4MAT 2RP Setup guide

REH4MAT AM-KD-AM/1R User manual

REH4MAT

REH4MAT AM-KD-AM/1R User manual

REH4MAT FIX-KD-08 User manual

REH4MAT

REH4MAT FIX-KD-08 User manual

REH4MAT BODYMAP User manual

REH4MAT

REH4MAT BODYMAP User manual

REH4MAT AM-OSN-U-11 User manual

REH4MAT

REH4MAT AM-OSN-U-11 User manual

REH4MAT TB-04 User manual

REH4MAT

REH4MAT TB-04 User manual

REH4MAT FIX-KD-15 User manual

REH4MAT

REH4MAT FIX-KD-15 User manual

REH4MAT OKG-15 User manual

REH4MAT

REH4MAT OKG-15 User manual

REH4MAT OKD-10 User manual

REH4MAT

REH4MAT OKD-10 User manual

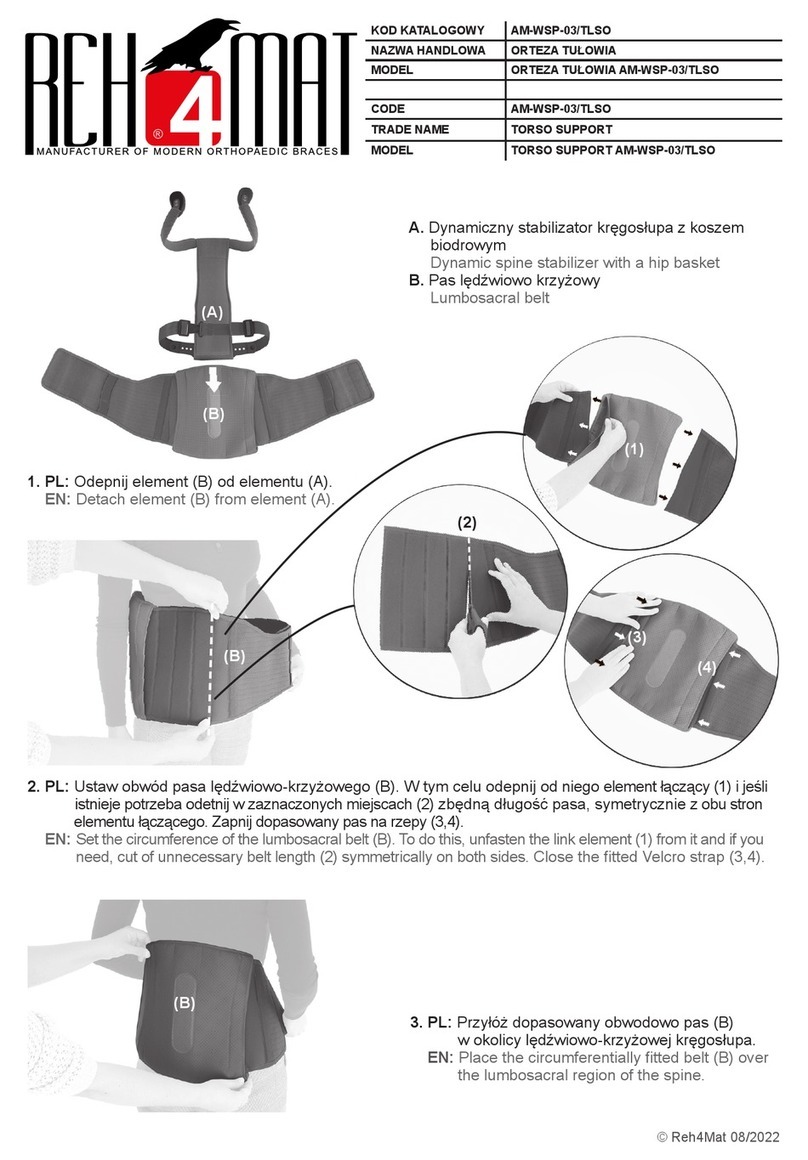
REH4MAT AM-AO-KG-02 CLEVER 2 ABDUCTOR User manual
REH4MAT

REH4MAT AM-AO-KG-02 CLEVER 2 ABDUCTOR User manual

REH4MAT FIX-KG-03 User manual

REH4MAT

REH4MAT FIX-KG-03 User manual

Popular Personal Care Product manuals by other brands

Philips Norelco NT5600 manual

Philips

Philips Norelco NT5600 manual

ISO Preferred KN33x instructions

ISO Preferred

ISO Preferred KN33x instructions

Z1 CPAP System user guide

Z1

Z1 CPAP System user guide

Beper 40.270 use instructions

Beper

Beper 40.270 use instructions

Roscoe Medical US PRO 2000 2nd Edition DU3035 instruction manual

Roscoe Medical

Roscoe Medical US PRO 2000 2nd Edition DU3035 instruction manual

Breg Flex product manual

Breg

Breg Flex product manual

Ivoclar Vivadent Bluephase PowerCure Instructions for use

Ivoclar Vivadent

Ivoclar Vivadent Bluephase PowerCure Instructions for use

Juzo Toomac Solutions ACS Light Lower Leg Wraps Instructions for use and care

Juzo

Juzo Toomac Solutions ACS Light Lower Leg Wraps Instructions for use and care

Koenic KHA 102 P user manual

Koenic

Koenic KHA 102 P user manual

Rehabmart 1102 user guide

Rehabmart

Rehabmart 1102 user guide

Quantum Miracle IQube user guide

Quantum

Quantum Miracle IQube user guide

Thuasne Cervi+ instructions

Thuasne

Thuasne Cervi+ instructions

nebulyft R1 operating instructions

nebulyft

nebulyft R1 operating instructions

sensiplast 291821 Instructions for use

sensiplast

sensiplast 291821 Instructions for use

Remington Reveal Heated Eyelash Curler EC300 manual

Remington

Remington Reveal Heated Eyelash Curler EC300 manual

Aerify Charge manual

Aerify

Aerify Charge manual

Dictum Health eVER-HOME quick start guide

Dictum Health

Dictum Health eVER-HOME quick start guide

BD Strive user guide

BD

BD Strive user guide

manuals.online logo
manuals.online logoBrands
  • About & Mission
  • Contact us
  • Privacy Policy
  • Terms and Conditions

Copyright 2025 Manuals.Online. All Rights Reserved.