manuals.online logo
Brands
  1. Home
  2. •
  3. Brands
  4. •
  5. Steelcase
  6. •
  7. Office Equipment
  8. •
  9. Steelcase Elective Elements Freestanding Corner... User manual

Steelcase Elective Elements Freestanding Corner... User manual

Page 1 of 10
939500244 Rev D
Elective Elements, Walden, Garland -
Freestanding Corner and Extended Corner Worksurfaces
If you have a problem, question, or request, call
your local dealer, or Steelcase Line 1 at
888.STEELCASE (888.783.3522)
for immediate action by people who want to help you.
(Outside the U.S.A., Canada, Mexico, Puerto Rico,
and the U.S. Virgin Islands, call: 1.616.247.2500)
Or visit our website: www.steelcase.com
© 2004 Steelcase Inc.
Grand Rapids, MI 49501
U.S.A.
Printed in U.S.A.
Freestanding, 15"x15"
L-shape corner supports,
technology modesty panel
on 42" side, full-height fixed
modesty on the other side
Freestanding, 15"x15"
L-shape corner supports,
no modesty panel
Freestanding, 15"x15"
L-shape corner supports,
full-height fixed modesty panel
Freestanding extended
corner with pedestal and
L-shape corner support
and technology modesty
panel on pedestal side,
full-height fixed modesty
panel on 42" side
Freestanding extended
corner worksurface with
pedestal and L-shape
corner support, no
modesty panel
Freestanding extended
corner worksurface with
pedestal and L-shape
corner support and full-
height flush modesty
panels
DRILL BIT
1/8"
Freestanding Corner Worksurfaces
(Refer to page 2)
Extended Corner Worksurfaces
(Refer to page 5)
Page 2 of 10
939500244 Rev D
SHOULDER
SCREWS
1b
1c 1d
1. Assemble the L-shape corner support.
a) Insert (3) shoulder screws into the holes
in panel as shown.
b) Align with adjacent panel and insert the
shoulder screws into the clips.
c) Push the panel downward,
d) until shoulder screw is securely seated.
2. Assemble two L-shape end panels
in the same manner.
Note: if a Full-height Modesty Panel is used,
go to page 8. For a Technology Modesty
Panel, go to page 10.
L-SHAPE CORNER SUPPORT
L-SHAPE END PANELS
1a
2
FREESTANDING CORNER WORKSURFACE
TIP: Place a shim under carpet
to allow a finger hold when
assembled unit is ready to upright.
3
Page 3 of 10
939500244 Rev D
3. Turn corner worksurface over onto a
clean, soft material.
4. Insert connecting bolts into predrilled
holes. The quantity depends on the depth
of end panel used.
5. Lower assembled panels onto
connecting bolts.
CONNECTING BOLTS
55
4
5
Page 4 of 10
939500244 Rev D
6. Secure panels to worksurface.
a) Insert cam locks into holes as shown.
b) Make sure the arrow on the cam locks are
pointing toward the bolt.
c) Turn the cam locks 1/4 turn to secure all
connections.
7. Two persons carefully turn assembly
over and adjust leveling glides as needed.
ARROW POINTING IN
DIRECTION OF THE
CONNECTING BOLT HEAD
CAM LOCK
6c
6a
6b
Page 5 of 10
939500244 Rev D
SHOULDER
SCREWS
1b
1c 1d
1. Assemble the L-shape corner support.
a) Insert (3) shoulder screws into the holes
in panel as shown.
b) Align with adjacent panel and insert the
shoulder screws into the clips.
c) Push the panel downward,
d) until shoulder screws are securely seated.
2. Assemble the L-shape end panel
in the same manner.
Note: if a Full-height Modesty Panel is used,
go to page 8. For a Technology Modesty
Panel, go to page 10.
L-SHAPE CORNER SUPPORT
L-SHAPE END PANEL
1a
2
FREESTANDING EXTENDED CORNER WORKSURFACE
TIP: Place a shim under carpet
to allow a finger hold when
assembled unit is ready to upright.
Page 6 of 10
939500244 Rev D
3. Turn corner worksurface over onto a
clean, soft material.
4. Insert connecting bolts into predrilled
holes. The quantity depends on the depth
of the end panel used.
5. Lower assembled panels onto
connecting bolts.
6. Refer to assembly direction 939500237
for installation of pedestal.
5
5
5
6
CONNECTING BOLTS 4
3
Page 7 of 10
939500244 Rev D
7. Secure panels to worksurface.
a) Insert cam locks into holes as shown.
b) Make sure the arrow on the cam locks are
pointing toward the bolt.
c) Turn the cam locks 1/4 turn to secure all
connections.
8. Two persons carefully turn assembly
over and adjust leveling glides as needed.
ARROW POINTING
IN DIRECTION OF
THE CONNECTING
BOLT HEAD
CAM LOCK
7c
7a
7b
Page 8 of 10
939500244 Rev D
33
1. Align panel to panel bracket as
shown, then attach to the L-shape
corner support.
2. Insert (2) additional connecting bolts
for the modesty panel into predrilled
holes.
3. Lower the L-shape end panels onto
worksurface and secure with cam locks.
FULL HEIGHT MODESTY PANEL
PANEL TO PANEL BRACKET
1
2
Install bracket to
outside of panel
Page 9 of 10
939500244 Rev D
4. Lower modesty panel to worksurface
and secure with (2) cam locks.
5. Install L-shape corner support.
6. Drill (2) pilot holes through end panel in
the locations marked "X", and secure to
modesty panel with (2) screws.
7. Two persons carefully turn assembled
unit over and level as needed.
4
5
CAM LOCK
PANEL TO PANEL BRACKET
will secure modesty panel here.
XX
6
MODESTY PANEL
Page 10 of 10
939500244 Rev D
1. Route wires as needed.
2. Install goose-neck catch in the
location shown.
3. Install a modesty panel bracket on
the bottom of the pedestal, and on the
end panel.
4. Place shoulder screws into brackets
on unit and pivot modesty panel up.
5. Modesty panel will seat into the
catch when it's in the upright position.
GOOSE
NECK
CATCH
TECHNOLOGY MODESTY PANEL
8-1/8"
(206 mm)
SIDE VIEW
Locate from rear
of worksurface and
and drill (2) pilot holes
2
Center catch side to side
in kneespace.
Locate (2) pilot holes on pedestal
and on the end panel, then install
brackets with Euro screws provided.
Note: use the deeper bracket
for the pedestal.
MODESTY PANEL
5
4
3

This manual suits for next models

5

Other Steelcase Office Equipment manuals
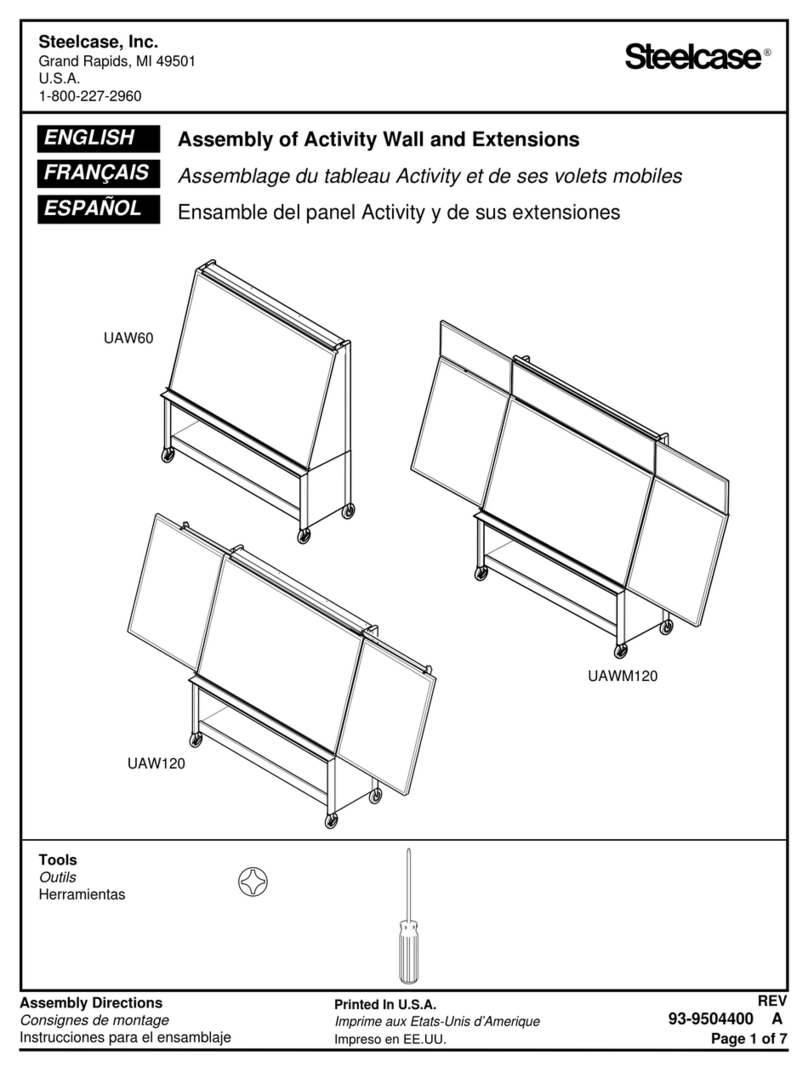
Steelcase Avenir PAB-4 Joining Panel User manual

Steelcase

Steelcase Avenir PAB-4 Joining Panel User manual

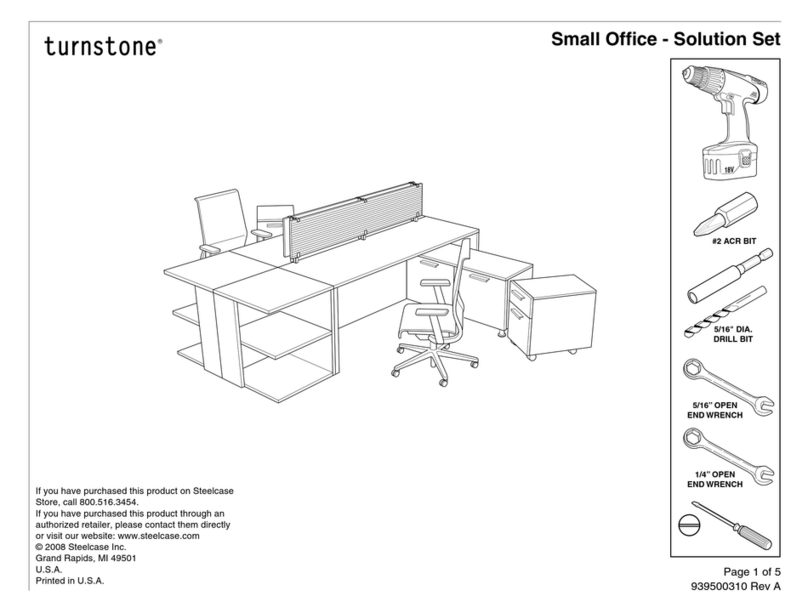
Steelcase Turnstone Small Office Solution Set User manual

Steelcase

Steelcase Turnstone Small Office Solution Set User manual

Steelcase a3 CeramicSteel Sans User manual

Steelcase

Steelcase a3 CeramicSteel Sans User manual

Steelcase Elective Elements Powerway SPB89 User manual

Steelcase

Steelcase Elective Elements Powerway SPB89 User manual

Steelcase Avenir Movable Walls PAB-9 Joining Panels User manual

Steelcase

Steelcase Avenir Movable Walls PAB-9 Joining Panels User manual

Steelcase Context Firmware update

Steelcase

Steelcase Context Firmware update

Steelcase V.I.A. FEIJA2V User manual

Steelcase

Steelcase V.I.A. FEIJA2V User manual
Steelcase Turnstone Conference Space Solution Set User manual

Steelcase

Steelcase Turnstone Conference Space Solution Set User manual

Steelcase TS Series User manual

Steelcase

Steelcase TS Series User manual

Steelcase Activa Lift 2 User manual

Steelcase

Steelcase Activa Lift 2 User manual

Steelcase Montage In User manual

Steelcase

Steelcase Montage In User manual

Steelcase Avenir PAB-3 User manual

Steelcase

Steelcase Avenir PAB-3 User manual

Steelcase Specific Solution for Answer Curved Corner... User manual

Steelcase

Steelcase Specific Solution for Answer Curved Corner... User manual

Steelcase Details Airtouch User manual

Steelcase

Steelcase Details Airtouch User manual

Steelcase CF Intro Firmware update

Steelcase

Steelcase CF Intro Firmware update
Steelcase Sync User manual

Steelcase

Steelcase Sync User manual

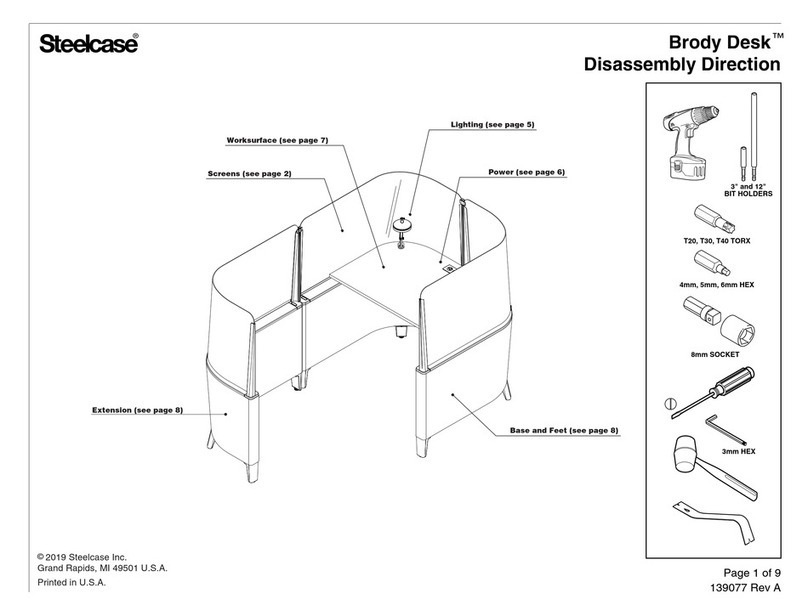
Steelcase Brody Desk Manual

Steelcase

Steelcase Brody Desk Manual

Steelcase Pathways Privacy Screen Infill User manual

Steelcase

Steelcase Pathways Privacy Screen Infill User manual

Steelcase Power Panel Supply System User manual

Steelcase

Steelcase Power Panel Supply System User manual

Steelcase RoomWizard II User guide

Steelcase

Steelcase RoomWizard II User guide

Steelcase Turnstone Smoke User manual

Steelcase

Steelcase Turnstone Smoke User manual

Steelcase Migration SE Boundary Screen User manual
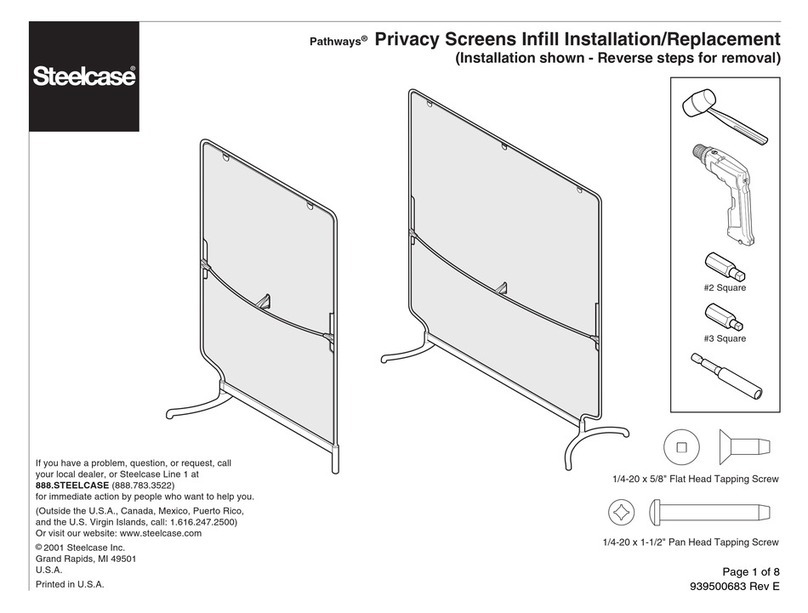
Steelcase

Steelcase Migration SE Boundary Screen User manual

Steelcase Elective Elements Fixed Modesty Panel User manual
Steelcase

Steelcase Elective Elements Fixed Modesty Panel User manual

Steelcase Avenir Panel User manual

Steelcase

Steelcase Avenir Panel User manual

Popular Office Equipment manuals by other brands

Formax FD 210M Operator's manual

Formax

Formax FD 210M Operator's manual

Framery O VCR Troubleshooting instructions

Framery

Framery O VCR Troubleshooting instructions

OCTOO Laptable manual

OCTOO

OCTOO Laptable manual

Plus N-32S Service manual

Plus

Plus N-32S Service manual

Formax FD 150 Operator's manual

Formax

Formax FD 150 Operator's manual

PolyVision THUNDER Pro installation guide

PolyVision

PolyVision THUNDER Pro installation guide

Stretch Now Mobel Motion MK 2 user guide

Stretch Now

Stretch Now Mobel Motion MK 2 user guide

IAC INDUSTRIES SMS S1 SMART MOBILE STATION Assembly instructions

IAC INDUSTRIES

IAC INDUSTRIES SMS S1 SMART MOBILE STATION Assembly instructions

Neopost IM 30 Operator's manual

Neopost

Neopost IM 30 Operator's manual

Evolve Yealink MP56 Quick reference guide

Evolve

Evolve Yealink MP56 Quick reference guide

Kyocera PF-410 Service manual

Kyocera

Kyocera PF-410 Service manual

Enwork SKYLINE installation guide

Enwork

Enwork SKYLINE installation guide

Koplus Kolo Solo Assembly instructions

Koplus

Koplus Kolo Solo Assembly instructions

Posturite Oploft Setup guide

Posturite

Posturite Oploft Setup guide

OfficeSource EVH100BGG Assembly instructions

OfficeSource

OfficeSource EVH100BGG Assembly instructions

Zenbooth Duo Build instructions

Zenbooth

Zenbooth Duo Build instructions

Grandstream Networks UCM6 series Guide

Grandstream Networks

Grandstream Networks UCM6 series Guide

ACCO Brands GBC Sharp SmartPunch Pro installation manual

ACCO Brands

ACCO Brands GBC Sharp SmartPunch Pro installation manual

manuals.online logo
manuals.online logoBrands
  • About & Mission
  • Contact us
  • Privacy Policy
  • Terms and Conditions

Copyright 2025 Manuals.Online. All Rights Reserved.