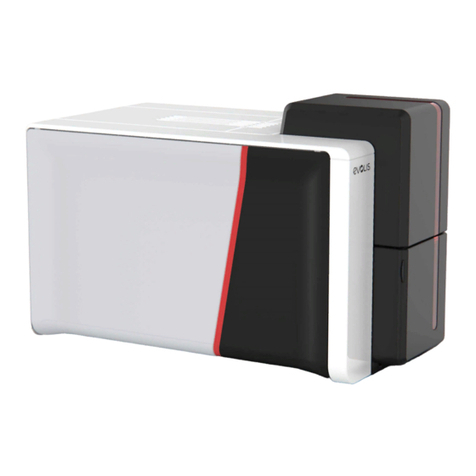
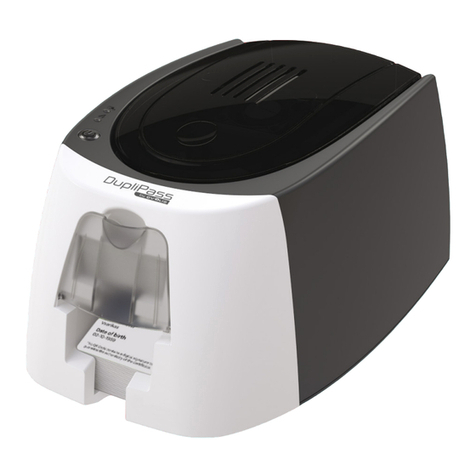
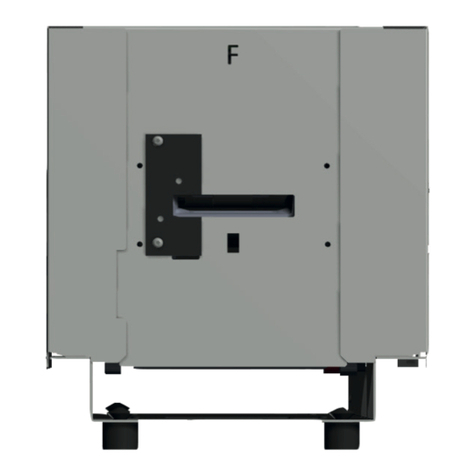
Evolis KC200 User manual

1
KC200
KC200B
USER GUIDE
Evolis © November 2019. All rights reserved.
Ref. KU-KSC1-080-ENG-A4-B0

KC200
KC200B
2
COPYRIGHT
Evolis © November 2019. All rights reserved.
COPYRIGHT NOTICE
Users must observe the copyright regulations applicable in their country. This manual must not be photocopied, translated, reproduced,
ortransmitted, in whole or in part, for any reason and by any electronic or mechanical means whatsoever without the express written
consentofEvolis.
All the information contained in this document is subject to change without prior notice.
Evolis cannot be held liable for any errors that may be found in this manual, or for any loss or damage arising accidentally or as a result
ofdissemination or use of this manual.
TRADEMARKS
Evolis Premium Suite®and Evolis High Trust®are trademarks of Evolis. All other trademarks belong to their respective holders.
WARRANTY
Please refer to the warranty notice supplied with your printer for the terms and conditions and limitations.
ENVIRONMENTAL INFORMATION
Evolis is committed to helping the environment by reducing the energy consumption of its products.
RECYCLING END-OF-LIFE PRODUCTS
Manufacturing the equipment that you have purchased required the extraction and use of natural resources. This equipment may contain
materials that are hazardous to health and the environment.
To prevent the dispersal of such materials into our environment and to reduce pressure on our natural resources, we recommend that you use
existing collection facilities. These systems will re-use or recycle most of the materials in your end-of-life equipment in an appropriate way.
The crossed-out dustbin symbol on your device is a reminder to use these facilities.
For further information on collection, re-use, or recycling systems, please contact your local or regional waste management organization.
Please do not hesitate to contact us to find out more by visiting our website at www.evolis.com or by emailing the following address: info@evolis.com.
KC200
KC200B
3
Information providing further details about certain points in the main text.
Indicates that failing to take the recommended action is likely to damage your printer.
Please read this manual carefully.
This symbol links to Evolis Print Center, accessible from your computer, which you can use to administer and manage your printer
and change its settings.
ABOUT YOUR NEW PRINTER
Using your new Evolis printer, you can create a wide variety of high-quality cards and personalized badges that can be printed and laminated
invarious thicknesses, colors, and styles. This printer uses consumables and accessories available from Evolis. For further details,
visitourwebsite at www.evolis.com.
WARRANTY REGISTRATION
Please register online at www.evolis.com to receive our special offers and general information.
Once on the website, click Drivers and Support then Register your printer and fill out all the fields, specifying in particular the model
andserialnumber of your equipment found on your printer.
GETTING STARTED
The purpose of this guide is to support you, step by step, in discovering your printer and how it works. Please take some time to read it,
tolearnmore about your printer and its features, and to save time during installation and use.
As with all Evolis products, a great deal of care has been taken over this manual. Should you find an error, however, please let us know by
emailingus at info@evolis.com.
ICONS
The following icons are used in this manual to highlight important information:
EPC
i
NOTE
!

KC200
KC200B
4
You will be asked for the full original packaging (outer box, inner wedges, and protective bags) in the event that the printer is returned.
If the printer is returned without its original packaging and the components are damaged in transit, these components will no longer
be covered by the warranty. A charge will be made for new packaging to reship the printer.
If any of these components are missing, please contact your Evolis reseller.
Use only the power supply unit provided with your Evolis printer.
CWT type KPL-065M-VI.
Use only the USB cable supplied with your Evolis printer.
The Evolis printer must be placed in a dry location, protected from dust and drafts, but well-ventilated.
Please ensure you keep your printer on a flat, solid surface able to bear its weight.
1 – GETTING STARTED
UNPACKING
Your printer is supplied with several accessories that should be checked on receipt.
The list of accessories may vary depending on your location.
The printer is shipped in special packaging designed to prevent any damage in transit. If you notice any visible damage, please contact
theshipping company and immediately inform your Evolis reseller, who will tell you the procedure to follow.
Evolis takes great care over the quality of its packaging and we ask that you keep this packaging somewhere clean and dry.
Accessories supplied with your printer:
• Power supply unit- CWT type KPL-065M-VI
• Mains power cable
• USB cable
• Installation, documentation, and software CD-ROM
• Starter cleaning kit
• Quick installation guide
!
!
NOTE

KC200
KC200B
5
DESCRIPTION OF THE PRINTER AND ITS FUNCTIONS
A - Card feeder
B - Card output
C - Control panel
D - USB port (type A)
E - USB port (type B)
F - Ethernet port
G - Power cable socket
H- Ejector slot
I - Serial number label
KC200

KC200
KC200B
6
DESCRIPTION OF THE PRINTER AND ITS FUNCTIONS
A - Card feeder
B - Reject hopper
C - Control panel
E - USB port (type B)
F - Ethernet port
G - Power cable socket
H- Bezel (card insert and output)
I - Serial number label
KC200B

KC200
KC200B
7
DESCRIPTION OF THE PRINTER AND ITS FUNCTIONS
J - Thermal print head
K - Cleaning roller
L - Card thickness adjustment gauge
M- Dust filter

KC200
KC200B
8
INSTALLATION IN A TERMINAL
Physical attachment
The KC200/KC200B printers can be attached to the terminal using screws.
To do so:
1 Unscrew the 2 screws at the top of each side panel. Set the side panels down.
2 Remove the 4 rivet feet from the bottom plate by pressing on them.
3 There are slotted holes (5 on each side) on the bottom plate to enable you to attach
the printer to the terminal.
1 32

KC200
KC200B
9
INSTALLATION IN A TERMINAL
Connecting the printer
!
The printer must be connected to a properly protected and grounded electrical system.
FI: Laite on liitettävä suojamaadoitus koskettimilla varustettuun pistorasiaan.
NO: Apparatet må tilkoples jordet stikkontakt.
SE: Apparaten skall anslutas till jordat uttag.
DK: Printeren skal tilsluttes til en korrekt beskyttet og jordforbundet el-installtion.
To do so:
• Connect the power cable to the power supply unit, then plug the power cable jack into the printer.
• Next, connect the power cable plug to a grounded power socket outside of the terminal.
• The printer is powered on: the control panel lights up indicating that the printer is working
properly. If the control panel does not light up, then either the installation has not been carried
out correctly or the printer is not working properly. Check the installation.

KC200
KC200B
10
The printer automatically recognizes the ribbon inserted.
Insert the ribbon as shown.
Ribbons
Evolis original High Trust®ribbons optimize the operation of your printer and avoid causing damage to it. The use of third-party ribbons
maydamage your printer and will void the manufacturer's warranty for the printer.
For optimum print quality, Evolis recommends that the printer is fully cleaned every time the ribbon is changed. See the Servicing chapter
ofthismanual.
Fitting the ribbon
Open the cover. Close the cover and press until
youheara click.
NOTE

KC200
KC200B
11
For optimum quality, the cards used must be ISO 7810 certified.
Use only the card types recommended by Evolis.
Avoid touching the printable surface of the cards in order to preserve print quality.
Do not use cards that have been damaged, folded, embossed, or dropped on the floor.
Cards may be stuck together due to static electricity – avoid touching the card surface when separating them.
Cards
Remove the weight
fromthefeeder. Insert the cards, 200 cards maximum
with0.76 mm thickness for KC200/KC200B.
Hold and insert the cards as shown
inthediagram.
Put the weight back on
theinserted cards.
Storing new cards
Keep your cards protected from dust in their original packaging.
Loading the cards
NOTE

Adjusting the card thickness
The printer is equipped with a manual card thickness adjustment system, which can be reached at the printer feeder.
The factory setting for card thickness is 0.76 mm.
KC200
KC200B
12
Removing printed cards
Once the print cycle is complete, the printed and/or encoded card is issued into the output hopper of the terminal.
For the KC200B, it is returned directly through the bezel.

KC200
KC200B
13
2 - SERVICING
GENERAL WARRANTY INFORMATION
Please comply with the instructions given below to ensure that your printer runs satisfactorily.
Keep your warranty cover!
Any failure to follow the servicing procedures described in this chapter will void the print head warranty.
Evolis declines any liability where there has been a failure to carry out required maintenance on the printer.
The print head is a wear part and an extremely sensitive component of the printer. Its useful life can be seriously curtailed by the presence of dust,
liquids or solids in the printer's immediate environment, on the print head or on the cards. The user must take all necessary precautions to insert
into the printer only clean, dust-free cards that are free of foreign bodies.
The frequency and quality of cleaning are decisive factors enabling users to extend the print head's useful life and to ensure excellent print quality.
Particular care must therefore be taken with cleaning. The user must comply with the servicing and maintenance instructions given in this section.
In addition, the use of Evolis brand ribbons (Evolis High Trust®) also ensures that your equipment operates properly. The use of non-Evolis approved
ribbons can therefore affect the quality and reliability of printing jobs, lead to poor quality printing, and even affect the operation of the printer.
Themanufacturer's warranty does not cover physical damage or quality problems caused by using non-Evolis approved ribbons.
Evolis supplies servicing items and consumables. You can find them on the website www.evolis.com.
The manufacturer's warranty is subject to strict adherence to the routine servicing and maintenance instructions, and in particular
the printer cleaning cycles.
!

KC200
KC200B
14
ROUTINE PRINTER CLEANING (SN≥10000828147)
For printers with SN serial numbers greater than or equal to 10000828147, please follow the cleaning procedure below.
Printer servicing
Printer cleaning required after:
(warning light flashing)
Number of cards remaining before
warranty voided:
(warning light flashing)
Warranty invalid after:
(warning light steady)
1000 cards 200 cards 1200 cards
The print head warranty is directly linked to routine cleaning of your printer.
If you do not carry out this cleaning at the required times, the print head warranty will cease to be valid.
Recommended cleaning cycle: whenever the ribbon is changed.
Mandatory cleaning cycle: when the cleaning warning is triggered.
Servicing accessory: adhesive cleaning card.
Your printer is fitted with a cleaning warning system, which is triggered after a certain number of cards have been inserted.
You should proceed with the routine cleaning of your printer as soon as the warning is triggered.
If you continue to run the printer despite the warning and if the warning light remains lit, the print head warranty will be automatically
voided because of failure to comply with contractual maintenance obligations.
!
!
NOTE

KC200
KC200B
15
Follow the procedure below to validate your routine cleaning:
Repeatedly passing the adhesive card through the printer cleans the cleaning roller in order to preserve print quality and increase the life
oftheprint head.
1 Remove the weight and remove all cards from the feeder.
2 Remove the ribbon from the printer.
3 Set the card thickness gauge to MAX position.
4 Close the cover again.
1
43
2
MAX

KC200
KC200B
16
5 Remove the cassette at feeder level.
6 Double-click the control button on the control panel before inserting the cleaning card.
7 Remove the film from the adhesive card (1) and insert the cleaning card into the feeder as shown, adhesive side up (2).
Cleaningstarts.
8 Remove the cleaning card.
9 Replace the cassette at feeder level.
Before using your printer, remember to reset the gauge to the desired card thickness.
Routine cleaning may also be launched from the Evolis Print Center by clicking on "Start cleaning."
5
8
96/7
EPC
NOTE

KC200
KC200B
17
Servicing the Print Head
Recommended cleaning cycle: whenever the ribbon is changed.
Servicing accessory: special cotton swab impregnated with isopropyl alcohol or cleaning pen.
To maintain the original print quality and to absorb excess ink on the print head, we recommend that you clean the print head regularly (at each
ribbon change and periodic cleaning) using the cotton swabs provided by Evolis. You must also protect the print head and its components from
anyelectrostatic discharge.
Follow the cleaning cycles scrupulously.
Avoid any contact between the print head and any metal or sharp objects.
Avoid touching the print head directly with your fingers, as this could affect print quality or permanently damage the print head.
Follow the procedure below:
1 Take an Evolis cotton swab and press the middle of the tube until the end of the swab is soaked in alcohol.
2 Open the cover and locate the print head.
3 Gently rub the swab from left to right along the print head for a few seconds.
4 Close the cover.
Wait for 2 minutes after cleaning before using your printer.
!
NOTE
NOTE

KC200
KC200B
18
ADVANCED CLEANING (SN≥10000828147)
For even more thorough cleaning, we recommend advanced cleaning every 5 routine cleaning cycles.
To do this, Evolis provides an Evolis High Trust®maintenance kit consisting of 2 adhesive cards, 2 pre-soaked "T" shaped cards, a cleaning pen,
and a box of wipes. The "T" shaped cleaning card is used to clean the transport rollers and the magnetic encoder head. Please go through the
following steps to validate advanced cleaning.
Printer servicing
Recommended cleaning cycle: every 5 routine cleaning cycles.
Servicing accessory: pre-soaked "T" shaped card and adhesive card.
Follow the procedure below:
1 Open the printer cover.
2 Remove the ribbon.
3 Close the cover and check it has clicked shut.
1 2 3
NOTE

KC200
KC200B
19
4 Using the gauge, set the card thickness to the MAX position.
5 Remove the cards from the feeder if necessary.
6 Remove the feeder cassette.
4 5
7 Double-click the control button before inserting the cleaning card.
8 Take the "T" shaped cleaning card and insert it in the feeder as shown. Cleaning starts.
9 Remove the "T" shaped card.
6
7/8 9
MAX

KC200
KC200B
20
Wait for 2 minutes after cleaning before using your printer. Don't forget to readjust the gauge to the desired card thickness.
Please note the "T" shaped card must be used immediately after the bag is opened.
Advanced cleaning can also be launched from the Evolis Print Center by clicking on "Start cleaning."
If the terminal is in a dusty environment, we recommend that you place a protective cover on the printer to limit exposure to dust, whether the printer
is in operational mode or not. For more thorough cleaning, you can also carry out advanced cleaning systematically instead of regular cleaning.
The cleaning frequencies recommended by Evolis may be increased depending on the environment in which the terminal is located.
10 Remove the film from the adhesive card (1) and insert the cleaning card into the feeder as shown, adhesive side up (2).
Cleaningstarts.
11 Remove the cleaning card.
12 Replace the cassette at feeder level.
10 11 12
EPC
NOTE
!
This manual suits for next models
1
Table of contents
Other Evolis Printer manuals

Evolis
Evolis TattooRW User manual

Evolis
Evolis PRIMACY 2 User manual

Evolis
Evolis Elypso User manual

Evolis
Evolis Tattoo 2 User manual

Evolis
Evolis QUANTUM User manual

Evolis
Evolis Unitech Securion User manual

Evolis
Evolis QUANTUM User manual

Evolis
Evolis tattoo rw User manual

Evolis
Evolis Securion User manual

Evolis
Evolis Tattoo User manual

Evolis
Evolis Zenius Use and care manual

Evolis
Evolis Dualys User manual

Evolis
Evolis Pebble User manual

Evolis
Evolis Dualys 3 User manual

Evolis
Evolis Avansia Instruction Manual

Evolis
Evolis A5405 User manual

Evolis
Evolis KC ESSENTIAL User manual

Evolis
Evolis Avansia User manual

Evolis
Evolis Primacy User manual

Evolis
Evolis Avansia User manual