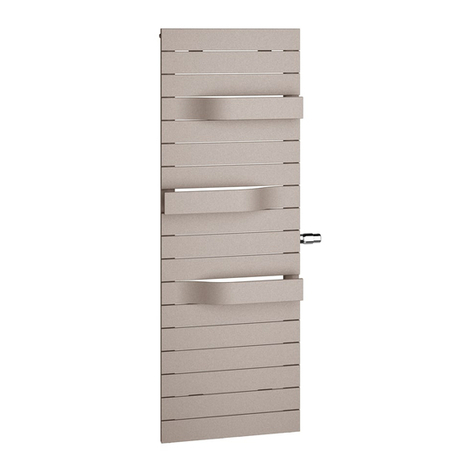
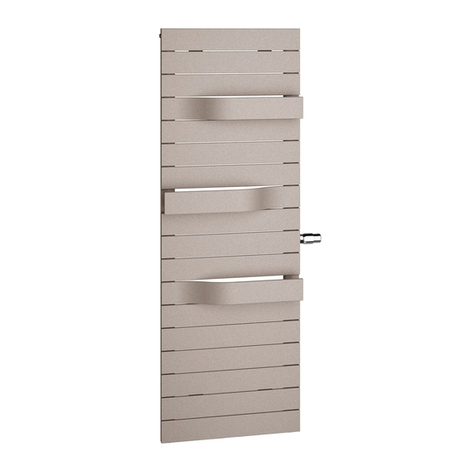
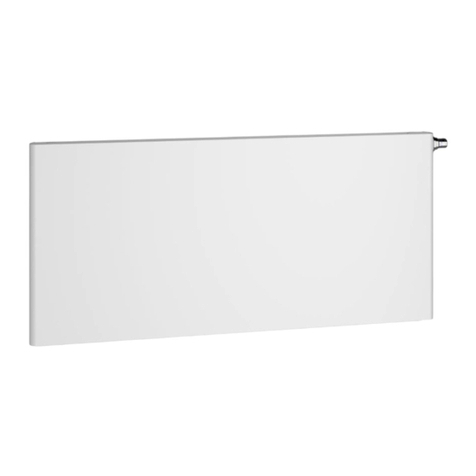
Kermi UNN1008 Manual

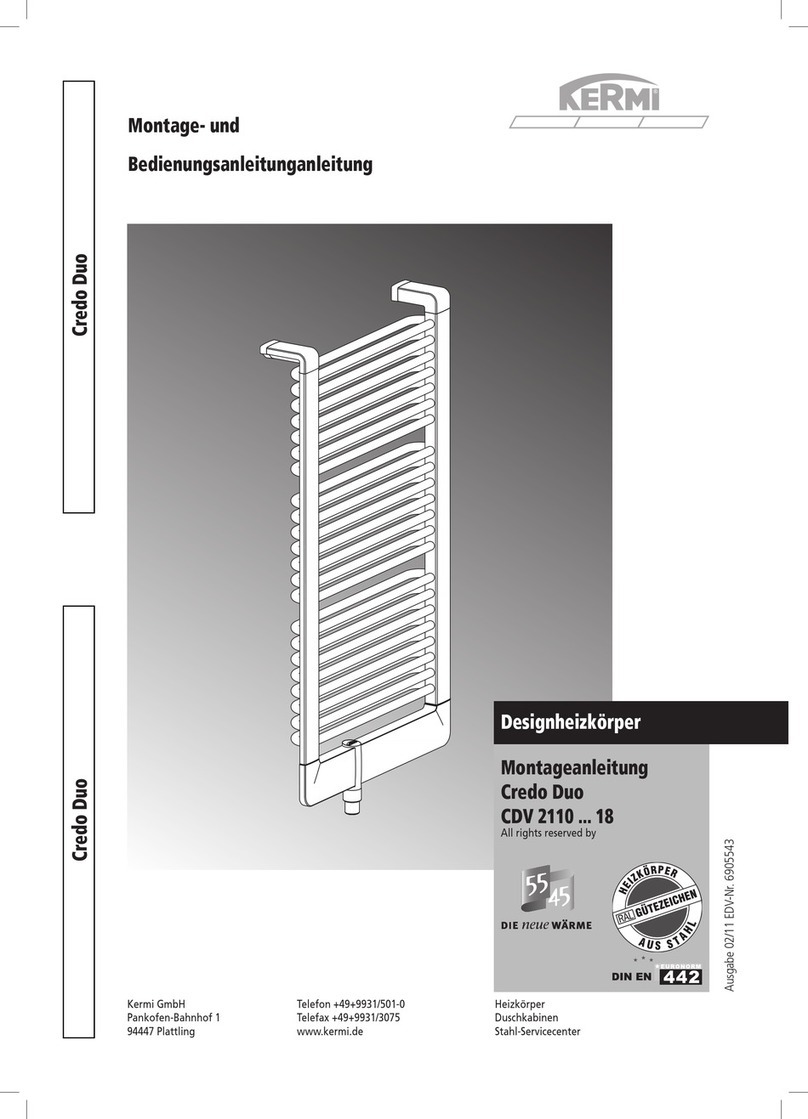
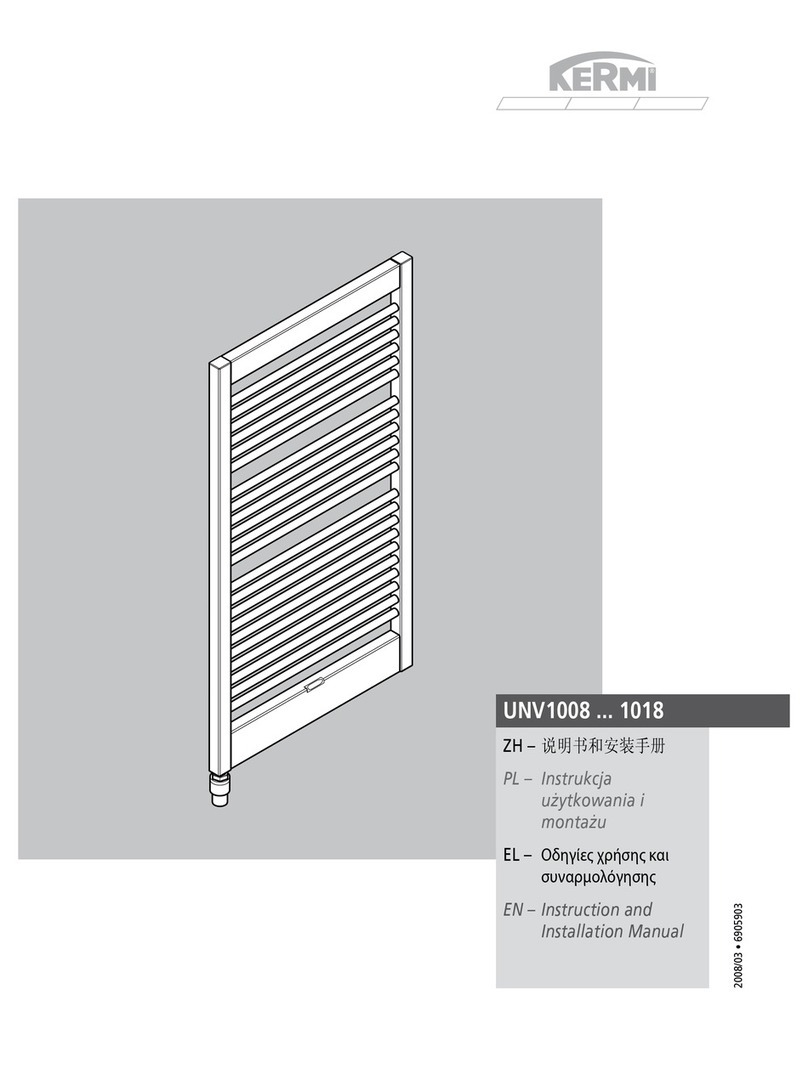
UNN1008 ... 1018
DE – Gebrauchs- und
Montageanleitung
EN – Instruction and
Installation Manual
FR – Instructions
d'utilisation et
de montage
IT – Istruzioni d'uso e
di montaggio
2008/03 • 6905898

2
DE – Montageanleitung
Zielgruppe
Der Heizkörper darf nur von einem Fachhand-
werker montiert werden.
Sicherheitshinweise
Vor der Montage/Inbetriebnahme diese Ge-
brauchs- und Montageanleitung gründlich
lesen.
Nach der Montage die Anleitung dem End-
verbraucher überlassen.
GEFAHR
Lebensgefahr!
Lage der Versorgungslei-
tungen (Strom, Gas, Wasser)
prüfen.
Keine Leitungen anbohren.
Ź
Ź
WARNUNG
Personen- und Sachschäden!
Untergrund auf Tragfähigkeit prüfen.
Gewicht des befüllten Heizkörpers be-
achten (siehe Seite 6).
Mitgelieferte Schrauben und Dübel auf
Eignung prüfen und ggf. ersetzen. An-
forderungen bei öffentlichen Gebäuden
beachten.
Ź
Ź
Betriebsbedingungen und Wasserbeschaf-
fenheit gemäß VDI 2035 "Vermeidung von
Schäden in Warmwasser-Heizungsanlagen"
einhalten.
Heizkörper nur in geschlossenen Heizungs-
systemen einsetzen.
Heizkörper nur in der Schutzfolie lagern
und transportieren.
Mindestabstände Heizkörper – seitliche
Wand/Raumdecke beachten: 50 mm.
Nach der Inbetriebnahme den Heizkörper
entlüften. Verbrühungsgefahr!
Bei Elektro-Zusatzbetrieb:
Wärmeleistung des Heizstabs entsprechend
dem Heizkörpertyp wählen (siehe aktuelle
Verkaufsunterlagen).
Schutzbereiche gemäß DIN VDE 0100-701
beachten. Darüber hinaus alle örtlichen
Vorschriften beachten.
Reklamation
An den Hersteller wenden.
Entsorgung
Verpackung dem Recycling oder der ord-
nungsgemäßen Entsorgung zuführen. Die
örtlichen Vorschriften beachten.
Zubehör
Thermostatkopf
Heizstab für Elektro-Zusatzbetrieb, jedoch
nicht nachrüstbar
Informationen und weiteres Zubehör siehe
aktuelle Verkaufsunterlagen.
Ź
Ź
Ź
Ź
Ź
Ź
Ź
Ź
Ź
Ź
Ź
•
•
Ź
Technische Merkmale
Betriebsdruck:
max. 10 bar
Prüfdruck:
13 bar
Vorlauf:
rechts oder links möglich
Vorlauftemperatur:
Heißwasser bis 110 °C
bei Elektro-Zusatzbetrieb bis 80 °C
Hinweise zur Montage
Bei Heizstab für Elektro-Zusatzbetrieb:
Geänderte Anschlussposition beachten. Der
Heizstab wird mit einem T-Stück montiert
(siehe Montageanleitung des Heizstabs).
•
–
•
–
•
–
•
–
–
Ź
DE – Gebrauchsanleitung
Zulässiger Gebrauch
Der Heizkörper darf nur verwendet werden
zum Heizen von Innenräumen und zum Trock-
nen von Textilien, die in Wasser gewaschen
wurden.
Jeder andere Gebrauch ist nicht bestimmungs-
gemäß und daher unzulässig.
Fehlgebrauch
Der Heizkörper ist nicht geeignet als Sitzgele-
genheit, als Kletter- oder Steighilfe.
Sicherheitshinweise
WARNUNG
Verbrennungsgefahr!
Die Oberfläche des Heizkörpers kann bis zu
110 °C heiß werden.
Seien Sie vorsichtig beim Berühren des
Heizkörpers.
Ź
VORSICHT
Verbrühungsgefahr beim Entlüften durch
herausspritzendes Heißwasser!
Schützen Sie Ihre Hände.
Ź
Elektro-Zusatzbetrieb
Stellen Sie sicher, dass der Rücklauf offen
ist. Bei Erwärmung nimmt das Volumen des
Wassers zu.
Drehen Sie den Thermostatkopf zu.
Wartung
Entlüften Sie den Heizkörper nach der Inbe-
triebnahme und nach längeren Betriebsun-
terbrechungen. Verbrühungsgefahr!
Verwenden Sie einen handelsüblichen Ent-
lüftungsschlüssel.
Lage der Entlüftung siehe Abb. 27, Seite 8.
Reinigung
Verwenden Sie nur milde, nicht scheuernde
Reinigungsmittel.
Reklamation
Wenden Sie sich an Ihren Fachhandwerker.
Montage und Reparaturen
Lassen Sie die Montage und Reparaturen
nur vom Fachhandwerker ausführen, damit
Ihre Gewährleistungsansprüche nicht erlö-
schen.
Entsorgung
Führen Sie ausgediente Heizkörper mit Zu-
behör dem Recycling oder der ordnungs-
gemäßen Entsorgung zu. Beachten Sie die
örtlichen Vorschriften.
Zubehör
Siehe aktuelle Verkaufsunterlagen.
Ź
Ź
Ź
Ź
Ź
Ź
Ź
Ź
Ź

3
EN – Instruction manual
Proper use
The radiator may only be used for heating in-
door areas and for drying textiles which were
washed in water.
Any other use is improper and is therefore pro-
hibited.
Improper use
The radiator is not suitable for use as a seat or
as a climbing or mounting aid.
Safety precautions
WARNING
Risk of burns!
The radiator surface can reach temperatures
of up to 110 °C.
Take care when touching the radiator.
Ź
CAUTION
Risc of scalding when bleeding due to hot
water spraying out!
Protect your hands.
Ź
Auxiliary electrical operation
Ensure that the return line is open. The wa-
ter volume increases during heating.
Close the thermostat head.
Maintenance
Bleed the radiator after commissioning and
after longer interruptions in operation.
Risk of scalding!
Use a standard radiator bleeding key.
See Fig. 27, Page 8 for bleeding location.
Cleaning
Only use mild, non-scouring cleaning
agents.
Complaints
Contact your specialised tradesman.
Installation and repair
Installation and repair should only be per-
formed by a specialised tradesman so that
warranty claims remain valid.
Disposal
Take disused radiators with accessories to a
recycling centre or authorised waste man-
agement facility. Observe local regulations.
Accessories
See current sales information.
Ź
Ź
Ź
Ź
Ź
Ź
Ź
Ź
Ź
EN – Installation manual
Target group
The radiator may only be installed by a special-
ised tradesman.
Safety precautions
Thoroughly read this instruction and instal-
lation manual before installation/commis-
sioning.
After installation, hand over the manual to
the end user.
DANGER
Danger to life!
Check the location of the
supply lines (electricity, gas,
water).
Do not drill into any of the
lines.
Ź
Ź
WARNING
Damage to person and property!
Check the bearing surface for load-carry-
ing capacity. Take the weight of the filled
radiator into account (see Page 6).
Check the suitability of the screws and
anchors provided and substitute if nec-
essary. Observe requirements for public
buildings.
Ź
Ź
Follow local regulations on operating con-
ditions and water quality in order to avoid
damage to the heating system, e.g. from
limestone deposits.
Only use the radiator in closed heating sys-
tems.
Only transport and store the radiator in the
protective film.
Observe minimum spacing of radiator to
side wall/ceiling: 50 mm.
Bleed the radiator after commissioning.
Risk of scalding!
With auxiliary electrical operation:
Choose heat output of the heating element
according to the radiator type (see current
sales information).
Please note that electrical units may only be
installed in certain areas in rooms with bath
and shower facilities when choosing the in-
stallation site. Observe the corresponding
regulations as well as all the local regula-
tions.
Complaints
Contact the manufacturer.
Disposal
Take the packaging to a recycling centre or
authorised waste management facility. Ob-
serve the local regulations.
Accessories
Thermostat head
Heating element for auxiliary electrical op-
eration, but not retrofittable
See current sales information for further ac-
cessories and information.
Ź
Ź
Ź
Ź
Ź
Ź
Ź
Ź
Ź
Ź
Ź
•
•
Ź
Technical characteristics
Operating pressure:
max. 10 bar
Test pressure:
13 bar
Supply line:
Right or left side possible
Supply temperature:
Hot water up to 110 °C
With auxiliary electrical operation, up to
80 °C
Notes on installation
With heating element for auxiliary electrical
operation:
Take the modified connection position into
account. The heating element is installed
with a T-piece (see installation manual of
the heating element).
•
–
•
–
•
–
•
–
–
Ź

4
FR – Instructions d'utilisation
Utilisation conforme
Le radiateur ne doit être utilisé que pour le
chauffage de pièces intérieures et pour le sé-
chage de textiles lavés à l'eau.
Toute autre utilisation est non conforme et par
conséquent interdite.
Utilisation non conforme
Le radiateur ne convient pas comme siège,
estrade ou escabeau.
Consignes de sécurité
AVERTISSEMENT
Danger de brûlure !
La surface du radiateur peut atteindre une
température de 110 °C.
Soyez prudent avant de toucher le radia-
teur.
Ź
PRUDENCE
Danger d'échaudage par projection d'eau
chaude lors de la purge !
Protégez vos mains.
Ź
Fonctionnement électrique supplé-
mentaire
Vérifiez que le retour est ouvert. Suite à
l'échauffement, le volume de l'eau aug-
mente.
Fermez la tête thermostatique.
Maintenance
Purgez le radiateur après la mise en service
et après les interruptions de fonctionne-
ment prolongées. Danger d'échaudage !
Utilisez une clé de purge du commerce.
Position de la vanne de purge, voir fig. 27,
page 8.
Nettoyage
Utilisez uniquement des produits de net-
toyage doux, non abrasifs.
Réclamation
Le cas échéant, adressez-vous à votre tech-
nicien spécialisé.
Montage et réparations
Ne faites exécuter le montage et les répara-
tions que par un technicien spécialisé pour
que vos droits à la garantie restent valides.
Elimination
Envoyer les radiateurs usés et leurs acces-
soires au recyclage ou à une élimination
réglementaire. Respectez les prescriptions
locales.
Accessoires
Conformément aux documents de vente ac-
tuellement en vigueur.
Ź
Ź
Ź
Ź
Ź
Ź
Ź
Ź
Ź
FR – Instructions de montage
Groupe visé
Le montage du radiateur ne doit être exécuté
que par un technicien spécialisé.
Consignes de sécurité
Avant le montage/la mise en service, lire at-
tentivement ces instructions d'utilisation et
de montage.
Après le montage, remettre les instructions
à l'utilisateur final.
DANGER
Danger de mort !
Contrôler la position des
conduites d'alimentation
(électricité, gaz, eau).
Ne pas percer de conduites.
Ź
Ź
AVERTISSEMENT
Danger de blessures et de dommages maté-
riels !
Vérifier la capacité de charge du support.
Tenir compte du poids du radiateur rem-
pli (voir page 6).
Contrôler l'aptitude des vis et chevilles
fournies et les remplacer le cas échéant.
Respecter les exigences posées dans le cas
des bâtiments publics.
Ź
Ź
Respecter les prescriptions locales concer-
nant les conditions d'exploitation et la qua-
lité de l'eau, afin d'éviter des dommages au
système de chauffage, p. ex. par formation
de tartre.
Utiliser le radiateur uniquement dans des
systèmes de chauffage fermés.
N'entreposer et transporter le radiateur que
dans sa feuille plastique de protection.
Respecter l'écartement minimum entre le
radiateur et le mur/plafond : 50 mm.
Après la mise en service, purger le radiateur.
Danger d'échaudage !
En cas de fonctionnement électrique supplé-
mentaire :
Sélectionner la puissance calorifique de
l'élément chauffant en fonction du type de
radiateur (voir documents de vente actuel-
lement en vigueur).
Lors du choix du lieu de montage, tenir
compte de ce que les appareils électriques
ne peuvent être installés que dans certaines
zones des locaux de bain et de douche. Res-
pecter les prescriptions correspondantes et
également toutes les prescriptions locales.
Réclamation
S'adresser au fabricant.
Elimination
Envoyer l'emballage au recyclage ou à une
élimination réglementaire. Respecter les
prescriptions locales.
Ź
Ź
Ź
Ź
Ź
Ź
Ź
Ź
Ź
Ź
Ź
Accessoires
Tête thermostatique
Elément chauffant pour fonctionnement
électrique supplémentaire, ne peut pas être
monté par après
Informations et accessoires supplémentai-
res, voir documents de vente.
Caractéristiques techniques
Pression de service :
max. 10 bars
Pression d'épreuve :
13 bars
Départ :
Possible à droite ou à gauche
Température de départ :
Eau chaude jusqu'à 110 °C
En cas de fonctionnement électrique
supplémentaire jusqu'à 80 °C
Indications de montage
Avec élément chauffant pour fonctionnement
électrique supplémentaire :
Tenir compte de la position de raccorde-
ment modifiée. L'élément chauffant se
monte avec une pièce en T (voir instructions
de montage de l'élément chauffant).
•
•
Ź
•
–
•
–
•
–
•
–
–
Ź

5
IT – Istruzioni d'uso
Uso ammesso
Il radiatore deve essere utilizzato solo per il ri-
scaldamento di interni e per asciugare tessuti
lavati in acqua.
Ogni altro uso è da considerarsi improprio e
pertanto non è ammesso.
Uso errato
Il radiatore non è adatto come sedile, per ar-
rampicarsi o salirvi sopra.
Norme di sicurezza
AVVERTENZA
Pericolo di ustioni!
La superficie del radiatore può assumere an-
che una temperatura di 110 °C.
Usare cautela per toccare il radiatore.
Ź
ATTENZIONE
Nello spurgo, pericolo di ustioni causato da
spruzzi d'acqua bollente!
Proteggere le mani.
Ź
Servizio elettrico supplementare
Verificare che il ritorno sia aperto. Il volume
dell'acqua riscaldata aumenta.
Chiudere la testa del termostato.
Manutenzione
Spurgare il radiatore dopo la messa in ser-
vizio e dopo lunghe interruzioni del funzio-
namento. Pericolo di ustioni!
Utilizzare una normale chiave di spurgo.
Ubicazione dello spurgo: vedi fig. 27, pagi-
na 8.
Pulizia
Utilizzare solo detergenti delicati e non
abrasivi.
Reclami
Contattare l'installatore specializzato.
Montaggio e riparazione
Per non perdere la garanzia sul prodotto,
far eseguire il montaggio e la riparazione
solo da un installatore specializzato.
Smaltimento
Portare i radiatori non più utilizzabili e gli
accessori in un centro di riciclaggio o smal-
tirli correttamente. Rispettare la normativa
locale.
Accessori
Si veda la documentazione di vendita ag-
giornata.
Ź
Ź
Ź
Ź
Ź
Ź
Ź
Ź
Ź
IT – Istruzioni di montaggio
Destinatari
Il radiatori deve essere montato solo da un in-
stallatore specializzato.
Norme di sicurezza
Prima del montaggio/della messa in servi-
zio, leggere attentamente queste istruzioni
d'uso e di montaggio.
Dopo il montaggio consegnare le istruzioni
all'utente finale.
PERICOLO
Pericolo di morte!
Controllare l'ubicazione
delle linee di alimentazione
(corrente, gas, acqua).
Non danneggiare le linee.
Ź
Ź
AVVERTENZA
Lesioni e danni materiali!
Controllare la portata del supporto. At-
tenzione al peso del radiatore pieno (vedi
pagina 6).
Controllare l'idoneità delle viti e dei
tasselli in dotazione e, se necessario, so-
stituirli. Rispettare i requisiti per edifici
pubblici.
Ź
Ź
Rispettare la normativa locale sulle condi-
zioni operative e le caratteristiche dell'ac-
qua per evitare danni al sistema di riscalda-
mento, ad esempio a causa del calcare.
Utilizzare il radiatore solo in sistemi di ri-
scaldamento chiusi.
Immagazzinare e trasportare il radiatore
solo nell'imballo protettivo.
Rispettare le distanze minime tra radiatore
e parete/solaio: 50 mm.
Dopo la messa in servizio, spurgare il radia-
tore. Pericolo di ustioni!
Nel servizio elettrico supplementare:
Scegliere la potenza termica della barra
termica in funzione del tipo di radiatore (si
veda la documentazione di vendita aggior-
nata).
Per la scelta del luogo di montaggio si ten-
ga presente che in ambienti adibiti a bagno
o doccia gli apparecchi elettrici possono
essere montati solo in determinate zone.
Rispettare le norme in materia ed inoltre la
completa normativa locale.
Reclami
Contattare il costruttore.
Smaltimento
Portare l'imballaggio in un centro di rici-
claggio o smaltirlo correttamente. Rispetta-
re la normativa locale.
Ź
Ź
Ź
Ź
Ź
Ź
Ź
Ź
Ź
Ź
Ź
Accessori
Testa del termostato
Barra termica per servizio elettrico supple-
mentare, non montabile a posteriori
Per informazioni ed altri accessori si veda la
documentazione di vendita aggiornata.
Caratteristiche tecniche
Pressione di esercizio:
max. 10 bar
Pressione di prova:
13 bar
Mandata:
A destra o a sinistra
Temperatura di mandata:
Acqua fino a 110 °C
Nel servizio elettrico supplementare fino
a 80 °C
Avvertenze di montaggio
Con barra termica per il servizio elettrico
supplementare:
Attenzione alla posizione di allacciamento
diversa. La barra termica viene montata con
un elemento a T (si vedano le istruzioni di
montaggio della barra termica).
•
•
Ź
•
–
•
–
•
–
•
–
–
Ź

6
BA
BL
> 5026
> 50
NA
L/2 L/2
> 150
H
H
NA
L
E (G 1/4")
BL
57–68
BT
BH
> 150
1*
75–86
RL/VL (G 1/2") VL/RL (G 1/2")
NR H
[mm]
L
[mm]
L/2
[mm]
NA
[mm]
BH
[mm]
BL
[mm]
BT
[mm]
G
[kg]
V
[l]
UNN10080045 . X . K 768 372 186 450 789 490 35 8,08 3,65
UNN10080060 . X . K 768 522 261 600 789 640 35 9,94 4,31
UNN10080075 . X . K 768 672 336 750 789 790 35 11,80 4,96
UNN10120045 . X . K 1148 372 186 450 1169 490 35 11,45 5,49
UNN10120060 . X . K 1148 522 261 600 1169 640 35 14,01 6,50
UNN10120075 . X . K 1148 672 336 750 1169 790 35 16,58 7,50
UNN10150045 . X . K 1452 372 186 450 1473 490 35 14,10 6,95
UNN10150060 . X . K 1452 522 261 600 1473 640 35 17,21 8,22
UNN10150075 . X . K 1452 672 336 750 1473 790 35 20,32 9,49
UNN10180045 . X . K 1756 372 186 450 1777 490 35 16,75 8,40
UNN10180060 . X . K 1756 522 261 600 1777 640 35 20,41 9,94
UNN10180075 . X . K 1756 672 336 750 1777 790 35 24,06 11,49
Legende Legend Légende Leggenda
E Entlüftung Bleeding Purge Spurgo
G Gewicht (leer) Weight (empty) Poids (à vide) Peso (vuoto)
H Abstand Bohrloch zu
Unterkante Anschlussmuffe
Spacing of drilled hole to lower
edge connecting sleeve
Ecart entre trou de perçage et
arête inférieure du manchon de
raccordement
Distanza foro da bordo
inferiore muffola di
allacciamento
L Abstand der Bohrlöcher Spacing of the drilled holes Ecart entre les trous de perçage Distanza dei fori
NA Nabenabstand Hub spacing Ecart entre moyeux Distanza mozzi
NR Artikel-Nr. Article No. N° d'article Codice articolo
RL Rücklauf Return line Retour Ritorno
V Wasserinhalt Water content Contenu liquide Contenuto d'acqua
VL Vorlauf Supply line Départ Mandata
1* geeignete Verschraubungen Suitable screw fittings Raccords vissés appropriés Collegamenti a vite adatti
DE – Maße und Gewichte EN – Dimensions and weights FR – Dimensions et poids IT – Quote e pesi
Rückansicht • View from the rear
Vue arrière • Vista posteriore
Lage der Versorgungsleitungen prüfen.
Untergrund auf Tragfähigkeit prüfen.
Schrauben und Dübel auf Eignung prüfen.
Check the location of the supply lines.
Check the bearing surface for load-carrying
capacity.
Check the suitability of the screws and
anchors.
Contrôler la position des tuyauteries
d'alimentation.
Vérifier la capacité de charge du support.
Contrôler l'aptitude des vis et chevilles.
Controllare l'ubicazione delle linee di
alimentazione.
Controllare la portata del supporto.
Controllare l'idoneità delle viti e dei
tasselli.
Ź
Ź
Ź
Ź
Ź
Ź
Ź
Ź
Ź
Ź
Ź
Ź

7
246
Ø 10
Ø 6
1710
L/2 L/2
H
NA
Ø 10
80 mm
2x
2x
2x
DE – Montage EN – Installation FR – Montage IT – Montaggio
1
2
3
4
5
6
7
8
Mindestabstände und Maße siehe
Abb. A, Seite 6.
For minimum spacing and dimensions,
see Fig. A, Page 6.
Ecarts minimaux et dimensions, voir
fig. A, page 6.
Distanze minime e quote: vedi fig. A,
pagina 6.
Ź
Ź
Ź
Ź
9
Keine Leitungen anbohren. Lebens-
gefahr!
Do not drill into any of the lines.
Danger to life!
Ne pas percer de conduites. Danger
de mort !
Non danneggiare le linee. Pericolo di
morte!
Ź
Ź
Ź
Ź
10
11
12
13
14
15
16
17

8
60 mm
Ø6
18
19
20
21
22
23
24
25
Heizkörper mit geeigneten Verschrau-
bungen wasserseitig anschließen.
Anlage auf Dichtheit prüfen.
Connect radiator at water side with
suitable screw fittings.
Check the system for leaks.
Raccorder le radiateur avec des raccords
vissés appropriés côté eau.
Vérifier l'étanchéité de l'installation.
Allacciare il radiatore al lato acqua con
collegamenti a vite adatti.
Controllare la tenuta dell'impianto.
Ź
Ź
Ź
Ź
Ź
Ź
Ź
Ź
2626
27
28
29
This manual suits for next models
1
Table of contents
Other Kermi Heater manuals

Kermi
Kermi T. 33 Technical manual

Kermi
Kermi Elveo EVE10 Series User manual

Kermi
Kermi 6918418 User manual

Kermi
Kermi DUN2D User manual

Kermi
Kermi TBN10 Guide

Kermi
Kermi T.10 Technical manual

Kermi
Kermi BASIC 50 Series User manual

Kermi
Kermi SGE1A Series User manual

Kermi
Kermi DUE20 Series User manual

Kermi
Kermi AKP 2011/03 Technical manual

Kermi
Kermi Credo-Uno-E User manual

Kermi
Kermi FT Series User manual

Kermi
Kermi C2V10 User manual

Kermi
Kermi T. 11 Specification sheet

Kermi
Kermi GQN1B User manual

Kermi
Kermi Credo-Duo II User manual

Kermi
Kermi Leveo User manual

Kermi
Kermi 6918351 User manual

Kermi
Kermi T. 10 Technical manual

Kermi
Kermi Ideos IDE10 Manual