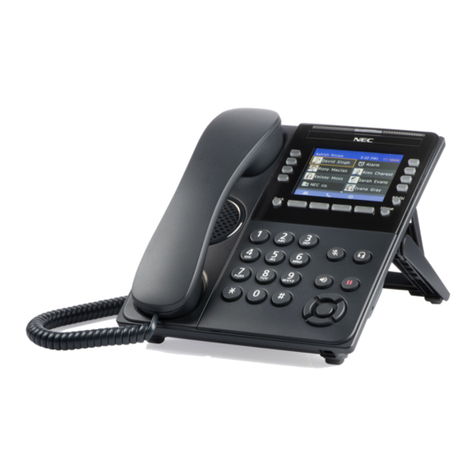
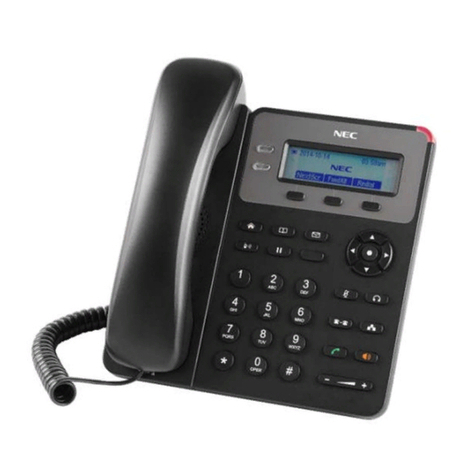
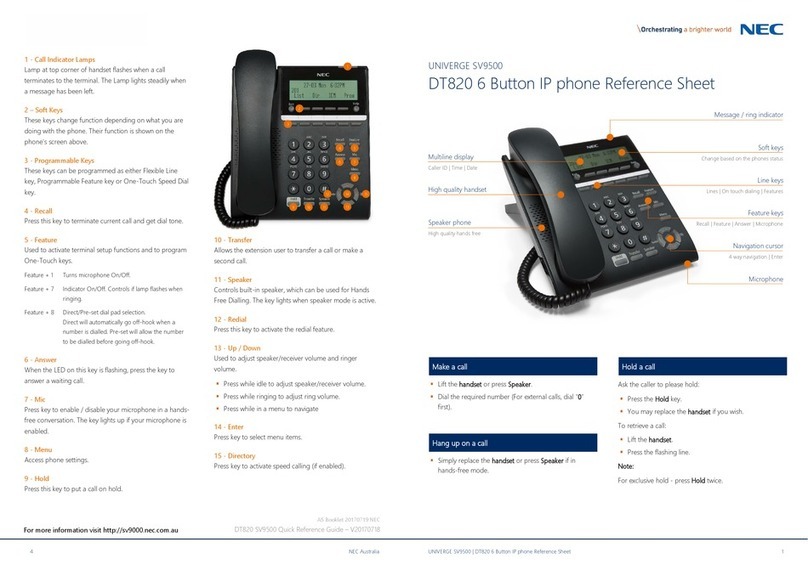
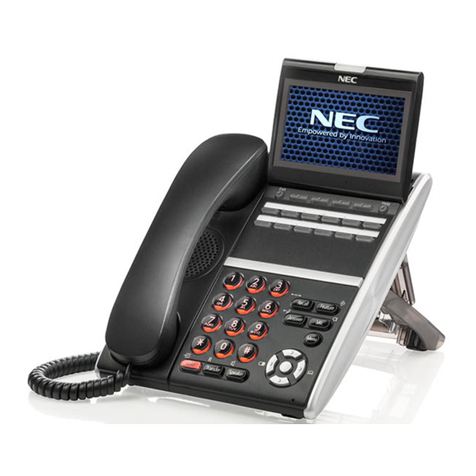
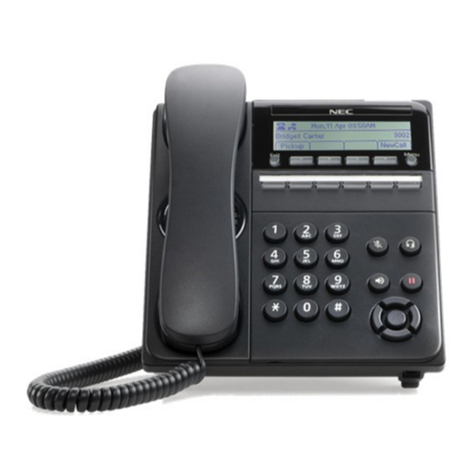
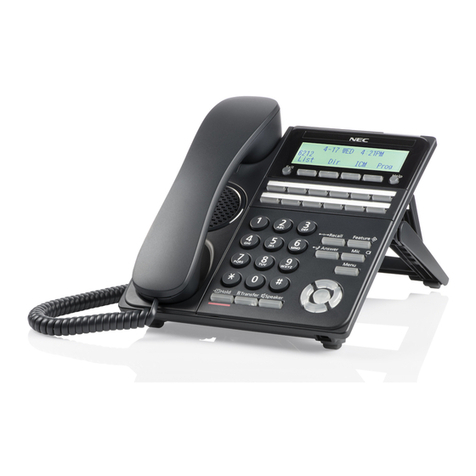
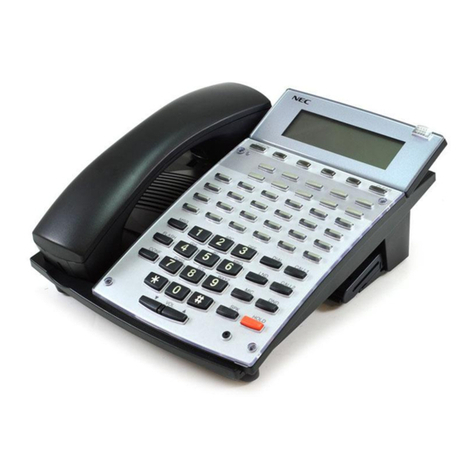
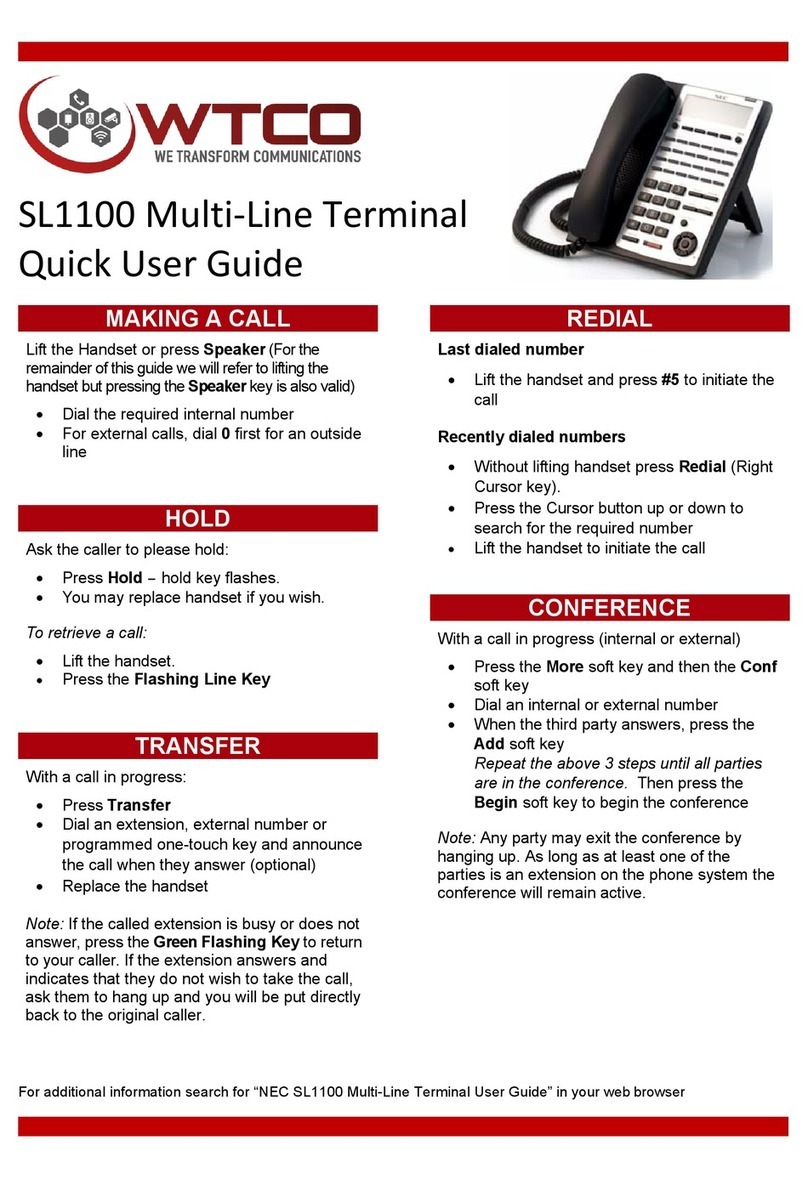
NEC Univerge SV9300 User manual

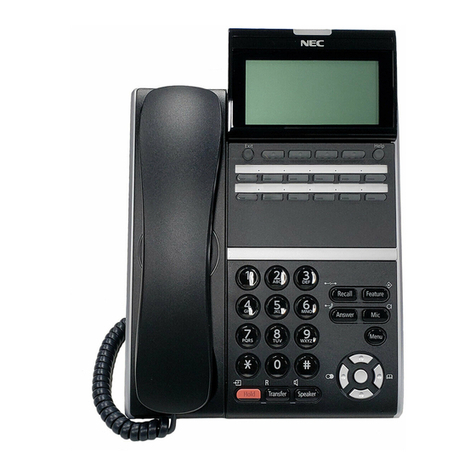
UNIVERGE IP Phone DT820
USER’S GUIDE
GVT-002707-001
Issue 3.1
May, 2017

IMPORTANT NOTICE
LIABILITY DISCLAIMER
NEC Corporation reserves the right to change the specifications, functions, or features, at any time, without
notice.
NEC Corporation has prepared this document for use by its employees and customers. The information con-
tained herein is the property of NEC Corporation and shall not be reproduced without prior written approval from
NEC Corporation. All brand names and product names on this document are trademarks or registered trade-
marks of their respective companies.
Copyright 2015-2017
NEC Corporation
NOTICE
1. Before using this product and document, please read the following document carefully. Also, please keep
this document to the place where you can see any time.
• UNIVERGE SV9300/SV9500 Safety Precautions and Regulatory Notices for DT800/DT400 Series
(GVT-034084-001)
2. Changes or modifications not expressly approved by the party responsible for compliance could void the
user's authority to operate the equipment.
3. This equipment has been tested and found to comply with the limits for a Class A digital device, pursuant
to part 15 of the FCC Rules. These limits are designed to provide reasonable protection against harmful
interference when the equipment is operated in a commercial environment. This equipment generates,
uses, and can radiate radio frequency energy and if not installed and used in accordance with the instruction
manual, may cause harmful interference to radio communications. Operation of this equipment in a resi-
dential area is likely to cause harmful interference in which case the user will be required to correct the
interference at his own expense.
4. This (product and/or technology) can be utilized for development and/or manufacturing of weapons of mass
destruction. Therefore, when you (sell or provide them to any third party and/or grant license to use), you
have to take ample and necessary actions so that this (product or technology) shall not be used for devel-
opment and manufacturing of weapons of mass destruction, which would disrupt world peace and security.
5. This product contains items subject to export regulations of U.S.
When the product is exported to other countries, prior approval by U.S. government may be required for
certain countries.
6. Note that when converting this document from its original format to other file, some minor font and format
changes may occur. When viewing and printing this document, we cannot guarantee that your specific PC
or printer will support all of the fonts or graphics. Therefore, when you view the document, fonts may be
substituted and your individual printer may not have the capability to print the document correctly.
IMPORTANT NOTICE
i
The latest version of document can be downloaded from the following URL.
https://mind.bcom.nec.co.jp/customernet/safety-info/table_t.html

THE TERMS AND CONDITIONS OF SOFTWARE
Customers shall use the software embedded in DT820 pursuant to the terms and conditions of software license
agreement of the UNIVERGE SV9300 communication server (SLA). The software contains certain third party
open source software components which are provided under the terms and conditions designated at
https://mind.bcom.nec.co.jp/customernet/soft-license/DT820_OSS.html
The terms and conditions of SLA are not applied to such third party open source software components.
IMPORTANT NOTICE
ii

PREFACE
This manual describes operating procedures of UNIVERGE IP Phone DT820 Multiline Terminal to be connected
to UNIVERGE SV9300 communication server.
OUTLINE OF THIS MANUAL
This manual consists of;
INTRODUCTION
Please read through this chapter before use for your understanding and proper use of this product.
TERMINAL SETUP
This chapter describes the operations to be performed on the Menu Screen, such as speaker volume control and
LCD contrast adjustment.
FEATURE OPERATION
This chapter describes the operating procedures of service features such as make a call, answer an incoming
call, set call transfer or call hold.
DIAL BY NAME
This chapter describes how to use directory service.
APPENDIX
This chapter describes the supplemental information of this manual.
ABOUT THE MARKS USED IN THIS MANUAL
The following table shows the meaning of the marks used in this manual.
MARK DESCRIPTION
CAUTION: The works that a user cannot perform by himself, some dangers that may cause damages
to the terminal and other cautions are described.
TIP: Useful tips when using this terminal are described.
TERMS IN THIS MANUAL
The following table shows the terms described in this manual.
PREFACE
iii

TERMS DESCRIPTION
Dial Tone You will hear the dial tone from handset when you hang up the hand set. If you press speaker
key, you will hear the dial tone from speaker.
Special Dial Tone If you press the transfer key while you are in conversation with calling party, you will hear the
special dial tone.
Ringback Tone When you dial an extension number, you will hear the ringback tone from handset.
PREFACE
iv

CONTENTS
IMPORTANT NOTICE.........................................................................................................i
LIABILITY DISCLAIMER.................................................................................................................... i
NOTICE............................................................................................................................................ i
THE TERMS AND CONDITIONS OF SOFTWARE..............................................................................ii
PREFACE..........................................................................................................................iii
OUTLINE OF THIS MANUAL............................................................................................................iii
ABOUT THE MARKS USED IN THIS MANUAL..................................................................................iii
TERMS IN THIS MANUAL................................................................................................................ iii
CONTENTS....................................................................................................................... v
●●●●●●●●
INTRODUCTION.................................................................................................. 1
ABOUT TERMINAL........................................................................................................... 1
INSTALLATION PROCEDURE..........................................................................................8
CONNECTING HEADSET............................................................................................... 11
ABOUT SCREENS.......................................................................................................... 12
TERMINAL SETUP............................................................................................ 26
ADJUSTING VOLUMES.................................................................................................. 26
TO SET RINGING OF HEADSET....................................................................................27
TO SET RINGER TONE.................................................................................................. 28
TO ENABLE/DISABLE RTP ALARM............................................................................... 30
TO SET KEY TOUCH TONE........................................................................................... 31
TO SET MUSIC ON HOLD.............................................................................................. 32
TO ENABLE/DISABLE VOLUME LEVEL DISPLAY........................................................ 33
TO SET SCREEN SAVER............................................................................................... 34
TO ENABLE/DISABLE LCD BACK LIGHT...................................................................... 35
TO ENABLE/DISABLE LCD BACKLIGHT FADE CONTROL.......................................... 36
TO SET A LANGUAGE....................................................................................................37
TO CHANGE PASSWORD..............................................................................................38
TO SET USABILITY.........................................................................................................39
TO RESET TERMINAL SETTINGS.................................................................................40
TO DOWNLOAD A FILE..................................................................................................41
TO BACKUP OR RESTORE THE SETTING DATA OF TERMINAL................................45
TO USE HEADSET..........................................................................................................53
FEATURE OPERATION..................................................................................... 55
LOGIN/LOGOUT..............................................................................................................55
CONTENTS
v

MAKING A CALL............................................................................................................. 56
ANSWERING A CALL..................................................................................................... 56
HOLDING A CALL (USING CALL HOLD)....................................................................... 57
HOLDING A CALL (USING EXCLUSIVE CALL HOLD).................................................. 58
TRANSFER A CALL........................................................................................................ 59
LAST NUMBER REDIAL................................................................................................. 61
ONE-TOUCH SPEED CALLING KEYS........................................................................... 61
STATION SPEED DIALING............................................................................................. 62
ORIGINATING A VOICE CALL........................................................................................63
THREE/FOUR-PARTY CONFERENCE...........................................................................64
PRESET ANSWER..........................................................................................................64
RECEIVING A VOICE FROM SPEAKER........................................................................ 65
TALKING HANDSFREE...................................................................................................65
CALL PICKUP - GROUP................................................................................................. 66
CALL PICKUP - DIRECT................................................................................................. 67
MULTILINE APPEARANCE.............................................................................................67
DND (DO NOT DISTURB)............................................................................................... 68
SAVE AND REPEAT A NUMBER....................................................................................69
TRUNK QUEUING - OUTGOING.................................................................................... 70
CALL BACK..................................................................................................................... 71
TIMED QUEUING (OUTSIDE LINE ONLY)..................................................................... 72
TO MAKE/ANSWER A CALL DURING CALL IN PROGRESS....................................... 73
STATION HUNTING.........................................................................................................73
STEP CALL......................................................................................................................74
CALL WAITING................................................................................................................74
EXECUTIVE OVERRIDE.................................................................................................75
CALL FORWARDING - BUSY LINE................................................................................ 76
CALL FORWARDING - NO ANSWER.............................................................................77
CALL FORWARDING - ALL CALLS ............................................................................... 78
CALL FORWARDING - DESTINATION........................................................................... 79
CID (CALLER ID) CALL DISPLAY...................................................................................79
VOICE FIRST/TONE FIRST............................................................................................ 80
ANSWER A VOICE CALL HANDSFREE........................................................................ 81
AUTOMATIC INTERCOM................................................................................................81
MANUAL INTERCOM......................................................................................................82
DIAL INTERCOM.............................................................................................................83
INTERNAL ZONE PAGING WITH MEET-ME PAGE....................................................... 83
BOSS/SECRETARY CALLING........................................................................................84
TIMED REMINDER..........................................................................................................85
CONTENTS
vi
PRIVACY RELEASE........................................................................................................85
RETURN MESSAGE SCHEDULE...................................................................................86
WHISPER PAGE..............................................................................................................87
SYSTEM CLOCK SETUP BY STATION DIALING...........................................................88
DAY/NIGHT MODE CHANGE BY STATION DIALING.................................................... 89
CALL HISTORY............................................................................................................... 90
TO SET REVERSING CONTRAST ON LCD...................................................................93
DIAL BY NAME (DIRECTORY SEARCH)......................................................... 95
TO MAKE A CALL USING DIAL BY NAME.....................................................................95
TO REGISTER PERSONAL DIRECTORY......................................................................96
APPENDIX A MENU LIST..................................................................................98
MENU.............................................................................................................................. 98
APPENDIX B INPUT CHARACTERS.............................................................. 102
HOW TO INPUT CHARACTERS...................................................................................102
TABLE OF INPUT CHARACTERS................................................................................ 103
CONTENTS
vii

INTRODUCTION
ABOUT TERMINAL
FACE LAYOUT
The terminal model and external appearance are shown below.
The model number varies depending on the following features and its combinations.
•Type of Ethernet LAN port for external device connection.
(Fast Ethernet (Max.100Mbps) or Gigabit Ethernet (Max.1,000Mbps))
• The number of programmable keys for ITY-8LDX/32LDG .
(Selectable with 8 or 32)
Although the terminal model cannot be distinguished by external
appearance, it can be confirmed by product label which is shown bottom
of terminal.
TERMINAL LAN PORT PROG.
KEYS
LAYOUT
ITY-6D-1P(BK) TEL
ITY-6D-1P(BK) TEL for
China
Fast Ethernet 6
ITY-6DG-1P(BK) TEL
ITY-6DG-1P(BK) TEL for
China
Gigabit Ethernet 6
ITY-8LDX-1P(BK) TEL
ITY-8LDX-1P(BK) TEL for
China
Fast Ethernet 8
ITY-32LDG-1P(BK) TEL
for China
Gigabit Ethernet 32
INTRODUCTION
1

SPECIFICATIONS
ITEMS CONTENTS
LCD ITY-6D/6DG: Monochrome. (STN Type), 168 x 41 [dots], with back light
ITY-8LDX/32LDG: Monochrome. (STN Type), 168 x 128 [dots], with back light
LCD color Gray scale (8 scales)
Programmable line/
feature key
6/8/32 keys
Fixed feature key 13 keys (with Menu key and Cursor key)
Back light LCD (lit for 10 seconds when operating)
Soft key 4 keys
Directory Max. 30,000 records per system
Call history Outgoing Call: Max. 60 records per terminal
Incoming Call: Max. 60 records per terminal
Handsfree Available (Full duplex)
Headset Available (HW510 (A10)/HW251N (A10)/W710 (APD-80))
LAN interface 2-port, 10BASE-T/100BASE-TX/1000BASE-T, Full-duplex/Half-duplex, Auto Nego-
tiation/Fixed
Voice CODEC Narrow band – 3.1kHz audio bandwidth: G.711, G.729a
IP address setting Sets via DHCP server/Sets Statically
QoS ToS (IP Precedence, Diffserv)
VLAN Tag VLAN (IEEE802.1Q/p), LLDP-MED, DHCP
Security IEEE802.1x authentication (EAP-MD5, EAP-TLS), IEEE802.1x authentication sup-
port (EAPoL Forwarding) on the PC port via switch at a high hierarchy level, SIP&RTP
Encryption, VPN (L2TP/IPsec (IPv4))
Power supply Central Power Supply = IEEE802.3at Type1 (IEEE802.3af compatible)
Power consumption 1000BASE-T is not used: Max. 2.7W (Idle Status: 1.7W)
1000BASE-T is used : Max. 3.6W (Idle Status: 2.1W)
Download Ringing Tone (Available for ITY-8LDX/32LDG) / Music on Hold
Dimension (W×D×H) ITY-6D/6DG:
About 178 (W) × About 215 (D) × About 133 (H) [mm]
ITY-8LDX/32LDG:
About 178 (W) × About 221 (D) × About 133 (H) [mm]
Weight ITY-6D/6DG: About 0.8 [kg]
ITY-8LDX/32LDG: About 0.9 [kg]
Environmental Temperature range = 0 to 40 ℃ (Ambient temperature range = -20 to 60 ℃)
Humidity = 10 to 90% RH (non condensing)
The back light lighting time can be changed by means of system data
setting. For details, please contact the system administrator.
INTRODUCTION
2

EAP-TLS, and VPN (L2TP/IPsec (IPv4)) are supported for terminal
firmware 3.0.0.0 or later. For detail of terminal firmware version, please
contact the system administrator.
VPN (L2TP/IP sec (IPv4)) is not supported for ITY-8LDX-1P TEL for
China/ITY-32LDG-1P TEL for China/ITY-6D-1P TEL for China/
ITY-6DG-1P TEL for China.
The maximum number of directory entries registered per terminal is set
by means of system data setting. For details, please contact the system
administrator.
When a PoE (Power over Ethernet) HUB supports NEC Proprietary
Protocol is used for central power supply, ILPA-R UNIT, which is an
adapter for converting IEEE802.3af to NEC Proprietary Protocol is
needed. When iILPA-R UNIT is used, 1000BASE-T is not available.
For details, please contact the system administrator.
For details of terminal firmware version, please contact the system
administrator.
The VLAN function by DHCP and File Download by HTTPS are supported
for terminal firmware 3.1.0.0 or later.
For details of terminal firmware version, please contact the system
administrator.
KEYS AND PARTS
This section explains keys and parts of terminal.
(1)
(3)
(2)
(4) (5) (6) (7) (8)
(9)
(10)
(11)
(12)
(13)
(14)
(15)
(16)
(17)
(18)
(1)
(3)
(2)
(4) (5) (6) (7) (8)
(9)
(10)
(11)
(12)
(13)
(14)
(15)
(16)
(17)
(18)
(19)
(14)
NO. NAME FUNCTION
(1) Handset Used for sending/receiving voice.
(2) Exit key To exit the Menu or Help mode and go back to the time display.
INTRODUCTION
3

NO. NAME FUNCTION
(3) Speaker Originating a call with handsfree.
(4) Dial keypad Dial the called party number or feature access code.
(5) Hold key To place a call on hold.
(6) Transfer key Allows the terminal user to transfer established calls to another termi-
nal, without attendant assistance.
(7) Speaker key (with light) To control the built-in speaker which can be used for handsfree dialing
or monitoring.
(8)
Cursor key
This key is used as cursor-movement key (Up/Down/Right/Left Key) on
the Menu screen.
And determine the selected item in the Menu screen (Center Key).
Also, this key is used for the following operations.
Volume (UP/DOWN) key
Used to adjust speaker/receiver volume, and ringer volume.
Right key (Directory)
Press this key to open the Directory menu.
Left key (Redial)
Press this key to activate Redial feature. Press Redial and scroll
back through numbers that have been dialed. When the desired
number is displayed, press or to activate dialing.
(9)
Menu
key To access the menu of terminal.
(10) Mic key (with light) To respond handsfree. LED lights during speakerphone operation.
(11) Answer key (with light) When LED on this key is lit, press this key to answer the incoming call.
(12) Feature key (with light) To activate features such as terminal setup and to program One-Touch
Speed Calling keys.
(13) Recall key To finish a call and hear the dial tone to make an another call.
(14) Programmable keys (with
light)
These keys can be programmed as Flexible line key/Programmable
feature key by system administrator.
(15) Soft keys The feature name is shown at the bottom of the LCD. The appropriate
feature key is displayed on the screen according to the call handling
process.
(16) Help key To call up explanations of the Soft keys on the LCD.
(17) LCD To display date or dialed number etc.
(18) Call Indicator Lamp The lamp at the top corner of display flashes when a call terminates to
the terminal.
(19) Scroll key To switch the page number of screen showing programmable key.
For ITY-8LDX terminal, this key can not be used since it supports up to
8 keys.
INTRODUCTION
4

PROGRAMMABLE KEYS WITH LCD DISPLAY
The DT820 series offers a type of terminal that supports programmable keys which have LCD display information
area corresponding to each key. Since the key information is shown on the LCD screen, the identification of paper
based "DESIGNATION" strip is not required on the terminal. Therefore this type of terminal is referred as "DESI-
less" terminal.
These keys can be set as line key, feature key, or One-Touch Speed Calling key by means of system programming.
Following is an example display of the DESI-less screen.
The number of programmable key depends on the terminal model. Please refer to “ABOUT TERMINAL” on page
1 for detail.
CAS HOOK
David J
SPD
SPD
(a) (b) (c) (b) (a)
(d)
26-2557X
26-2556X
26-2558X
26-2558X
Time Indication Screen
DESI-less Screen
1
ABC
2
GHI
4
JKL
5
MNO
6
PQRS
7
TUV
8
WXYZ
9
0#
DEF
3
Hold Speaker Redial
Recall Feature
Answer Mic
Menu
Trans fer
pleHtixE
Scroll
Scroll
00:00:26 26-2556X
4:26 PM MON 11 MAY 2015
MIC Mute
(a) Icon Area
Icon area shows a current status of the line key.
Icon Line Status Icon Indication
None The line is idle status. Flashing
Call is held by terminal user.
Call is held by other user.
Automatic recall from held call.
Call is terminating.
Call is in progress by terminal user. Steady lit.
Call is in progress by other user.
(b) Programmable Key Information Area
Programmable key information area shows the following information.
INTRODUCTION
5

Key Type Display Information Maximum digits
Line Key Name or number of station or outside line. 8
Feature Key Name of service feature. 8
One-Touch Speed Calling Key Name or number of called party. 8
(c) Page Icon
When the terminal supports more than 8 programmable keys, the page icon is displayed at the center of screen.
Each page is provided 8 programmable keys and the page icon shows the corresponding key number and its
status as follows.
Icon Key Number Status Information
Showing programmable key 1-8 Steady lit with black background:
Indicates currently displayed page.
Flashing:
Indicates page with event happening.
(EX. Incoming call is terminating.)
Page icon is displayed only for ITY-32LDG termi-
nal. (For ITY-8LDX terminal, page icon is not dis-
played.)
Showing programmable key 9-16
Showing programmable key 17-24
Showing programmable key 25-32
(d) Scroll Key
The scroll key is used for switching the page number of the programmable keys.
HOW TO USE SCROLL KEY
Following explains how to use the Scroll key with the example of DESI-less Screen.
1. While programmable key of page 1 is displayed, an incoming call is terminated to the
line key registered on page 3.
Page icon is steady lighting with black background showing currently displayed page.
Page icon is flashing showing incoming call arrival.
26-2557X
26-2556X CAS HOOK
David J26-2558X
26-2558X
SPD
SPD
Key No. 1
Key No. 2
Key No. 3
Key No. 4
Key No. 5
Key No. 6
Key No. 7
Key No. 8
Page 1 Flashing
1
2
3
4
Scroll
2. Press Scroll key twice.
Screen is switched to page 3.
Page icon is steady lighting with black background showing currently displayed page.
icon is flashing showing incoming call arrival to the line key.
Line key lamp flashes red. →
(In this example, the incoming call is terminating to the line key number 22.)
INTRODUCTION
6

3. Press line key 22 for answering the incoming call.
MICHAEL
PETER
JULIA
JAMES
POWELL
Key No. 17
Key No. 18
Key No. 19
Key No. 20
Key No. 21
Key No. 22
Key No. 23
Key No. 24
Press line Key 22 on Page 3 to
answer incoming call.
Page 3
Incoming
Call
1
2
3
4
Scroll
INTRODUCTION
7

INSTALLATION PROCEDURE
ADJUSTING ANGLE OF TILT LEGS
The terminal provides adjustable legs for angling it to best suit each user. The legs can be set for two different
heights (Low/High).
LOW POSITION SETTING
1. Turn the terminal over (key side down).
2. Adjust the legs to desired height.
(1)
< Low position >
(1) Tilt Legs
3. Turn the terminal over (key side up).
HIGH POSITION SETTING
1. Turn the terminal over (key side down).
INTRODUCTION
8

2. Pull up the Leg Stoppers.
(1)
Leg Stopper
(1) Tilt Legs
3. Adjust the legs to desired height.
(1)
< High position >
(1) Tilt Legs
4. Turn the terminal over (key side up).
ATTACHING HANDSET
1. Insert the modular jack of curled code into the HANDSET connector on the backside of
the terminal until “click” is heard.
INTRODUCTION
9

2. Fit the curled cord into the groove to be fixed.
(1)
(2)
(3)
(5)
(4)
(1) Terminal
(2) HANDSET Connector
(3) Modular Plug
(4) Curl Cord
(5) Groove
CONNECTING LAN CABLE
Connect LAN cable to the terminal following steps.
1. Connect LAN cable to LAN cable connector (LAN (=)) of the terminal.
2. Press the LAN cable into the groove.
(1)
(2) (5)
(3) (4)
(1) Terminal
(2) LAN Cable
(3) LAN Cable connector for the premises
(4) LAN Cable connector for PC (PC Port)
(5) Groove
INTRODUCTION
10

CONNECTING HEADSET
CONNECTING HEADSET WITH TERMINAL
According to the following procedure, Headset is connected to HEADSET Connector which is located bottom of
terminal.
The headsets which can be connected to the telephone are wired headset
and wireless headset with EHS (Electronic Hook Switch) cord.
For the headset that is supported, please contact the NEC's dealer or
NEC.
HOW TO CONNECT HEADSET
1. Plug the modular plug of headset into the HEADSET connector on the bottom of
terminal.
2. Fit the headset cord into the groove to be fixed.
(1)
(2) (3)
(5)
(4)
(1) Terminal
(2) HEADSET connector
(3) Modular Plug
(4) Cord
(5) Groove
Refer to the “TO MAKE A CALL USING HEADSET” on page 53.
When using EHS (Electronic Hook Switch) wireless headset, there may
be a case that you will hear small tone signals.
This is a normal operation since this type of headset uses tone signals
for call controlling such as connection/disconnection etc.
INTRODUCTION
11

ABOUT SCREENS
STARTING OF TERMINAL SCREEN
The screen displayed after starting up the terminal varies depending on whether URL of the external XML
application is registered or not. This section provides sample screen displays for both cases and explains how to
start up the Menu Screen.
The External Application
The URL of external application server is registered at the initial
installation. For details, please contact the system administrator.
STARTING UP TERMINAL (WHEN EXTERNAL APPLICATION IS
REGISTERED)
1. The terminal automatically accesses Home URL and displays the received XML
application as Home Screen.
The following XML application screen is a sample. The actual screen that
is displayed on your terminal may vary depending on the application you
use.
2. Press
Menu
key to display the Menu Screen.
ITY-6D
ITY-8LDX
INTRODUCTION
12
Other manuals for Univerge SV9300
6
This manual suits for next models
1
Table of contents
Other NEC IP Phone manuals

NEC
NEC ITK-32LCGS-1 User manual

NEC
NEC UNIVERGE MH240 User manual

NEC
NEC Univerge SV8100 User manual

NEC
NEC UNIVERGE SL2100 User manual

NEC
NEC Univerge SV9100 Operating and installation instructions

NEC
NEC D-Term IP-32 User manual

NEC
NEC UNIVERGE DT830G(DG) User manual

NEC
NEC GT210 User manual

NEC
NEC DT710 Instruction manual

NEC
NEC UX5000 User manual