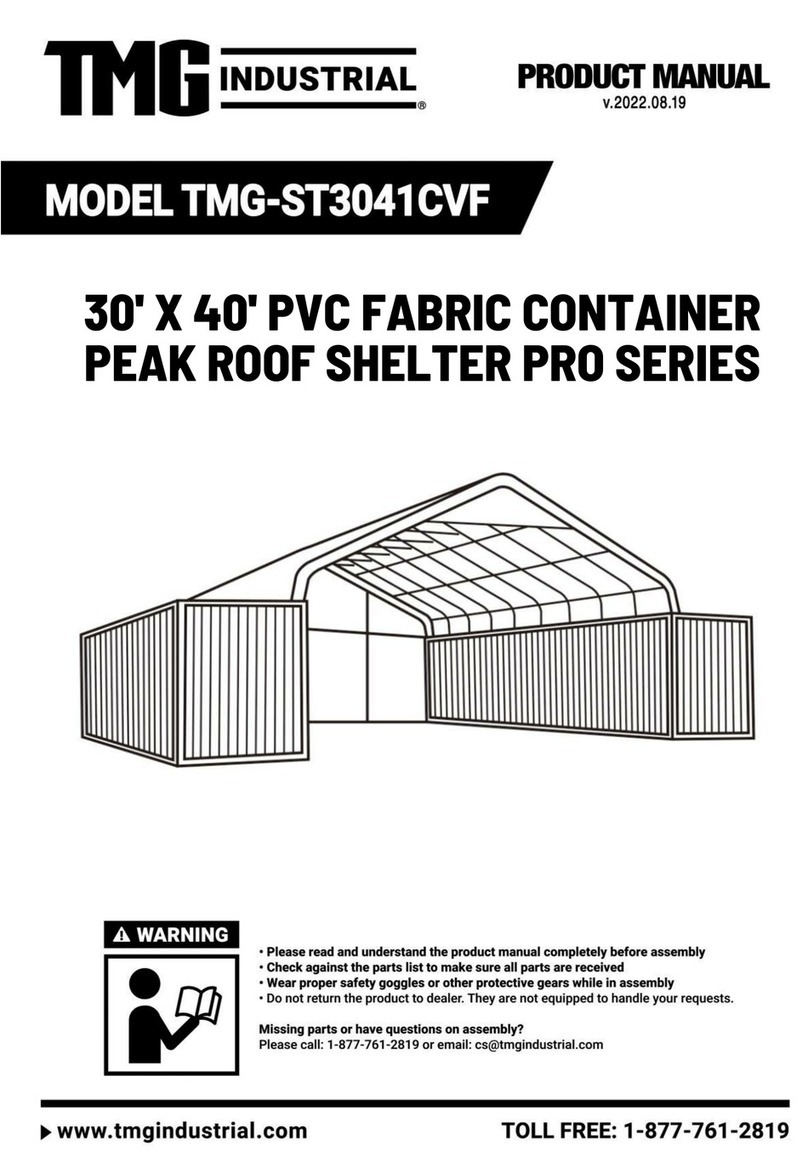
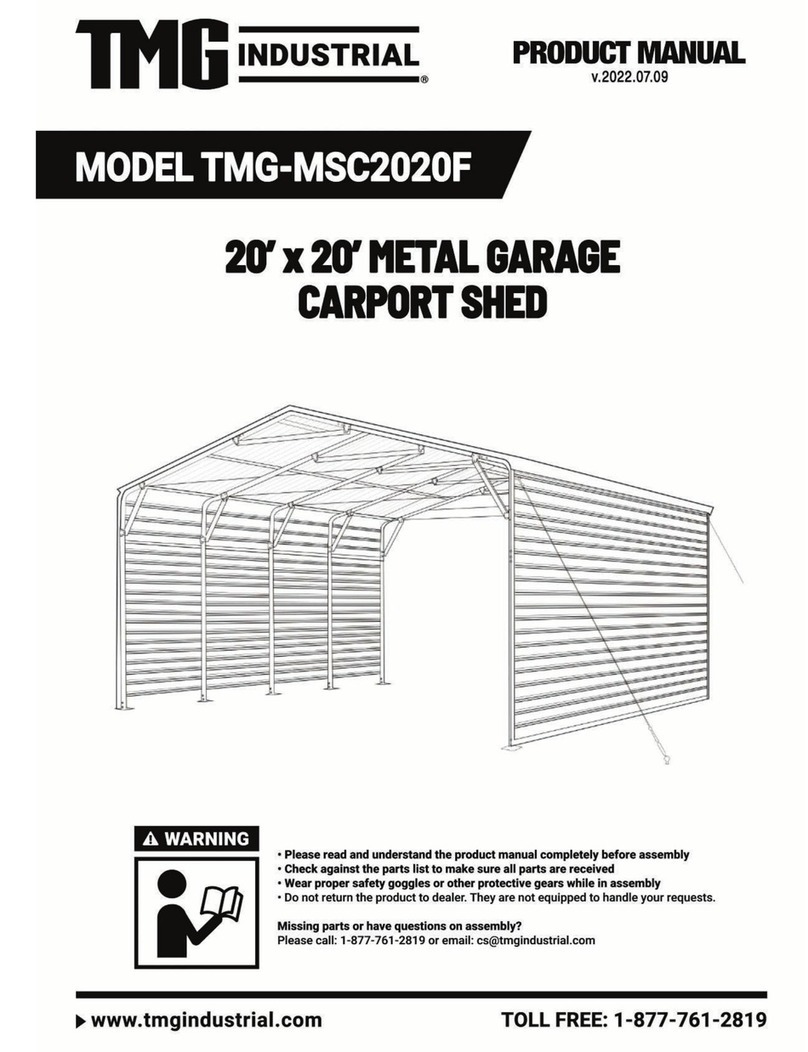
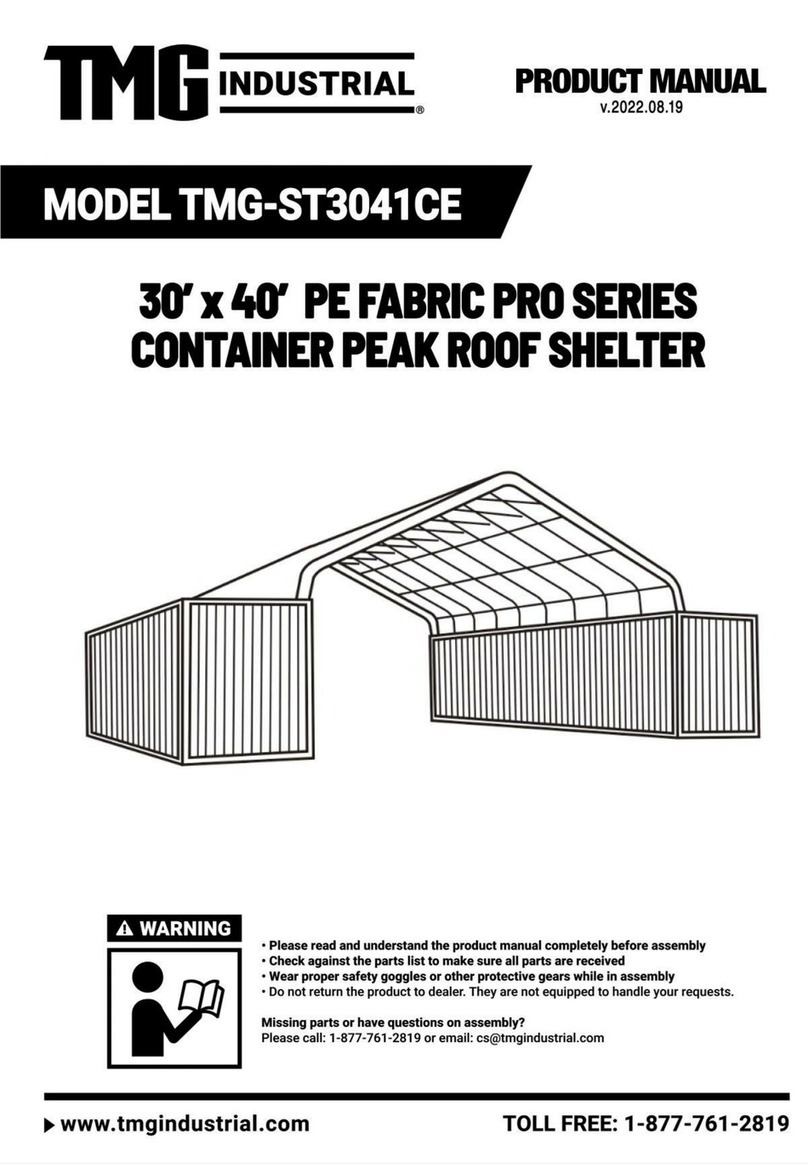
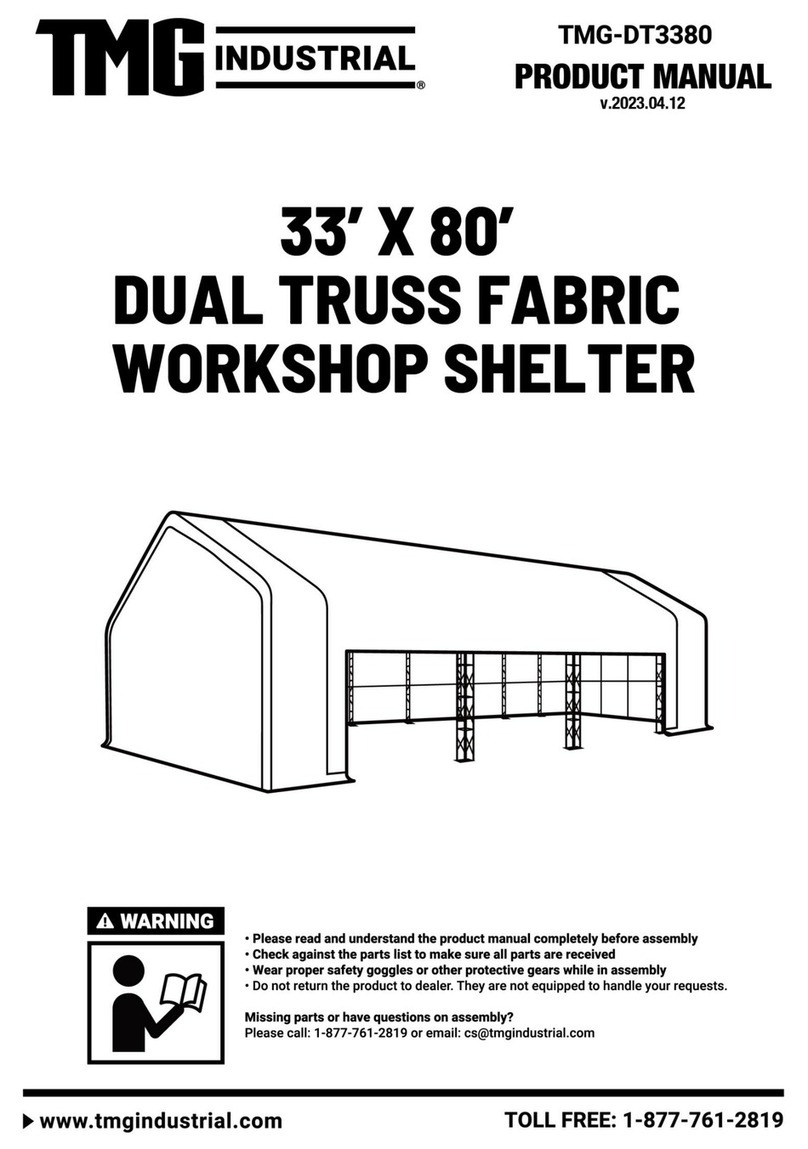
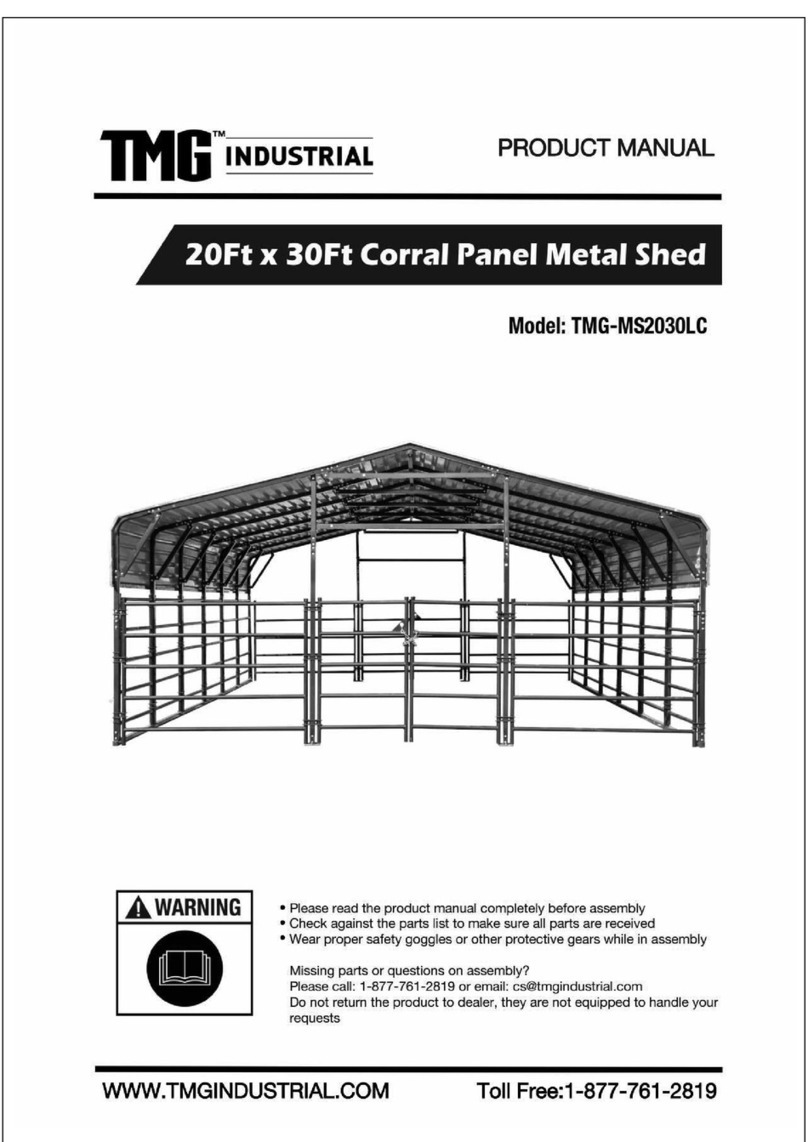
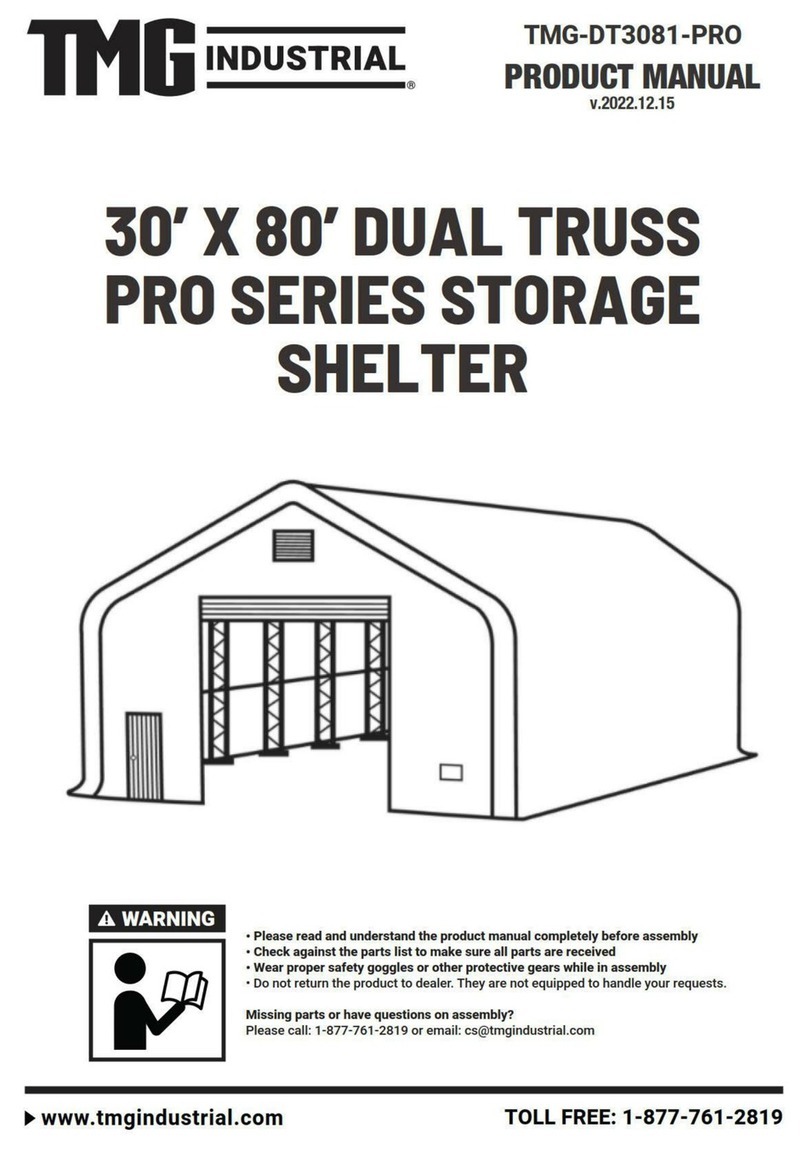
TMG TMG-CP2030F-1.0 User manual

W W W . T M G I N D U S T R I A L . C O M P 0 / 14 T o l l F r e e : 1 - 8 7 7 - 7 6 1 - 2 8 1 9

W W W . T M G I N D U S T R I A L . C O M P 1 / 14 T o l l F r e e : 1 - 8 7 7 - 7 6 1 - 2 8 1 9
Main Specifications :
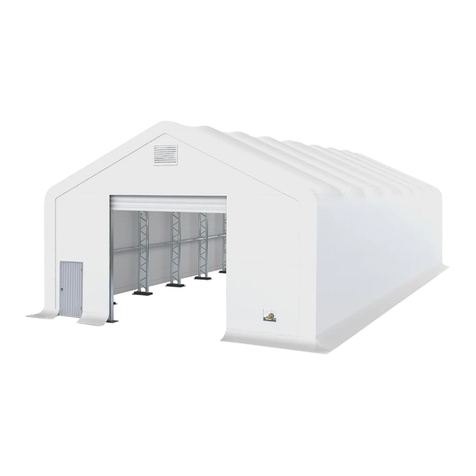
Overall assembled size : W6 x L9 x H3.78 (m) / 20 x 30 x 12 (ft)
Width : 6 m / 20ft
Length : 9 m / 30 ft
Ridge peak height : 3.78 m / 12 ft
Shoulder wall clearance height : 3.0 m / 10 ft
Prior to assembly
Please read the instructions carefully before installation. It is very important to follow
your local safety regulations and industry standards during installation. Regulations may
include but are not limited to:
-Safety helmets, protective eyewear, and clothing
-Safety harnesses for all elevated workers
-Proper ladder, cage, and safety operation
Check all components and parts before installation. All parts are marked with a part
number, please refer to the parts list to make sure you have all parts.
Choose a day with low or no wind to install, assembly is hard in heavy wind. Do not make any
alterations to the structure. Do not hang any weights on the frame during installation, including
parts. We are not responsible for any damages or injuries caused by inappropriate installation,
unauthorized modifications or extreme weather.
This building is not intended for human occupancy.
It is recommended to tape or add foam/rubber on the frame where joints connect and where it
touches the cover. This will help extend the life span of the cover.
Read the following item list carefully and count the number of items to ensure that all
parts are included prior to setup.

W W W . T M G I N D U S T R I A L . C O M P 2 / 14 T o l l F r e e : 1 - 8 7 7 - 7 6 1 - 2 8 1 9
TMG-CP2030F-1.0 Part List
Parts
code
Graphical
Description
Qty
BOX
1
Peak arch tube
7
1/1
2
Middle rafter tube
14
1/1
3
Shoulder tube
12
1/1
3A
Shoulder tube
(middle)
2
1/1
4
Sidewall tube
14
1/1
4A
Short casing
55
1/1
5C
Top cross bar A
5
1/1
5D
Top cross bar B
1
1/1
6
Ceiling cross bar
7
1/1
6A
Foot tube
(front and rear)
4
1/1
6B
Foot tube
(front and rear)
4
1/1
6C
Foot tube
(middle)
2
1/1
6D
Reinforcing tube
14
1/1
6E
Reinforced tube
mounting plate
84
1/1
7
Metal sheet
(front and rear truss)
30
1/1
8
Metal sheet
(middle truss)
60
1/1

W W W . T M G I N D U S T R I A L . C O M P 3 / 14 T o l l F r e e : 1 - 8 7 7 - 7 6 1 - 2 8 1 9
9A
Edge protector
14
1/1
10
Edge buckle
12
1/1
11
Water plug
6
1/1
12
Steel cable mounting
plate
4
1/1
13
Anchor hook
(M14x120mm)
6
1/1
14
Steel cable (3.9m)
6
1/1
15
Expansion bolt
(φ16x150mm)
14
1/1
16
Waterproof silicon
sealant
5
1/1
16A
Teroson statu
1
1/1
17
Hex bolt M10x70mm
313
1/1
18
Self tapping screw
M5x30mm
480
1/1
19
Rivet
φ3x6mm
100
1/1
20
Corner protector
4
1/1
21
Hex bolt M10x120mm
7
1/1
22
Sleeve
2
1/1
23
Eyebolt
2
1/1

W W W . T M G I N D U S T R I A L . C O M P 4 / 14 T o l l F r e e : 1 - 8 7 7 - 7 6 1 - 2 8 1 9
Installation steps
Step 1 : Review the whole structure and choose the proper installation site
Refer to the foundation structure Figure 1, draw lines on the ground for positioning, all
dimension lines are drawn from the center of the pipe to the center, and the diagonal X must be
equal to Y.
Installation of foundation pipes: all foundation pipes shall be connected here with (#17) hex
bolts as shown in Figure 1, and fixed on the ground with (#15) expansion bolts (refer to figure 1).
Parts used in this step :
- (4) Foot tube (#6A)
- (4) Foot tube (#6B)
- (2) Foot tube (#6C)
- (32) Hex bolt (#17)
- (14) Expansion bolt (#15)
- (8) Short casing (#4A)
Figure 1

W W W . T M G I N D U S T R I A L . C O M P 5 / 14 T o l l F r e e : 1 - 8 7 7 - 7 6 1 - 2 8 1 9
Step 2 : Assemble all trusses
The building includes 7 trusses : (1) front truss, (1) rear truss, (1) middle trusses and (4) other
trusses.
Parts used to install the front and rear truss in this step (refer to figure 2).
- (1x2) Peak arch tube (#1)
- (2x2) Middle rafter tube (#2)
- (2x2) Shoulder tube (#3)
- (2x2) Sidewall tube (#4)
- (2x2) Steel cable mounting plate (#12)
- (34x2) Hex bolt (#17)
- (1x2) Ceiling cross bar (#6)
- (2x2) Reinforcing tube (#6D)
- (12x2) Reinforced tube mounting plate (#6E)
- (6x2) Short casing (#4A)
Figure 2
Parts used to install (1) middle trusses in this step (refer to figure 3).
- (1) Peak arch tube (#1)
- (2) Middle rafter tube (#2)
- (2) Shoulder tube (#3A)
- (2) Sidewall tube (#4)

W W W . T M G I N D U S T R I A L . C O M P 6 / 14 T o l l F r e e : 1 - 8 7 7 - 7 6 1 - 2 8 1 9
- (34) Hex bolt (#17)
- (1) Ceiling cross bar (#6)
- (2) Reinforcing tube (#6D)
- (12) Reinforced tube mounting plate (#6E)
- (6) Short casing (#4A)
Figure 3
Parts used to install (5) middle trusses in this step (refer to figure 4).
- (1x4) Peak arch tube (#1)
- (2x4) Middle rafter tube (#2)
- (2x4) Shoulder tube (#3)
- (2x4) Sidewall tube (#4)
- (34x4) Hex bolt (#17)
- (1x4) Ceiling cross bar (#6)
- (2x4) Reinforcing tube (#6D)
- (12x4) Reinforced tube mounting plate (#6E)
- (6x4) Short casing (#4A)

W W W . T M G I N D U S T R I A L . C O M P 7 / 14 T o l l F r e e : 1 - 8 7 7 - 7 6 1 - 2 8 1 9
Figure 4
Lay down all (7) trusses on the ground when the assembly is all completed and before
moving to next step (refer to figure 5).
Figure 5
Step 3 : Assemble all trusses to the foundation pipe and connect them with (#17) bolts
The front and rear trusses are installed with one side of (#12) Steel cable mounting plate
facing outwards (refer to figure 6).
Parts used in this step :
- (4x7) Hex bolt (#17)

W W W . T M G I N D U S T R I A L . C O M P 8 / 14 T o l l F r e e : 1 - 8 7 7 - 7 6 1 - 2 8 1 9
Figure 6
Install top cross bar A (#5C) and top cross bar B (#5D).Use (#21) and (#17) Hexagonal
bolt fixation (refer to figure 7).
Parts used in this step :
- (5) Top cross bar A (#5C)
- (1) Top cross bar B (#5D)
- (5) Short casing (#4A)
- (15) Hex bolt (#17)
- (7) Hex bolt (#21)

W W W . T M G I N D U S T R I A L . C O M P 9 / 14 T o l l F r e e : 1 - 8 7 7 - 7 6 1 - 2 8 1 9
Figure 7
Step 4 : Install the color iron tile
Before installation, ensure that the distance between centers of each collapse is 1500mm.
Install the first row of colored steel tiles from the top end. The center of the colored steel
tiles must be aligned with the midpoint of the top arch tube (you can mark the center of
the top arch tube with a line). The extension size of both ends is 50mm. The size of the
middle cross overlap position is 95mm, and the cross overlap position needs to be coated
with waterproof silicon sealant. All color steel tiles are fixed on the truss with (#18) self
tapping screws (refer to figure 8).
Parts used in this step :
- (30) Metal sheet (#7)
- (60) Metal sheet (#8)
- (340) Self tapping screw (#18)
- (4) Waterproof silicon sealant (#16)

W W W . T M G I N D U S T R I A L . C O M P 10 / 14 T o l l F r e e : 1 - 8 7 7 - 7 6 1 - 2 8 1 9
Figure 8
Install the first color steel tile. Take the first colored steel tile at the top as the benchmark,
ensure that both ends of each colored steel tile are aligned, and lock it on the truss with (#18)
self tapping screw (refer to figure 9).
Figure 9

W W W . T M G I N D U S T R I A L . C O M P 11 / 14 T o l l F r e e : 1 - 8 7 7 - 7 6 1 - 2 8 1 9
Install all color iron tiles in turn, make sure that both ends of each color iron tile are aligned,
and apply waterproof silicon sealant (#16) on the butt joint of both ends (refer to figure 10).
Figure 10
Step 5 : Install the front and rear edging strips
Start to install the color steel tile edge protector (#9A) from one side, and align one end with
the color steel tile edge. The opening of the edge banding strip of the color steel tile shall be
aligned with the end face of the color steel tile, and the bottom buckle can be pressed into
place. It is necessary to use tools to cut out the gap at the corner so that the edge banding
strip of color steel tile can be bent and installed (refer to figure 11).
Parts used in this step :
- (14) Edge protector (#9A)
- (12) Edge buckle (#10)

W W W . T M G I N D U S T R I A L . C O M P 12 / 14 T o l l F r e e : 1 - 8 7 7 - 7 6 1 - 2 8 1 9
Figure 11
Install the edge buckle (#10) and the two raised card points of the edge buckle are aligned
with the square holes at the interfaces of the two color steel tile edge bands, and then press
the buckle in place. The front and rear installation methods are the same (refer to figure 12).
Figure 12

W W W . T M G I N D U S T R I A L . C O M P 13 / 14 T o l l F r e e : 1 - 8 7 7 - 7 6 1 - 2 8 1 9
Step 6 : Drilling holes in metal sheet
Drill holes from inside to outside where the middle truss has holes, through the thin
metal sheet (refer to figure 13).
Figure 13
Step 6 : Install wire rope and waterproof plug
Select a suitable position to fix the expansion bolt of the draw hook on the ground, hook one end
of the wire rope onto the wire rope mounting plate and eyebolt, and fix the other end to (#13)
anchor hook of the draw hook, adjust the nut on the steel wire rope to tighten the steel wire rope.
Last,put the waterproof plug into the square pipe head (refer to figure 14).
Parts used in this step :
- (6) Anchor hook (#13)
- (6) Steel cable (#14)
- (6) Water plug (#11)
- (2) Steel cable (#23)

W W W . T M G I N D U S T R I A L . C O M P 14 / 14 T o l l F r e e : 1 - 8 7 7 - 7 6 1 - 2 8 1 9
Figure 14
Now that your building is completely installed, we need to check all components and trusses to
make sure the whole structure is rectangular. Check whether the connection of color steel tile
fits. We provide (#19) rivets, which can be used to fix the color steel tiles where necessary, so
that they can fit together to prevent water leakage.
• All bolts installed in this step can now be tightened. Do not over tighten the bolts, otherwise
the pipes or components will be damaged.
After the Installation
Walk around and inspect the shelter periodically to make sure all components are still firmly
secured and the whole shelter is well supported. Check all bolts and nuts as well as all
connection points to make sure they are all in good position. Check the base plates, adjust the
ropes and tie downs if required and clean the cover regularly.
Snow accumulating on the fabric cover must be removed as soon as possible. If snow becomes
solid ice on the cover, it will increase the weight on the roof and may collapse the shelter or
reduce the life span.
We strongly recommend you remove any snow from the roof immediately. Do not leave any
snow load on the roof overnight. Keep 3 feet of clearance on all sides at all times. Do not allow
snow to accumulate and pile up on the sides of the building. Otherwise the pressure from the
sides will push inwards and could lead to a collapse.
Table of contents
Other TMG Shelter manuals

TMG
TMG PRO Series User manual
TMG
TMG TMG-LCP16 User manual

TMG
TMG TMG-ST3060V-1.0 User manual

TMG
TMG TMG-ST3040C User manual

TMG
TMG TMG-ST3040V-1.0 User manual

TMG
TMG TMG-CP1220F User manual

TMG
TMG DUAL TRUSS PRO Series User manual

TMG
TMG TMG-ST3080E-1.0 User manual
TMG
TMG ST3080V-1.0 User manual

TMG
TMG TMG-DT3041 User manual
Popular Shelter manuals by other brands

Duratuf KIWI
Duratuf KIWI SHEDS MK4A Assembly instructions

No Butts Bin
No Butts Bin SR8060-F Assembly instructions

Gazebo penguin
Gazebo penguin 7171020 instruction manual

No Butts Bin
No Butts Bin SR1584 Assembly instructions

No Butts Bin
No Butts Bin SR7894 Assembly instructions

No Butts Bin
No Butts Bin SR7900 Assembly instructions