FR
CAA - CBB
MANUEL D’INSTALLATION
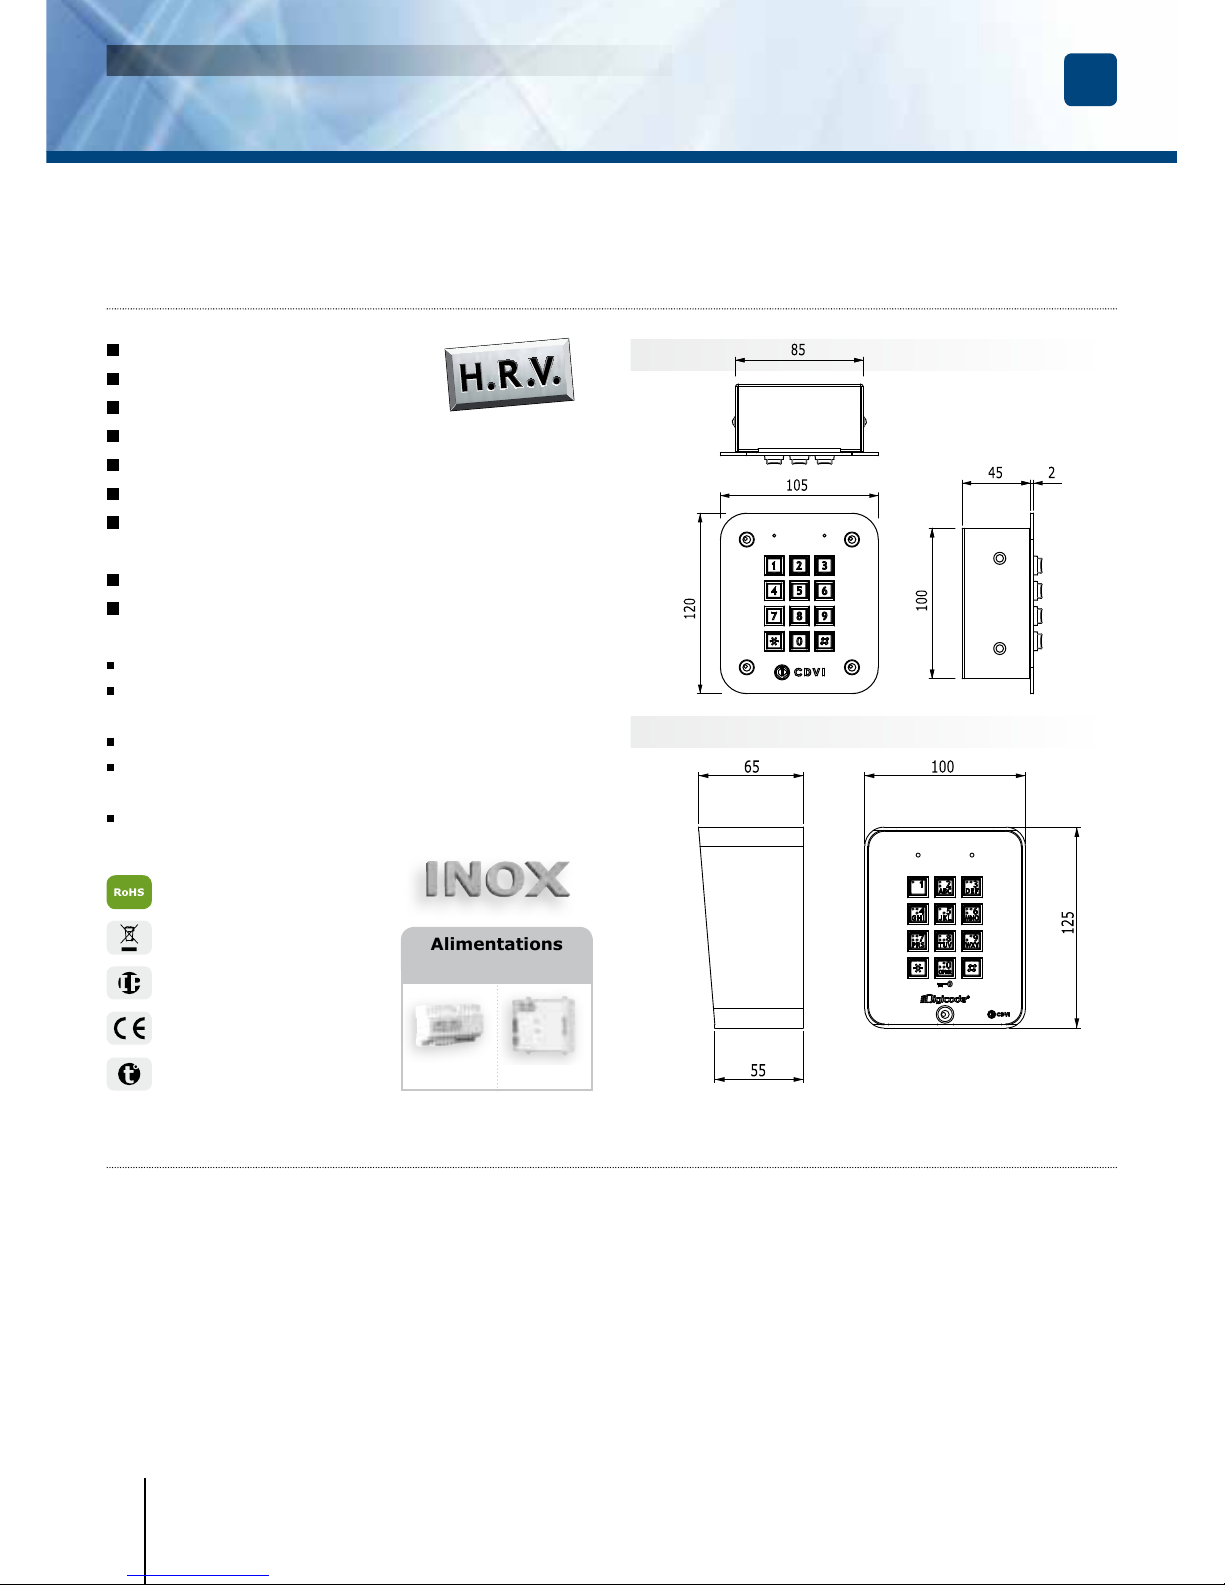
Description:
1 2 3 4 5
Valeurs par défaut:
1 2 3 4 5
Correspondance des signaux
sonores :
- 1 bip court :
- 1 bip long :
- 2 bips courts:
- 4 bips courts :
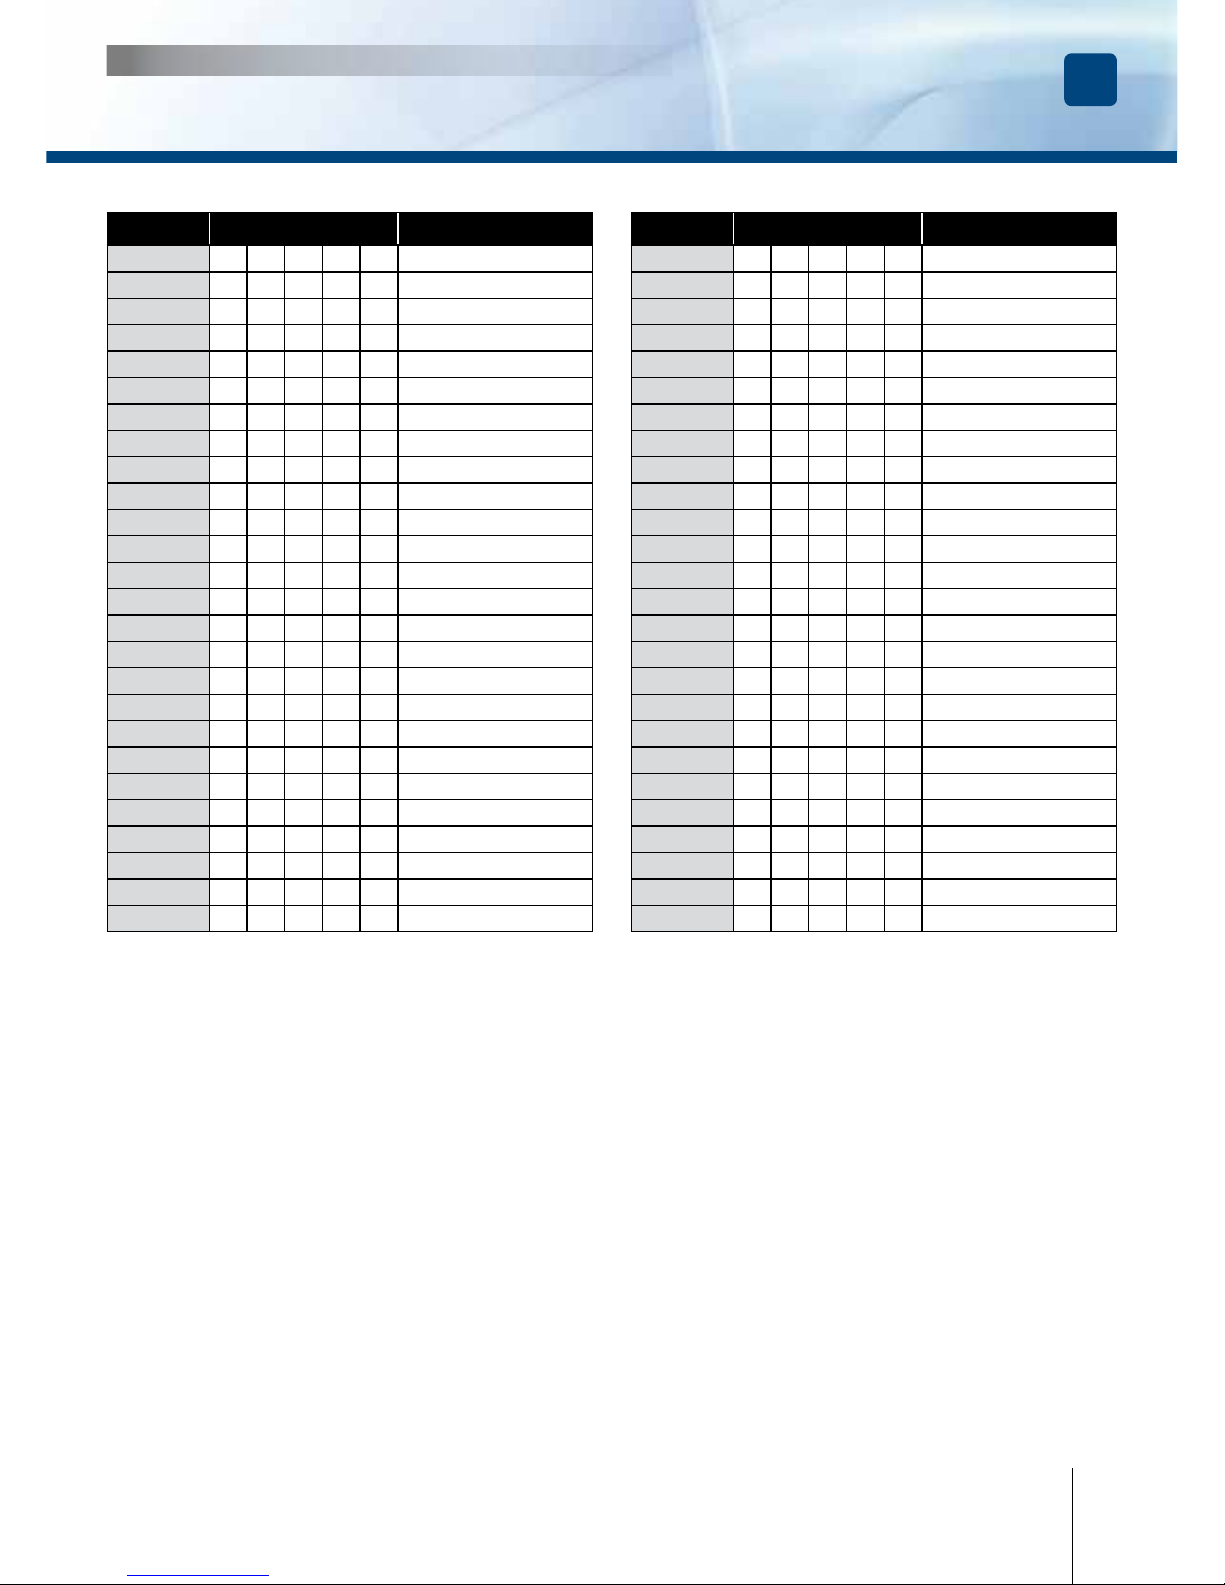
Termes utilisés et codes
d’ouverture:
0 0 0 0 0 00 0 0 0 0
0 0 0 0
Commande par bouton poussoir:
Consommation
A. Remise à zéro de la mémoire
1. Tapez 2 fois le code maître.
1 2 3 4 5.
2. Puis tapez 6.
#
1 2 3 4 5
OU
1. Coupez l’alimentation.
2. Rétablir l’alimentation.
3. Le code maître est de nouveau
1 2 3 4 5 et tous les codes sont effacés.
B. Programmation du nombre
de termes
1. Tapez 2 fois le code maître.
1 2 3 4 5.
2. Tapez 4 pour la saisie du nombre
de termes des codes.
6] PROGRAMMATION