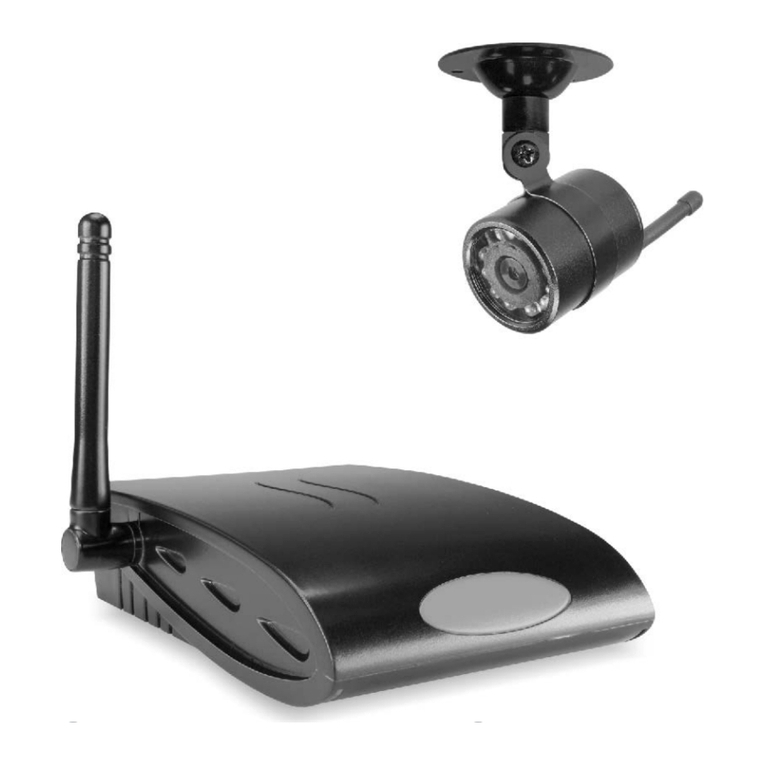
ELRO AG40SR11B Reference manual
Other ELRO Security System manuals
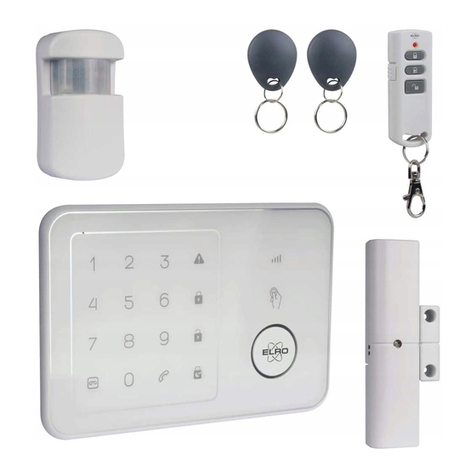
ELRO
ELRO AG400011 User manual

ELRO
ELRO FR350111R User manual
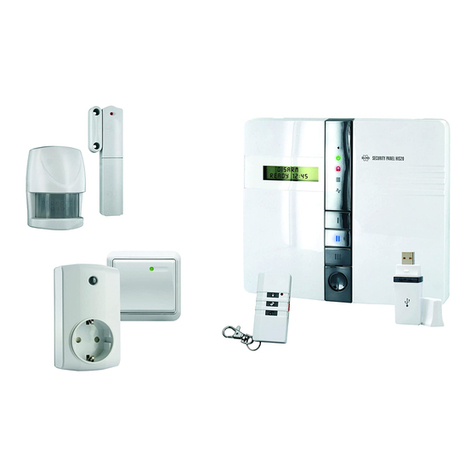
ELRO
ELRO HIS20S Installation instructions

ELRO
ELRO DWH SERIES Service manual
ELRO
ELRO PRO AP55SR11B User manual

ELRO
ELRO AS90SRB User manual

ELRO
ELRO HIS20USB User manual

ELRO
ELRO AS80SR11A User manual
ELRO
ELRO DVR158S User manual

ELRO
ELRO AS90S User manual
Popular Security System manuals by other brands

Inner Range
Inner Range Concept 2000 user manual

Climax
Climax Mobile Lite R32 Installer's guide

FBII
FBII XL-31 Series installation instructions

Johnson Controls
Johnson Controls PENN Connected PC10 Install and Commissioning Guide

Aeotec
Aeotec Siren Gen5 quick start guide

IDEAL
IDEAL Accenta Engineering information

Swann
Swann SW-P-MC2 Specifications

Ecolink
Ecolink Siren+Chime user manual

Digital Monitoring Products
Digital Monitoring Products XR150 user guide

EDM
EDM Solution 6+6 Wireless-AE installation manual

Siren
Siren LED GSM operating manual

Detection Systems
Detection Systems 7090i Installation and programming manual
