ESPT JARUEN DE KO
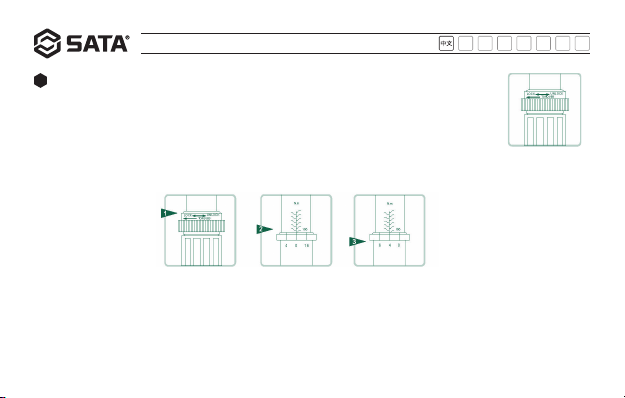
- 为了使您的世达扭力扳手使用时处于良好的精度状态,首次使用(测试)或长期未使用的扭力扳手需要
首次使用(测试)时,务必以高扭力操作 5-10 次,以使其中精密部件能得到内部特殊润滑剂的充分润滑。
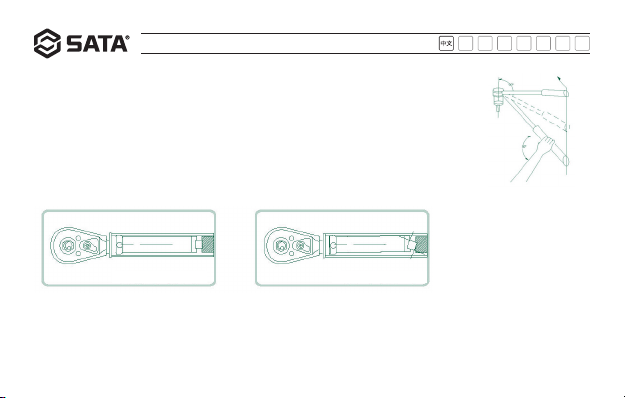
- 确保正确握紧手柄的姿势。握紧手柄,而不是扳手杆,然后平稳的拉扳手。
使用时应缓慢平稳地施加扭力,严禁施加冲击扭力。您施加的冲击扭力,除
了对扭力扳手本身造成损坏外, 还会使得您大大超出您设定的扭力值,损坏
螺母或工件。
正确的施力方法是:将套筒紧密安全的固定于扳手的方头上,然后将套筒置于
紧固件上,不可倾斜。施力时, 手紧握住手柄中部,并以垂直扭力扳手、方头、
套筒、及紧固件所在共同平面的方向用力。
在均匀增加施力时,必须维持保持方头、套筒及紧固件在同一平面上(如图所示),以保证扳手在
发出警告声响后读数的准确性。
使用扭力扳手时,请勿倾斜扳手手柄。倾斜扳手手柄易导致扭力偏差甚至损坏紧固件。
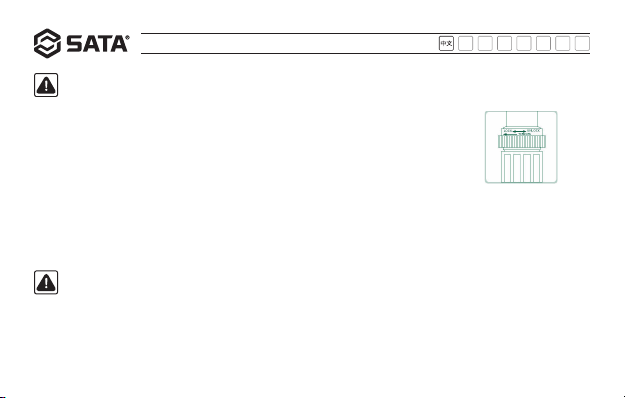
注意
警告
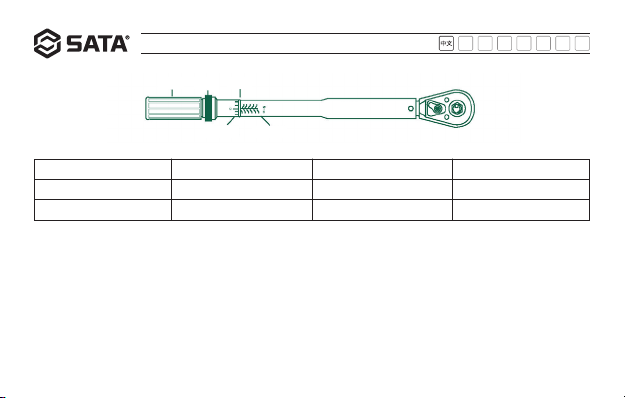
96411 / 96412
- 03 -
6