manuals.online logo
Brands
  1. Home
  2. •
  3. Brands
  4. •
  5. Pitney Bowes
  6. •
  7. Postal Equipment
  8. •
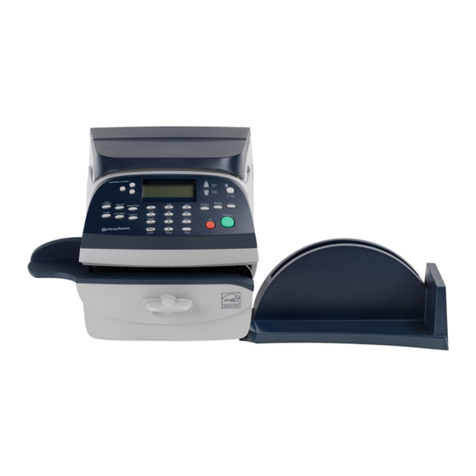
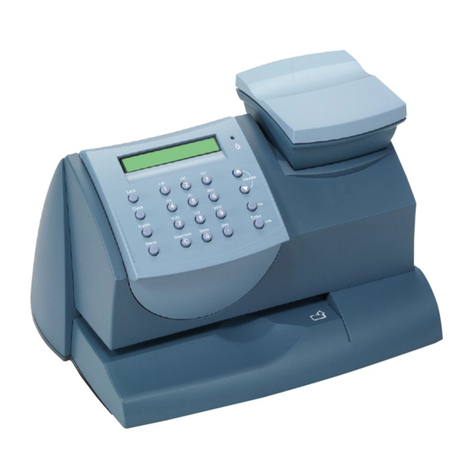
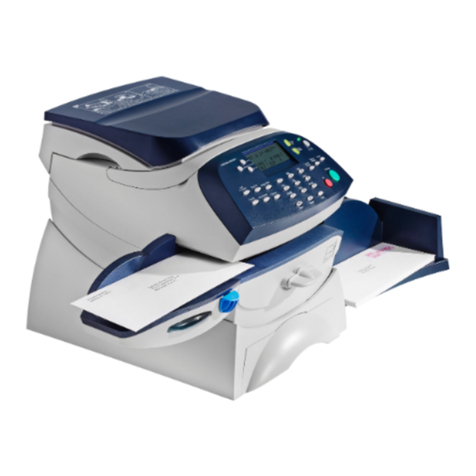
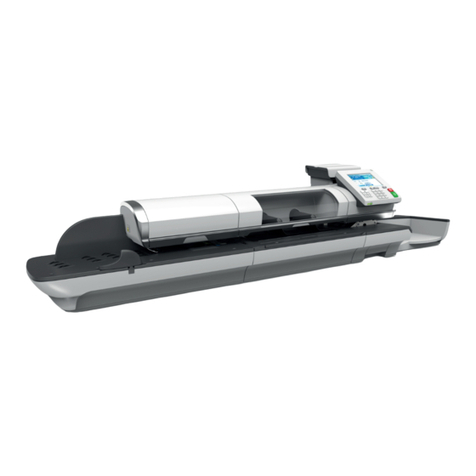
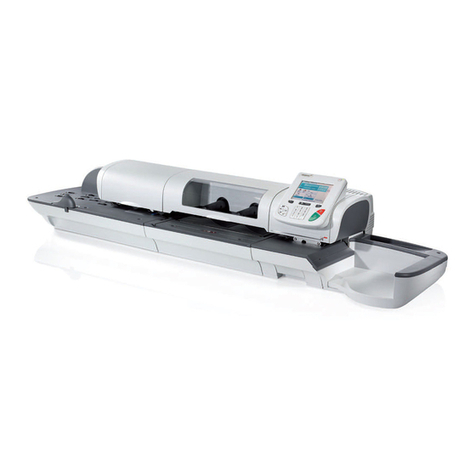
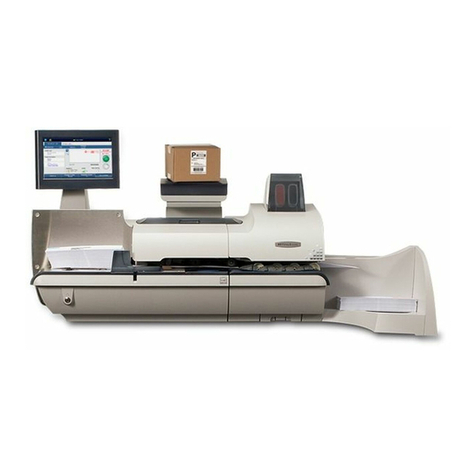
  9. Pitney Bowes DM300c series User manual

Pitney Bowes DM300c series User manual

Pitney Bowes Limited,
Building 5,
Trident Place,
Mosquito Way,
Hatfield AL10 9UJ
T: 08444 992 992 F: 08702 415 249
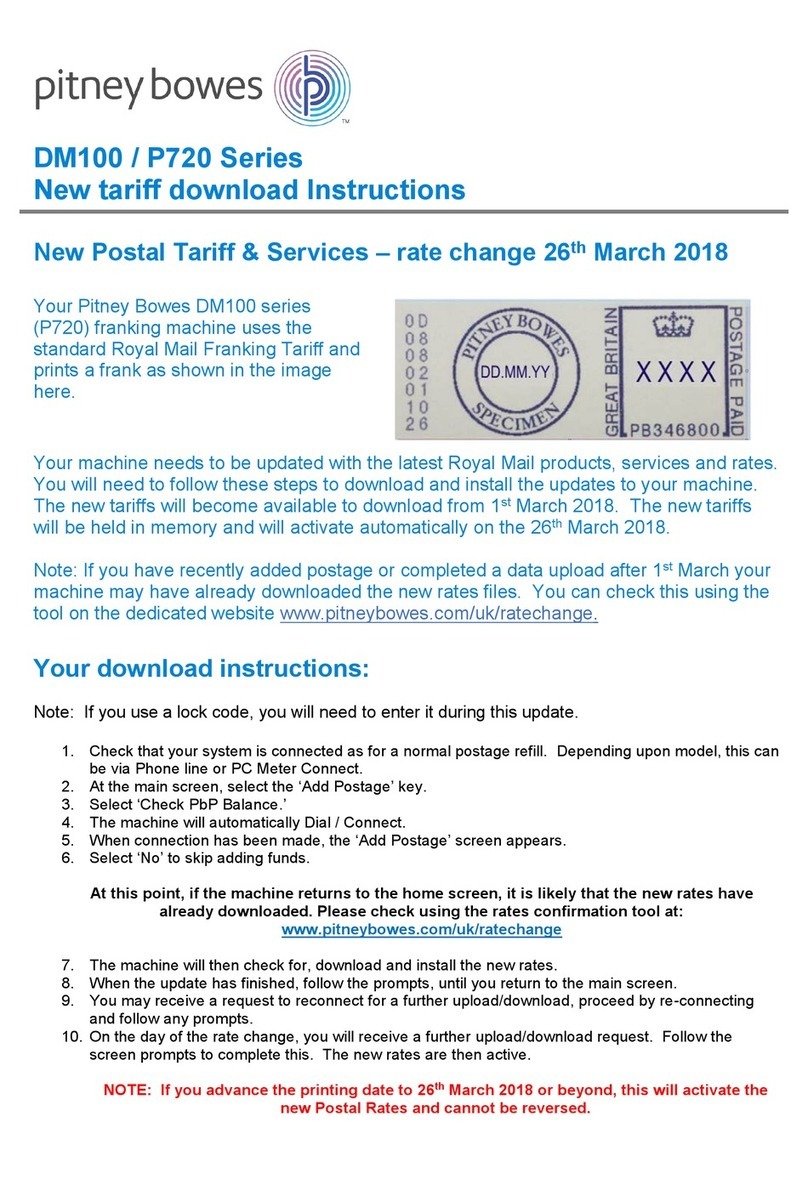
Franking machine
installation guide -
DM300c/DM400c
Read now BEFORE you unpack your equipment
Right, let’s get your franking
machine up and running quickly…
Let’s first get together the things you will need:
• The box containing your new franking machine.
• A letter from Royal Mail or An Post titled ‘Your Licence’.
If you have not received the letter from your postal authority, do not
go any further with this installation. Please contact Royal Mail or An
Post customer services. If they ask you for the franking machine
serial number, it can be found on a label on the outside of the box.
If you have everything you need, check that the serial numbers on
your box and the letter are identical. If they are, continue to work
through this set-up. If not, call Pitney Bowes on 08444 992992 (UK)
or 01 4608744 (ROI).
Installation requires contact with our Data Centre. Please only
attempt installation during the opening hours of 8am to 8pm
weekdays or 8am to 5pm weekends and public holidays.
If you have these items lets get your system up and running. Open
this guide fully and follow steps 1 - 10.
Sometimes you might need a little help with the installation of your franking
machine, here’s a few of the more common problems and resolutions for them.
Problems connecting when using a LAN (network) connection
• Check that PC’s on your network can access the internet.
• Check you have either the 10 or 100 indicator on the network adapter lit and
the ACT indicator may flash. If no indicators are lit, check the network cable
and network connection socket or router.
Problems connecting when using PC Meter Connect™
• Make sure the USB cable is connected between the franking machine and the
PC.
• Check that your PC is running and has an internet connection.
You cannot meet the requirements of LAN or PC Meter Connect™ connection
If you do not have a LAN connection or an internet enabled PC available to allow
your franking machine to connect to the Pitney Bowes Data Centre, please give us
a call on 08444 992992 (UK) or 01 4608744 (ROI) to discuss other possible options.
Balance too low
You have tried to add more postage than you have available in your Postage by
Phone account. Try again with a lower refill amount that is a multiple of £50/€50
(£50/€50, £100/€100, £150/€150, etc.).
Envelope messaging not available
See the Envelope Messaging section on the left.
Error 11
You have tried to install your franking machine before Royal Mail/An Post have
fully approved your licence. Please wait 24 hours and try the installation again.
Error 104
You have tried to refill with an amount that is not a multiple of £50/€50. Please try
again with an amount that is a multiple (£50/€50, £100/€100, £150/€150, etc.).
Troubleshooting
Your DM300c/400c is a postal authority compliant system. At regular interval, it
has to connect to the Pitney Bowes Data Centre to provide usage data to Royal
Mail. The connection will normally happen in the background without you needing
to do anything.
If the connection was not made due to your franking machine being turned off, or
some other connection problem, the display says ‘Data Upload Due’. To connect,
select Connect Now.
If, for any reason, a connection has not been made within the ‘grace’ period
allowed by Royal Mail or An Post, the display says ‘Data Upload Required’. In this
case, you MUST make a connection before your franking machine will allow you to
continue processing mail.
Data Capture
About Pitney Bowes products and services
Ordering consumable supplies
Whether it’s ink or envelopes for your franking machine, or the more day-to-day
routine items like pens and pads to help you manage your office we’re here to
help. Thousands of our customers have found that we can provide excellent quality
goods at very affordable prices, and backed by our fantastic quality guarantee you
can’t go far wrong.
To find out more about what we can offer just visit our online shop at
www.pitneybowes.com. However, if you would like to speak to someone or have
any queries about your consumable supplies, just give us a call on 08444 992992
(UK) or 01 4608744 (ROI).
My Account
An online site where you can access most of the information to manage your
business with Pitney Bowes:
• Display account information and invoices.
• Review the status of your orders and track their progress.
• Manage your contact and account information.
• Access technical support.
To access My Account, go to www.pbmyaccount.co.uk and for your first visit only,
register. To register, you will need your Account Number which can be found on a
recent invoice or statement (not PurchasePower).
Pre-setting options
It’s advisable to pre-set some options on your franking machine, as this could
save time and possibly prevent errors later. Your franking machine has a ‘Normal
Preset’ for your most used settings which will be set automatically every time the
franking machine is turned on or woken from its ‘sleep’ mode. There are also 10
other ‘Custom Presets’ that can be recalled with a few button presses. We suggest
that you pre-set options for Envelope Messaging and Carrier/Postal Class, but this
is entirely up to you.
Creating a preset
You don’t have to program the values into the preset memory. Instead, the
franking machine memory takes a “snapshot” of the current values on your
franking machine. For example, if the machine is set up to print a certain Envelope
Message and Second Class is selected, these will be used to define the preset.
If you require more information about presets, please refer to the Operating Guide
supplied with your franking machine.
To store your ‘Normal Preset’...
To create the ‘Normal Preset’, ensure that the display shows the values that you
would like to save, then follow the instructions below.
• Press Options.
• Press Page Down and select Preset Options.
• Select Set Normal Preset.
• Select OK to store the preset.
• Press Home to return to the Home Screen ready for franking.
Your new ‘Normal Preset’ is now stored.
To recall your ‘Normal Preset’ at any time...
Simply press the Normal Preset button.
If you’re still having trouble, then visit
http://www.pitneybowes.com and select your country.
Products > Meter/Mailing Systems > DM300c, DM400c and DM475
or give us a call on 08444 992992 (UK)
or 01 4608744 (ROI).
Form no: SDC756B (9-17)
*SDC756B*
© 2014 Pitney Bowes Ltd.
Envelope messaging
It can take up to about 10 days to create your personalised Envelope Message
and if it’s not available for download during the installation process, email
envel[email protected] to see when it is going to be ready. When
it is available, carry out a software update as described below to download it into
your franking machine.
You can carry out a software update at any time, which automatically downloads
any new Envelope Messaging or software updates allocated to your account. To do
this:
• Press Options.
• Use the Page Down button to scroll to Data Centre Options then press the
button alongside it to select it.
• Select Check for Updates.
• Your franking machine connects with the Pitney Bowes Data Centre and
indicates if any updates are available. Follow the prompts on the screen to
start the download.
If at any time you would like a new Envelope Message for your franking machine,
just visit our website at www.pitneybowes.co.uk/envelopemessaging
Alternatively, log-in to My Account and click on the Envelope Messaging link at the
right hand side of the My Account home screen.
To make your franking machine automatically select your preferred Envelope
Messaging when you frank mail, see ‘Pre-setting options’.
Continue reading below
Now that you’ve installed your franking machine, you’ll probably want to learn
more about its many features.
An Operating Guide that covers all aspects of your franking machine is provided.
This gives more detail of how your franking machine works, and how you can use
it to process your post. In particular...
• Chapter 3 describes how to run mail and how to select your Envelope
Messaging.
• Chapter 4 describes setting up the ‘Normal Preset’ so that your system
automatically loads your ‘standard’ settings, including your preferred
Envelope Messaging, etc.
• Chapter 7 describes how to fit the moistener.
• DM300M systems are supplied with the kit that allows use of INVIEW Postage
Reporting. Documentation for using INVIEW is contained in Chapter 12 of the
Operating Guide. Details of fitting the INVIEW kit to your franking machine are
available on the web. Go to www.europe.pb.com/docs and enter the access
code 9691.
Using your franking machine
Digital Mailing System
DM300c, DM400c & DM475 series
Operator Guide
UK and ROI Version
5
6
7
8
9
Frank an envelope
Let’s now create your first piece of franked mail.
The display should be showing a screen similar to the illustration below. This is
called the Home Screen.
• Place your item of mail on the scale and the display will show the weight and
date.
• You now need to select the Class of mail you require. Press the button
alongside Class and select the carrier Royal Mail/An Post. Use the Page Up or
Page Down buttons to scroll until the Class you wish to use is visible and then
press the button alongside it to select it.
• Envelope Messaging prints alongside your frank. To select your preferred
Envelope Message, press the button alongside Ad. Use the Page Up or Page
Down buttons to scroll until the Envelope Message you wish to use is visible
and then press the button alongside it to select it. (To ensure your Envelope
Message prints automatically in future, see Pre-setting Options).
• Position the envelope against the registration wall and slide it to the right until
the Franking Machine grasps it. The Franking Machine prints the digital meter
stamp and ejects the envelope.
Problems?
• Can’t see the personalised Envelope Message you ordered? See Envelope
Messaging.
• Want to pre-set the franking machine to automatically print your preferred
Envelope Message? See Pre-setting Options.
• Want to learn more about using your new franking machine? See Using your
franking machine.
10
Mr. John Smith
1925 Main Street
Your Town, US 12345
Sue Jones
Rte 223
Her Town, 54321
Scale Weight £0.00
0g 19-6-14
◄ Class : Select Class
◄ Ad : None
◄ Txt Msg : None
Registration
Wall
3. Connect to the outside world
Follow the relevant section below for the connection method you‘ve chosen:
4a. LAN (network) connection
Connect the franking machine to your network as shown below:
Plug the power cord into a convenient outlet and into the machine. Turn the power
switch ON.
When power is turned on, you should see either the 10 or 100 indicator on
the network adapter light and the ACT indicator may also flash. If none of the
indicators light, check your router/network socket is working correctly before
proceeding with step 5.
4b. PCMC Connection (Internet connection via your PC)
Before you connect your franking machine to your PC, you need to install our FREE
PC Meter Connect™software. To do this, you must have administrator rights on
your PC which may require you to contact your IT department. Please note that the
software is not Mac compatible.
To install, visit www.europe.pb.com/PCMeterConnect/setup.exe and choose the
‘Run’ option. Select ‘English (United Kingdom)’ as your installation language and
follow the on-screen instructions. This process installs the software and tests your
franking machine connection.
When complete, return to step 5 of this guide to complete the franking machine
installation.
3. Prepare Your Machine
1 Open the box and unpack
Here’s a diagram and explanation of the items you should find in your box, if
anything is missing give us a call on 08444 992992 (UK) or 01 4608744 (ROI).
Depending on how you install your franking machine, you might not need all of
these items.
If you have any problems during this installation, refer to ‘Troubleshooting’
overleaf.
Franking Machine Scale Stacker
Operating Guide
1
4
3
Check for updates
Your franking machine now automatically checks for any new software, including
any new Envelope Messages associated with your account.
If the display asks if you wish to install the updates, always select ‘GET UPDATE
NOW’ or your franking machine will not complete its installation correctly. DO
NOT switch the machine off during the update process.
The display shows the status of the update. When it shows ‘System Update
Complete’, select Return Home. The display may also tell you when the next
data upload is planned and/or whether daylight savings time has been set. These
prompts are for information only, just select Continue or OK.
9
2
5.7 Insert the cartridge.
The ridges on the
cartridge slide into the
grooves.
5.8 Return the guard
to the operate
position and click
to close.
5.9 Close the top cover.
The franking machine
will now go through
a setup cycle which
takes up to 2 minutes.
Blue or Red
Ink Cartridge
Moistener
Print Head (in
plastic packaging)
Postage Meter
Tape Strips
Sealing Solution
Power Cord
INVIEW Kit
Package contains USB memory
stick and other components
LAN (network)
Cable
USB Cable
Scale
Connector Cover
LAN (Network) Connection
You can use a suitably configured network connection (LAN) that gives access to the
internet. Pitney Bowes strongly advises LAN connection.
Benefits Requirements
Fastest.
Always
connected.
Ease of
use.
A standard (RJ45) network connection on your router (as found in a normal
domestic wired setup) or an active network wall socket.
The technical stuff...
For plug-and-play setup, the connection must use DHCP (automatic configuration), be
open to all HTTPS traffic and must NOT be using a PROXY server.
If you’re unsure about the requirements for LAN connection or you are using a proxy server,
our online LAN guide can help. Go to www.europe.pb.com/docs and enter the code 8026 to
download the guide.
Wireless networking is not covered in this document. If you wish to connect usingf Wi-Fi,
please contact Pitney Bowes.
Congratulations - your franking machine is now ready to use.
Turn the page and follow Step 10 to frank your first piece of mail.
Digital Mailing System
DM300c, DM400c & DM475 series
Operator Guide
UK and ROI Version
5.4 Slide the print head
pegs down into the
grooves.
5.5 Push the print head
to the left until it
clicks into position.
5.6 Unwrap the ink
cartridge making sure
the tape is removed
from the bottom of the
cartridge.
Install the print head and ink
cartridge
5.2 Flip open the
guard.
5.3 Remove the print head
from its packaging and
peel the tape strip from
the print head. DO NOT
touch the contacts on
the print head.
5
5.1 When the display asks
you to install the Print
Head, open the top
cover.
WARNING: Always plug the equipment into a properly grounded wall
outlet. The socket outlet should be near the equipment and should be easily
accessible. Use the mains lead supplied with your equipment.
Network connection
on router or network
wall socket
Network
Cable
Network Adapter
USB
connection
Power connector
Power switch
Rear of machine
Carry out a test print
When prompted to make a test print select Yes, then press Tape to print a tape
strip. The franking machine automatically begins printing.
Review the quality of the test print.
Good quality – select Yes.
Poor quality – select No, the franking machine goes through another set-up cycle
and when complete you should try the test print again. (If you have NO print, check
that you have removed the tape from the print head at step 5.3).
IMPORTANT
It is very important that the print from your franking machine is of a good
quality. If you do not have a good quality print, Royal Mail may refuse or be
unable to read the information automatically, this might result in a delay in
delivering your post.
6
Good print - no broken lines in the
centre of the test print
Bad print - broken lines in the centre
of the test print
Add postage funds
You need to add funds to your franking machine before you can use it.
Connect to the Pitney Bowes Data Centre
The franking machine automatically connects with the Data Centre and, after a
short delay, displays your account balance.
Adding funds
You now need to add postage to your franking machine.
• Select Refill Postage.
• Enter the amount you wish to add and then select OK. This refill amount must
be in increments of £50/€50.
• Confirm the amount to add by selecting Yes.
• The franking machine communicates with the Data Centre to add postage and
confirms when complete.
• The display asks if you would like a receipt. Select Print Receipt and press the
Tape button to print your receipt on a tape strip.
8
PCMC Connection (Internet connection via your PC)
If you have a PC with an internet connection nearby, you can install the free Pitney Bowes
PC Meter Connect™ (PCMC) software and use the PC’s internet connection.
Benefits Requirements
Backup
connecton
method if
LAN not
possible.
Requires a PC with an active internet connection to be nearby and turned
on.
The PC must run Windows Vista or 7 and have Pitney Bowes PCMC software
installed.
PCMC is not available for Mac.
Network
Adapter
1
2
11
1
3.3 Close feed
deck by lifting
it and rotating
clearance lever
anticlockwise.
3.4 Push the tape lever
to the right and drop
tapes into the slot.
The printable side of
the tape should be
facing towards the
right.
3.1 Open ink access
cover and remove
tape and shipping
material.
Tape
3.2 Remove shipping
foam and tapes.
Tape
Install the Scale
You must now fit and configure the scale.
The system can operate with its integrated scale OR an external USB platform,
but not with both. If you have purchased an external USB platform, install it as
described in the right hand column and do not install the integrated platform
which may have been supplied with your system.
7
Belfast
Dublin
Bristol
Cardiff London
Birmingham
Sheffield
Glasgow
Orkney Code 24
Shetland Code 25
CODE 24
CODE 23
CODE 22
CODE 21
CODE 20
Manchester
Cork
Edinburgh
Liverpool
Canterbury
Integrated Scale
Position the scale as shown. Plug
the connector on the scale into the
matching connector on the franking
machine.
External Platform
Connect the USB cable between the
platform and the DM300c/400c as
shown. Fit the scale connector cover.
When the display asks you to
enter the scale location code,
key in the correct scale code
for your location from the map
and select OK.
Decide where to site your
system and how to connect it
Please DO NOT connect power until instructed.
Your franking machine has to connect to the Pitney Bowes Data Centre to add
postage funds, get software updates, and carry out the required Royal Mail or An
Post updates.
This connection is made via the internet using your LAN (network). This provides a
constant connection for ease of use and trouble free communications.
As a backup and only if you cannot provide a direct connection to your network,
you can use the free Pitney Bowes PC Meter Connect™ (PCMC) software to
connect via any PC with an internet connection.
If you cannot meet the requirements of either connection method, refer to
Troubleshooting overleaf.
You must also ensure that the franking machine has a constant power supply and
you have space around it to work.

Other manuals for DM300c series

14

This manual suits for next models

1

Other Pitney Bowes Postal Equipment manuals

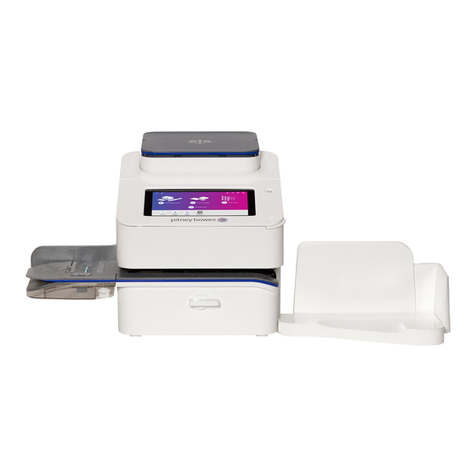
Pitney Bowes SendPro C series User manual

Pitney Bowes

Pitney Bowes SendPro C series User manual

Pitney Bowes 1215 User manual

Pitney Bowes

Pitney Bowes 1215 User manual

Pitney Bowes F601 User manual

Pitney Bowes

Pitney Bowes F601 User manual

Pitney Bowes SendPro C Auto Manual

Pitney Bowes

Pitney Bowes SendPro C Auto Manual

Pitney Bowes DL100 Manual

Pitney Bowes

Pitney Bowes DL100 Manual

Pitney Bowes DM110i Series User manual

Pitney Bowes

Pitney Bowes DM110i Series User manual

Pitney Bowes dm300m series Technical manual

Pitney Bowes

Pitney Bowes dm300m series Technical manual

Pitney Bowes DM110i Series Technical manual

Pitney Bowes

Pitney Bowes DM110i Series Technical manual

Pitney Bowes DM125 User manual

Pitney Bowes

Pitney Bowes DM125 User manual

Pitney Bowes SendPro C User manual

Pitney Bowes

Pitney Bowes SendPro C User manual

Pitney Bowes 3307 User manual

Pitney Bowes

Pitney Bowes 3307 User manual

Pitney Bowes DI900 User manual

Pitney Bowes

Pitney Bowes DI900 User manual

Pitney Bowes SendPro C Manual

Pitney Bowes

Pitney Bowes SendPro C Manual

Pitney Bowes SendPro C User manual

Pitney Bowes

Pitney Bowes SendPro C User manual

Pitney Bowes DM300 User manual

Pitney Bowes

Pitney Bowes DM300 User manual

Pitney Bowes mailstation User manual

Pitney Bowes

Pitney Bowes mailstation User manual

Pitney Bowes DL400 Manual

Pitney Bowes

Pitney Bowes DL400 Manual

Pitney Bowes PersonalPost User manual

Pitney Bowes

Pitney Bowes PersonalPost User manual

Pitney Bowes DM50 Series User manual

Pitney Bowes

Pitney Bowes DM50 Series User manual

Pitney Bowes DL50 Manual

Pitney Bowes

Pitney Bowes DL50 Manual

Pitney Bowes DM300c series Technical manual

Pitney Bowes

Pitney Bowes DM300c series Technical manual

Pitney Bowes SendPro P Series User manual

Pitney Bowes

Pitney Bowes SendPro P Series User manual

Pitney Bowes PostPerfect B700 User manual

Pitney Bowes

Pitney Bowes PostPerfect B700 User manual

Pitney Bowes Small Office Series Mailstation 2 User manual

Pitney Bowes

Pitney Bowes Small Office Series Mailstation 2 User manual

Popular Postal Equipment manuals by other brands

Pelouze Digital Electronic Postal Scale SP5 user guide

Pelouze

Pelouze Digital Electronic Postal Scale SP5 user guide

Frama Mailmax operating instructions

Frama

Frama Mailmax operating instructions

Gaines Janzer Post Installation & Assembly

Gaines

Gaines Janzer Post Installation & Assembly

Frama Matrix F12 operating manual

Frama

Frama Matrix F12 operating manual

Frabox FANLO Mounting instructions

Frabox

Frabox FANLO Mounting instructions

SSS Siedle Vario BE 611-3/1 Series Product information

SSS Siedle

SSS Siedle Vario BE 611-3/1 Series Product information

Martin Yale 1648 manual

Martin Yale

Martin Yale 1648 manual

Neopost ij25 manual

Neopost

Neopost ij25 manual

quadient iX-5 Series Quick installation guide

quadient

quadient iX-5 Series Quick installation guide

Neopost IS-350 Quick installation guide

Neopost

Neopost IS-350 Quick installation guide

quadient IN-700 user guide

quadient

quadient IN-700 user guide

Opex Omation Envelopener 210 Series Operator's manual

Opex

Opex Omation Envelopener 210 Series Operator's manual

FP FPi 5600 Unpacking and Installation

FP

FP FPi 5600 Unpacking and Installation

quadient IN-360 Series Product Replacement Guide

quadient

quadient IN-360 Series Product Replacement Guide

quadient IN-360 Series user guide

quadient

quadient IN-360 Series user guide

OYPLA Home 4087 user manual

OYPLA Home

OYPLA Home 4087 user manual

quadient IS-350 Quick installation guide

quadient

quadient IS-350 Quick installation guide

Pelouze Pelouze PE20 Specifications

Pelouze

Pelouze Pelouze PE20 Specifications

manuals.online logo
manuals.online logoBrands
  • About & Mission
  • Contact us
  • Privacy Policy
  • Terms and Conditions

Copyright 2025 Manuals.Online. All Rights Reserved.