Xtool ASD60 User manual

Shenzhen Xtooltech Intelligent Co., LTD
USER MANUAL
ASD60 Smart Diagnostic kit
This user manual is applicable to ASD60_VW, ASD60_BENZ, ASD60_BMW

I
Please read this user manual carefully before using the ASD60 Smart Diagnostic Kit. When
reading the manual, please pay attention to the words “Note” or “Caution” and read
them carefully for appropriate operation.
TRADEMARKS
and ASD60 are the registered trademarks of Shenzhen Xtooltech Intelligent
CO., LTD.
In countries that the trademarks, service marks, domain names, logos, and the name of
the company are not registered, XTOOL claims that it still reserves the ownership of the
unregistered trademarks, service marks, domain names, logos, and the company name.
All other marks for the other products and the company’s name mentioned in the manual
still belong to the original registered company.
You may not use the trademarks, service marks, domain names, logos, and company
name of XTOOL or other companies mentioned without written permission from the
trademark holder.
XTOOL reserves the right to the final interpretation of this manual content.
COPYRIGHT
Without the written consent of Shenzhen Xtooltech Intelligent Co., Ltd., any company or
individual shall not copy or backup this operation manual in any form (electronic,
mechanical, photocopying, recording, or other forms).
DECLARATION
This manual is designed for the usage of the ASD60 Smart Diagnostic Kit and provides
operating instructions and product descriptions for users of the ASD60 Smart Diagnostic
Kit.
No part of this manual can be reproduced, stored in a retrieval system, or transmitted, in
any form or by any means (electronic, mechanical, photocopying, recording, or

II
otherwise), without the prior written permission of XTOOL.
Use the device only as described in this manual. XTOOL is not responsible for any
consequences of violating the laws and regulations caused by using the product or its
data information
XTOOL shall not be liable for any incidental or consequential damages or for any
economic consequential damages arising from the accidents of individual users and the
third parties, misuse or abuse of the device, unauthorized change or repair of the device,
or the failure made by the user not to use the product according to the manual.
All information, specifications, and illustrations in this manual are based on the latest
configurations and functions available at the time of printing. XTOOL reserves the right to
make changes at any time without notice.
OPERATION INSTRUCTIONS
For safe operation, please follow the instructions below:
Keep the device away from heat or fumes when you are using it.
If the vehicle battery contains acid, please keep your hands and skin or fire sources
away from the battery during testing.
The exhaust gas of the vehicle contains harmful chemicals, please ensure adequate
ventilation.
Do not touch the cooling system components or exhaust manifolds when the engine
is running due to the high temperatures reached.
Make sure the car is securely parked, Neutral is selected or the selector is at P or N
position to prevent the vehicle from moving when the engine starts.
Make sure the (DLC) diagnostic link connector is functioning properly before starting
the test to avoid damage to the Diagnostic Tablet.
Do not switch off the power or unplug the connectors during testing, otherwise, you
may damage the ECU and/or the Diagnostic Tablet.

III
CAUTIONS
Avoid shaking or dismantling the unit as it may damage the internal components.
Do not use hard or sharp objects to touch the LCD screen;
Do not use excessive force;
Do not expose the screen to strong sunlight for a long period.
Please keep it away from water, moisture, high temperature, or very low temperature.
If necessary, calibrate the screen before testing to ensure the accuracy of LCD
performance.
Keep the main unit away from strong magnetic fields.
Please keep your device always connected to the Internet. When the device is off the
Internet for 30 days, The diagnosis APP may be locked and you need to synchronize
data with the Internet to activate it.
AFTERSALES-SERVICES
E-Mail: supporting@xtooltech.com
Tel: +86 755 21670995 or +86 755 86267858 (China)
Official Website: www.xtooltech.com
Please provide your device serial number, VIN code, vehicle model, software version, and other details when
seeking technical support.
If there are screenshots or videos, it will better help us locate your problem.

IV
CONTENTS
TRADEMARKS..........................................................................................................I
COPYRIGHT.............................................................................................................I
DECLARATION.........................................................................................................I
OPERATION INSTRUCTIONS ....................................................................................II
CAUTIONS.............................................................................................................III
AFTERSALES-SERVICES ..........................................................................................III
CONTENTS ............................................................................................................IV
1GENERAL INTRODUCTION....................................................................................1
1.1 Function Description....................................................................................2
1.2 Diagnosis Menu...........................................................................................2
1.3 Function Buttons.........................................................................................3
1.4 Technical Specifications................................................................................4
1.5 Wireless Communication..............................................................................4
2GETTING START ..................................................................................................5
2.1 Download & Install APP................................................................................5
2.2 Registration & Activation..............................................................................6
2.3 Download & Update software.......................................................................7
2.4 Vehicle Connection......................................................................................8
2.5 Bluetooth Connection..................................................................................8
2.6 Operating Status..........................................................................................9
2.7 Delete Software ........................................................................................10
3DIAGNOSIS ....................................................................................................... 11
3.1 Diagnosis.................................................................................................. 11
3.2 Diagnosis Functions ...................................................................................13
4OBD II .............................................................................................................20
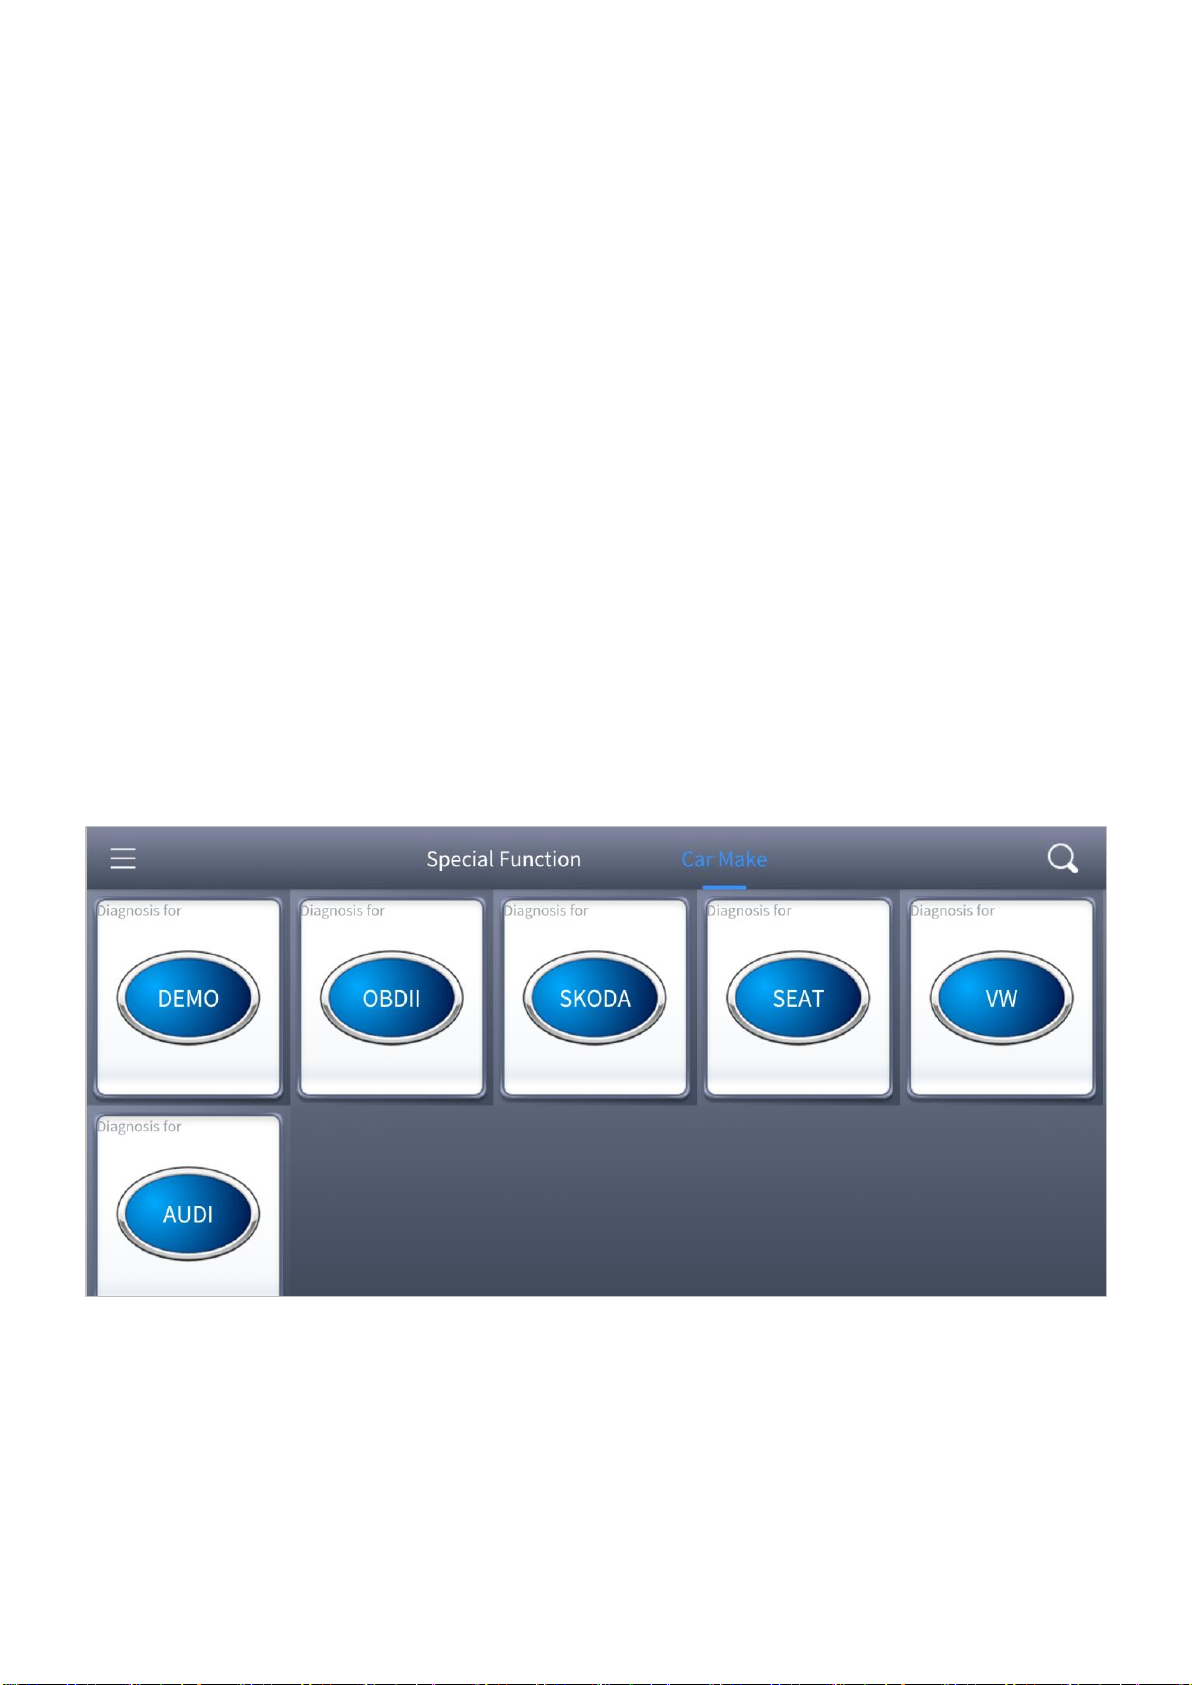
5SPECIAL FUNCTIONS..........................................................................................28
5.1 Oil Reset...................................................................................................29
5.2 EPB..........................................................................................................31
5.3 SAS ..........................................................................................................34
5.4 DPF..........................................................................................................38
5.5 BMS Reset ................................................................................................44
5.6 Throttle....................................................................................................47
5.7 Injector Coding..........................................................................................49

V
5.8 Gearbox Match .........................................................................................53
6REPORTS...........................................................................................................54
6.1 Diagnosis Report .......................................................................................54
6.2 Data Playback ...........................................................................................55
7SETTING............................................................................................................57
7.1 Language..................................................................................................58
7.2 Units........................................................................................................59
7.3 Bluetooth .................................................................................................59
7.4 Workshop.................................................................................................60
7.5 About.......................................................................................................61
8FAQ.................................................................................................................62
Q1: Bluetooth pairing failed .............................................................................62
Q2: Failed to generate diagnosis report.............................................................62
Q3: Failed to extract files .................................................................................62
Q4: How to generate and upload diagnostic log files...........................................63
Q5: Failed to diagnose vehicle..........................................................................63
Q6: Failed to activate or register.......................................................................64
9WARRANTY &SERVICES ...................................................................................65
APPENDIX ............................................................................................................67
Legal Statement and Privacy Right Policy ...........................................................67

—1 —
1GENERAL INTRODUCTION
ASD60 is a professional diagnostic tool for BMW, VW and BENZ series cars. With a combo
of a small ASD60, you can diagnose all the compatible electronic control systems of your
BMW, VW and BENZ series cars without buying the expensive diagnostic equipment. The
ASD60 package includes a Bluetooth OBDII connector and an ASD60 application. Both iOS
and Android platforms are supported. It is a perfect DIY tool for customers to get a quick
scan of all systems and it also includes numerous special functions, such as service light
reset, DPF regeneration, and EPB reset.
Figure 1-1 Product View

—2 —
1.1 FUNCTION DESCRIPTION
①Vehicle Data Connector (OBD-16 pin) - connect the ASD60 to the vehicle’s 16-pin
DLC directly
②LED Indicator - Showing the operating status of the ASD60
Flashing: Connected to power/vehicle OBD port, but Bluetooth is disconnected
Solid light: Connected to power/vehicle OBD port & Bluetooth is connected
Light Off: Device is in sleep mode OR disconnected to power/vehicle OBD port
1.2 Diagnosis Menu
Here shows the page every time when you open the ASD60 app, which shows the special
function menu and vehicle menu for diagnosis.
Figure 1-2 Sample of the vehicle menu

—3 —
Figure 1-3 Sample of the special function menu
1.3 FUNCTION BUTTONS
The following table briefly describes each function button which can be found in the
menu.
Icon
Description
Enter vehicle diagnosis menu (special functions included)
Select the language and unit shown in the app, and check the
Bluetooth status, device info, and workshop info
Update the diagnosis software through the Internet
Check the diagnosis report that recorded on your device,
prints it as PDF files, or share it with other devices
Table 1-1 Description of function button

—4 —
1.4 TECHNICAL SPECIFICATIONS
Item
Description
CPU
STM32
Interface
OBD interface
Bluetooth
4.0
LED lights
LED indicator
Dimensions
50.5*47.7*22.5mm (1.99*1.87*0.89 inches)
Operating current
<70mA DC12V
Sleep current
≤1mA DC12V
Table 1-2 Specifications
1.5 WIRELESS COMMUNICATION
ASD60 uses Bluetooth communication. It can transmit vehicle data to your Android or IOS
device without a physical connection. The working range for Bluetooth is around 10 m
(32.81 ft.). Signal lost due to moving out of the range will automatically be restored once
the device is brought within transmission range to the ASD60 connector.

—5 —
2GETTING START
2.1 DOWNLOAD & INSTALL APP
Search for ASD60 Download in the Google Play or App Store to download and install the
app to your device.
Figure 2-1 Sample of APP downloading screens

—6 —
2.2 REGISTRATION & ACTIVATION
Enter the serial number, activation code, username, Email address, and password into the
corresponding input box. And press the Activation button to activate the app.
Figure 2-2 Sample of activation screen
Figure 2-3 Sample of Certificate of Quality
Serial number - Can be found in the Certificate of Quality, back of the device, and
the outer packaging
Activation code - Can be found in the Certificate of Quality
Each account can be logged in with more than one mobile device, however, the ASD60 can only
connect to one mobile device at one time.

—7 —
2.3 DOWNLOAD & UPDATE SOFTWARE
Click the Updates button to enter the updates interface.
Figure 2-4 Sample of the main menu screen
All the available software is shown on this page. You can choose to download the specific
software individually by pressing the arrow button next to the required software or
choose to update all available software at once by pressing Updates All.
Figure 2-5 Sample of updates interface

—8 —
2.4 VEHICLE CONNECTION
Insert the ASD60 to the OBD port on the testing vehicle, diagram below shows the
common locations where the OBD port at. The flashlight equipped may help to locate the
OBD port. The LED indicator will be flashing if the device is properly connected.
Figure 2-6 Locations of OBD port
2.5 BLUETOOTH CONNECTION
Make sure the indicator is flashing, then open the Bluetooth setting on your mobile
devices, the ASD60 will be discovered as ‘ASD60’. Turn on the ASD60 app, and the app will
automatically connect with it. Once the ASD60 is connected to any of the mobile devices,
it will be remembered by that device and automatically connected to it when next time
the ASD60 is connected to the vehicle/power supply. Solid light will show on the LED
indicator after the Bluetooth is successfully connected.
You are only able to connect the Bluetooth after connecting the ASD60 to the vehicle/power supply.

—9 —
2.6 OPERATING STATUS
Figure 2-7 LED indicator
①Flashing -the ASD60 is properly connected to the vehicle/power supply but not
connected with Bluetooth
②Solid - the ASD60 is connected to the vehicle/power supply and also the mobile
device through Bluetooth
③Off - the ASD60 is in sleep mode OR disconnected to power/vehicle OBD port
After the ASD60 is powered on for the first time or re-plugged, it starts to work (Bluetooth can be
connected and can be diagnosed, and enters the sleep mode after 30 minutes);
After the ASD60 detects the ignition of the vehicle is ON, it starts to work within 5s (Bluetooth can be
connected, can be diagnosed, enter sleep mode after 30 minutes)

—10 —
2.7 DELETE SOFTWARE
Long-press the unwanted software until it has been selected, then click the Delete button
shown on the upper part of the screen. And you can select and delete multiple software
at once.
Figure 2-8 Sample of software deleting screen

—11 —
3DIAGNOSIS
The diagnosis function can read ECU information, read and clear DTC and display live data
and freeze frame. The diagnosis function can also access the electronic control unit (ECU)
of all available vehicle control systems, including the engine, transmission, anti-lock
braking system (ABS), airbag system (SRS), body control module (BCM), battery
management system (BMS), tire pressure monitoring system (TPMS), steering and
suspension system (SAS) and perform various actuation tests.
Diagnosis can only be performed when the ASD60 is connected to a mobile device through Bluetooth
successfully and the LED indicator lights solid.
3.1 DIAGNOSIS
Click the Car Make menu on top of the screen, all the brands will be shown and you can
click the corresponding brand, and start the diagnosis process.
Figure 3-1 Sample of the main menu screen
For some of the vehicle brands (like Volkswagen), when you click on the software, there
are several ways to select the model or system you want to run a diagnosis, including
Automatic Detection, Manual Selection, and System Selection.

—12 —
Figure 3-2 Sample of VW menu screen
Automatic Detection will automatically identify the vehicle’s VIN code, and then read the
information of your target diagnostic vehicle. If you choose Manual Selection, then you
can continue to select the vehicle brand, year, and model of the vehicle in the sub-menu
to diagnose the vehicle. Enter System Selection, you can also diagnose the vehicle
according to the system or your needs after selecting the models.
Automatic Detection does not work on all cars. If ‘Automatic Detection’ fails, it does not necessarily
mean that your vehicle or the function is not supported, please navigate manually and try again.
OBDII menu supports reading the common fault codes in the PCM. The DTCs may not be the same
when compared with using common diagnosis software.
DEMO is a demonstration program. You can perform basic diagnosis functions without connecting to
the car.
DEMO is only for demonstration purposes, the functions and interface are not necessarily the same as
the actual version of the software/App. Please activate and update your device to use the latest version
of software.

—13 —
3.2 DIAGNOSIS FUNCTIONS
The Diagnosis System supports 6 diagnosis functions:
Read ECU Information
Read & Clear Trouble Code
Live Data
Actuation Test (Bi-Directional Control)
Freeze Frame
Special Functions
Figure 3-3 Diagnosis functions
Read ECU Information
This function is to read ECU version information, which is the equivalent of System
Identification or System Information in some electronic control systems, which means to
read ECU-related software and hardware versions, models, and production date of the
diesel engine, part number, etc.

—14 —
Figure 3-4 Sample of read ECU information screen
Read Trouble Code
Read trouble codes (DTCs) that are stored in ECU. For the trouble code, the diagnostic
instrument will give specific detailed definitions and explanations to help you locate and
eliminate the car fault.
Stored Code
Stored codes are the current emission-related DTCs from the ECM of the vehicle.
OBDII Codes have a priority according to their emission severity, with higher priority
codes overwriting lower priority codes. The priority of the code determines the
illumination of the MIL and the codes erase procedure. Manufacturers rank codes
differently, so expect to see differences between makes.
Pending Code
These are codes whose setting conditions were met during the last drive cycle, but
need to be met two or more consecutive drive cycles before the DTC actually sets.
Table of contents
Other Xtool Diagnostic Equipment manuals